Archive for category electrical
Removing old knob and tube porcelain fixtures
Posted by aaron in basement, electrical on 2 March 2010
This isn’t a post about replacing old wiring with new three strand Romex. (There will be posts on that, don’t you worry your pretty little heads.) No, this is a post about a seemingly small but very poorly documented task related to such replacements – removing the knob and tube porcelain fixtures themselves. Note: The following pictures are of completely dead, orphaned wiring segments – they have not been attached to the electrical panel for decades. Never muck with live wiring, especially live knob and tube.

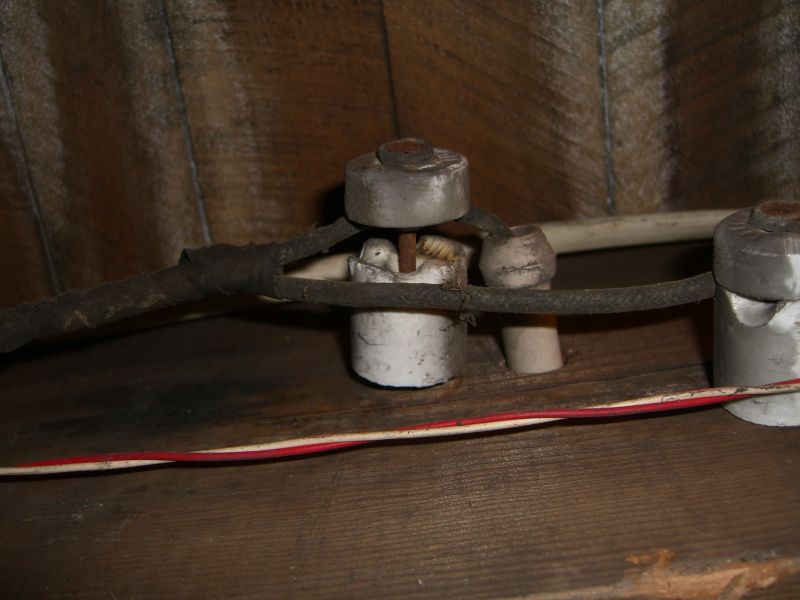
The nail likely extends an inch or less into the beam:
Removing knobs, then, is a fairly straightforward matter of wedging a hammer between the beam and the porcelain, and levering the nail out using the entire fixture. This next picture doesn’t show how far I actually inserted the hammer – quite close to the nail:

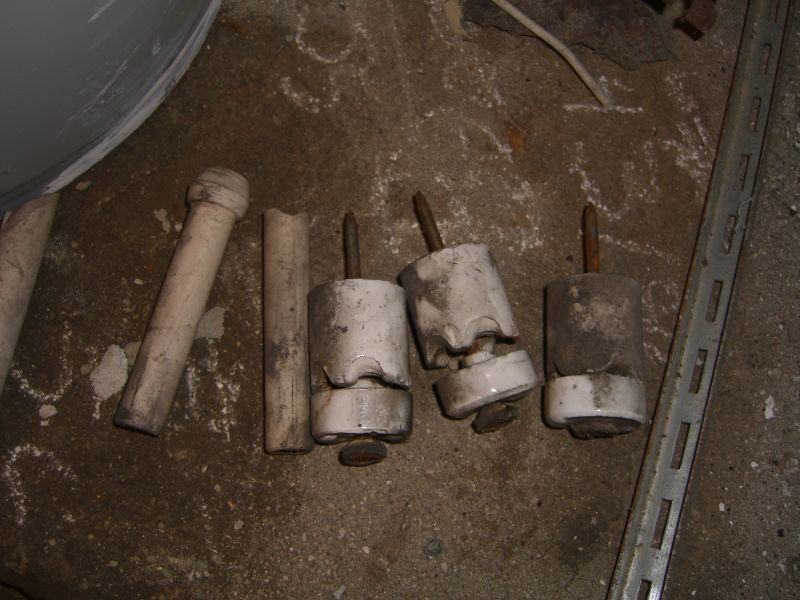
I was a little unsure at the start of this project for fear of shattering porcelain everywhere. It doesn’t seem to be an issue – the porcelain will likely chip and flake, especially as you’re first working the hammer in behind the knob…

… but it’s stronger than you might think. A gentle-but-firm approach had a half-dozen knobs out in less than ten minutes, and even an overzealous pull on one resulting in it flying from the beam and clattering to the floor didn’t cause any of them to break.
Read twice, order once
Posted by aaron in bathroom, electrical on 23 January 2009
Months ago I ordered a cover/grille assembly for the light/fan/heater unit in my bathroom – the original had been lost prior to me moving in. I also got the unit’s install guide emailed from the manufacturer. I scanned the wiring diagrams only long enough to confirm that I’d be able to wire everything on my own, but failed to note a key point – the switch for this type of unit is more specialized than the standard 3 switch combo I then went and bought at Home Depot. So, now, as I’m finally ready to finish wiring things up, I realize I can’t. I just put the order in to the manufacturer for the specific switch assembly I need, but meanwhile I’m feeling a little dumb, and a little irritated that I can’t get this done as planned. Planned being a relative term of course since I’m only getting to it now.
I did at least complete the wiring from the service panel to the unit. Originally I was going to swipe an existing run that goes to an unused heater in the bathroom:
 …but it was clamped into the heater unit before the room was finished off, and thus would be a bit of a pain to undo:
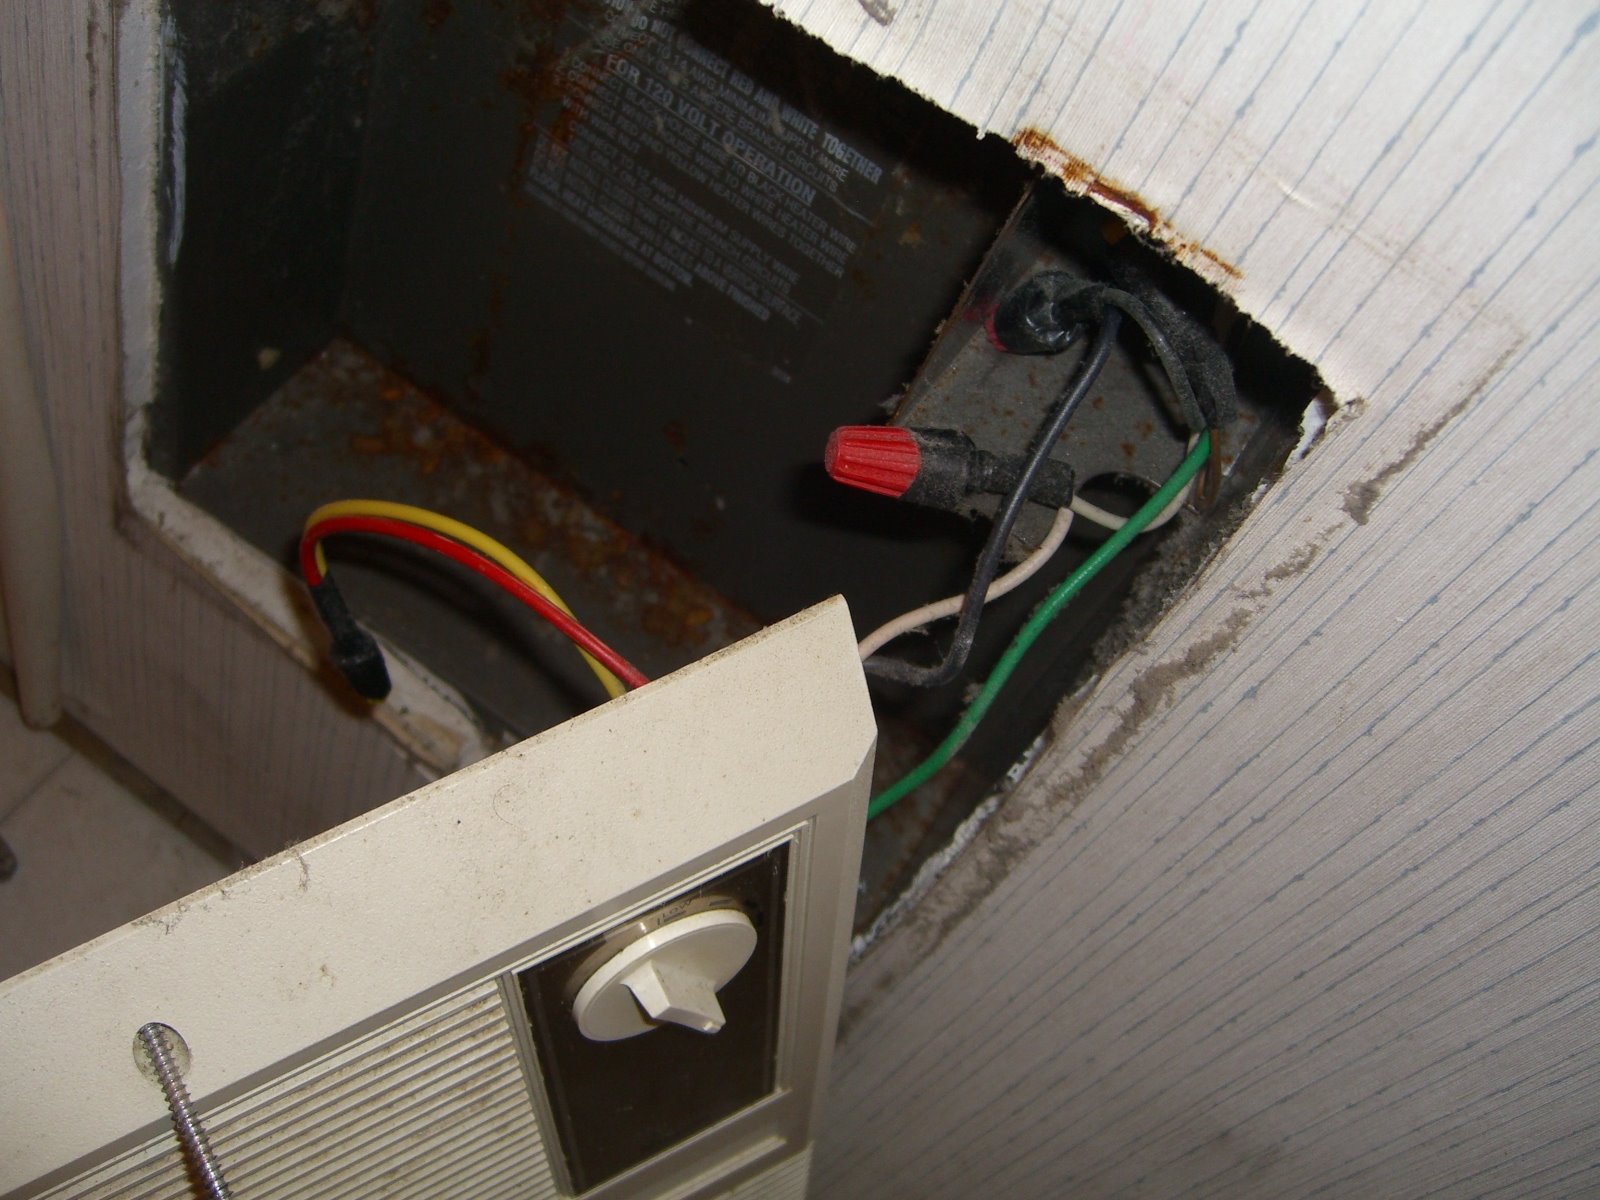 Instead, I reasoned that, since I wouldn’t be using that heater unit, I could branch the line for the overhead unit from the same run and not have to worry about overloading the circuit:
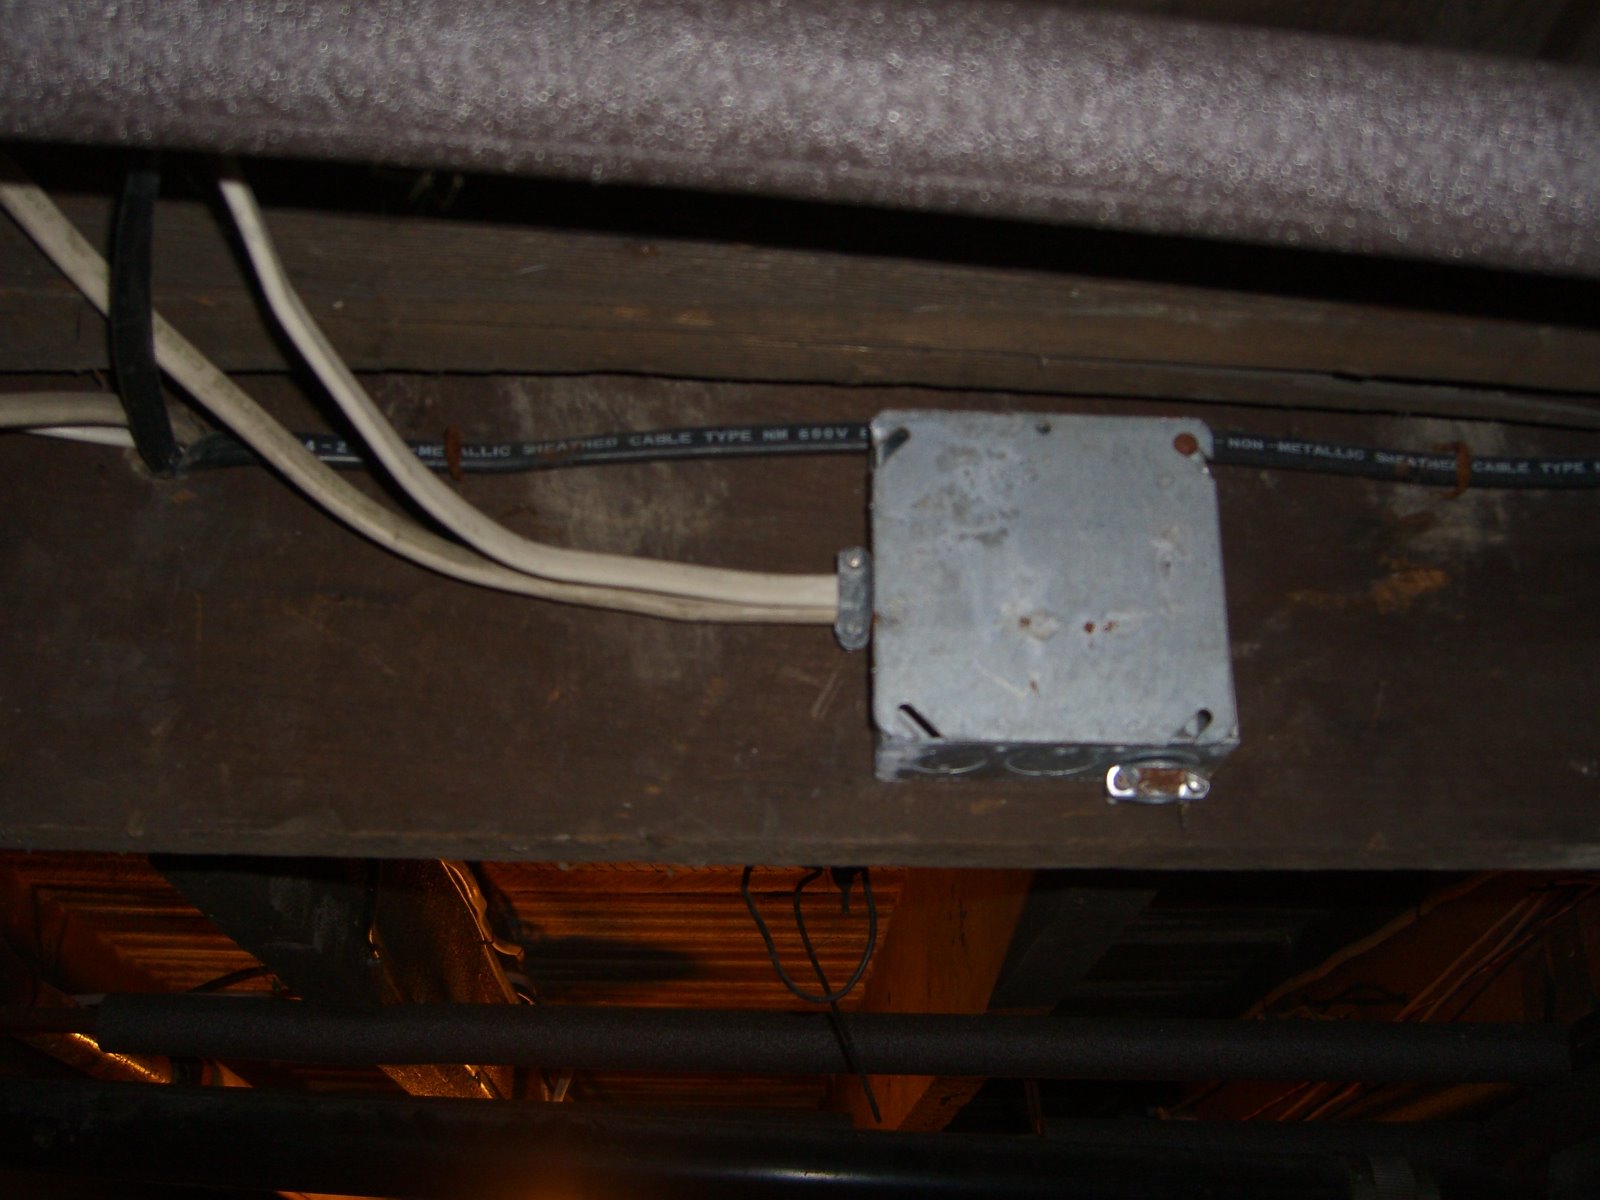 exhibit A: the box
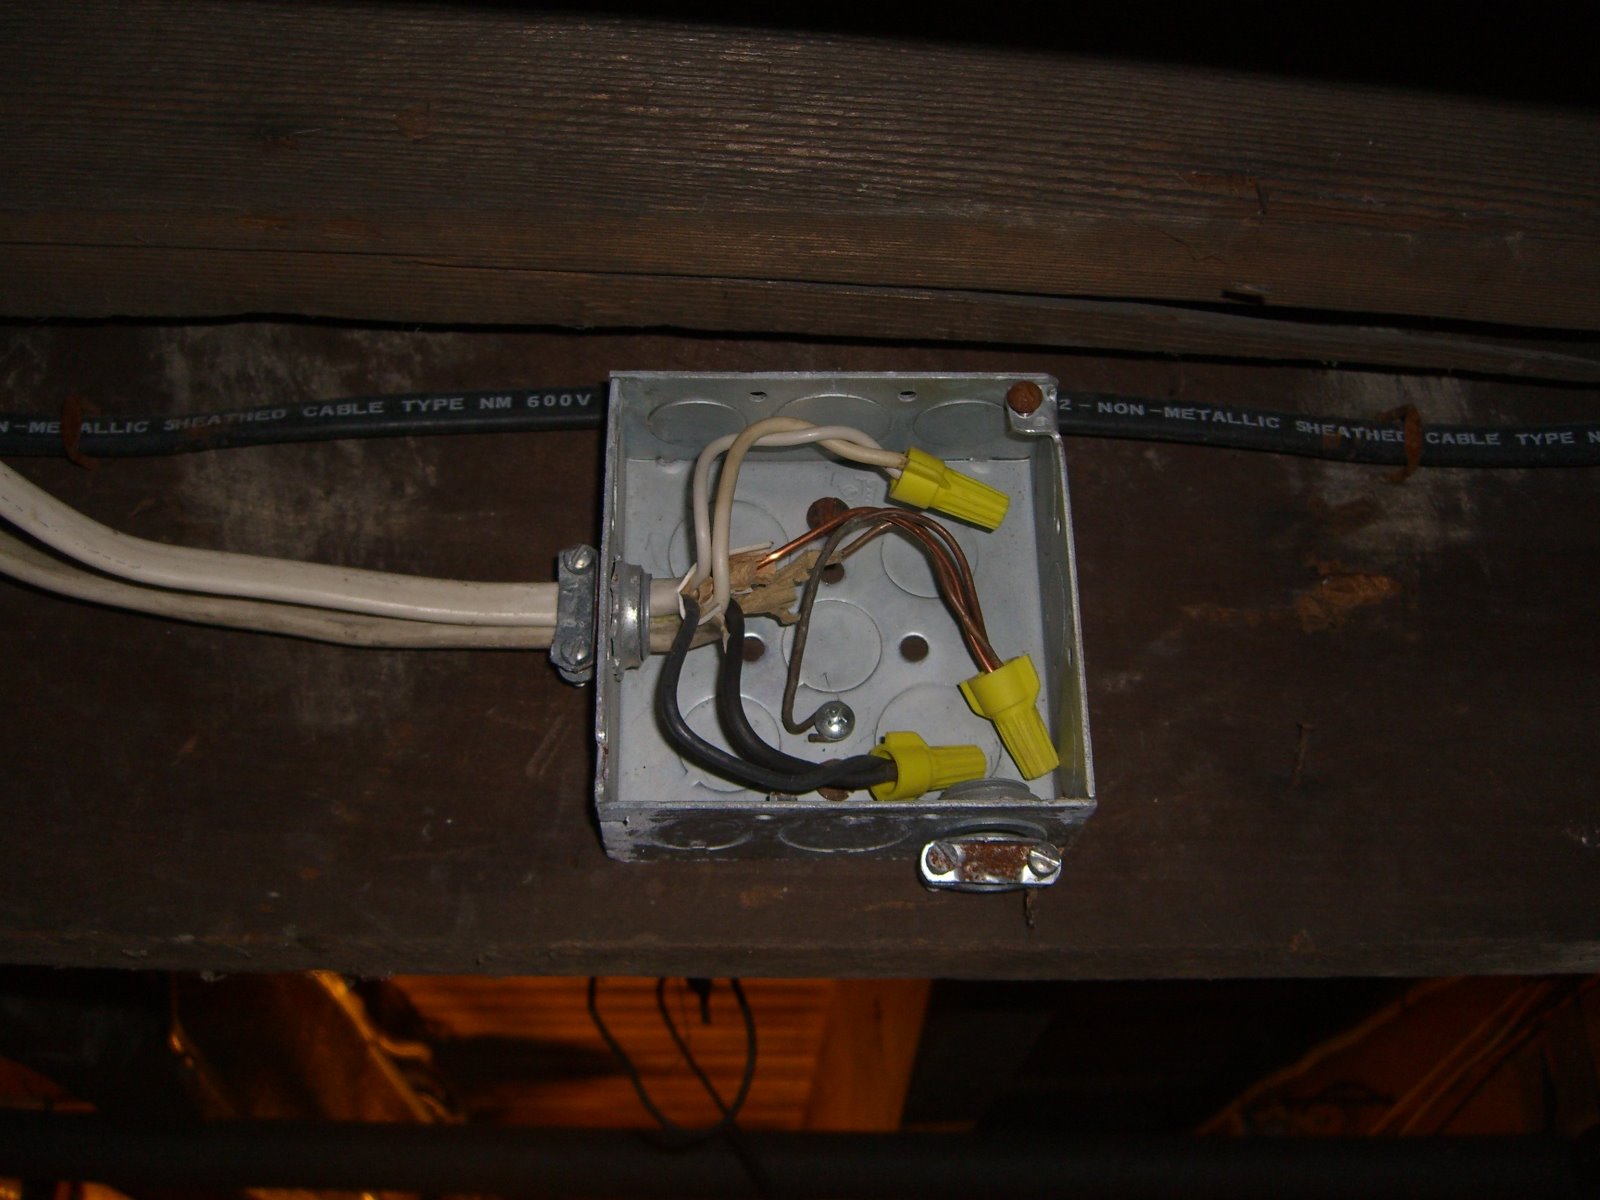 exhibit B: the box open, showing the line coming from
the service panel and the line going to the old heater.
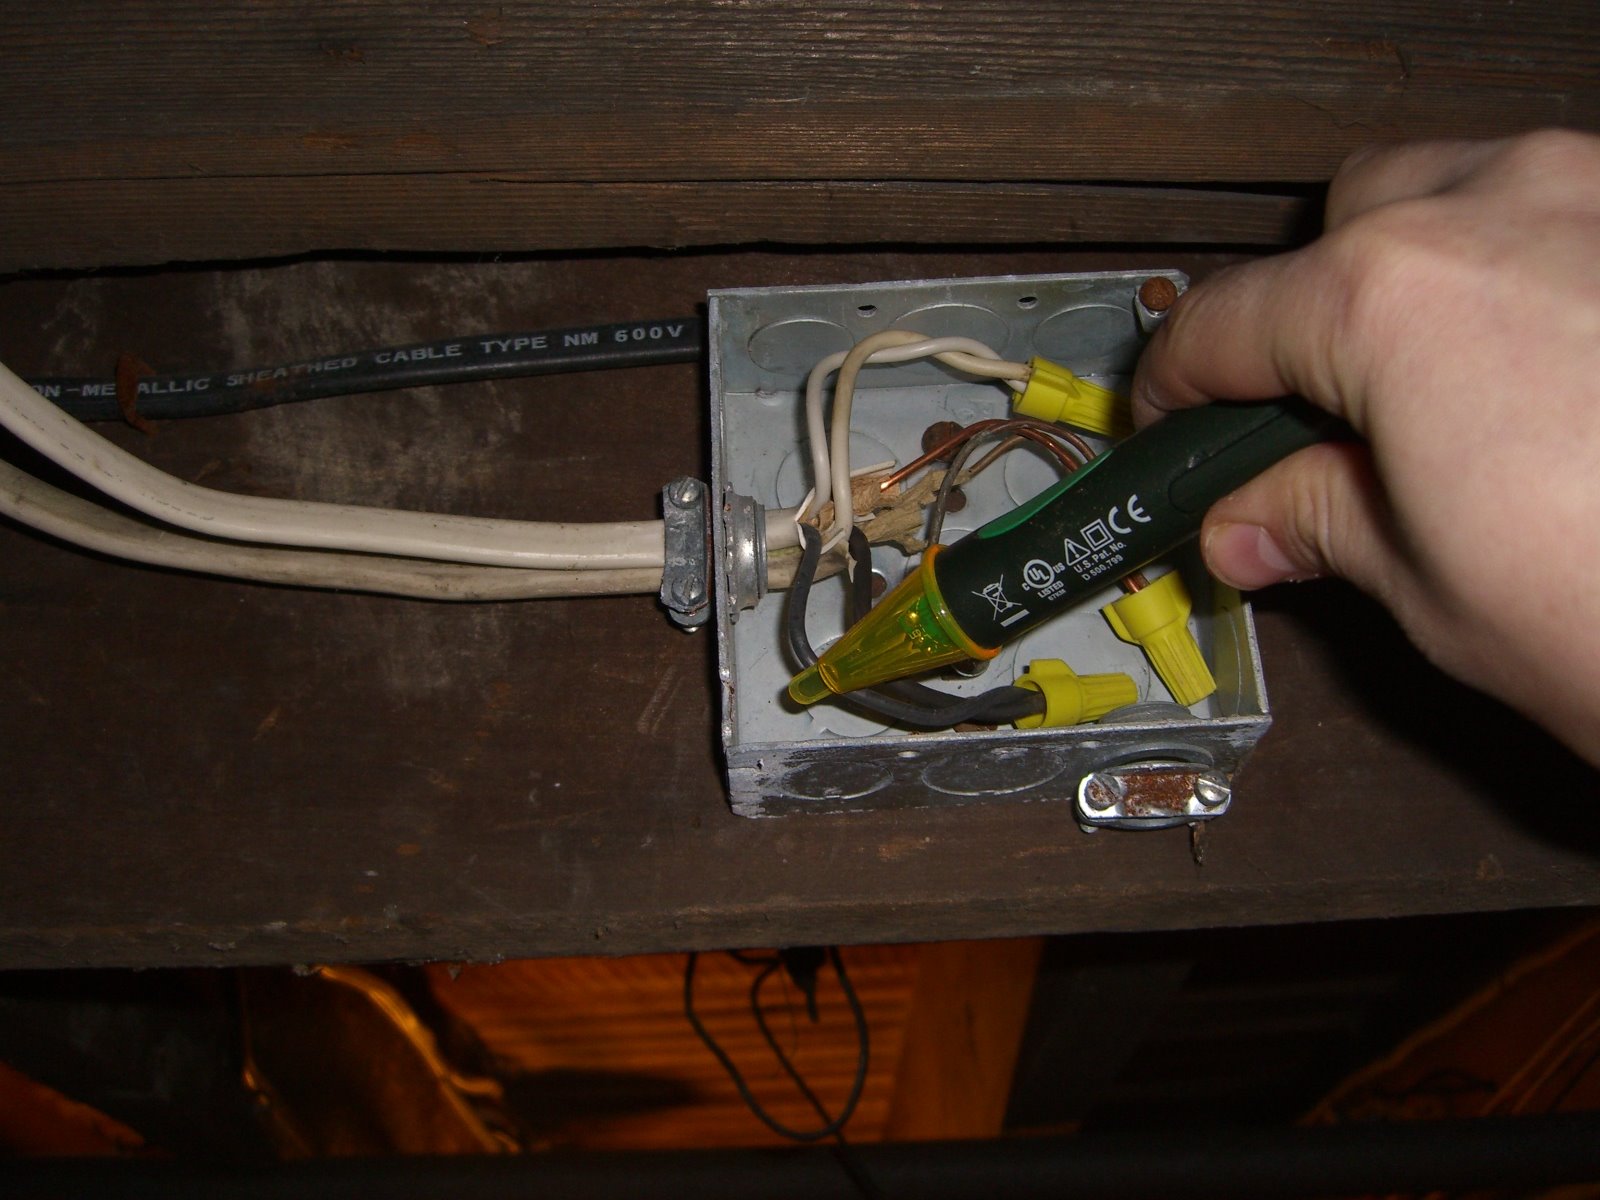 exhibit don’t-be-an-idiot: even if you know you flipped the breaker,
check that the line isn’t hot before sticking your hand in there.
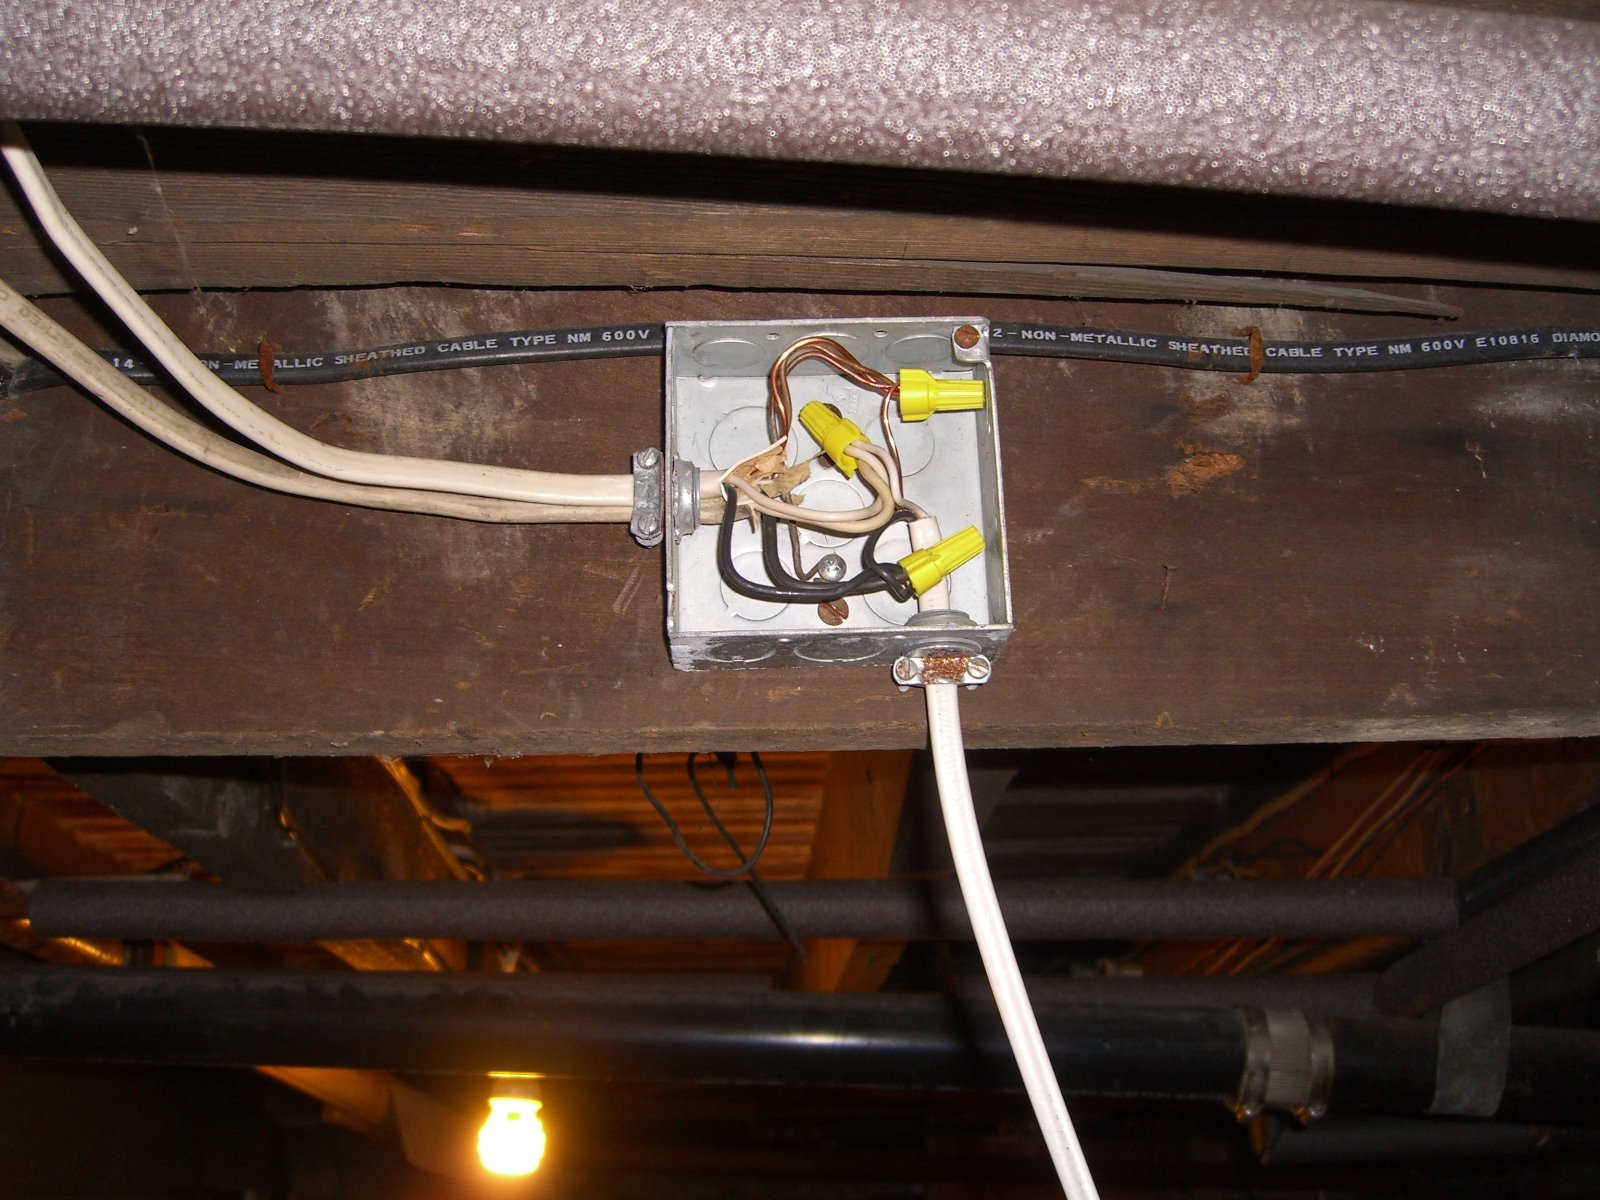 new branch tied in to all three wires
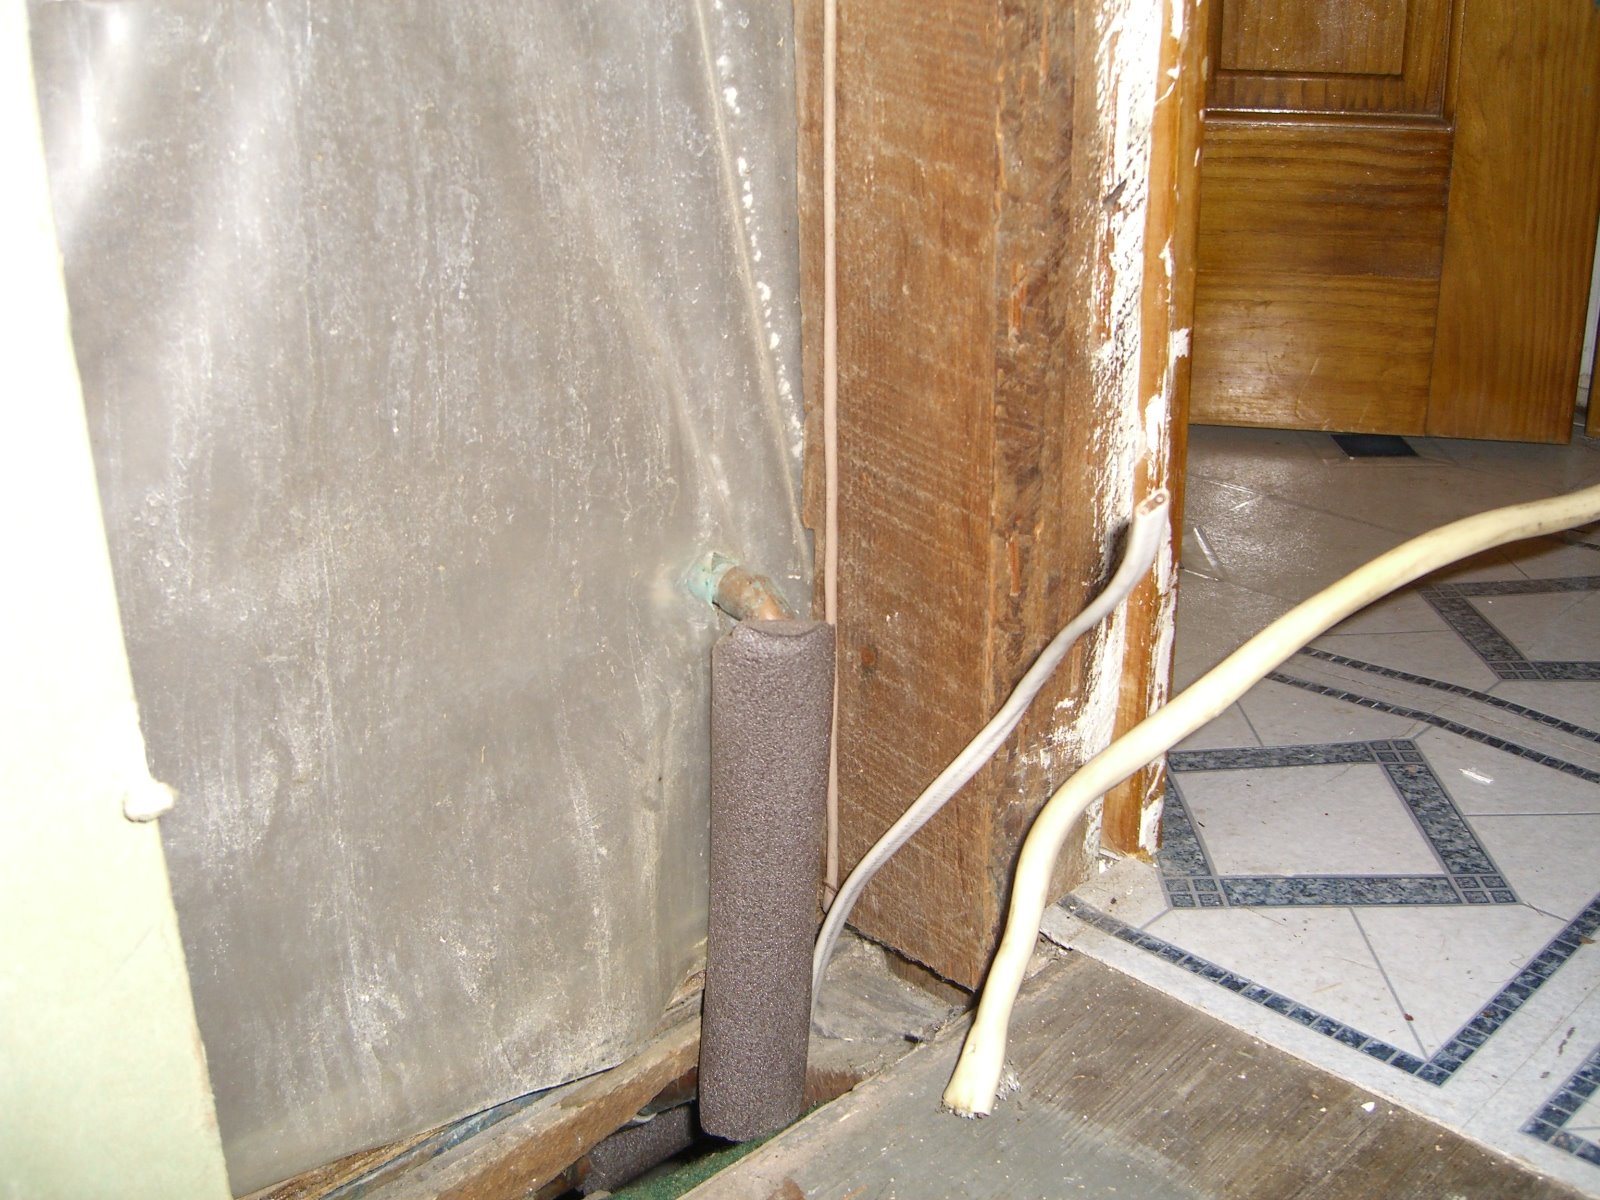 …and coming up to meet the wires running from the overhead unit.
Update:
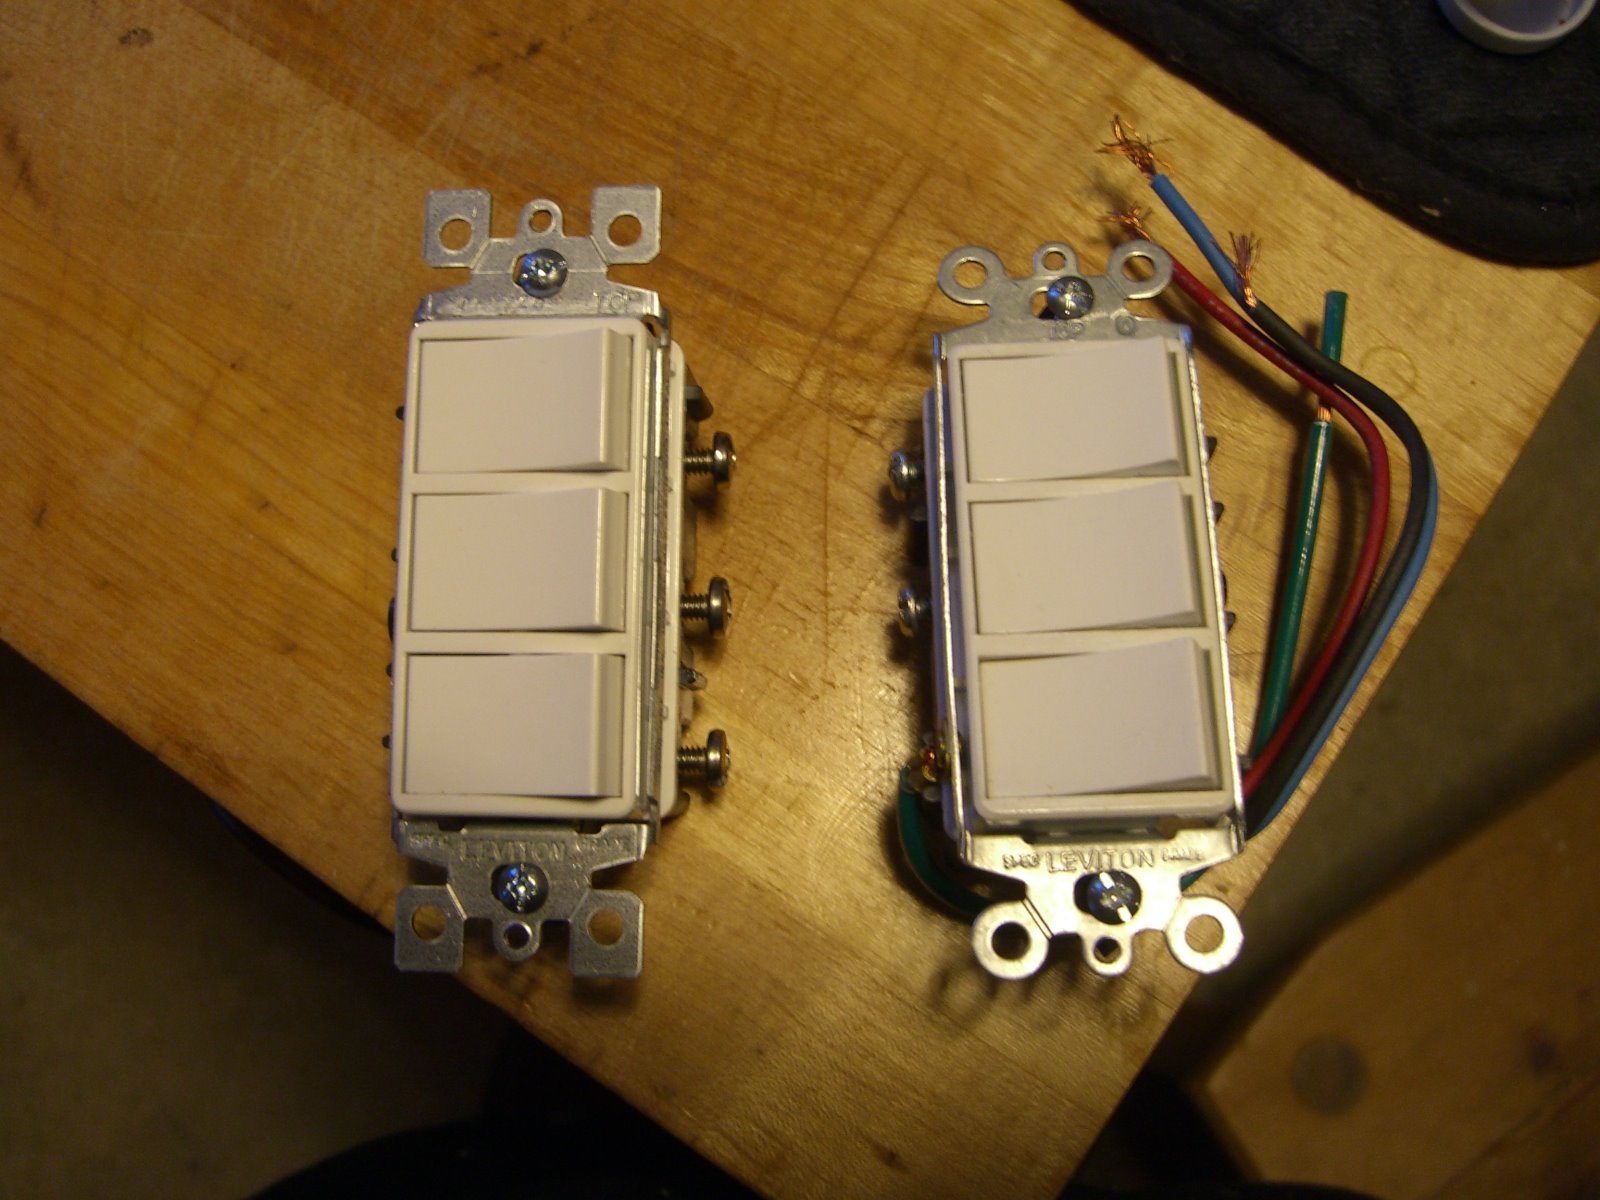
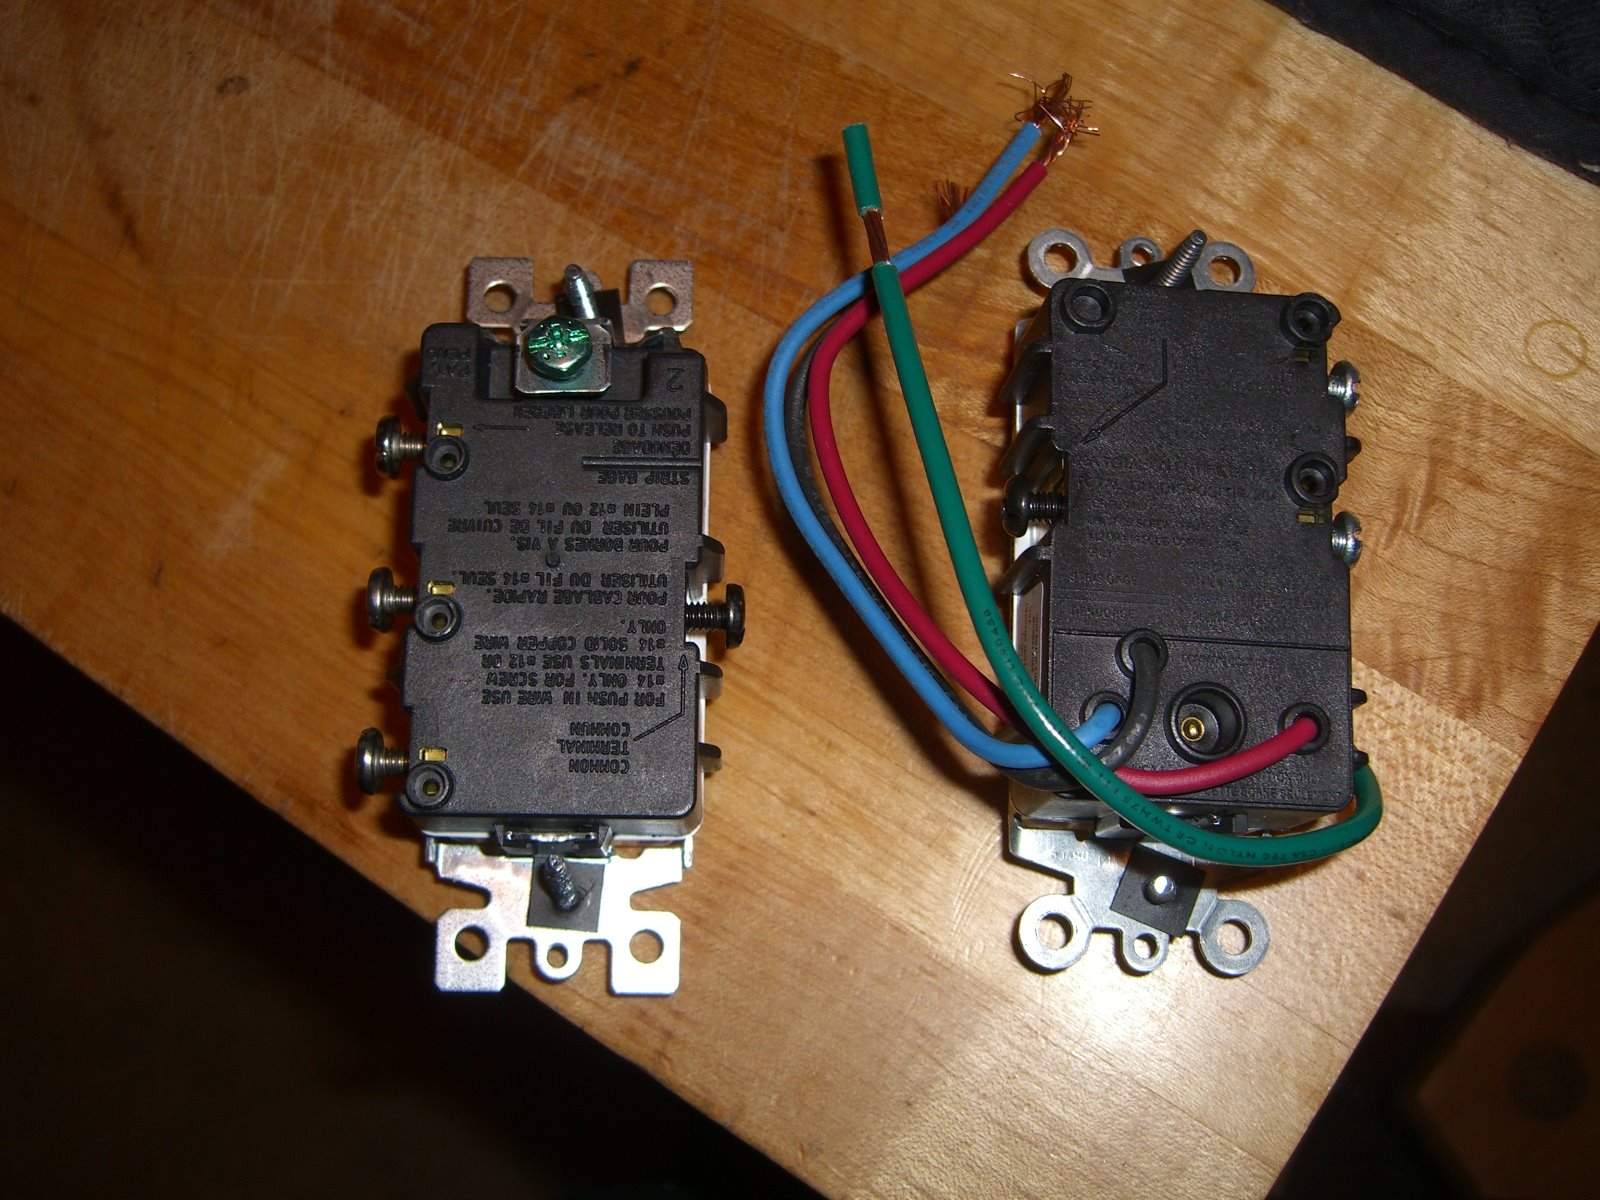
Pics of the wrong and the right switch (specialty switch needed for the job is on the right in both pics):