Archive for category bathroom
A really old project
I just found these photos from a project I completed in winter 2008-9. The downstairs bathroom was largely complete when I got the house, just missing trim:

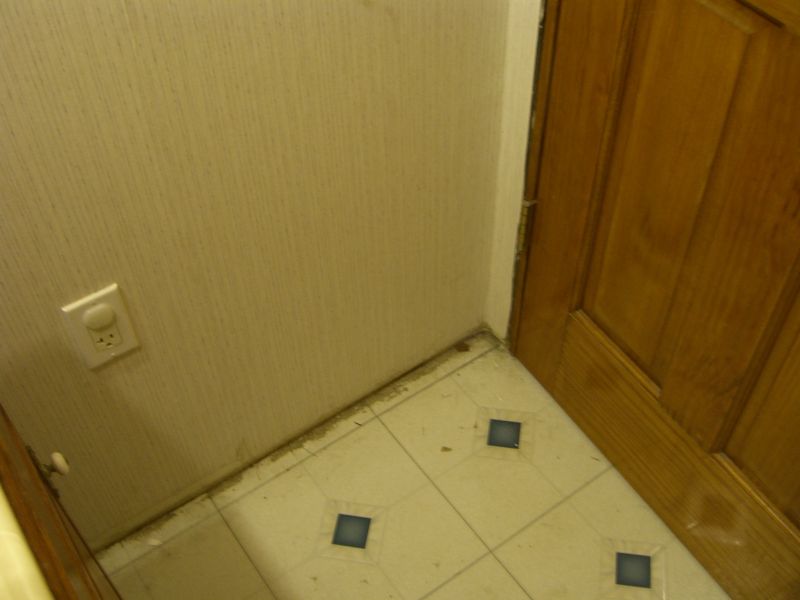
This was a pretty straightforward project. Given that nothing in this century house is quite square, the only thing I would have done differently if I could go back was the order of cuts. Actually, just the measuring, not even the cuts themselves. I’d recommend starting with the door – it will probably have a different trim pattern than the baseboard, so it’s a self contained project:


This trim, incidentally, is a composite from Home Depot, attached with Liquid Nails and a couple of very small brads for insurance. While I’d normally go with real wood in any project, this was one of the first house projects I was trying to complete, and I wanted a low-maintenance solution, something that wouldn’t react badly if I missed a bit of paint or sealant. If this bathroom ever gets redone, it would be a top-to-bottom approach and you can bet reclaimed wood would be used for the ‘new’ trim.
Baseboard – your key to not looking like a hovel
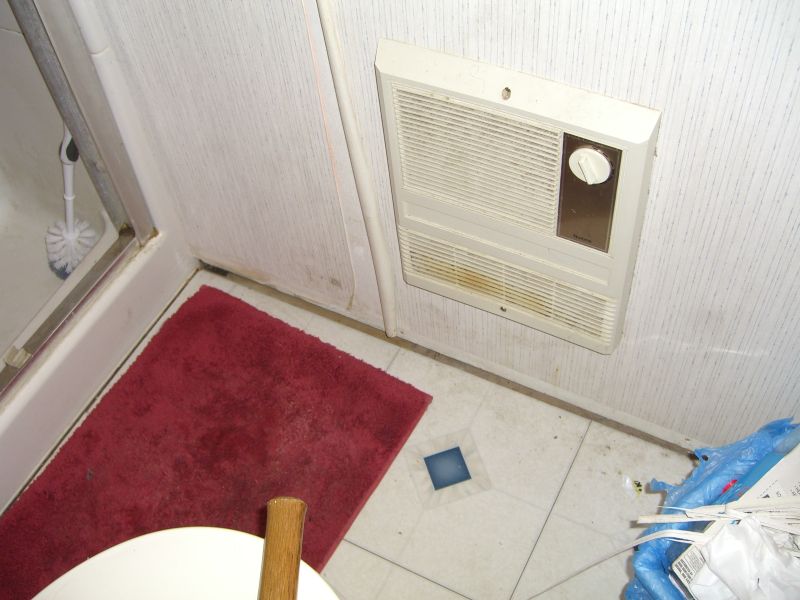
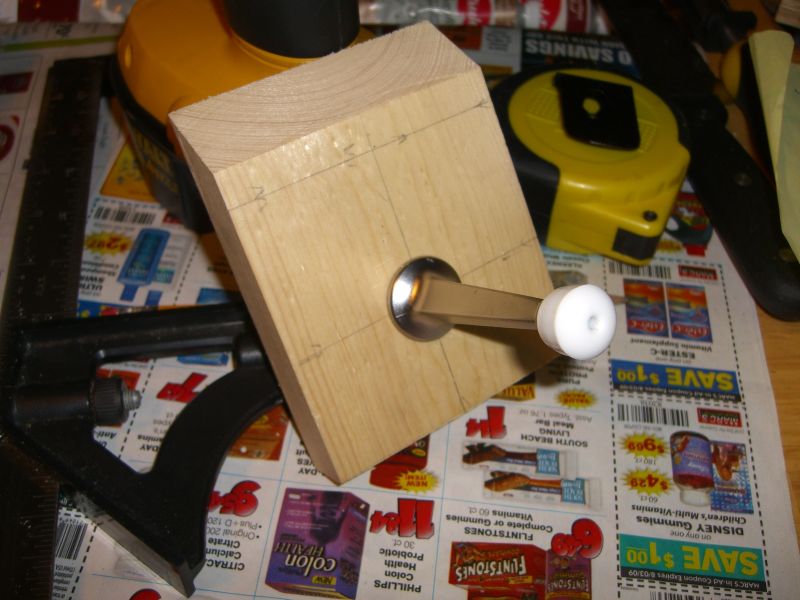
The previous owner had mostly redone the upstairs bathroom, but, among a few other things, hadn’t had the chance to install baseboard. While prepping the composite baseboard I was planning to install, I realized that there was no stud located at a convenient enough place to put a doorstop, giving me the opportunity to add a small architectural flourish:
 I suspect you could do the same thing with an already milled corner block or the like to directly match the profile of your baseboard, but making your own is pretty easy. A simple 45-degree mitre at the top edge will match most simpler baseboard styles. I cut this block about an inch taller than the surrounding baseboard.
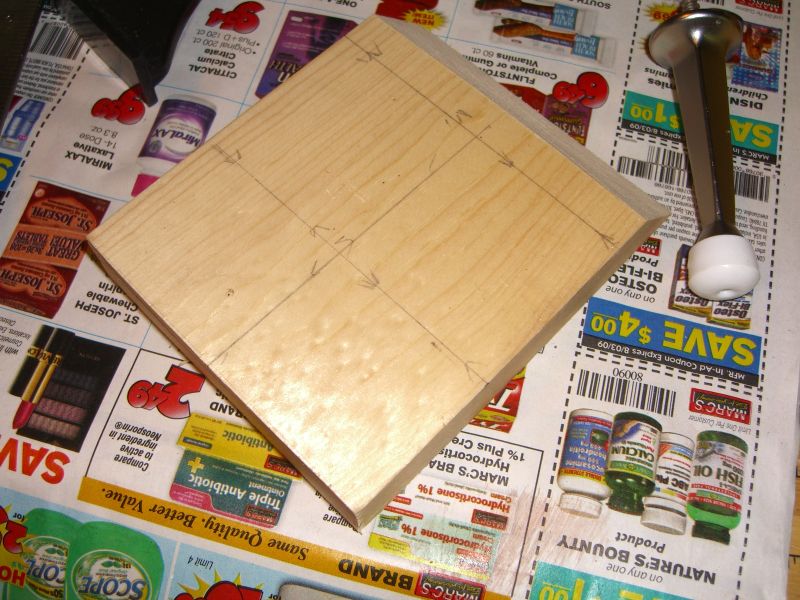
 Mark off and pre-drill for the doorstop itself.
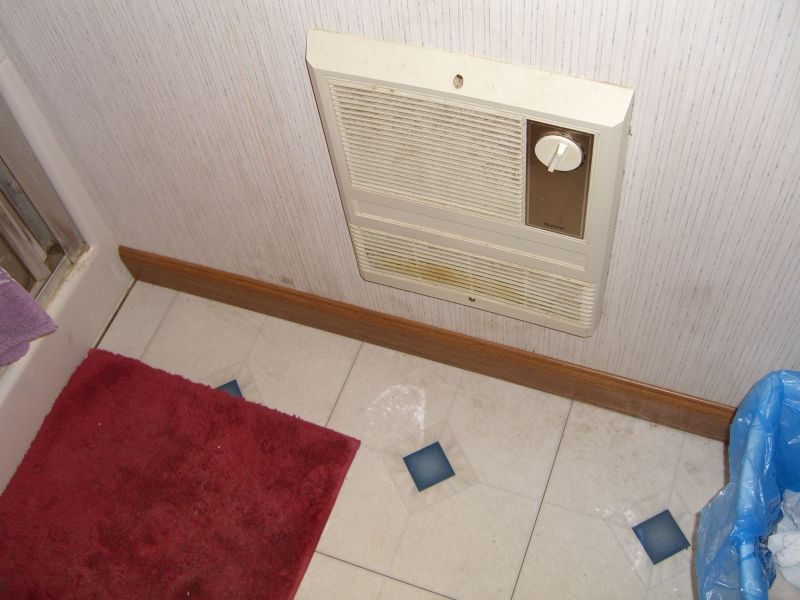
 Testing to make sure it’s straight and centered. Remove the doorstop, paint, and voila:
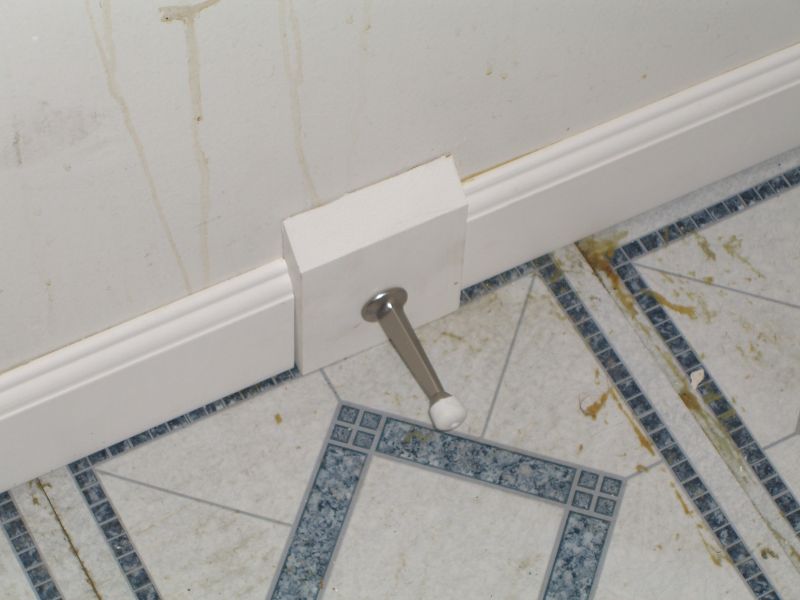 Ignore the lousy linoleum and odd spots on the wall, if you would. The entire bathroom will probably be redone in the next few years.
Read twice, order once
Posted by aaron in bathroom, electrical on 23 January 2009
Months ago I ordered a cover/grille assembly for the light/fan/heater unit in my bathroom – the original had been lost prior to me moving in. I also got the unit’s install guide emailed from the manufacturer. I scanned the wiring diagrams only long enough to confirm that I’d be able to wire everything on my own, but failed to note a key point – the switch for this type of unit is more specialized than the standard 3 switch combo I then went and bought at Home Depot. So, now, as I’m finally ready to finish wiring things up, I realize I can’t. I just put the order in to the manufacturer for the specific switch assembly I need, but meanwhile I’m feeling a little dumb, and a little irritated that I can’t get this done as planned. Planned being a relative term of course since I’m only getting to it now.
I did at least complete the wiring from the service panel to the unit. Originally I was going to swipe an existing run that goes to an unused heater in the bathroom:
 …but it was clamped into the heater unit before the room was finished off, and thus would be a bit of a pain to undo:
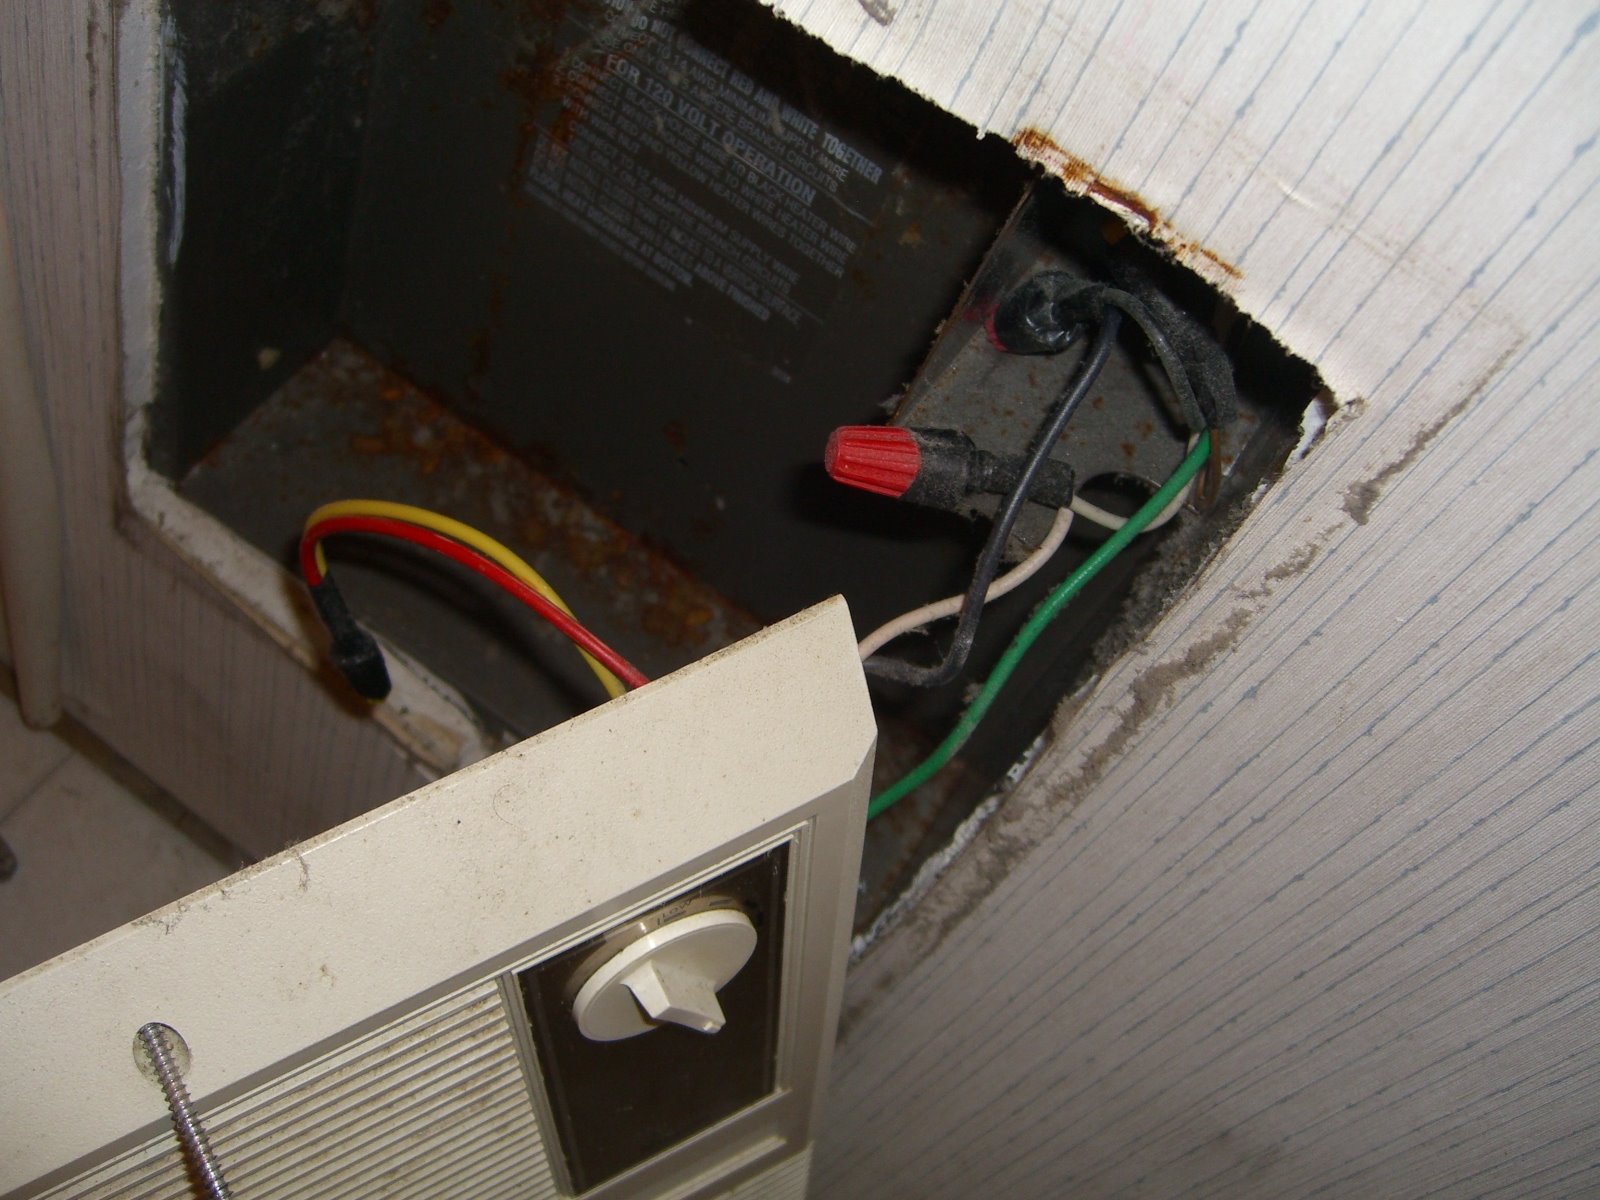 Instead, I reasoned that, since I wouldn’t be using that heater unit, I could branch the line for the overhead unit from the same run and not have to worry about overloading the circuit:
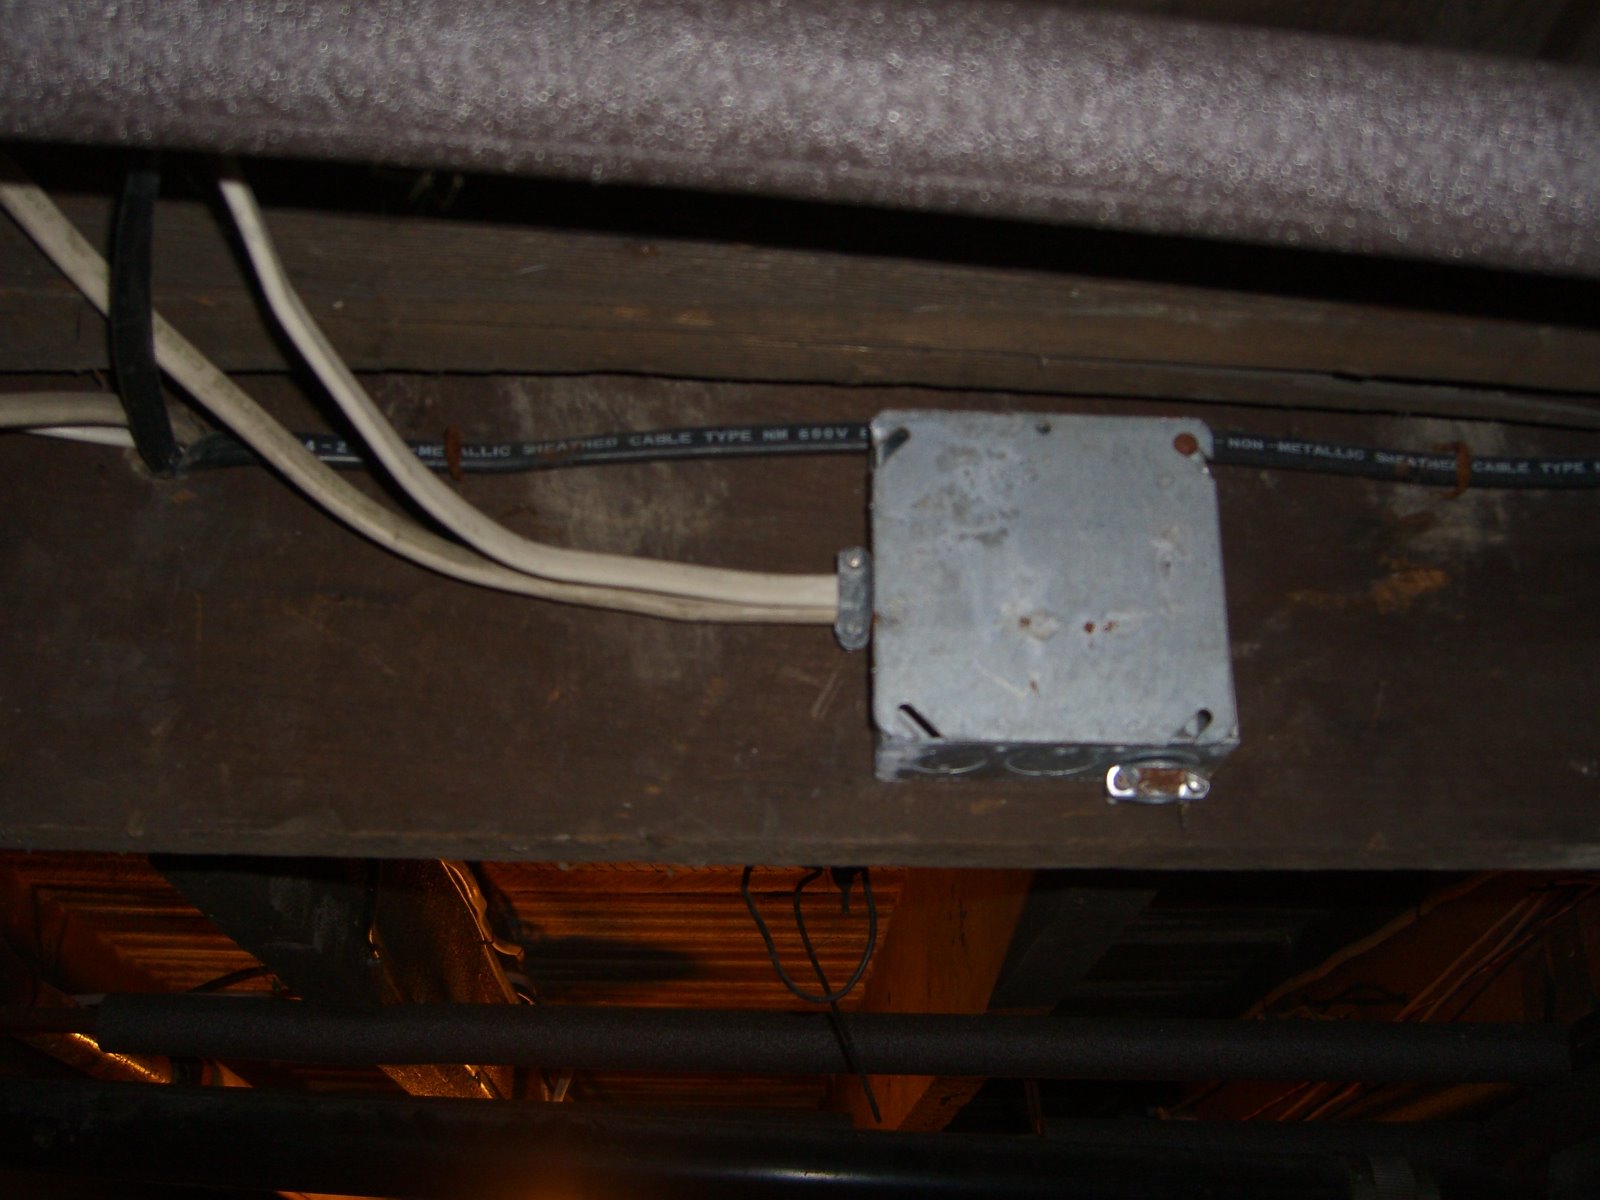 exhibit A: the box
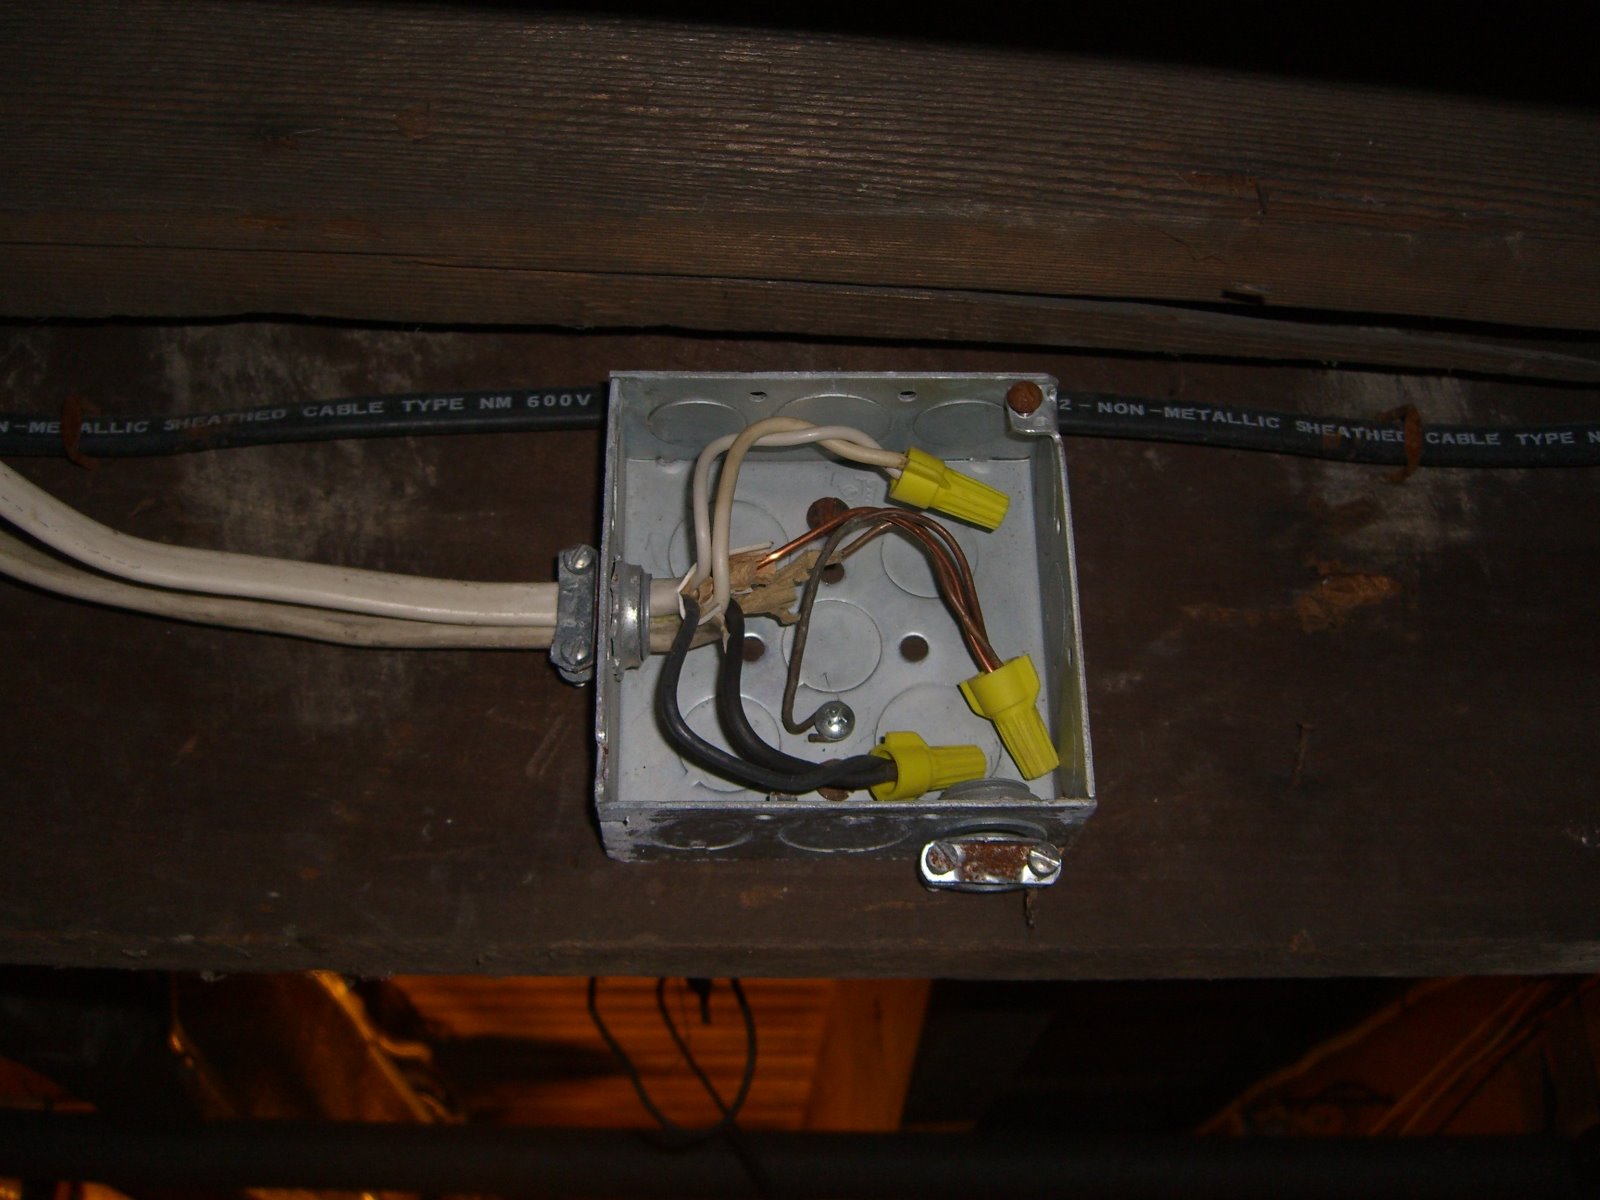 exhibit B: the box open, showing the line coming from
the service panel and the line going to the old heater.
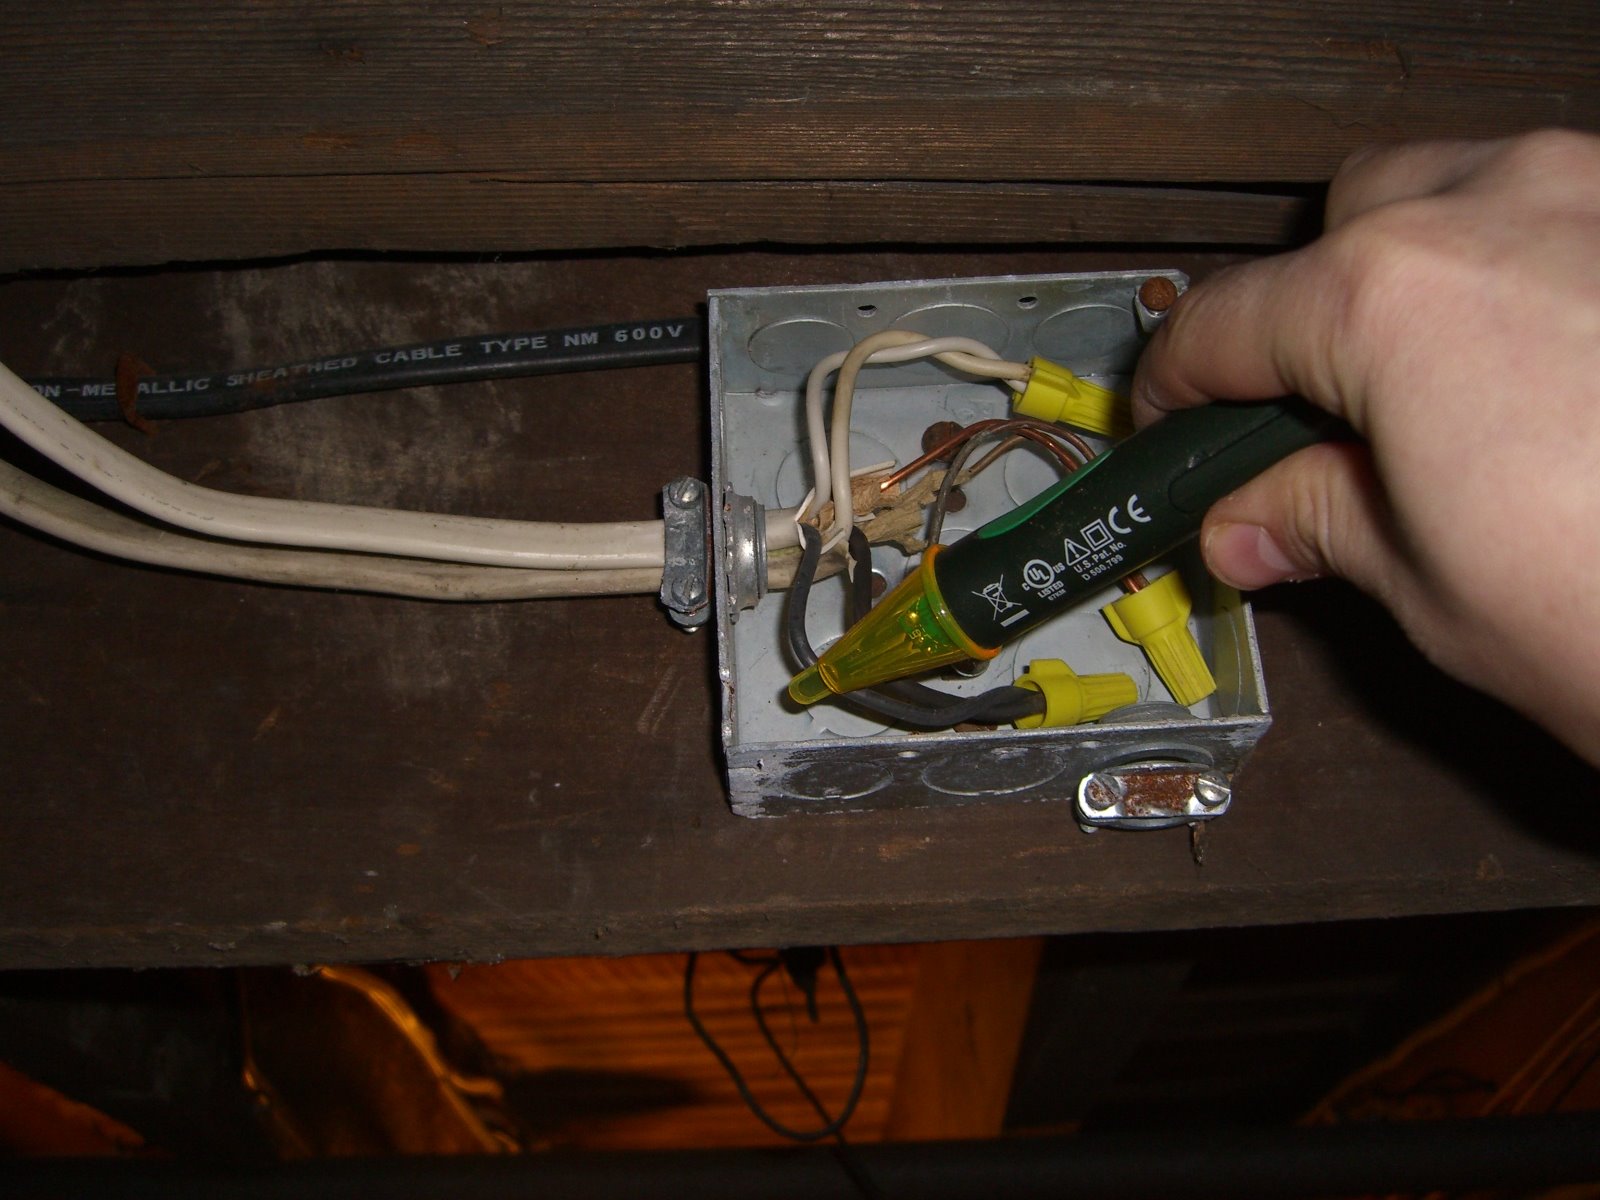 exhibit don’t-be-an-idiot: even if you know you flipped the breaker,
check that the line isn’t hot before sticking your hand in there.
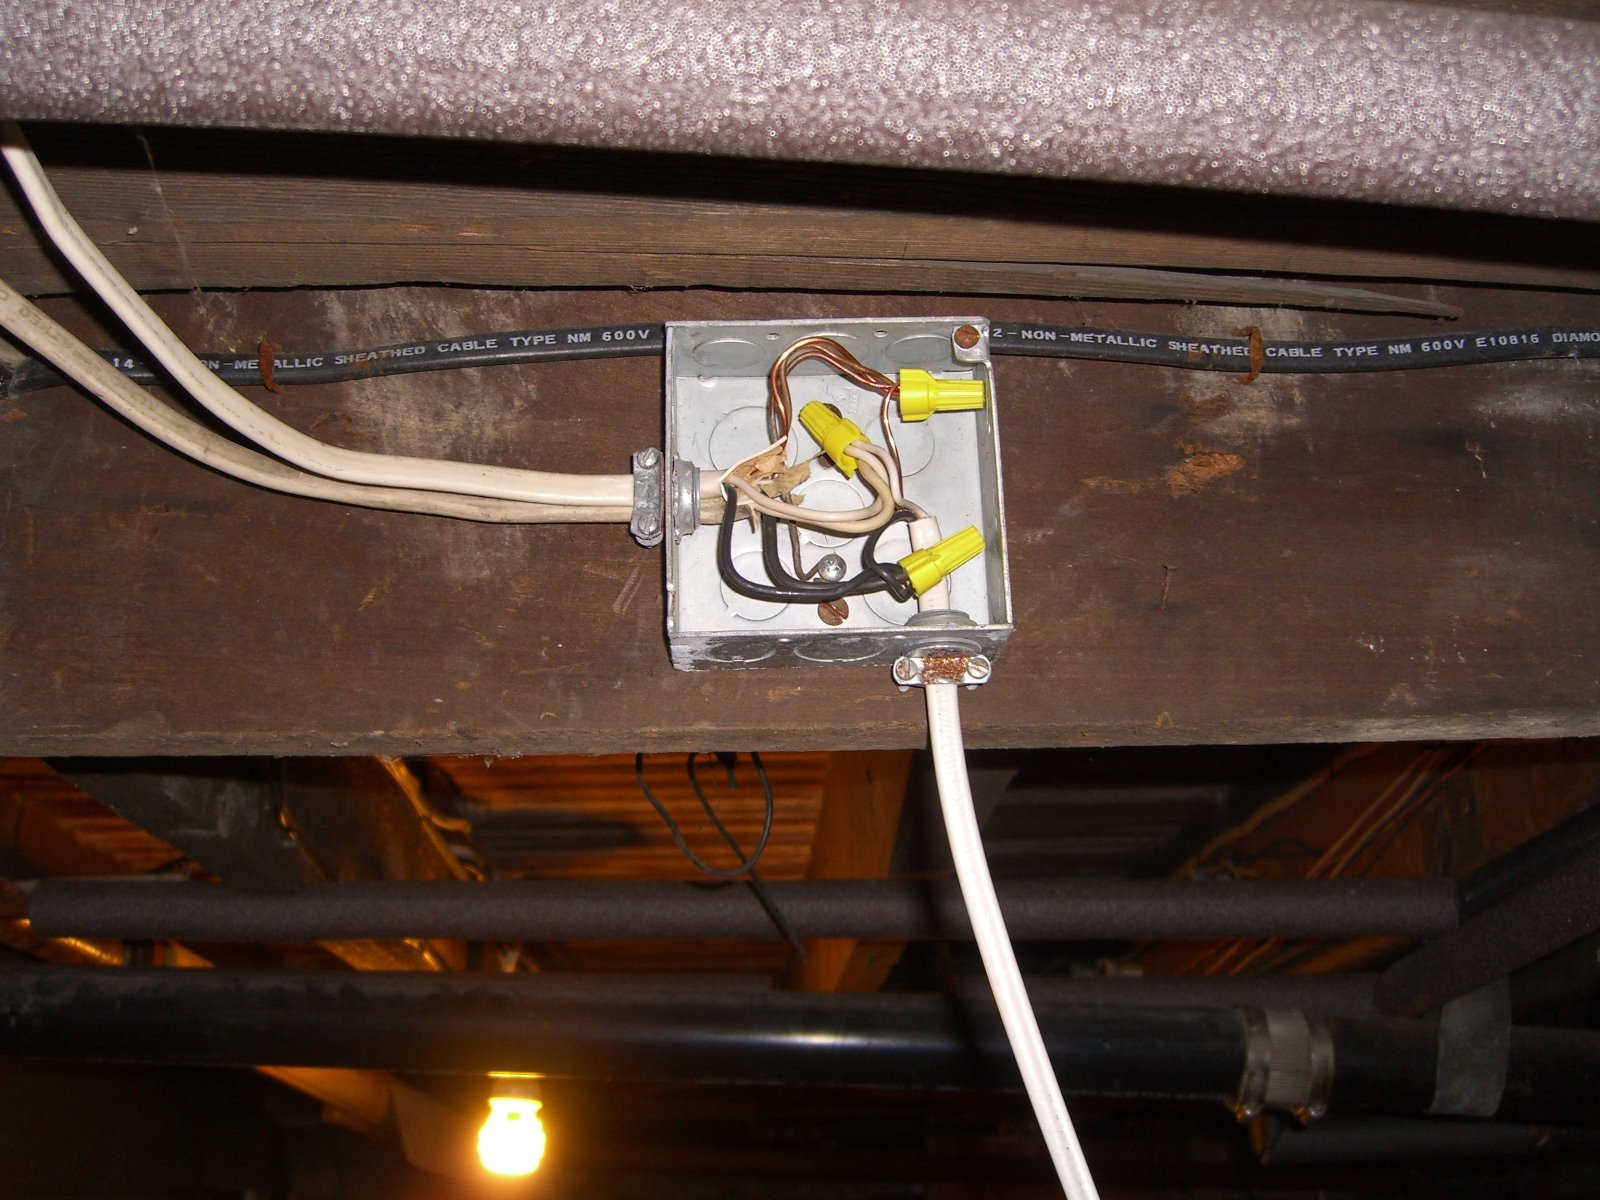 new branch tied in to all three wires
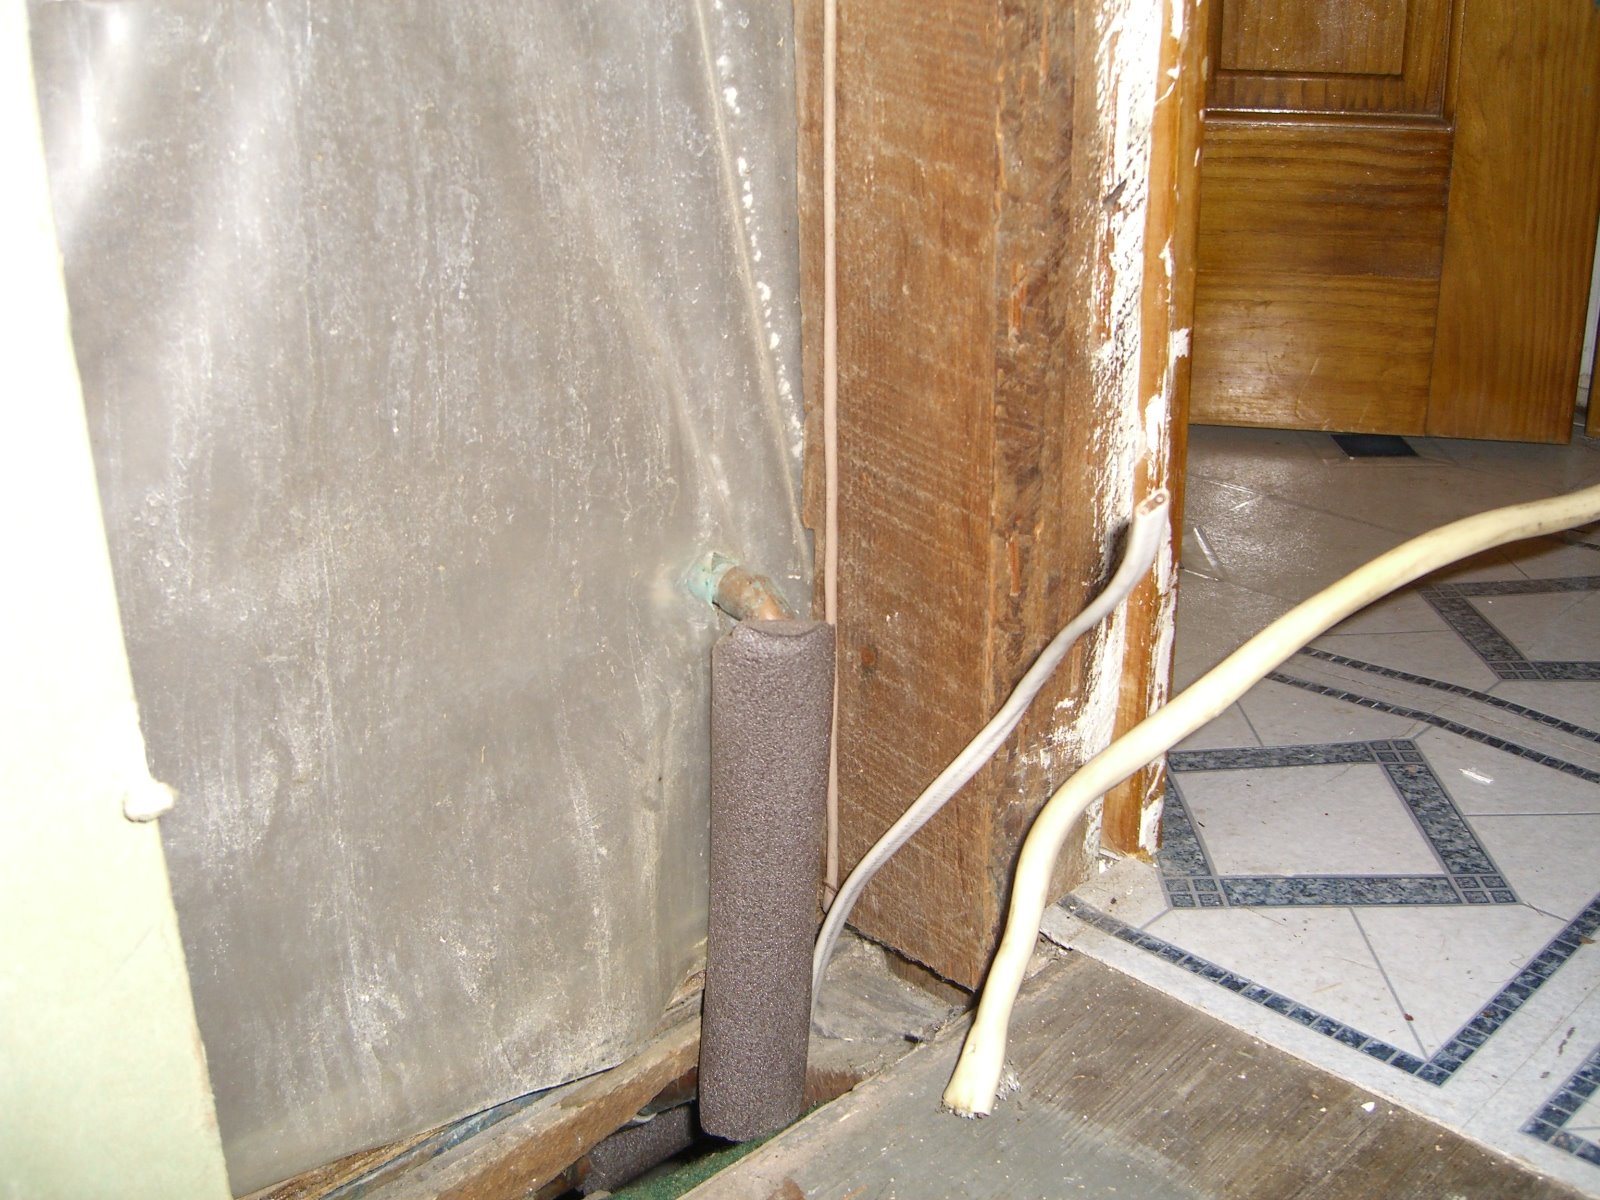 …and coming up to meet the wires running from the overhead unit.
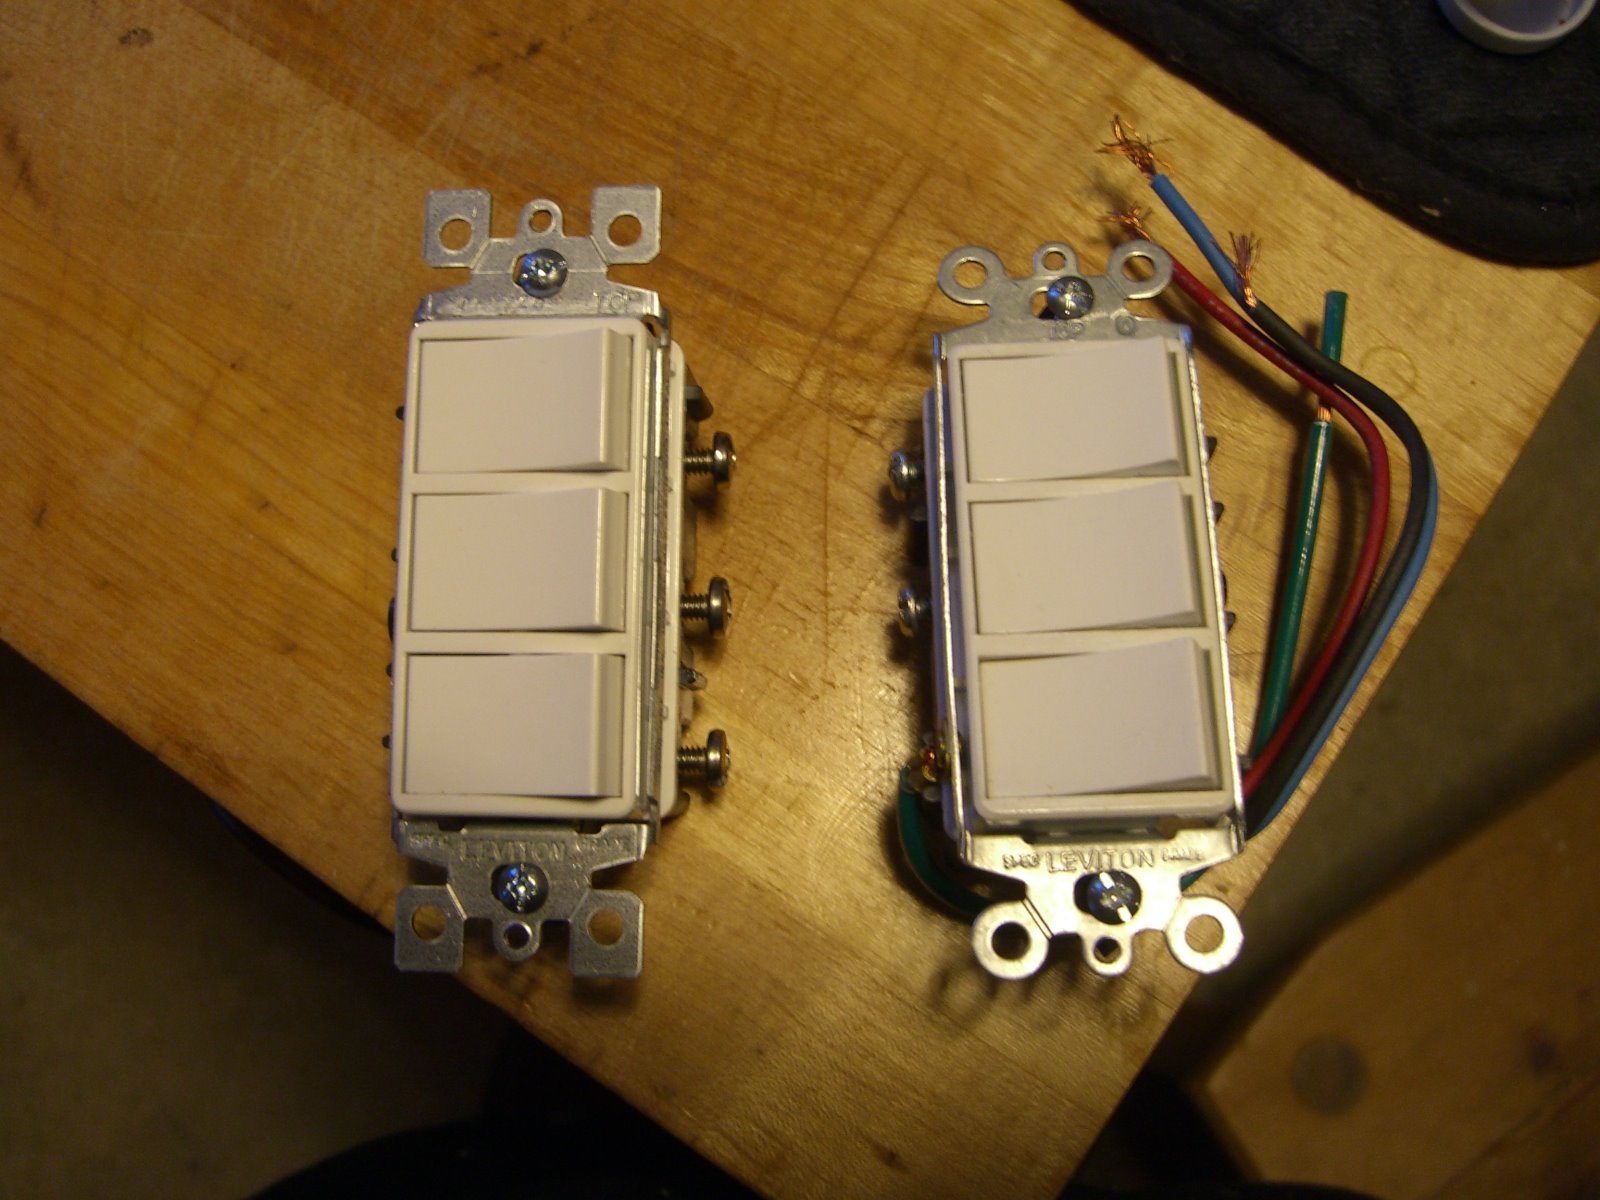
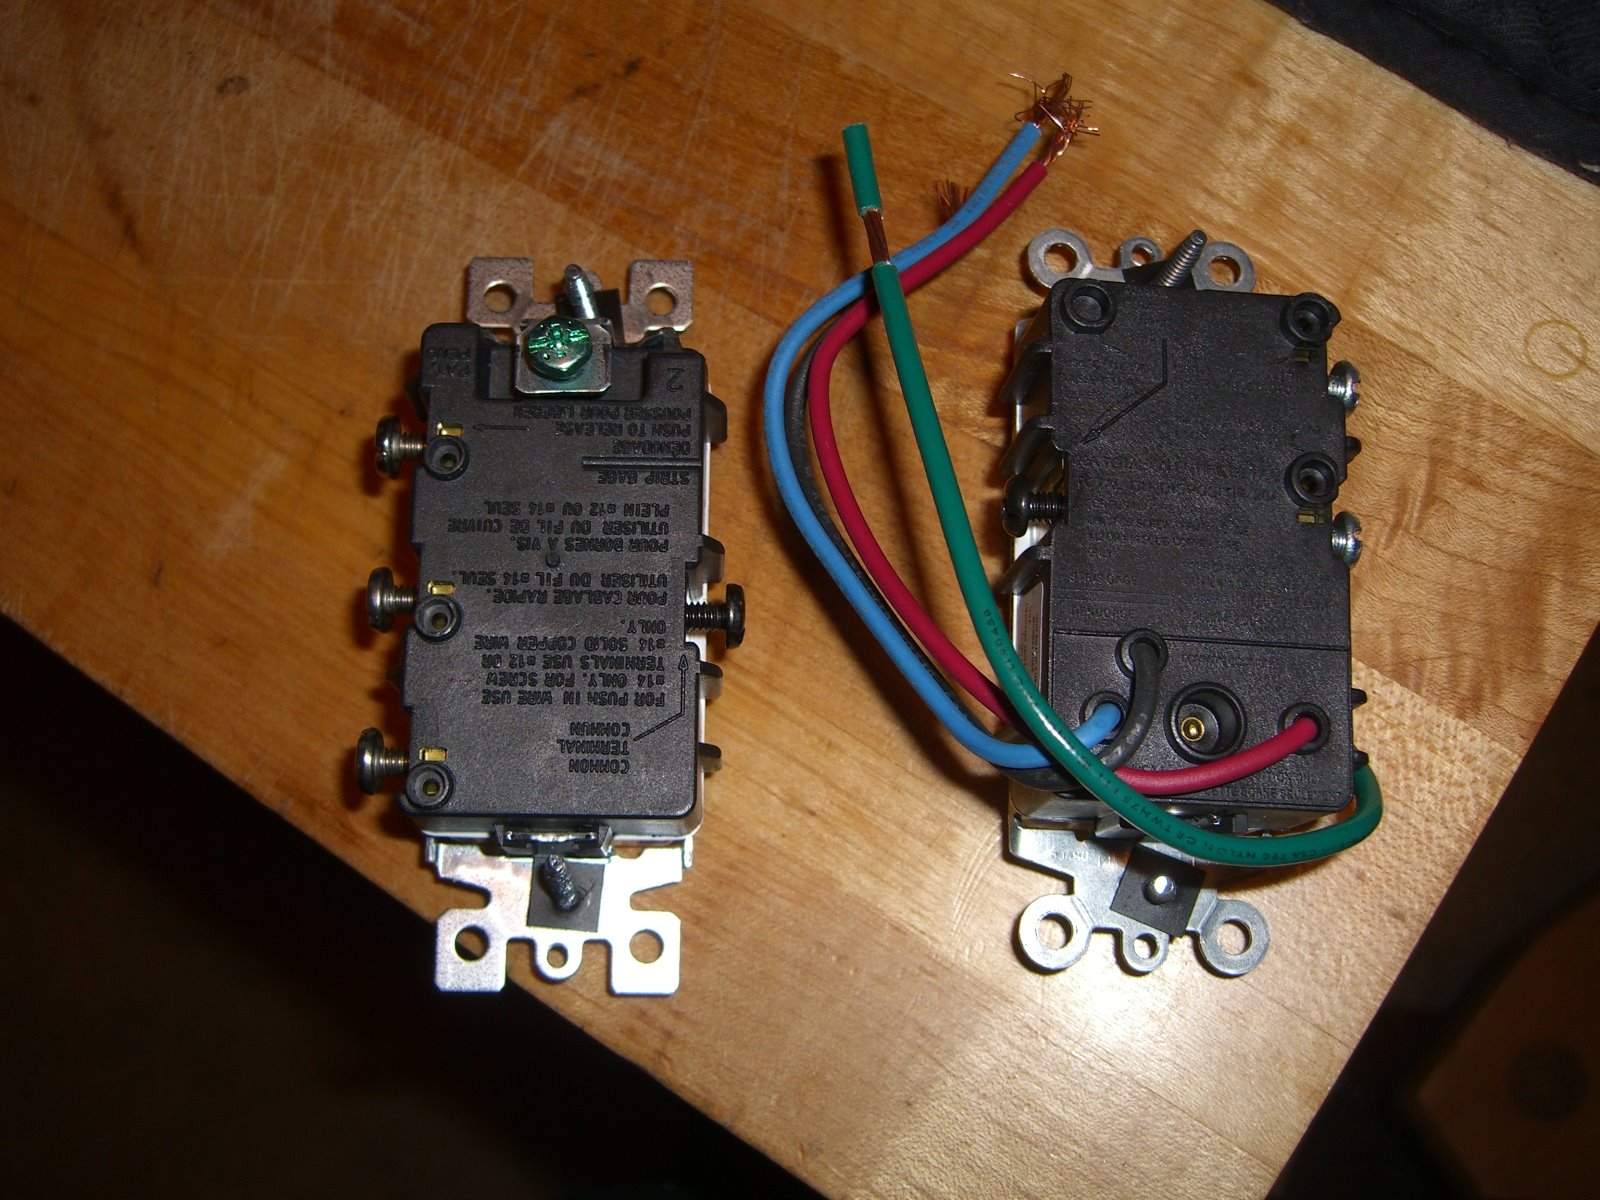
Update:
Pics of the wrong and the right switch (specialty switch needed for the job is on the right in both pics):
Plumbing the depths
Been quiet for a few days, I know, but not because nothing is going on. The shed is almost finished out back (some rain and snow (none that stuck) delayed things, but the builder is working hard at this moment in some near-freezing temperatures, and the thing should be finished, including roof shingles, tomorrow) just in time for it to be too cold for me to want to haul anything out there.
Meanwhile, I came home Saturday to find what looked like a minor mud explosion in my downstairs bathroom. Something had forced a lot of the gunk that built up in the pipes up out of the drain and splattered it around a bit. The cleanup was quick and easy but clearly there was a pipe problem. Still is, actually. As I write this, I’ve located several small leaks in the drainpipes (shower, sink, toilet), none of which should be too hard to fix – that’s another post. The bigger problem -and what likely caused the eruption – is a severe clog somewhere in the line.
The water in the pipes is clear – run the shower and it runs down past the trap no problem, for example. But run any of the three long enough and you can hear burbling from at least one of the others; when I used a plunger to test the drains I’d often hear it in both the others. All three – plus the outflow from the washing machine upstairs, and an uncovered(!) vent outside which I’ve recently covered – feed into a main standpipe and I’m guessing that’s where the problem lies:
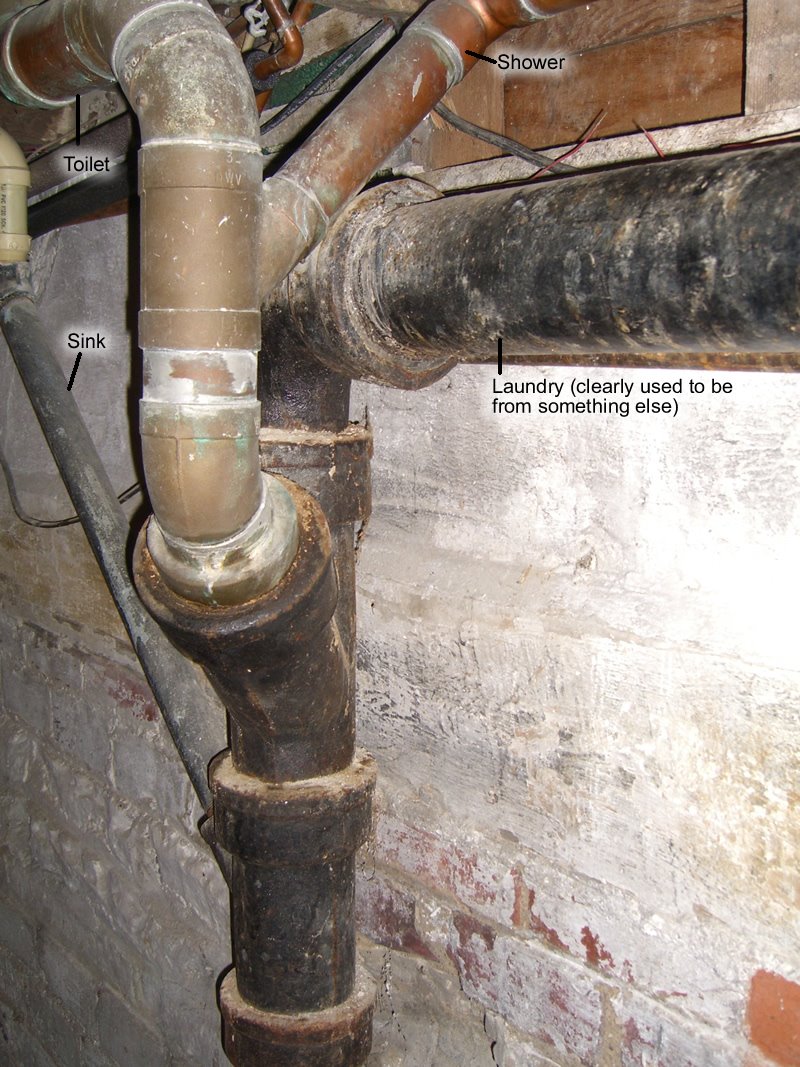 Trying to figure out what to apply to the clog, though, and how is the trick. With the traps on all three bathroom fixtures – and the clog looking like it’s past the traps – it seems like pouring something down the laundry pipe would be best. There’s a short run of PVC at the top, though, and the best cleanser I have is lye – I’m reading that lye is not good for PVC (and absolutely not good for aluminum, galvanized steel, and other specific metals with which it can react; fortunately I have none of that – just copper, cast iron, and pvc). I’ve ordered some enzyme cleaners which will be good for keeping the pipes clear in the long run, but I need to get this clog out soon if I want to actually use my bathroom again – 45 second showers don’t really work.
The sink is mostly PVC to the stand pipe. The shower looks like all copper from the drain down. But again both, and the toilet, have a full trap somewhere on the line so I think I’ll try the laundry pipe first – if a dose or two does damage the PVC it should be a lot easier to replace that where it connects to the cast iron on the second floor than any of the other lengths.
It’s not even Labor Day…
Posted by aaron in bathroom, kitchen, living room on 31 August 2008
And I’m still doing so much work! Thanks, I’ll be hear all millennium.
Tasks tackled lately:
– more paneling hung. Have not yet reversed last week’s error though.
– installed a double roller catch in the kitchen passthrough so the door stays closed. Would have installed two but I didn’t see that the second one I bought was broken.
– finished off trim on window in upstairs bathroom. You haven’t done mental geometry until you’ve tried to match your measurements on a square frame to a series of 45 degree mitre cuts on 90 degree cap molding.
– other stuff I’m sure…
Daily log
Posted by aaron in bathroom, closet, laundry room, porch on 3 August 2008
I don’t know if this will help or just turn this into a mess of uninteresting posts, but I’m going to try posting daily (or close to it) even if that means only bulleting small things I’ve started or finished. For example:
Over the last three days:
– took down porch screen door
– prepped hinges for new (actually old) screen door to go up
– cut and hung molding for upstairs bathroom door frames (well, the verticals)
– cut old tongue and groove boards and two supports for shelving in my closet
– finished all pipe connections for washing machine
Small Successes
More camera cleaning. Here are a variety of things I’ve actually done at the house over the last 2+ months.
 This was the first fully successful project in the house, actually, which is the only reason I’m bothering with posting it – minor surgery to remove a shard of what may have been the previous doorstop’s screw from the hole in the wall, then sinking the new stop into the barest sliver of good wood next to it.
 All I wanted to do was replace the two broken door guides for my shower doors. But the generic ones Home Depot required some… modifications. As in, there used to be another upright portion on the bottom edge there, and there wasn’t a screw hole in the originals. But hey, they both stay in place and guide the doors.
 I hung it myself. And it even turns on! Its sister at the other end of the hall is still not up, though, because the wires in the attic might as well be replaced before I attach anything to them.
 And now people don’t suffocate while working in the back bedroom.