Archive for category exterior
Things I did today
Posted by aaron in back room, landscaping, porch, shed on 1 June 2014
- Mowed some of the lawn, in advance of tomorrow’s expected thunderstorms.
- Reorganized the shed, because starting to reorganize the back room immediately led me to the shed for something and I just, well, my talents were more needed there.
- Found an excellent use for part of an old broomstick. (Pic soon)
- Remembered how I need to take a few more pictures to finish off months-old posts sitting in the drafts folder.
- Swapped the glass window for the screen window in the front storm door.
- Discovered a loose piece of trim on screen door, took it down to tack down said trim.
- Returned hammer and tacks to back room.
- Discovered more loose trim, took screen window down again.
- Checked to make sure there was nothing else loose on the screen window. Returned hammer and tacks to back room. Muttered about how the back room needs reorganizing.
- Put screen window in front storm door.
A porch is a porch, of course, of course
But it looks better with lattice instead of whatever corrugated white fiberglass-like stuff has been wrapping the porch for years: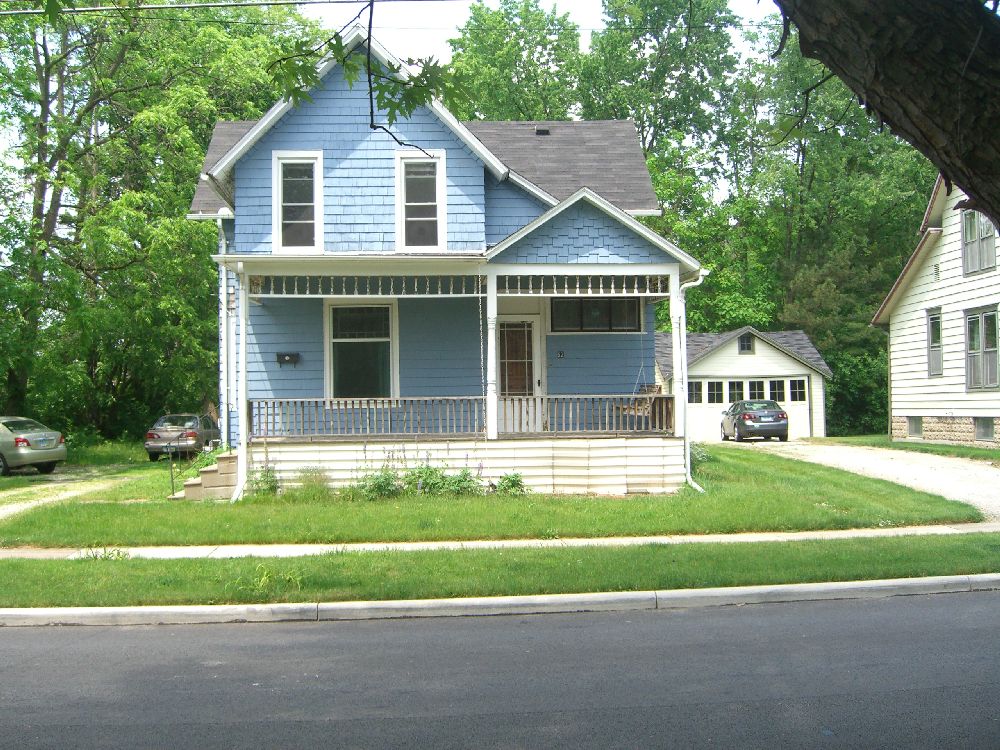
Read the rest of this entry »
Quick updates
I won’t get in the habit of posting about the house if I don’t get in the habit of posting about the house.
QED.
Recent work, as opposed to rearranging stuff to make room for the NY stuff, includes:
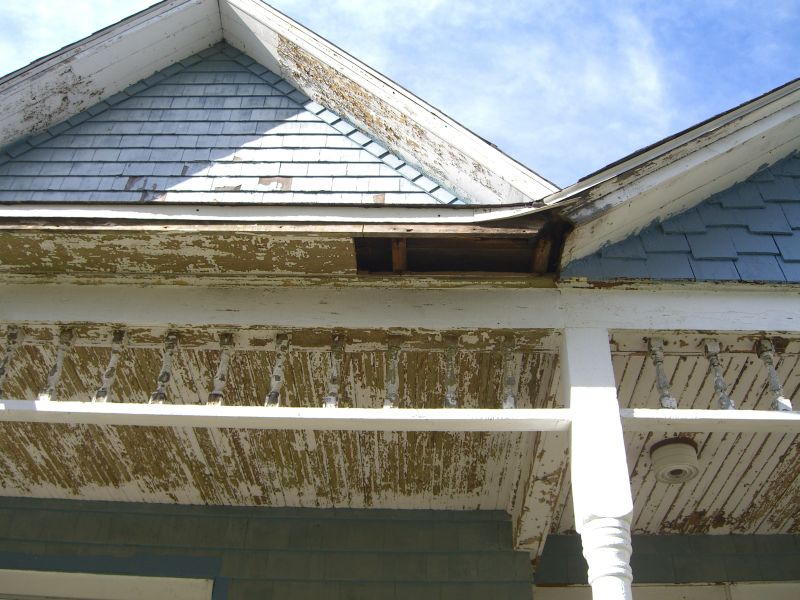
- painting the porch eaves
- painting the sides of the house to at least the top of the second story windows
- various sealing and puttying on eaves and trim
- installation of some new shelves in the laundry room
Paint paint paint paint
On the east side, this time. Pictures coming once everything is done, which might be by month’s end oh the optimism.
More hammering
And more scraping, trying to finish off the prep work on the east side before a new tenant comes into those rooms.
No more squirrels!

So much for that schedule…
The blog-updating one, not the house-working-on one. Apparently I didn’t make a single post while on vacation (surprise, surprise), so I’ll have to catch up … some other time. Meanwhile, let’s get the typing started again with, if nothing else, a not-very-elucidating list of things I did around the house today.
– husked the last of the walnuts
– raked the last of the leaves from the front and side yards
– plugged the couple of carpenter bee holes from last summer with that savior of old houses, Abatron
– created more tool hooks in the back room
More stuff later, as always.
Why it took four weeks to get a porch swing
I have high hopes for building a porch swing from scratch one of these days, but the initial idea was to use wood from a black walnut in the backyard which a friend and I have yet to examine and see if it can be milled. Meanwhile, my neighbors tossed a broken porch swing a few months ago and I figured a rebuilt swing was better than no swing, at least until I carve my own swing straight from the raw timber of my land.
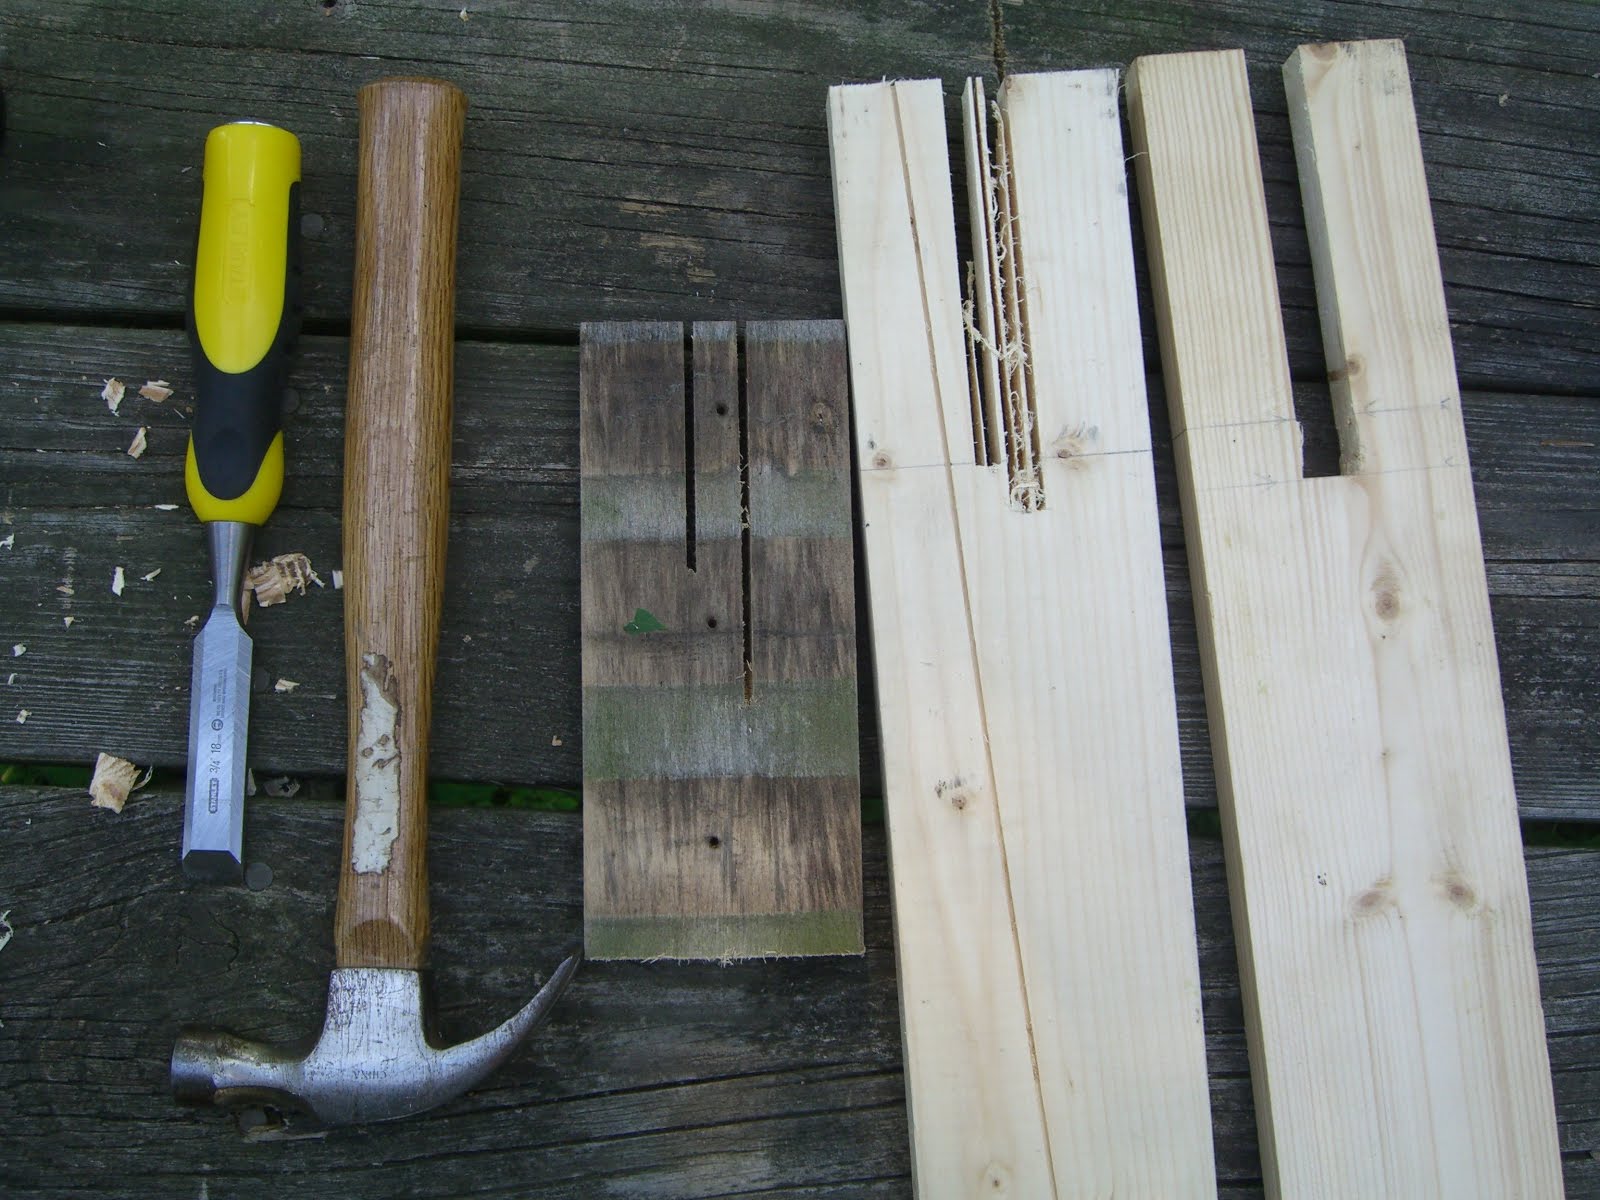
The swing is a bit old but in overall good shape save for the four cracked boards that connect the back of the seat to the bench:
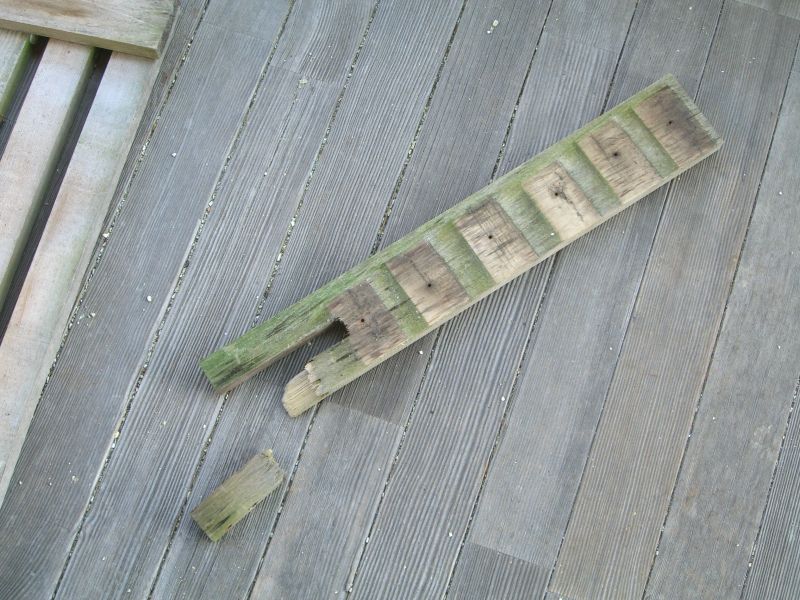
No problem, thought I – I have enough 1×4 (which is wider than the existing boards, but that’s not an issue) and I can even use my new dado blade set to easily carve the groove. Of course it wouldn’t be so simple. The arbor nut on the table saw didn’t want to budge, so I was forced to improvise using just the normal blade. I ran each board through multiple times, shifting the cut width to cut the outer edges of the groove and remove some of the wood in the middle, then used a chisel to clean everything out. The only tricky thing, really, is to remember that the blade will cut further on the underside of the board than on the top – I marked a second line further down the board to compensate and tell me when to stop.
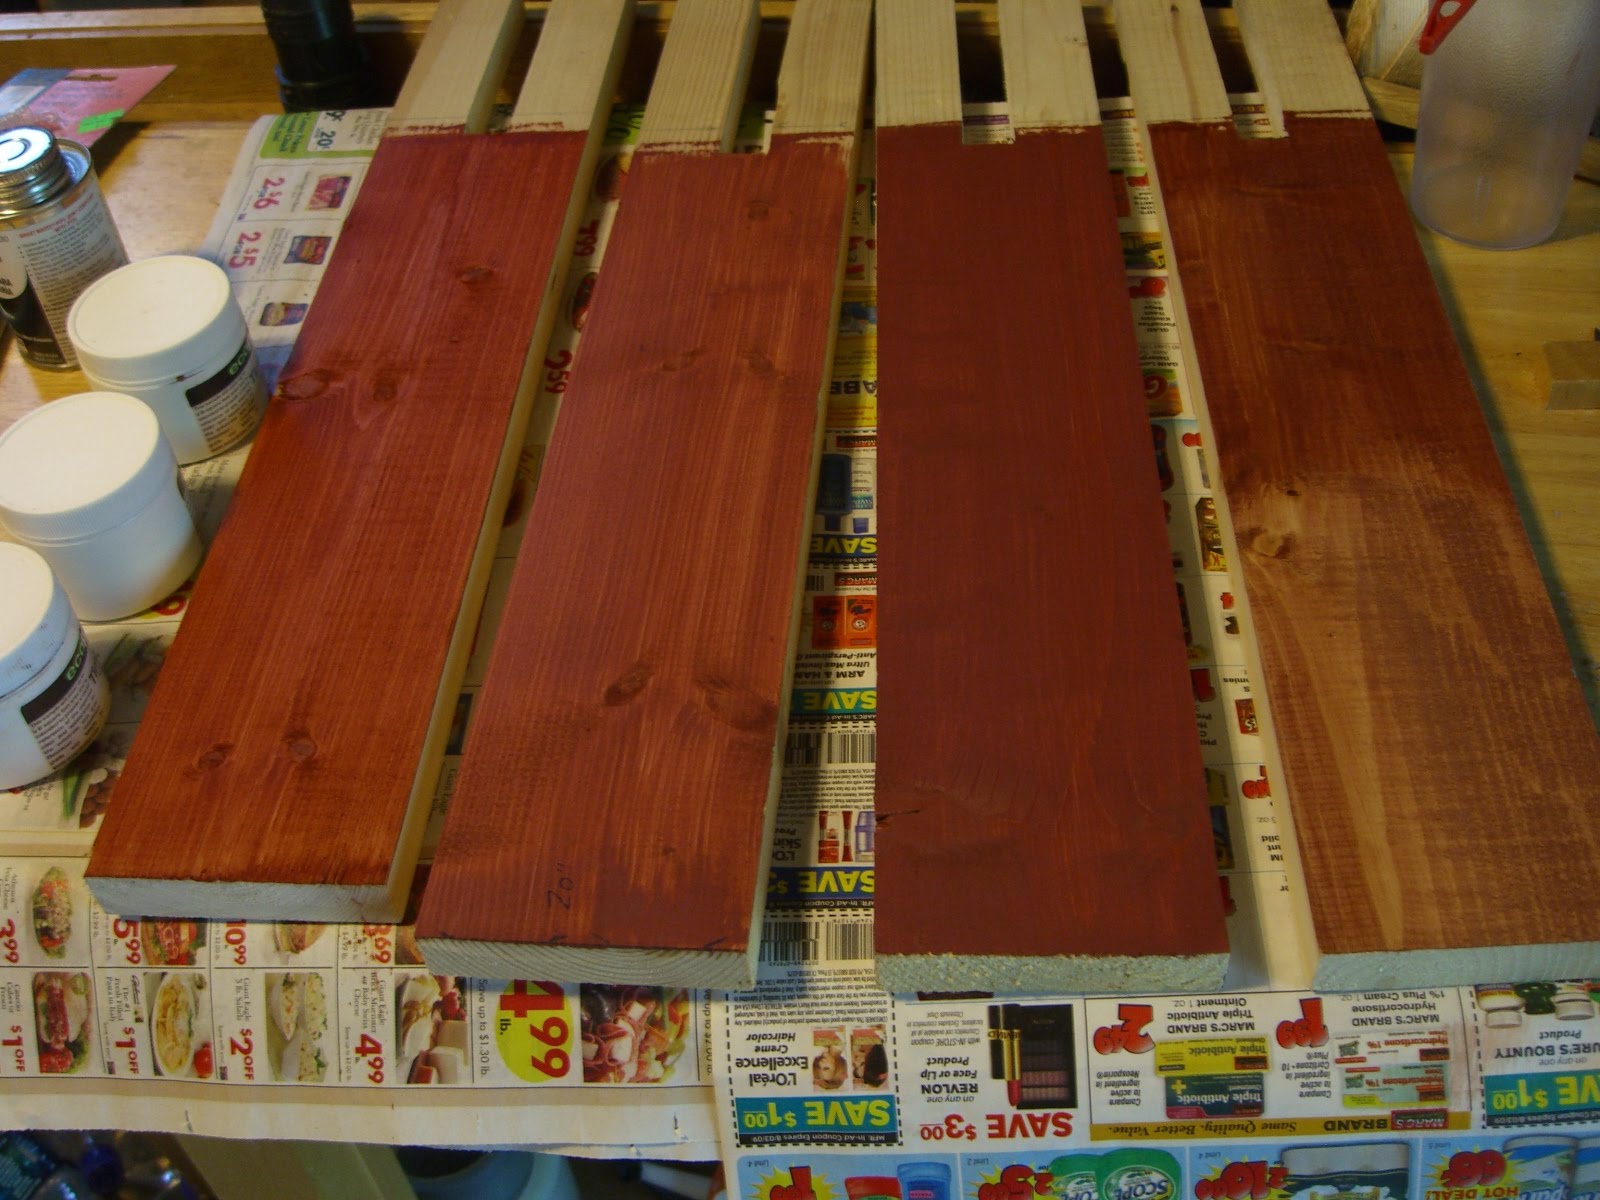
 Since this isn’t the ‘final’ porch swing for the house, I took the opportunity to test out some all-natural stain samples to see how they look, and how they weather:
 Reassembly:
 And a porch swing chain set from Lowes:
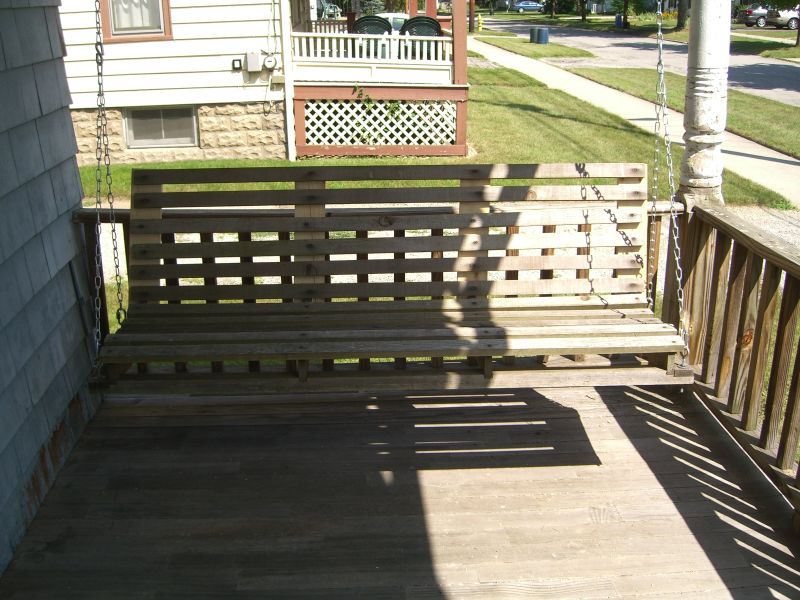 Now to paint the porch.
A touch of cement
Makes for great weed control, among other things.
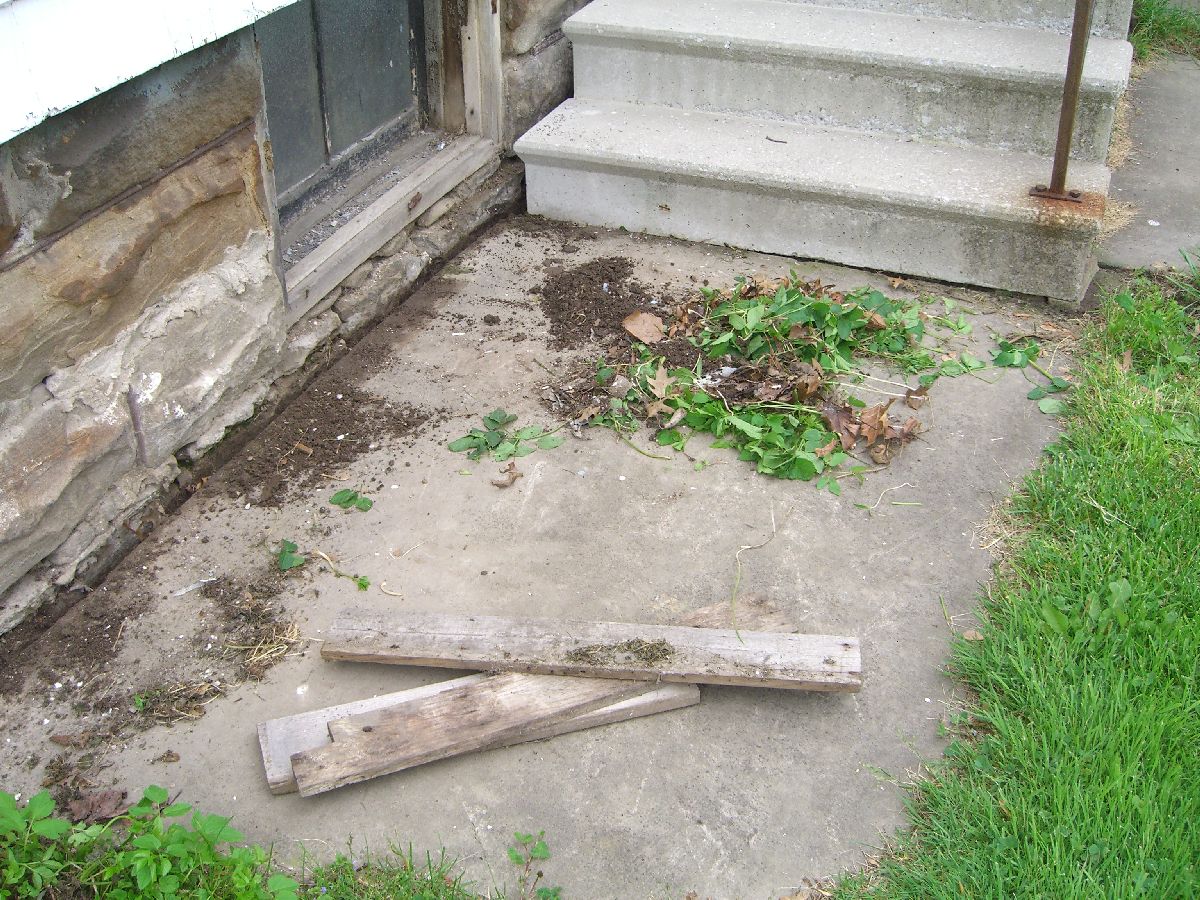
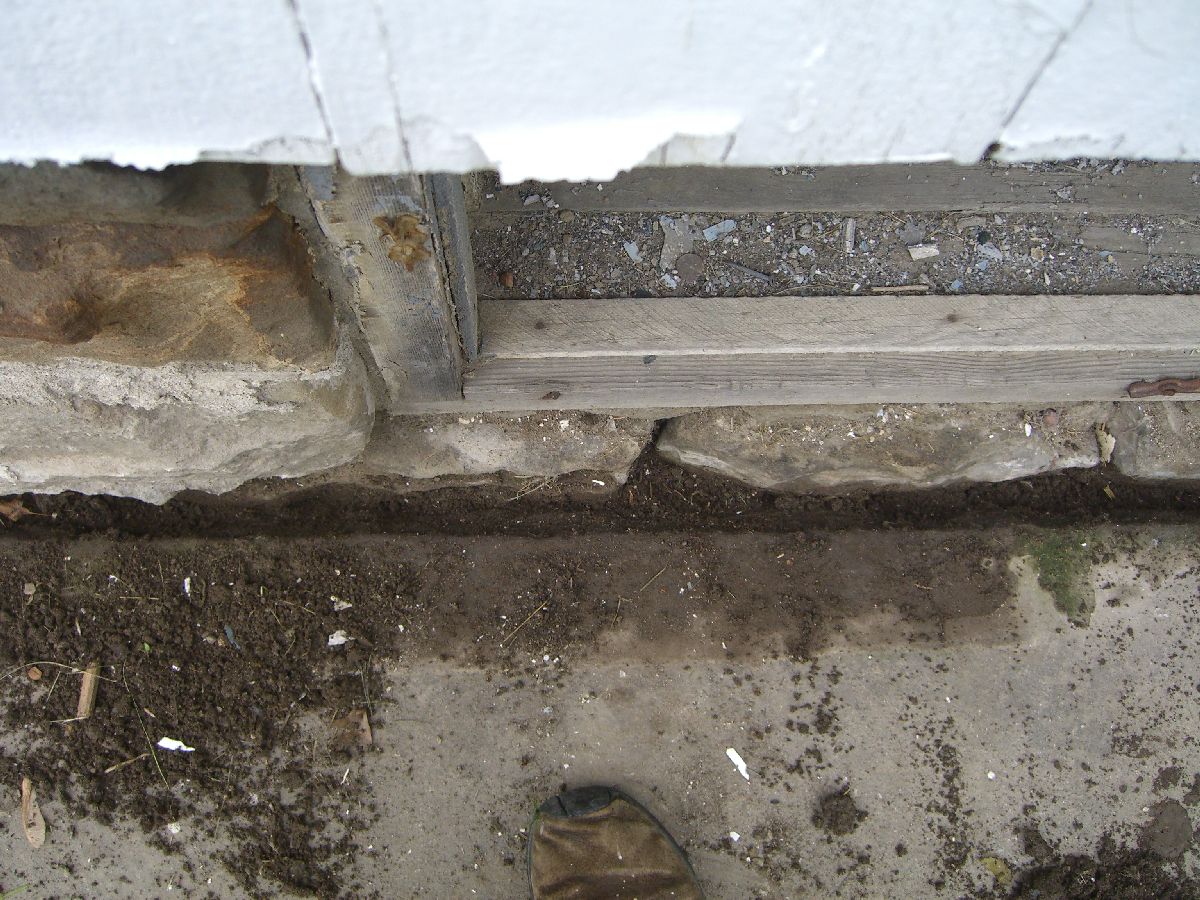
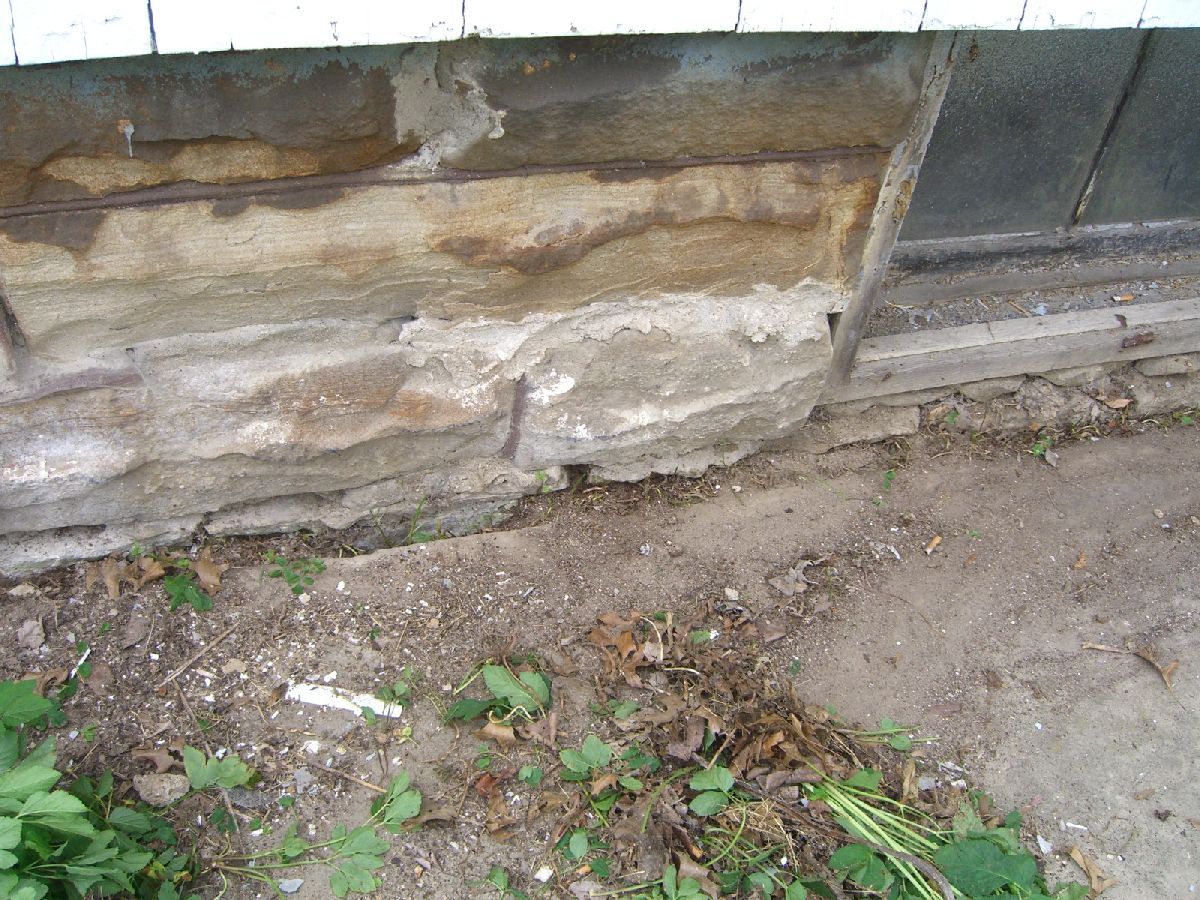

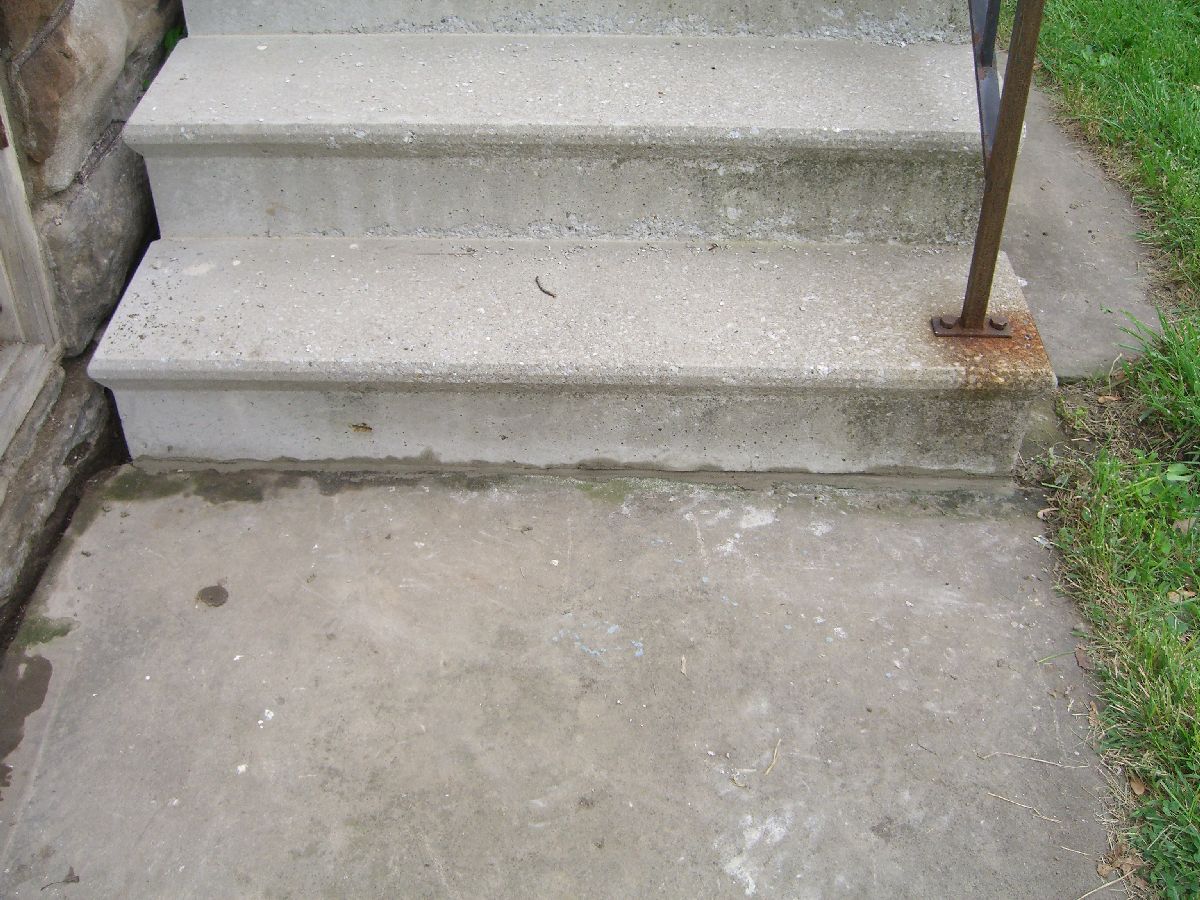
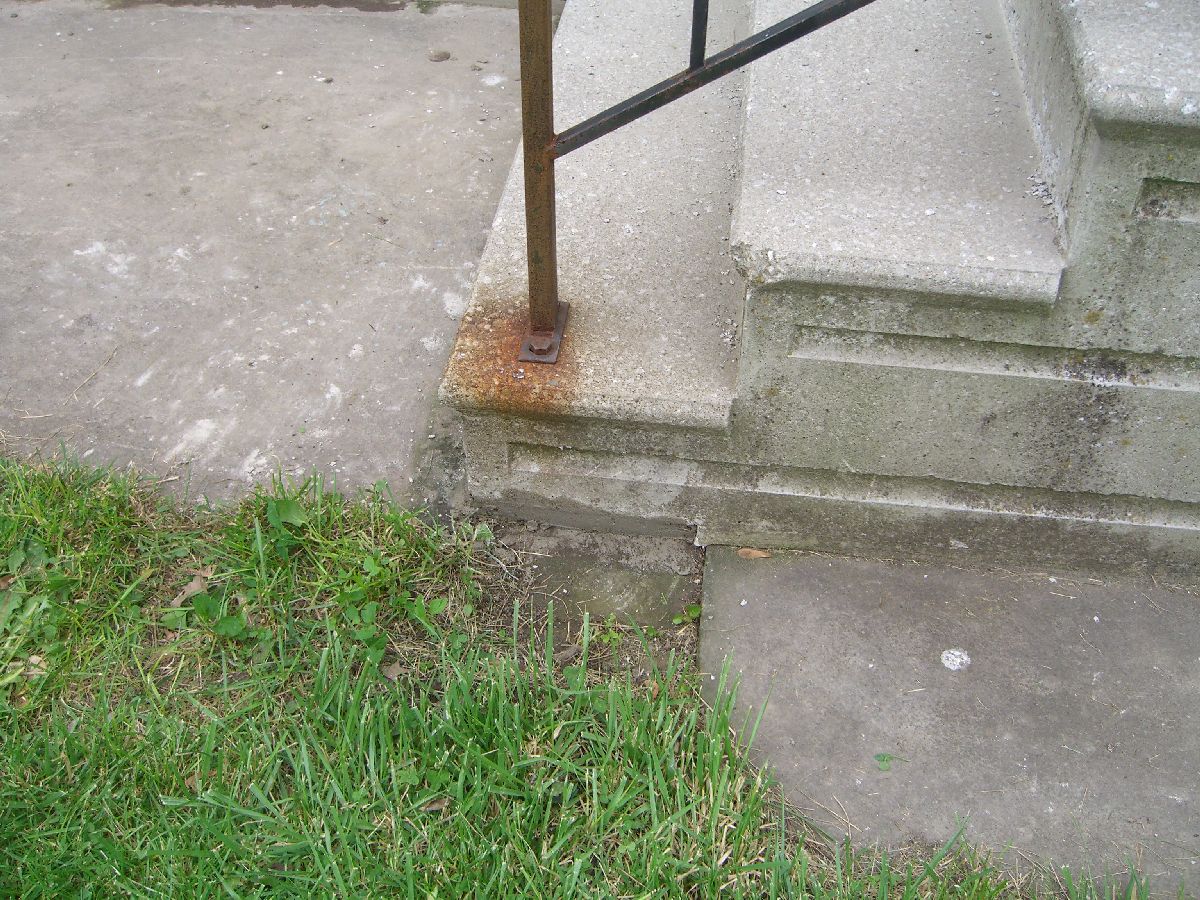
Said other things include cleaning out a few crumbling spots in the 110+ year old mortar and filling that back in.
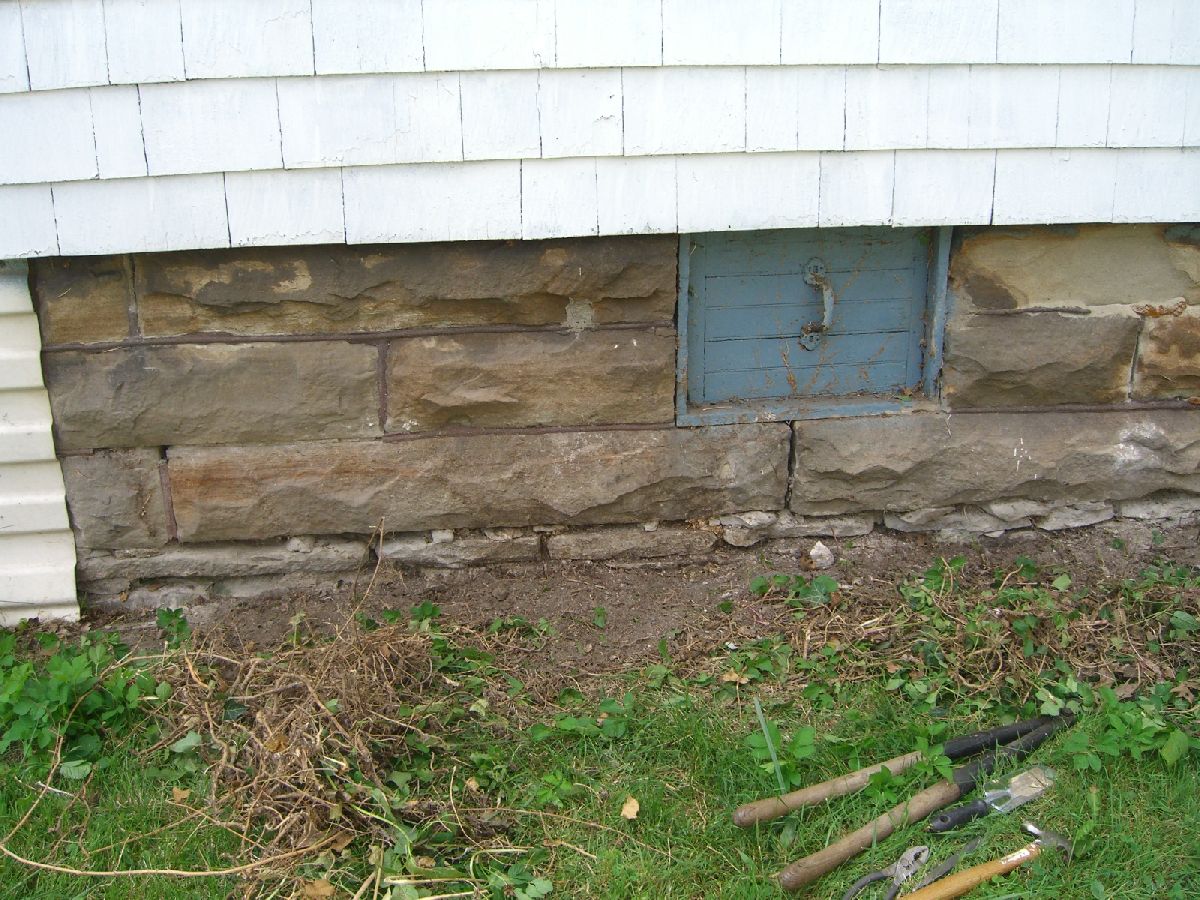
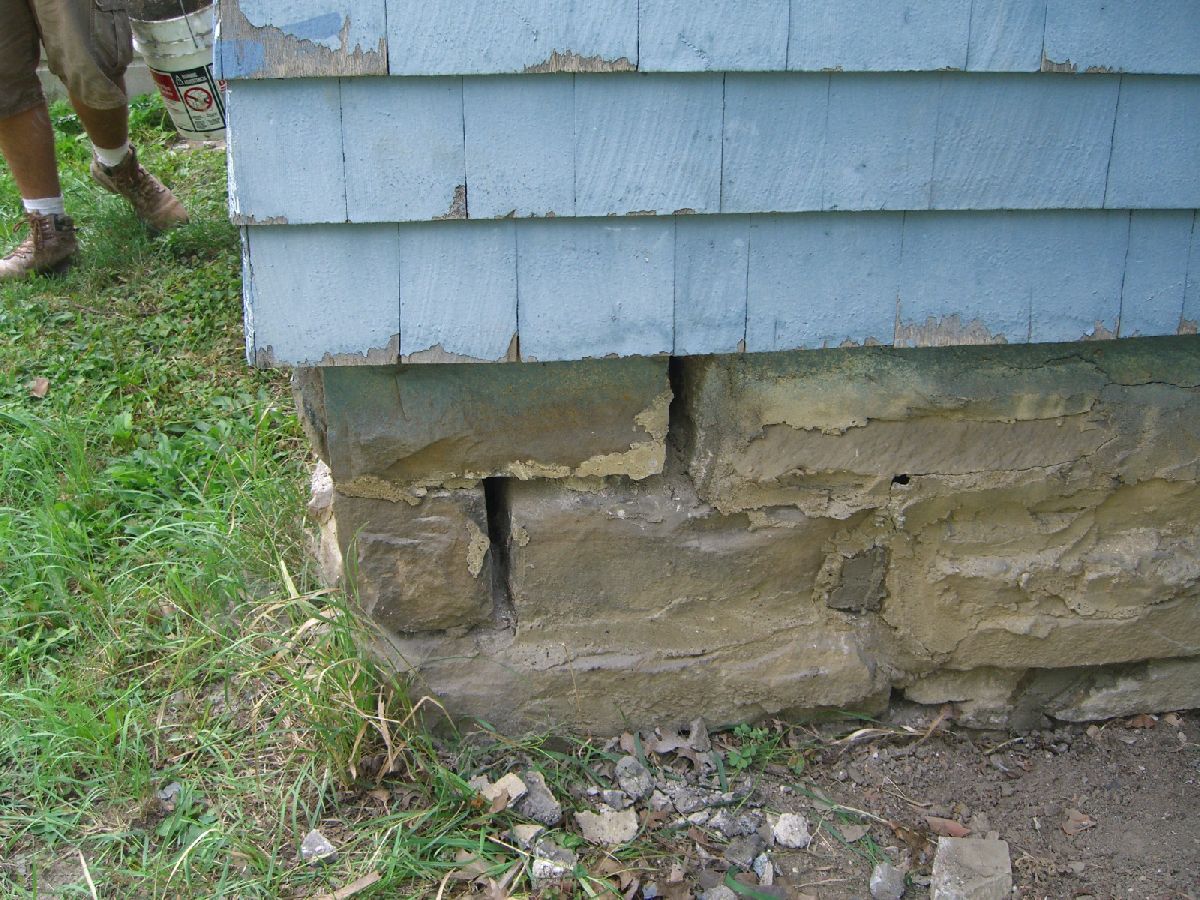
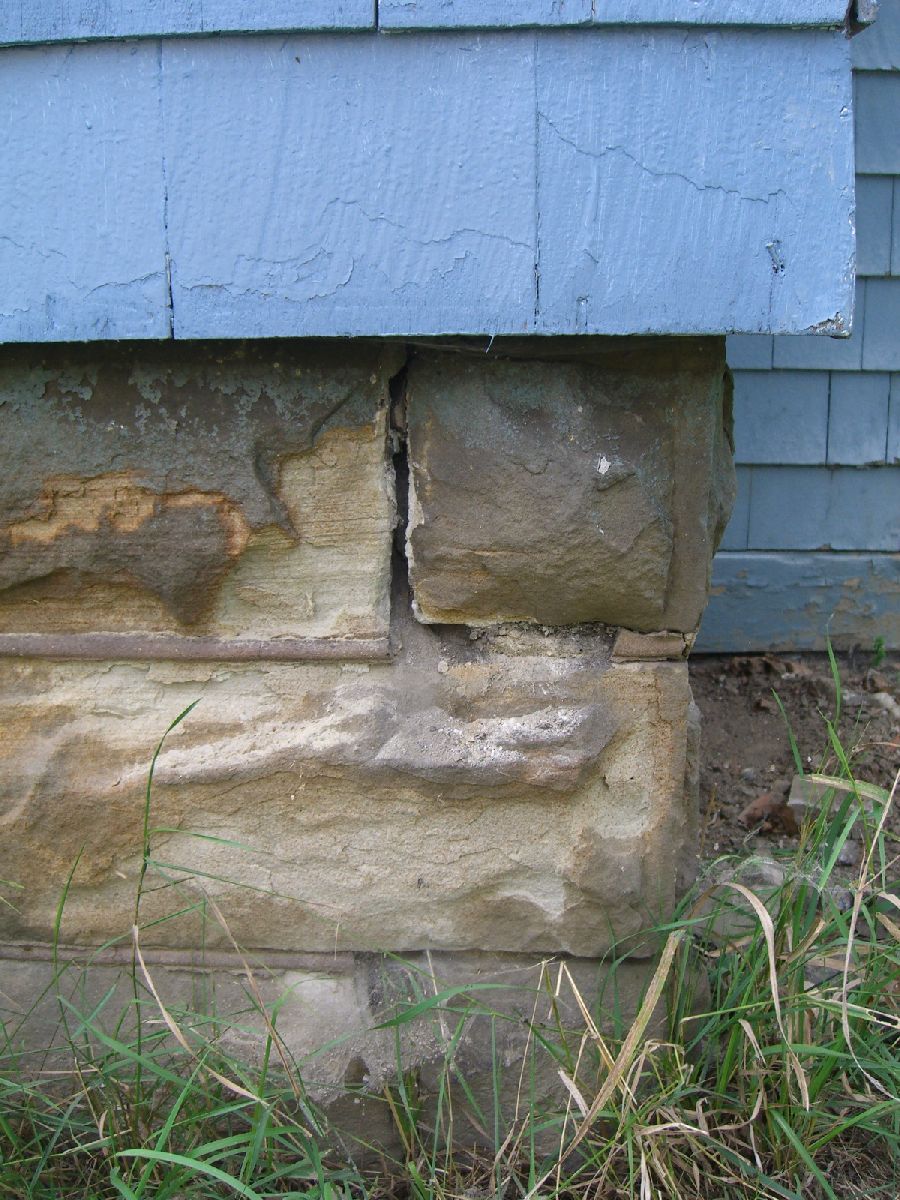
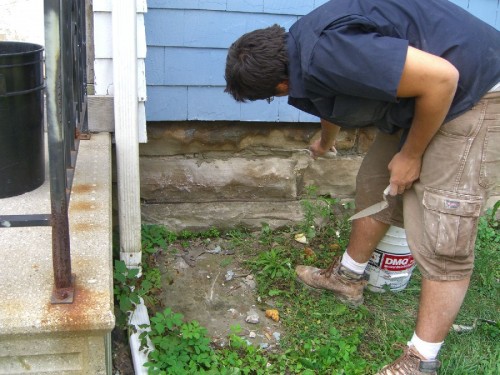 Quentin, mason to the stars.
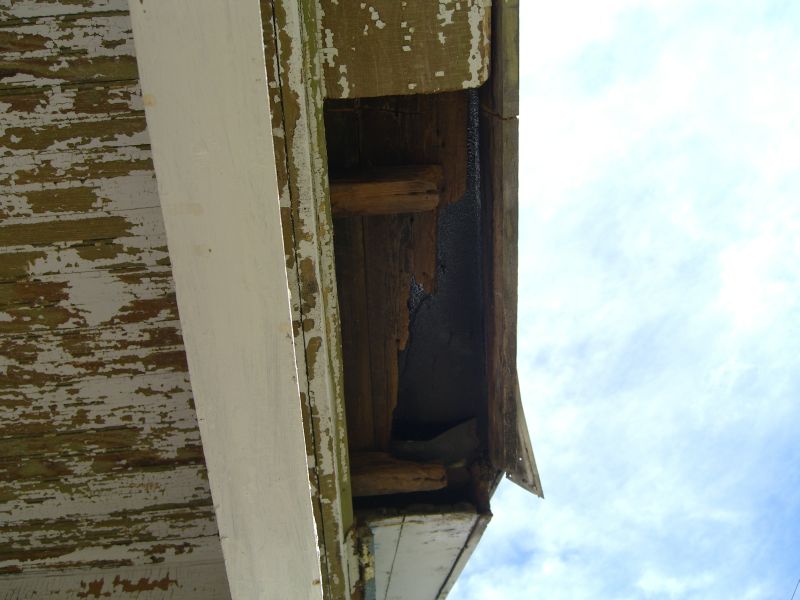
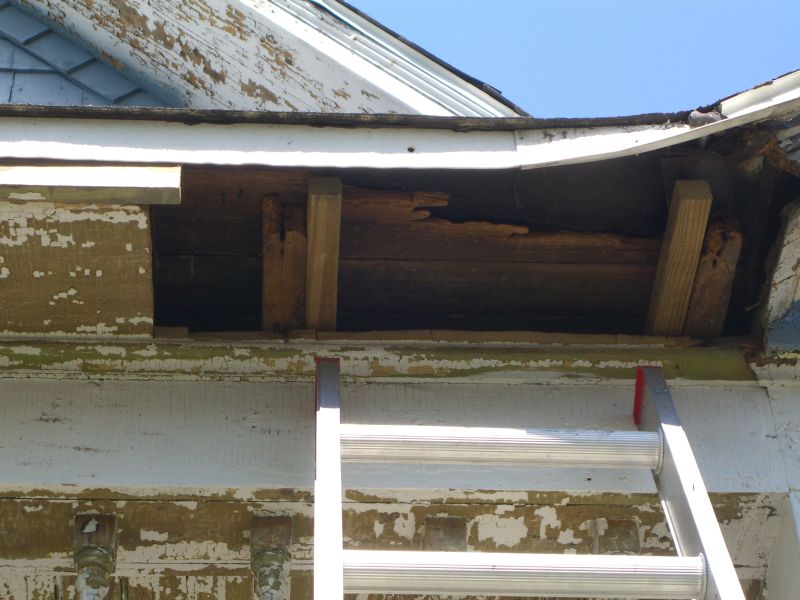
Nuts!
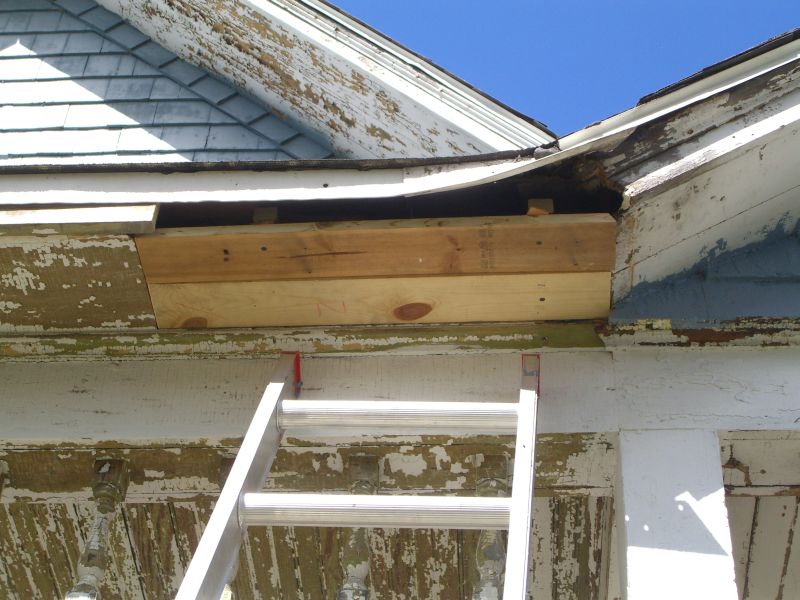
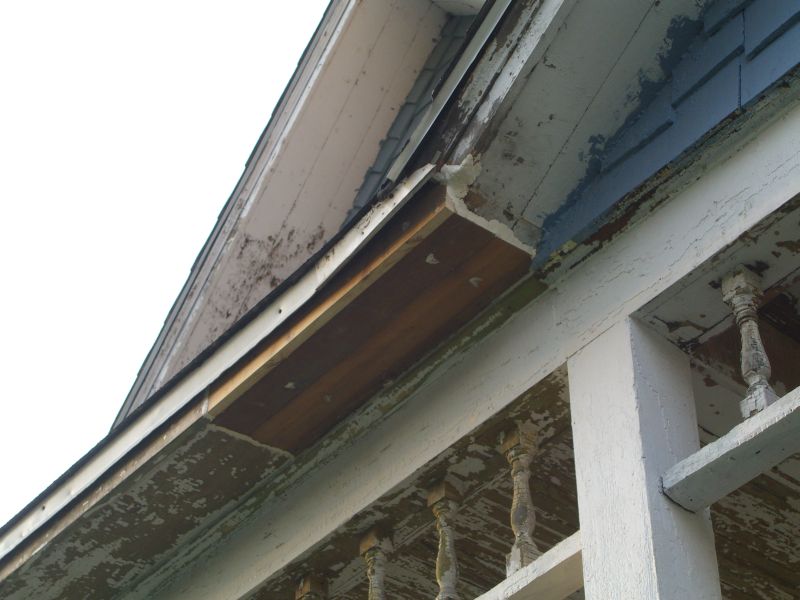
Or fewer of them I suppose. Upon examining the hole in the porch soffit, and the rest of the soffit board, more closely, I’ve come to the determination that a large section of board will need to be replaced, and likely some backing board will need to be tucked inside to hold the gutter more firmly. That will have to wait until spring. For now, I’ve covered the hole with scrap particle board and caulk and added some screws to keep the gutter from sagging at that corner. One squirrel has been wandering around the porch in some confusion as a result – I think he can smell whatever the other squirrel managed to squirrel away up there, but can’t figure out how to get in. Hopefully he doesn’t start chewing soon, because he seems smarter than the last about avoiding the trap.
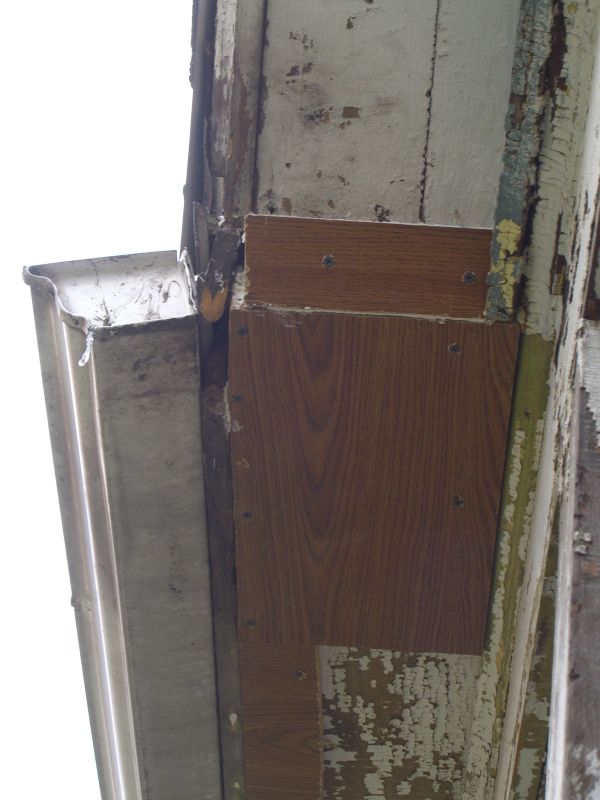 It doesn’t look pretty (nor does the rest of the stuff around it),
but it does cover the holes. The broken board on the left behind
the gutter is covered too – there’s a 2″x5″ piece on edge
screwed to the main patch.