Archive for category interior
En français, s’il vous plaît
Sometimes you just have something really heavy to hang:
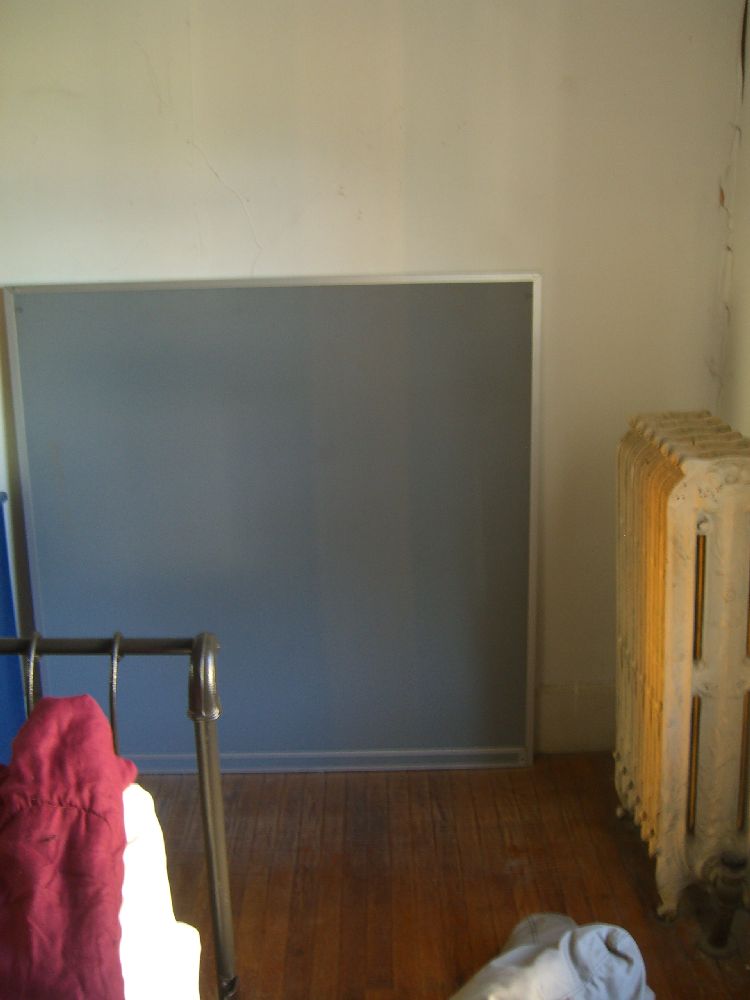
That is one of two (!) four-foot by four-foot metal-clad hardboard-backed bulletin boards I picked up years ago at a liquidation ($0.51 a piece, baby!). While they may eventually wind up in the library (and the library may eventually wind up being built) I had use for one on a wall in my bedroom. The main difficulty was figuring a way to securely hang the rather heavy square without putting tons of holes in the plaster wall. Read the rest of this entry »
How to keep yourself sane at night
When you’ve replaced a smoke detector and stuck the old one somewhere with vague intentions of recycling or properly disposing of it or whatever, take that extra moment to remove the battery. This way you will avoid spending your 2am hour going up and down stepladders replacing perfectly fine batteries in all of your other smoke detectors.
The more you know…
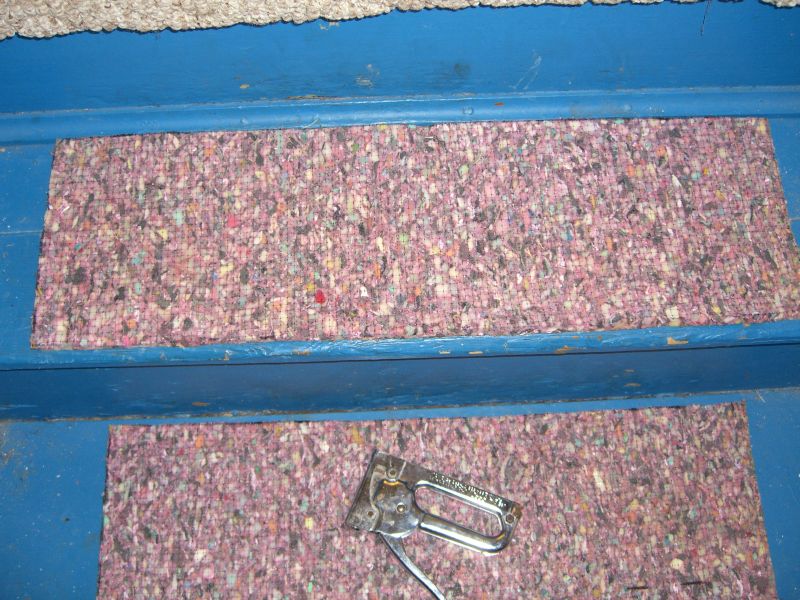
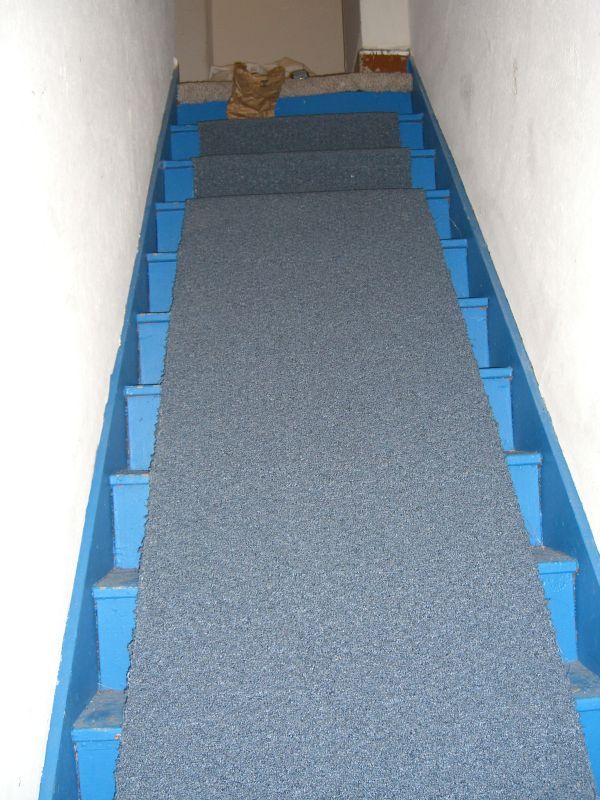
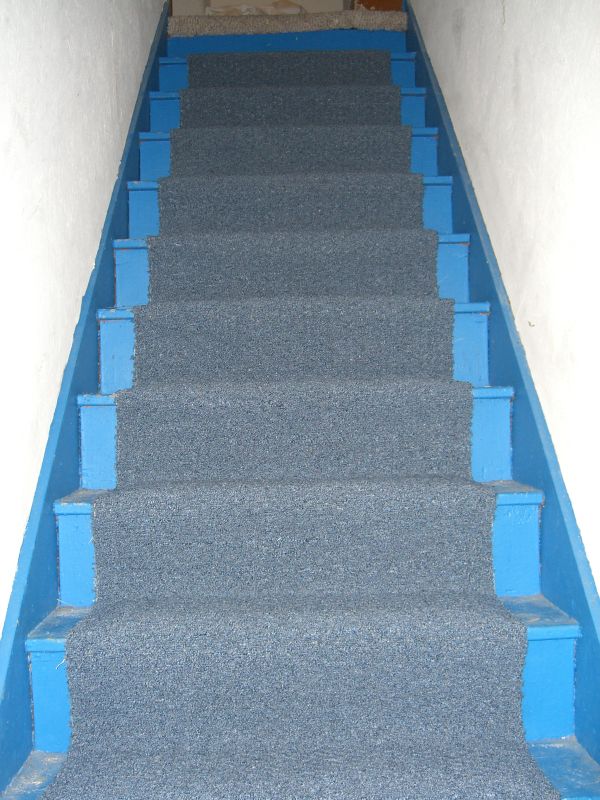
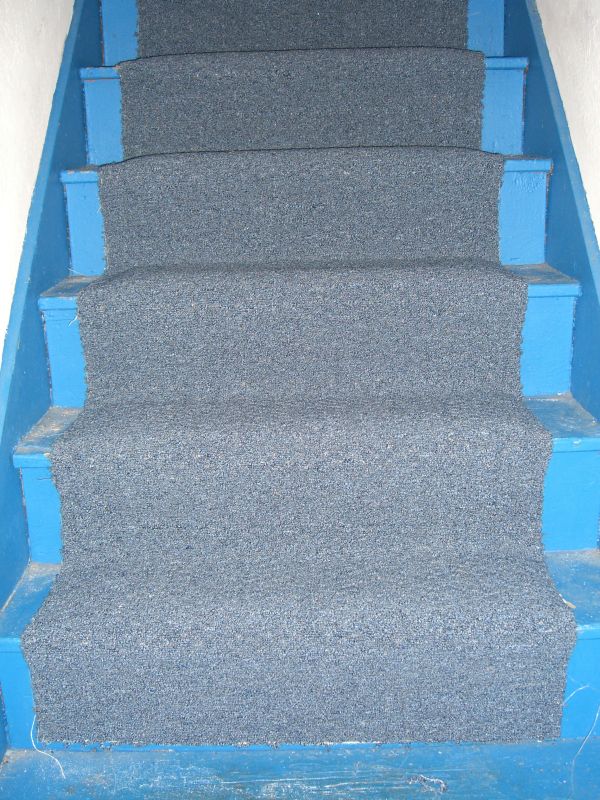
Stair carpeting


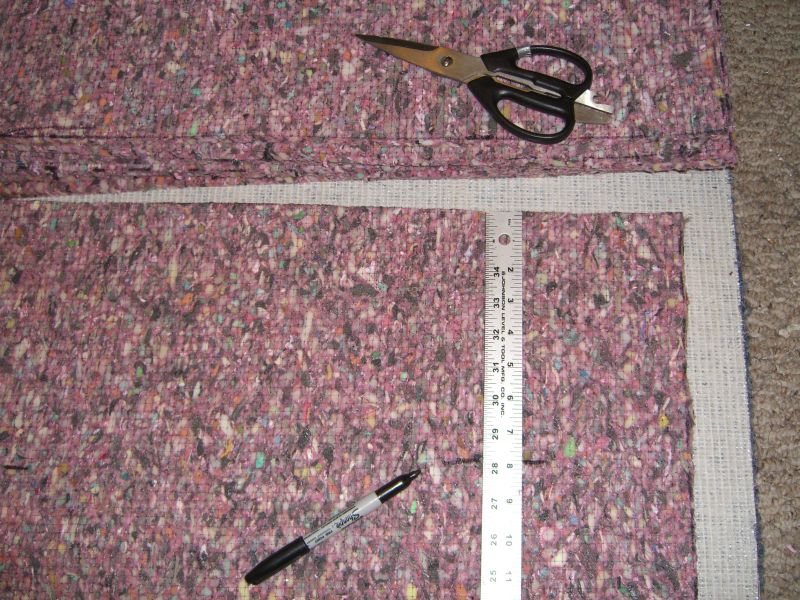

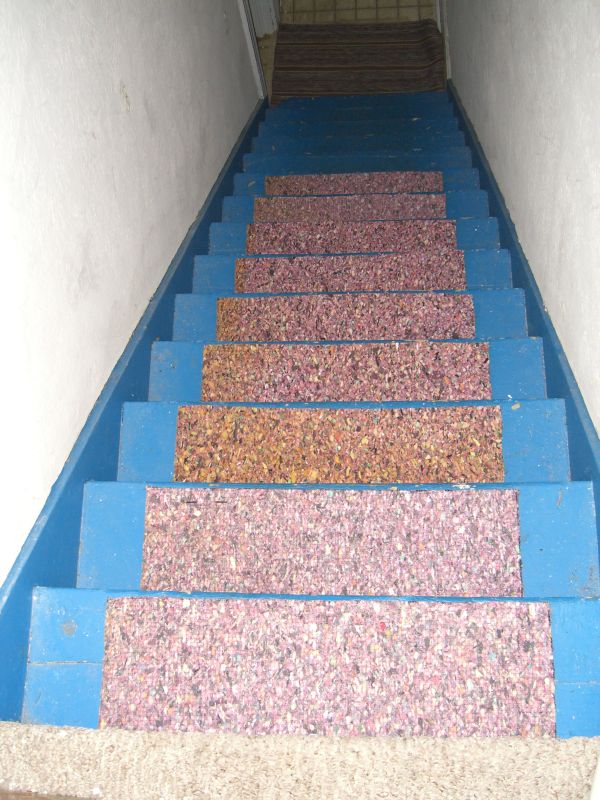

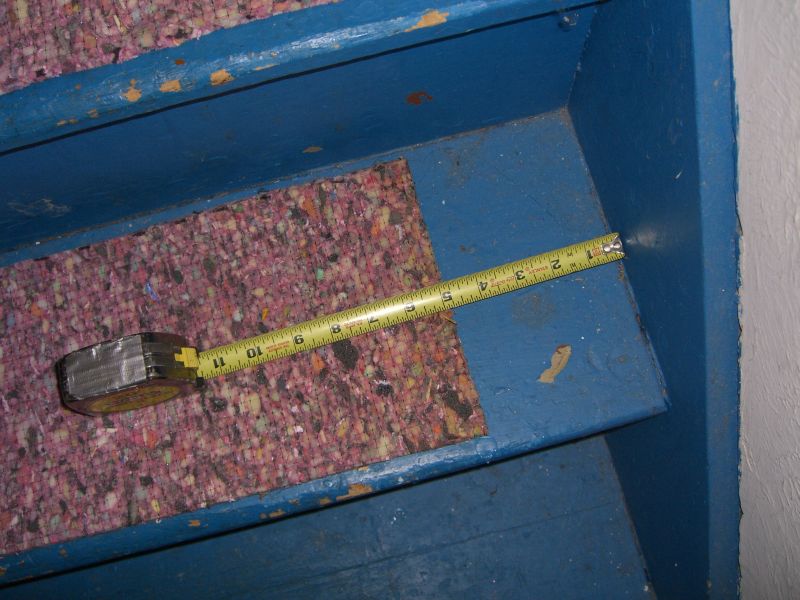

A staple gun with 10mm staples was enough to hold the padding in place. I put at least 10 staples into each piece, four each along the top and bottom, and one additional centered on the sides.
Project Week, the sequel
No work this week, so the plan is (was) to repeat Fall Break where I worked from early to late on the house doing numerous projectsd small and large. Monday got off to a slower start than I’d like, plus this week I do have one responsibility – Street Law at the high school every afternoon helping the students prepare for a moot court in front of the city council on Thursday. But I did manage to get some bits done in the afternoon and evening – more cleaning in the back room, installed the banister in the back staircase, and tackled cleaning the stove. Both Comet and baking soda and vinegar cut through some stuff, but it’s been six months of college students and me using that thing, so it’ll take more elbow grease to cut the grease.
Still working on the stand pipe cover – more blowtorching planned for tomorrow.
I was hoping that cleaning the stove top might reveal why the oven isn’t lighting. When I turn the oven knob, the igniters all spark, but there is no sound of gas flowing as there is when you turn on any of the burners. This unit has a main feed line that runs along the front of the stovetop under the cover, with six ports for the burners and a separaate distribution – two lines (one pilot, one main I assume) for the oven. No visible clogging or grease on that distribution, but I haven’t taken a wrench to the two lines to peer inside yet. No idea what to do if there’s not an obvious clog though.
No longer a hole in the wall
Readers may remember the section of wall in the back bedroom that needed repair and how locating a plug to match the old 1/4″ wallboard was proving difficult. I decided to just break out the plaster down to the lathe and plug it with drywall instead.
Fortunately I don’t think there are other sections of plaster/wallboard that are cracked and buckling, so I shouldn’t have to do this – or something smarter – again soon.
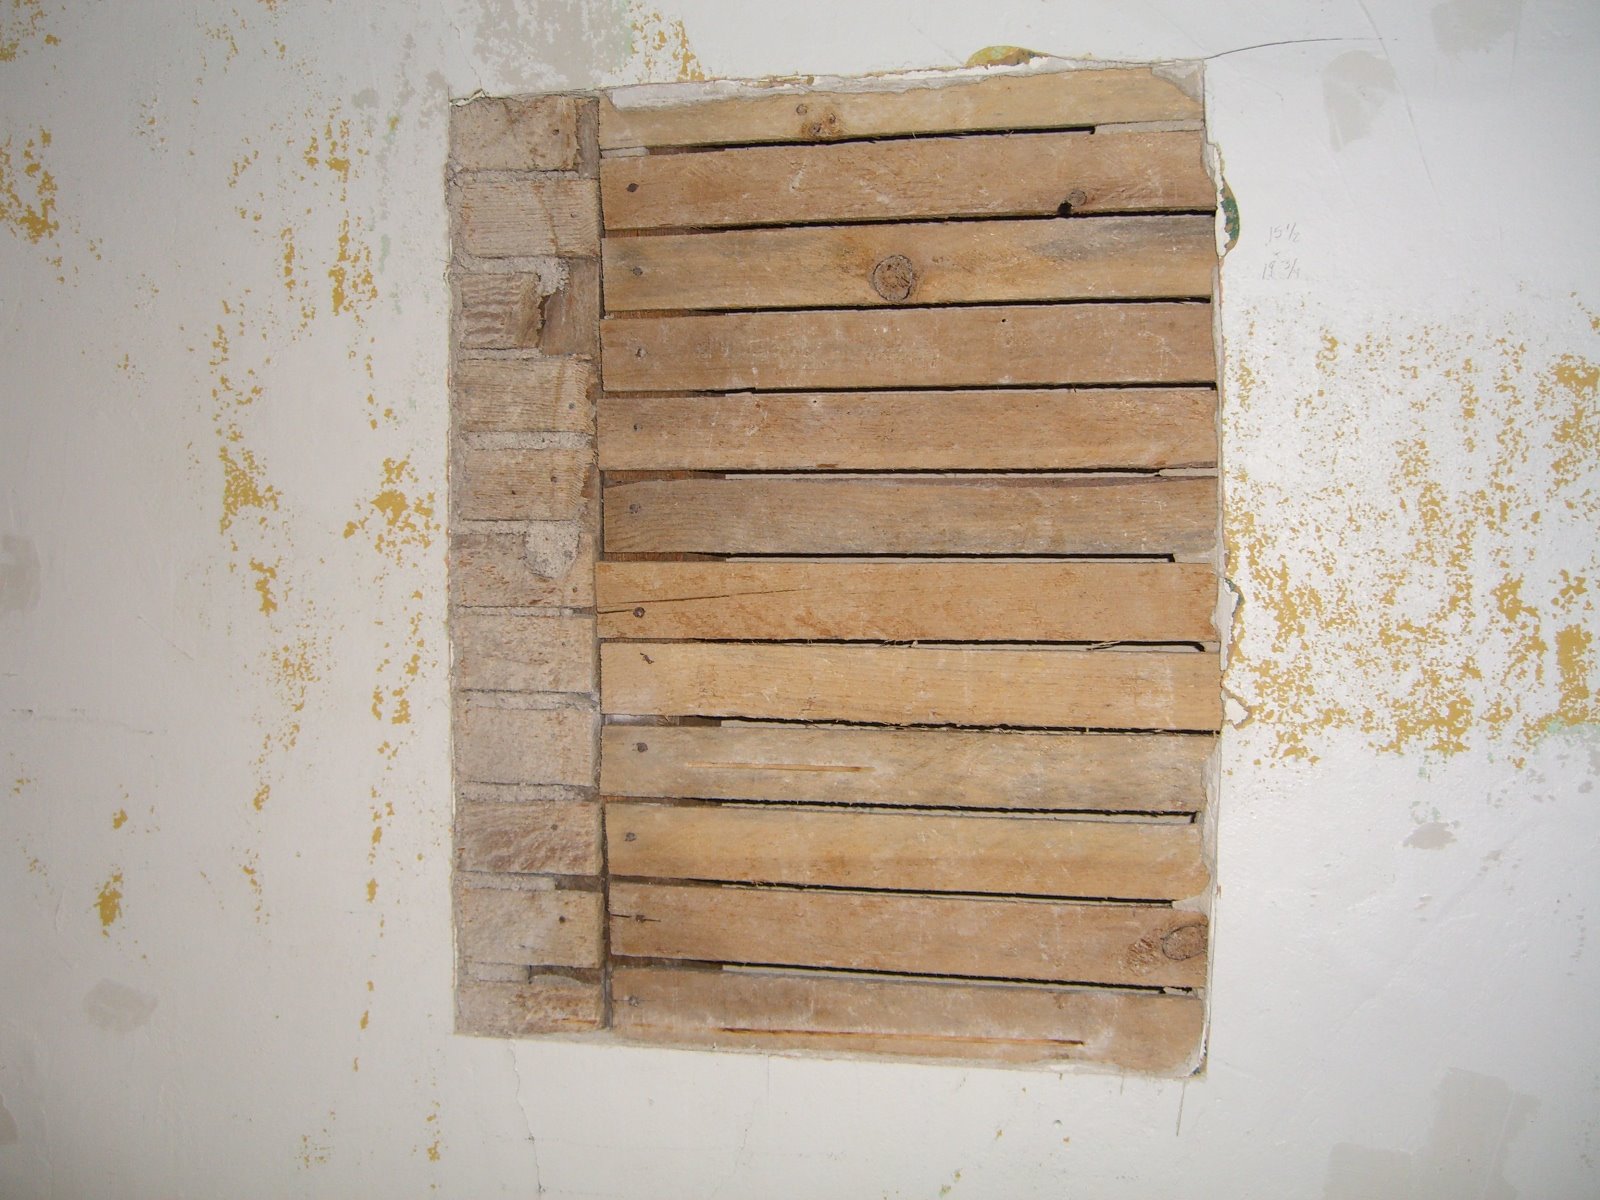 This section of wall was clearly redone at some point – we’re talking 40+ years ago no real idea if there was a door or different wall there, or if there was damage repaired, or what. If anyone knows when they stopped using horse-hair plaster (which covered the lathe on the left side) and started using the more uniform plaster (used to cover the right), that might give me a sense of whether this remodeling was connected to the back addition (circa 1920) or something else.
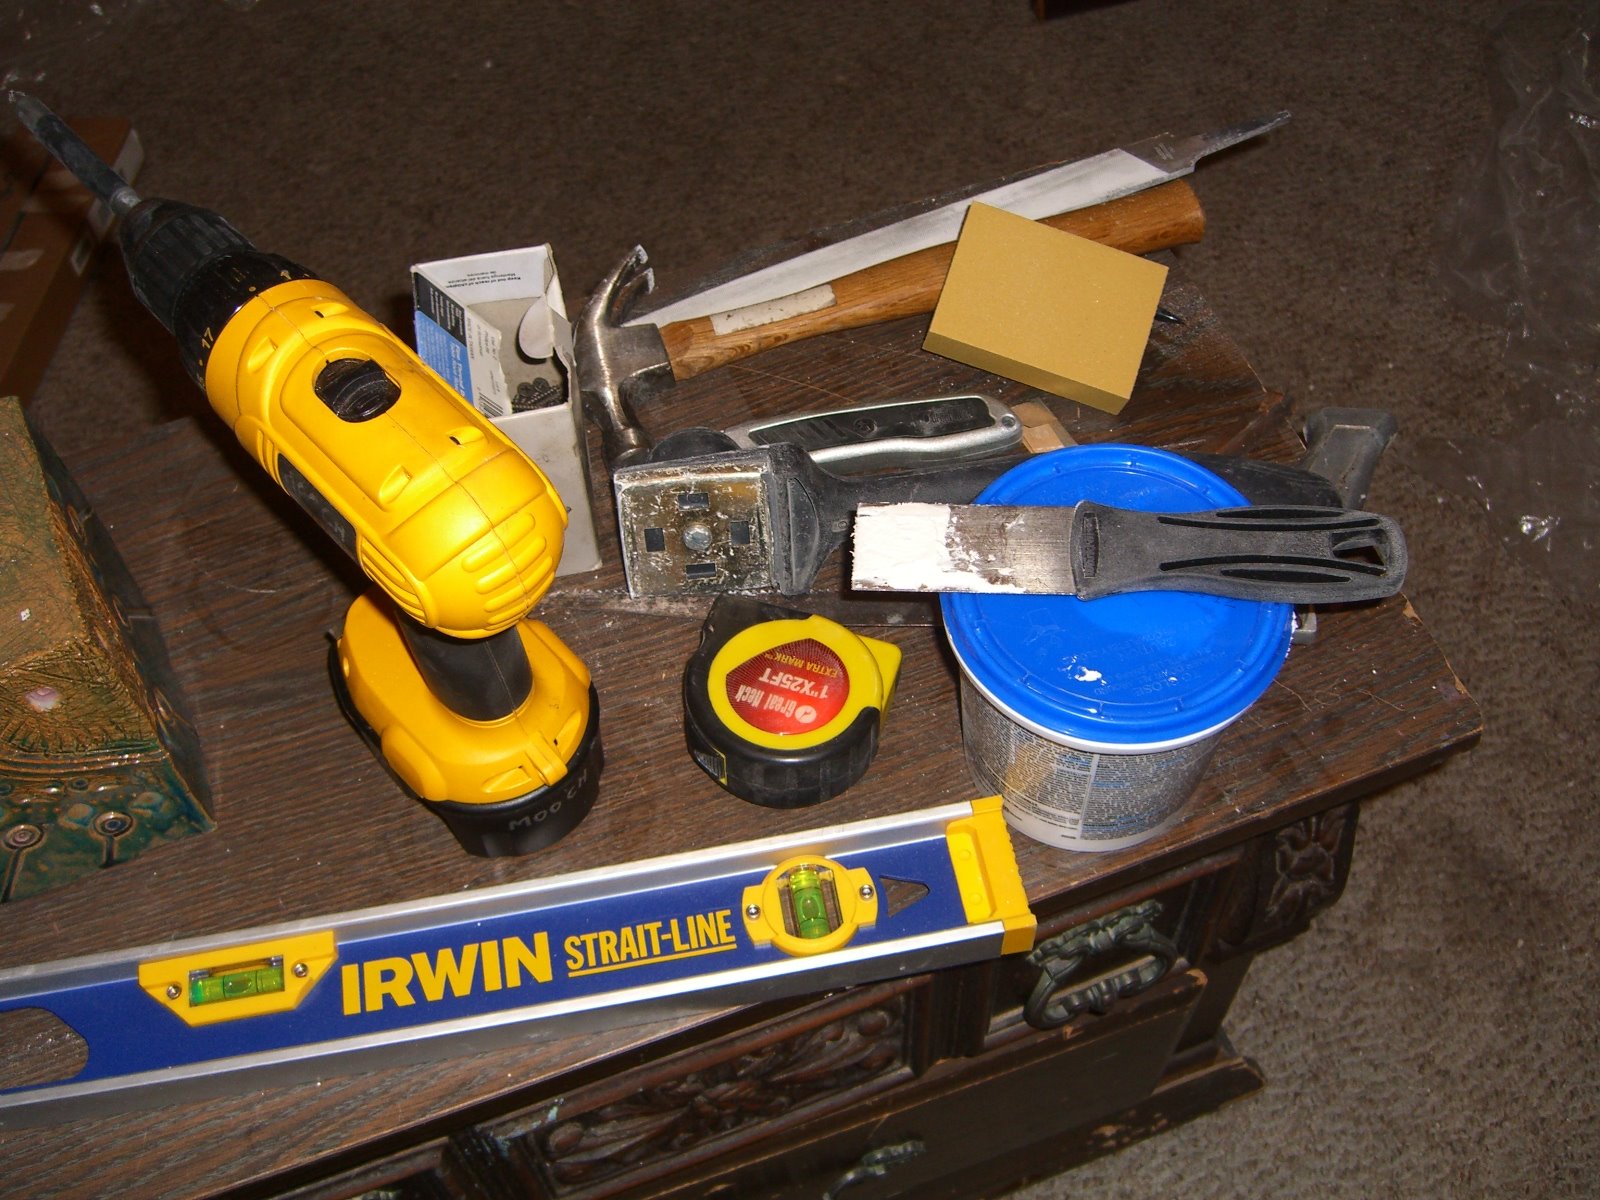
 In any event, clearing just this section of plaster(s) was an adventure, involving all the tools below plus an aborted attempt to use a circ saw. The ‘newer’ plaster was very disinterested in budging, which I suppose bodes well for the long term integrity of the house, but sucks for me trying to get this done in a day.
 On the left, the drywall plug set to replace all the plaster on the right:
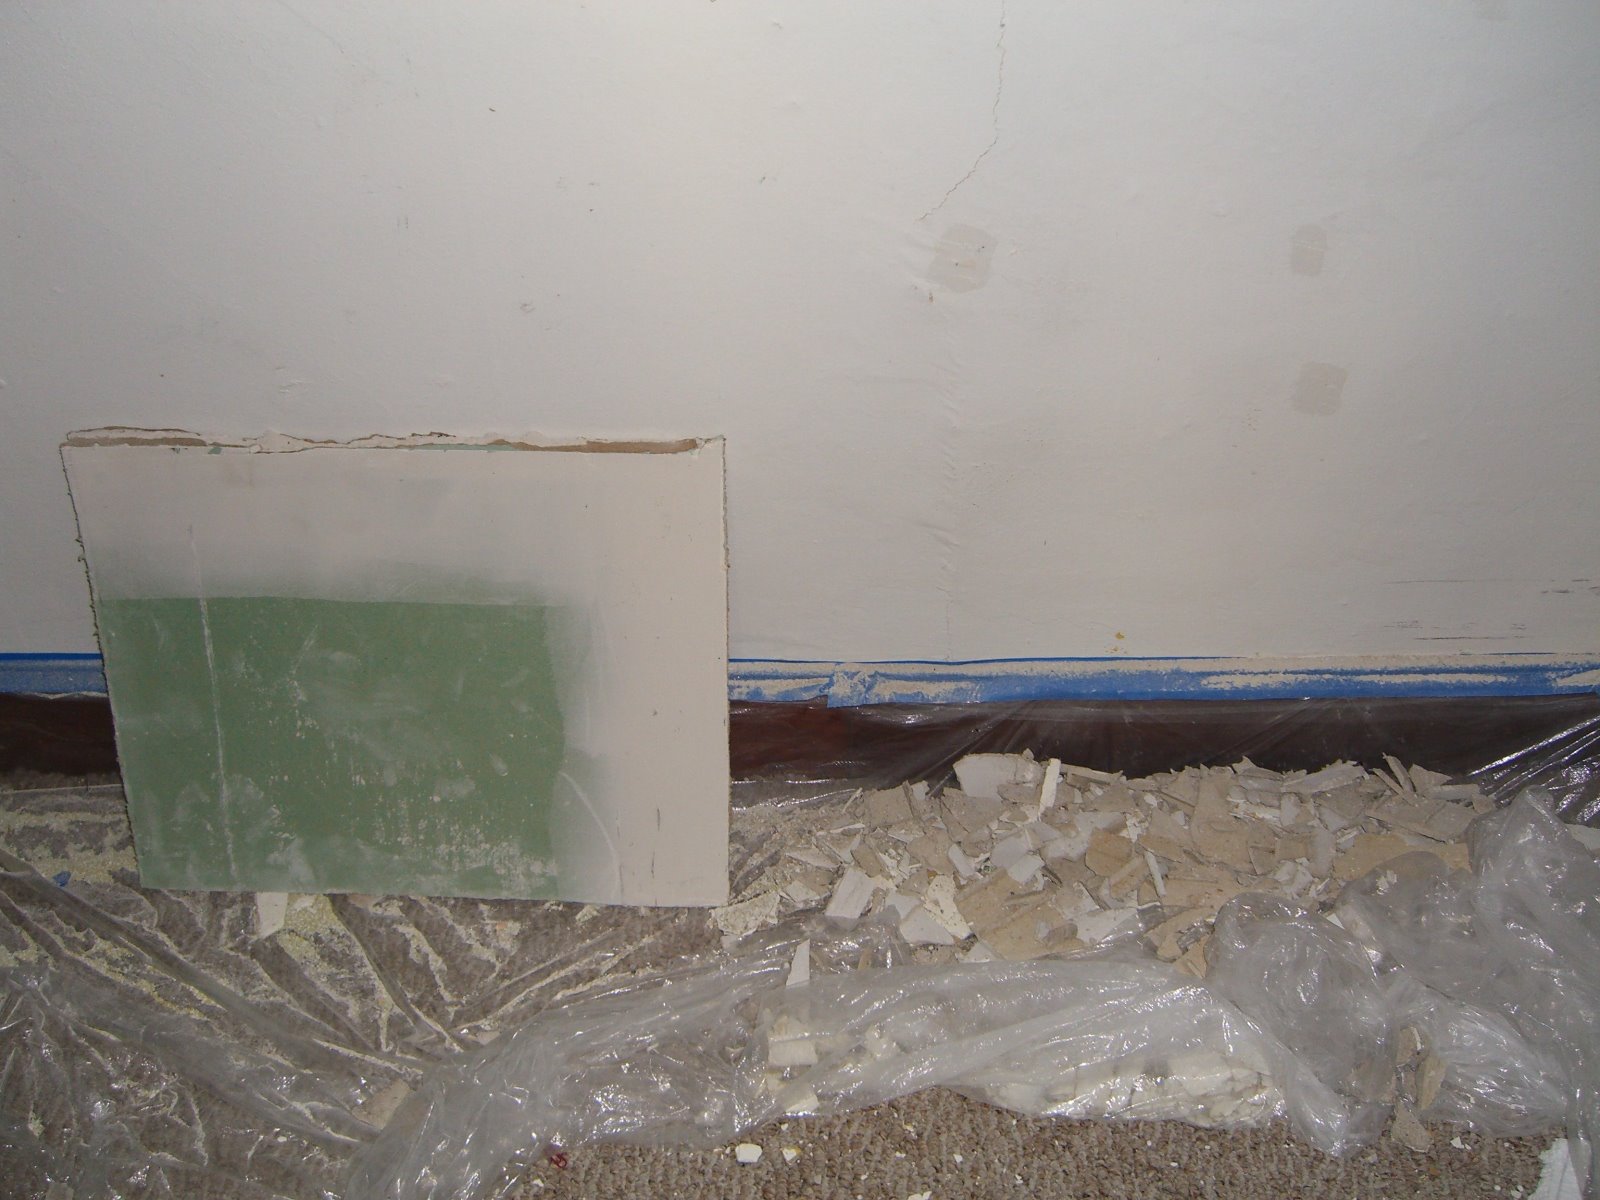
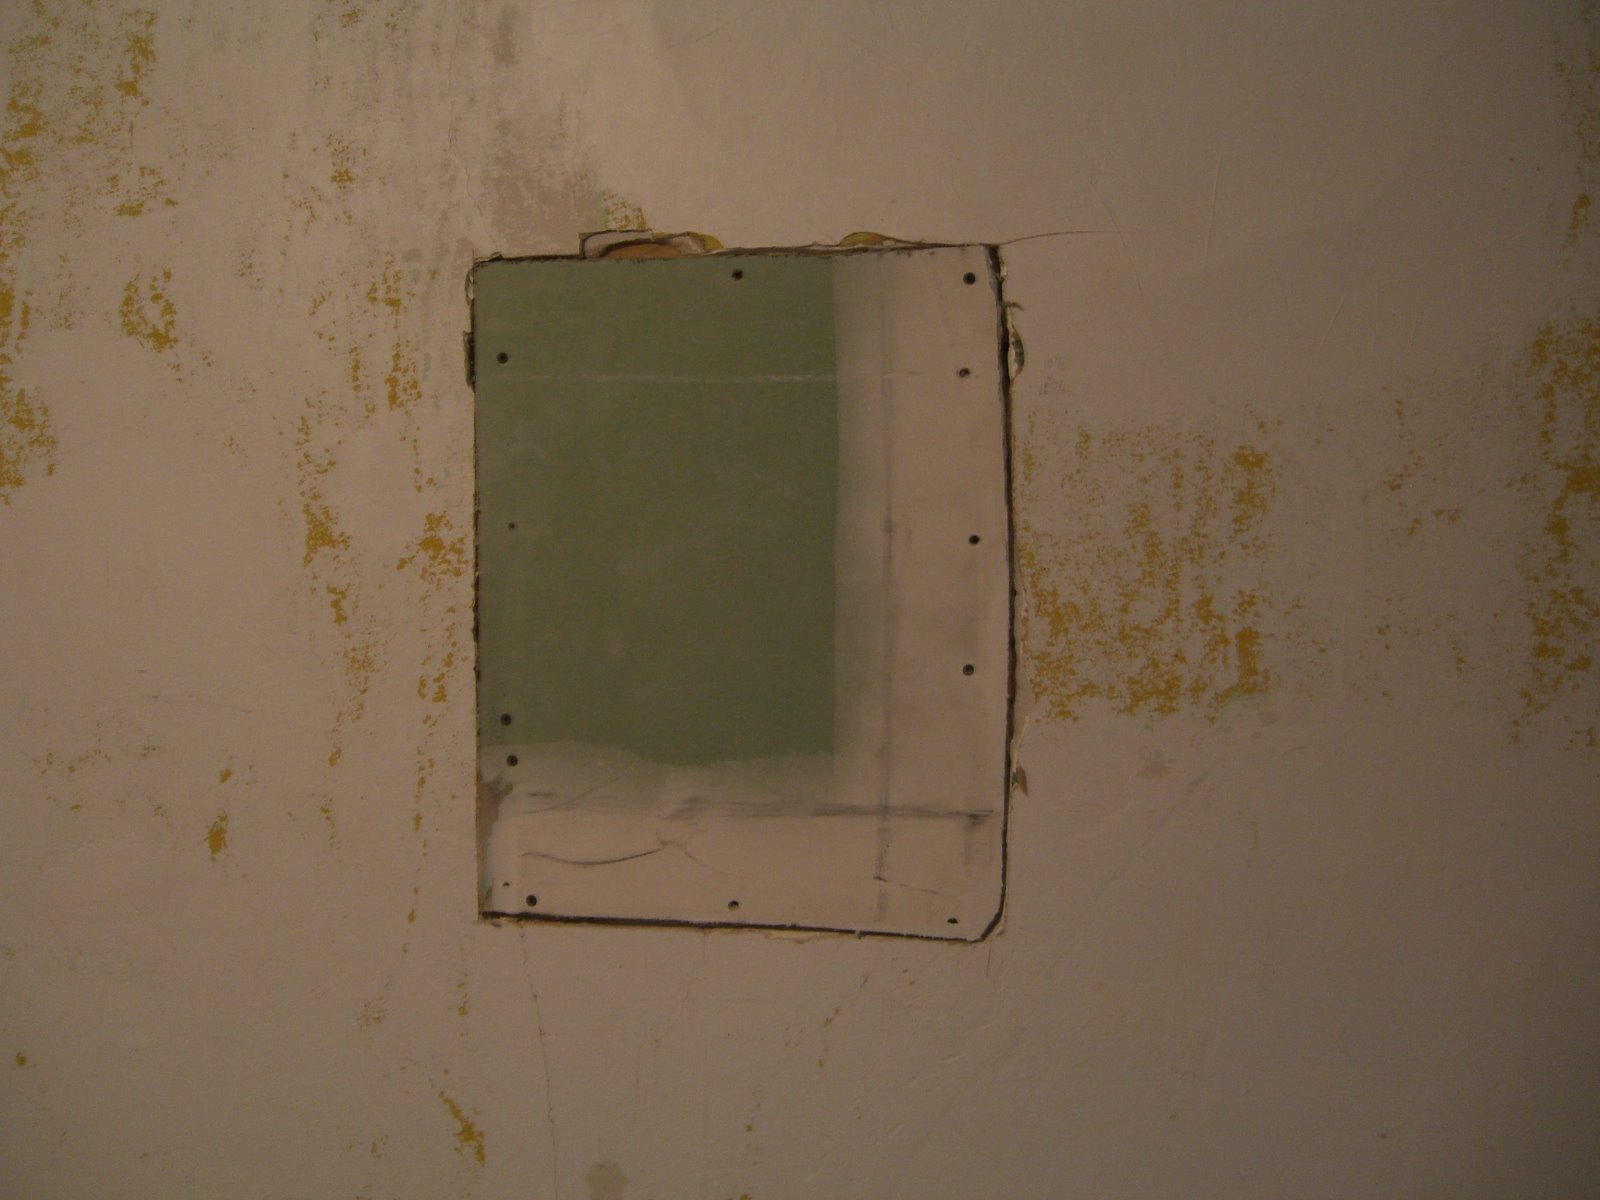 There’s some slight unevenness with the two sections of lathe, probably due to the studs not being perfectly aligned. The screws seem to be holding the plug in fine, and I filed the edges a little to create a better gradient. Then used up a quarter of my jug of spackle:
 After I was done I realized I’d missed a great opportunity to install a safe or secret compartment. Ah well – plenty of other walls in the house.
Sick day
The big plan for today was to take down my old rusted shed and pull up a few roots/stumps to make way for a new shed (one of these days). I got the barn-razing (har) email out a little late, though, and I was feeling under the weather (don’t worry – a nap and some food and I was fine by evening), so that plan has been postponed for a bit.
Instead:
– finally hung porch door; need to either adjust middle and top hinge or shave 1/8+” off the other side to get it fitting smoothly in the frame.
– leveled washer; now need to get a vibration dampener
– started prep on wall in back bedroom – there was a cracked section of drywall; I started cutting and have wound up expanding to about 18″ square to get around various cracks and warps. There’s more to one side, but I don’t want to rip out too much, and what remains is at least level. Plan is to cut a section of drywall (looks thinner than normal), screw into the gap, putty edges, paint entire wall.
Strategery
I’ve decided on a new plan of action. Each day, I will do at least one thing on one of the larger projects that face me right now – scraping and painting the outside of the house, rewiring the attic (and a few other places), puttying a few holes so that paint can be reapplied as needed, etc. My thought is that in doing this I will a) keep myself moving forward and b) make some of the potentially overwhelming projects much more manageable over time. It’s easier to paint the side of the house when 3/4 of it is scraped and primed, even if it took me 3 weeks to get there.