Archive for category window
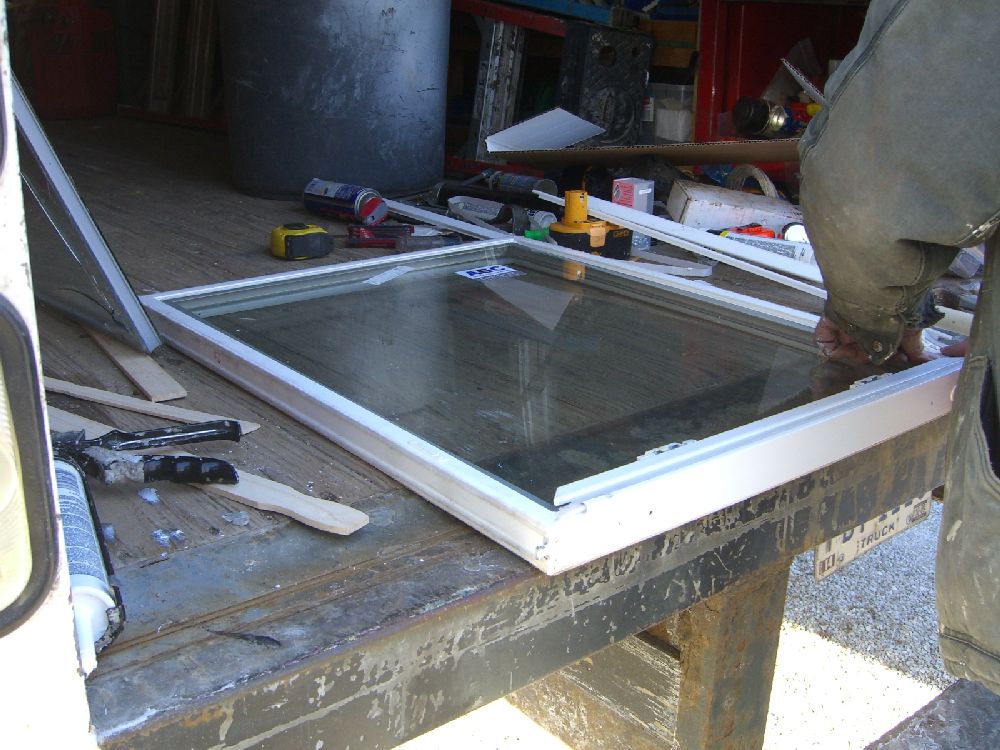
Cracked glass
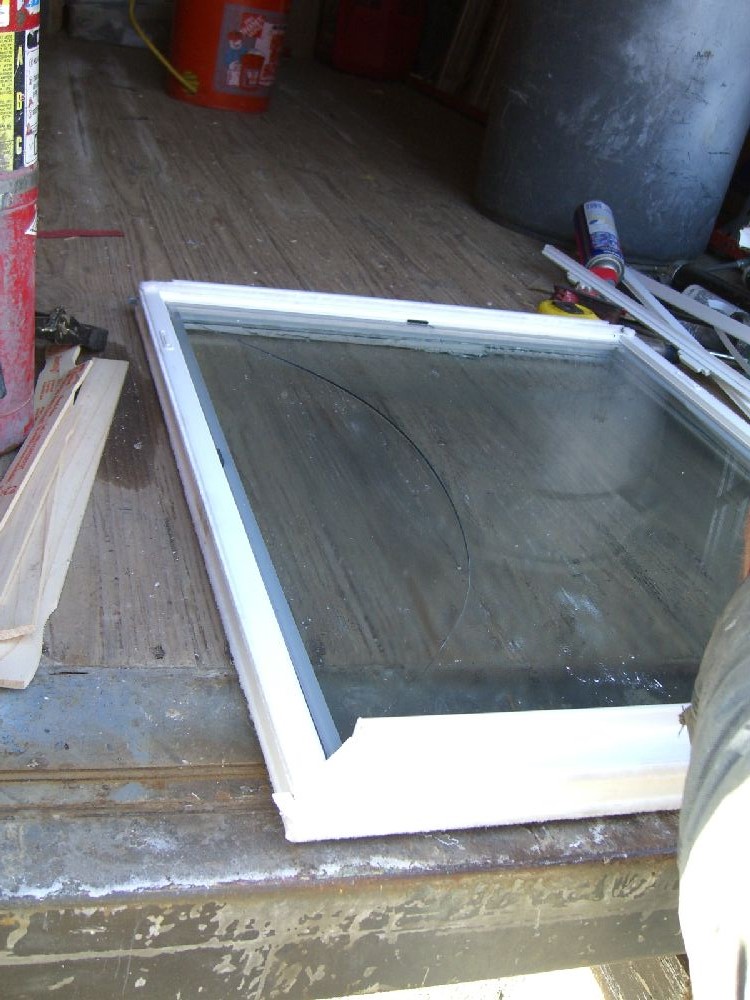
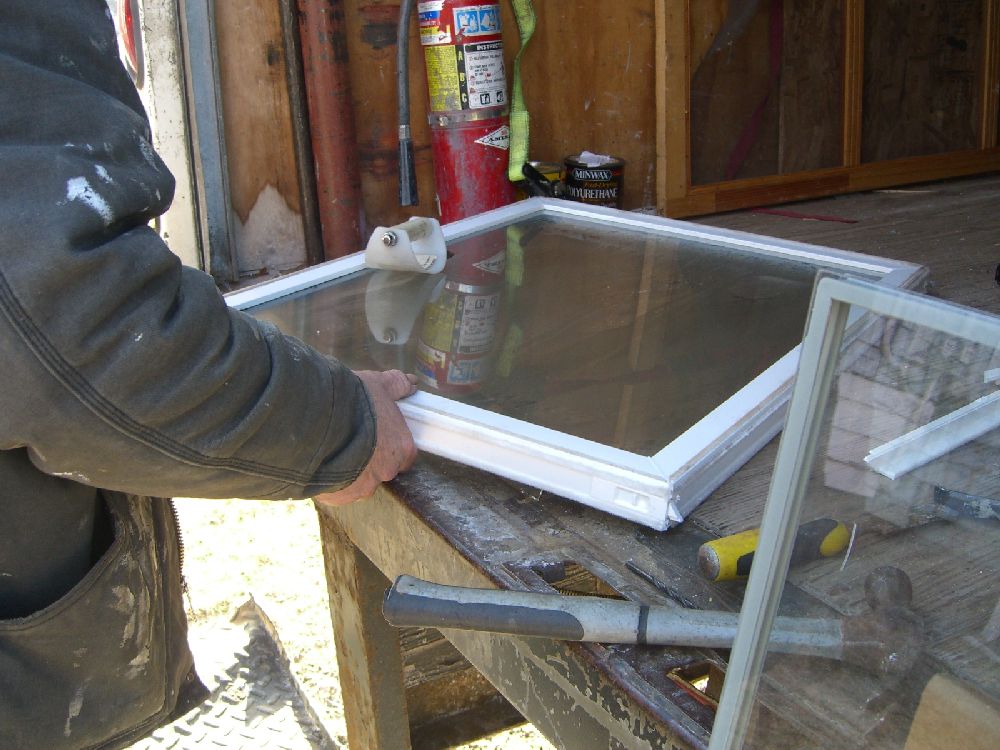
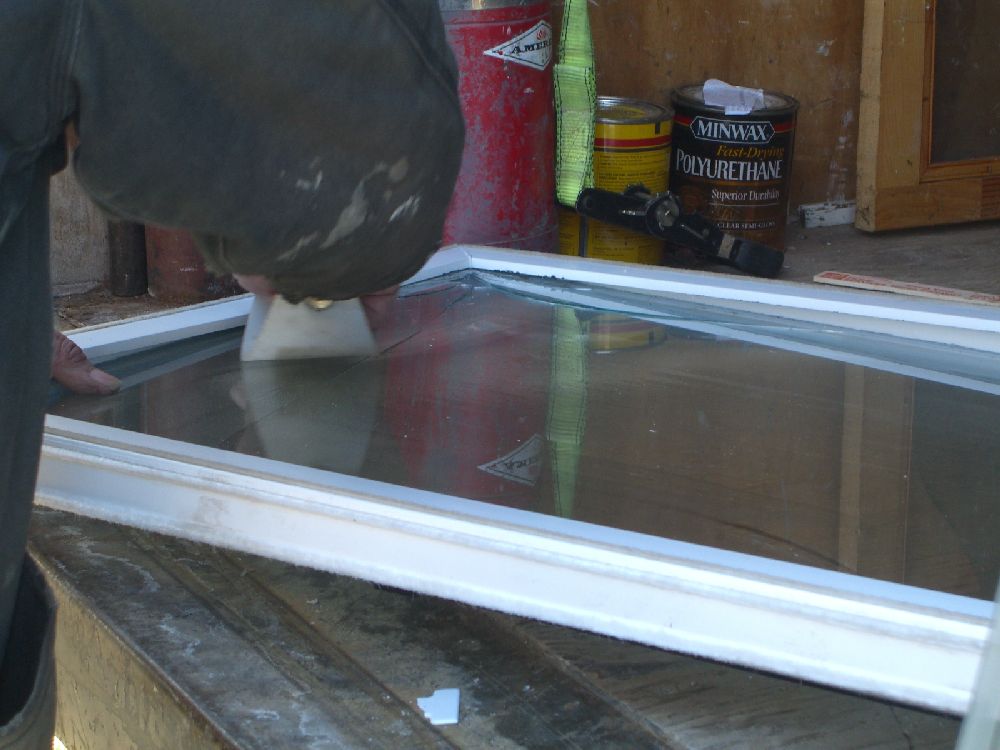
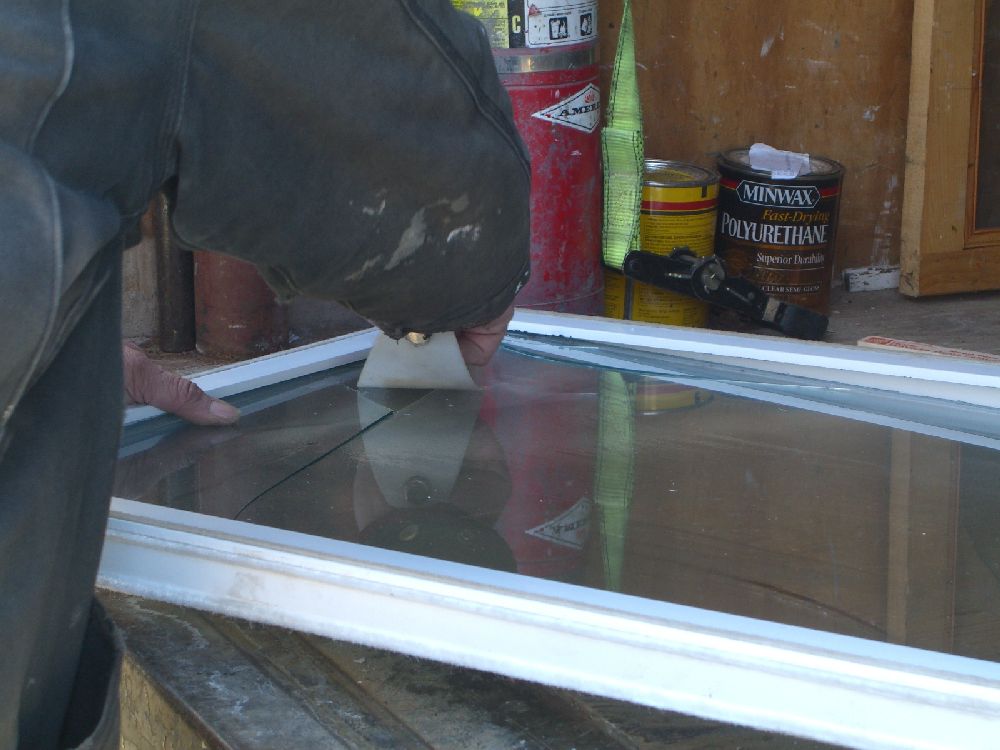
One of the new windows upstairs developed a massive crack, seemingly overnight. Since it’s still under warranty, the window company sent someone (the same person who installed the windows, actually) to replace the pane. When he’d disassembled the vinyl cladding to insert the new piece of glass, he found his initial suspicions as to the failure confirmed – an inch-and-a-half long chunk of glass was nicked out, probably during factory construction. This created stress points that the cold weather exacerbated and caused the pane-length crack.


Everything old is new again
Just in time for the new year, a couple of old pictures from my camera which I apparently never posted.
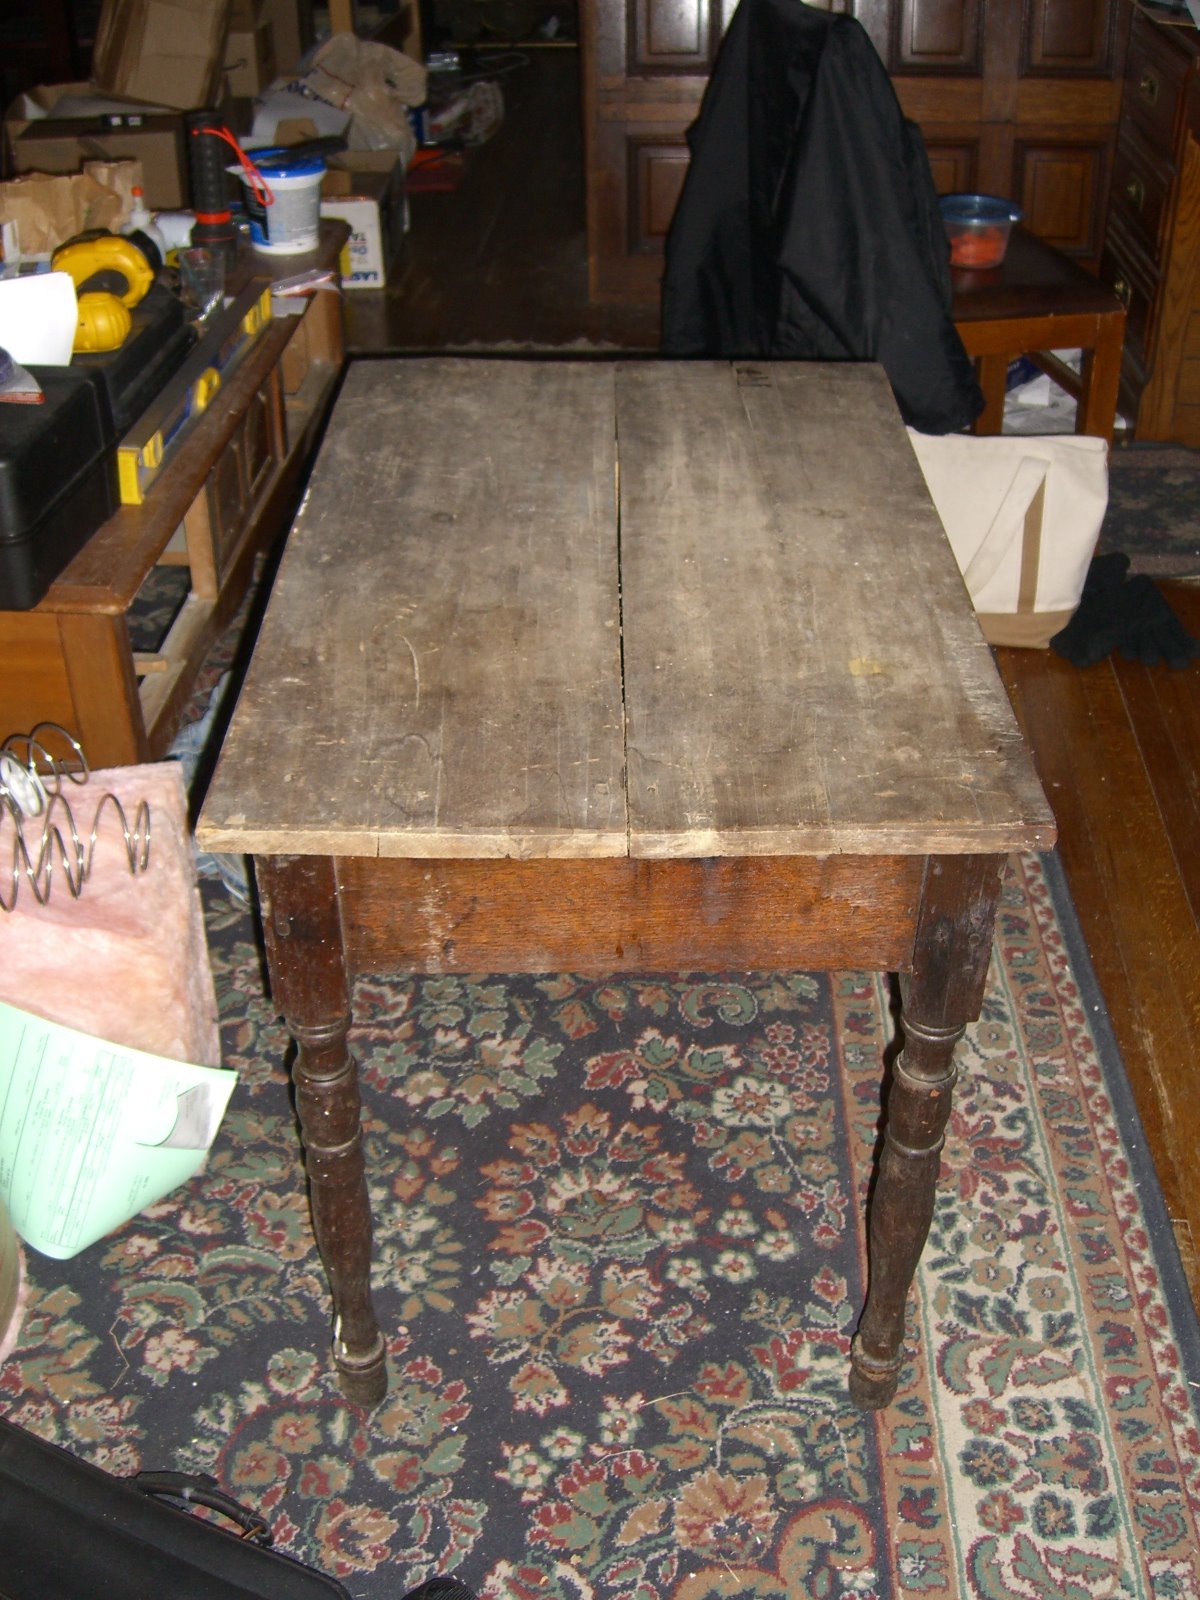
I picked up this table off of Freecycle, planning on using it in my back room/workroom as just a level surface. Originally it was covered in 30-50 year old contact paper (a lovely star spangled theme if anyone wants it) stapled to the underside of the top. When I pulled the paper I found a) a nicer looking old table than I expected and b) a pretty obvious gap between the boards forming the top.
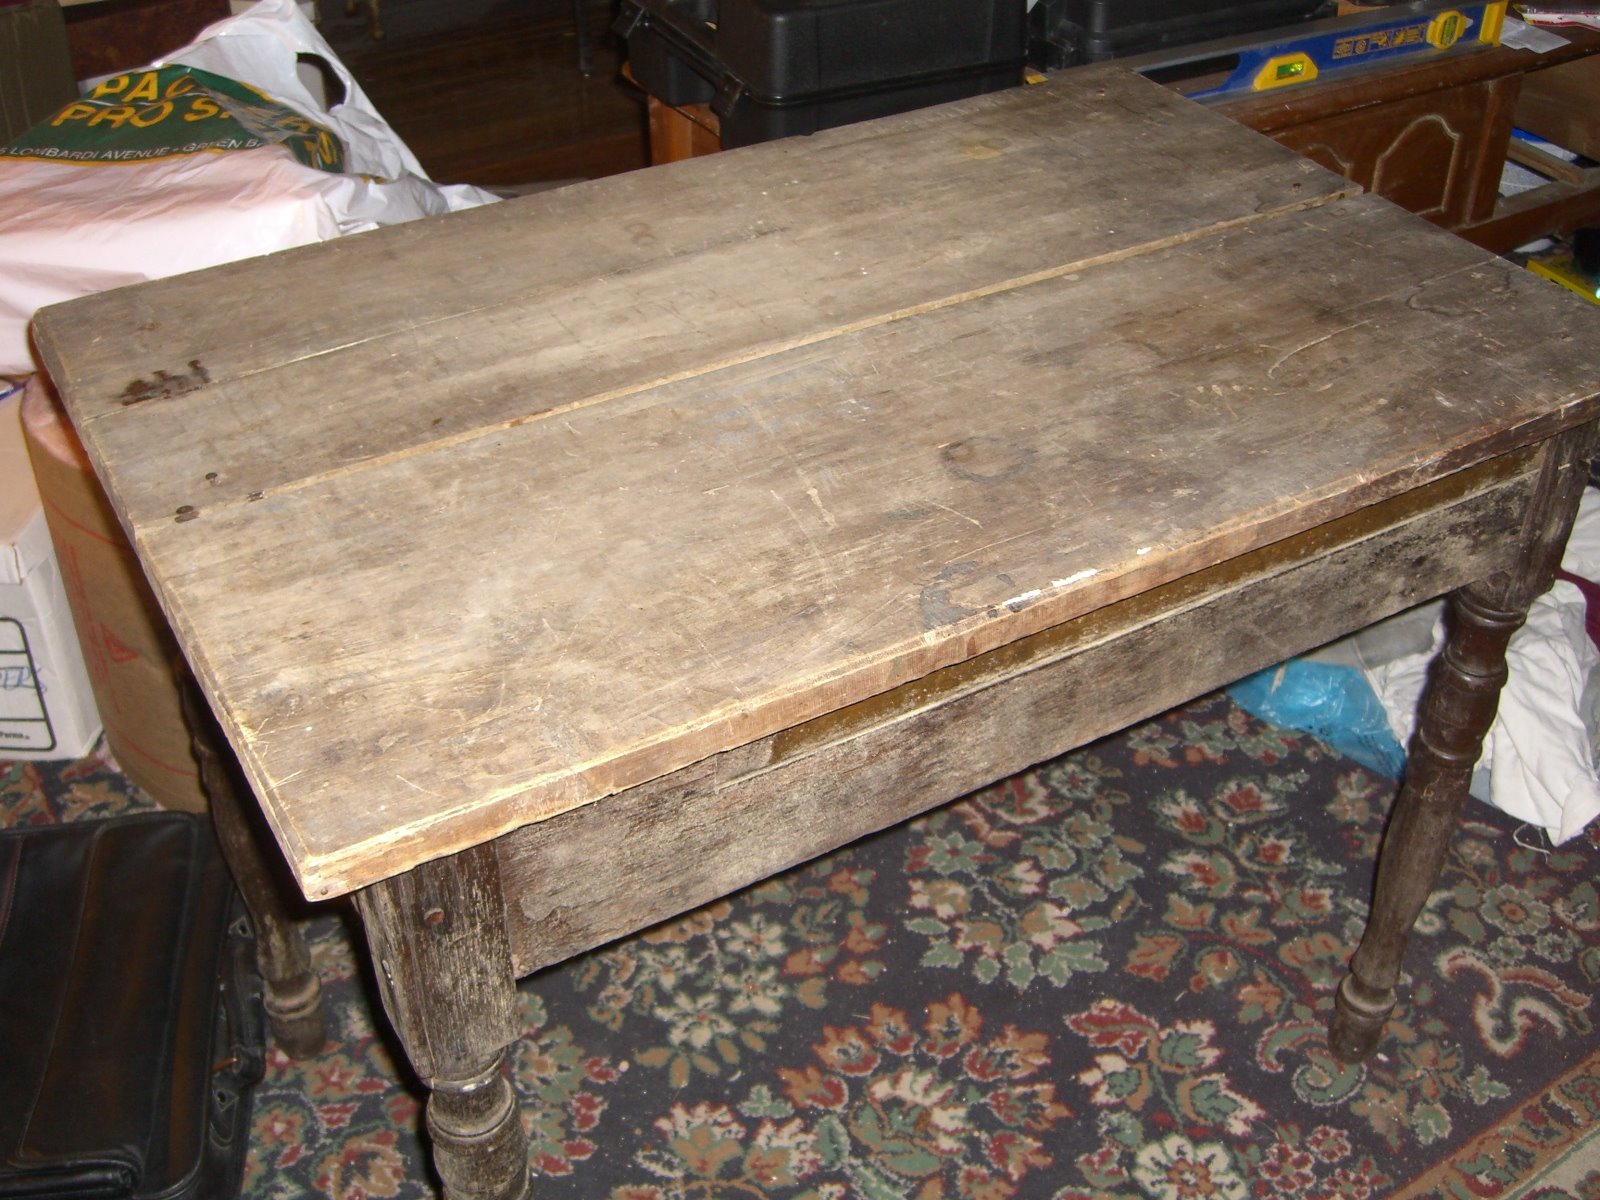
I was thinking about re-covering the table in something, but then I noticed that the nails holding one of the boards were loose. Turns out the table was very poorly repaired sometime decades ago (as well as probably rebuilt – looks like there are three different woods used, plus I’m pretty sure this once had drawer). So I pulled the four nails and tried to reset the board. At this point I discovered that the attempted repair job had involved a heavy coat of glue:
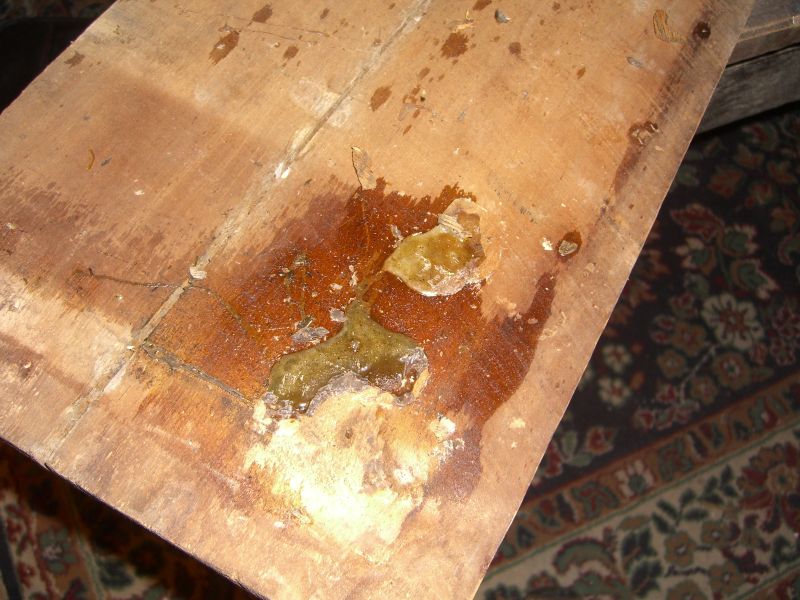
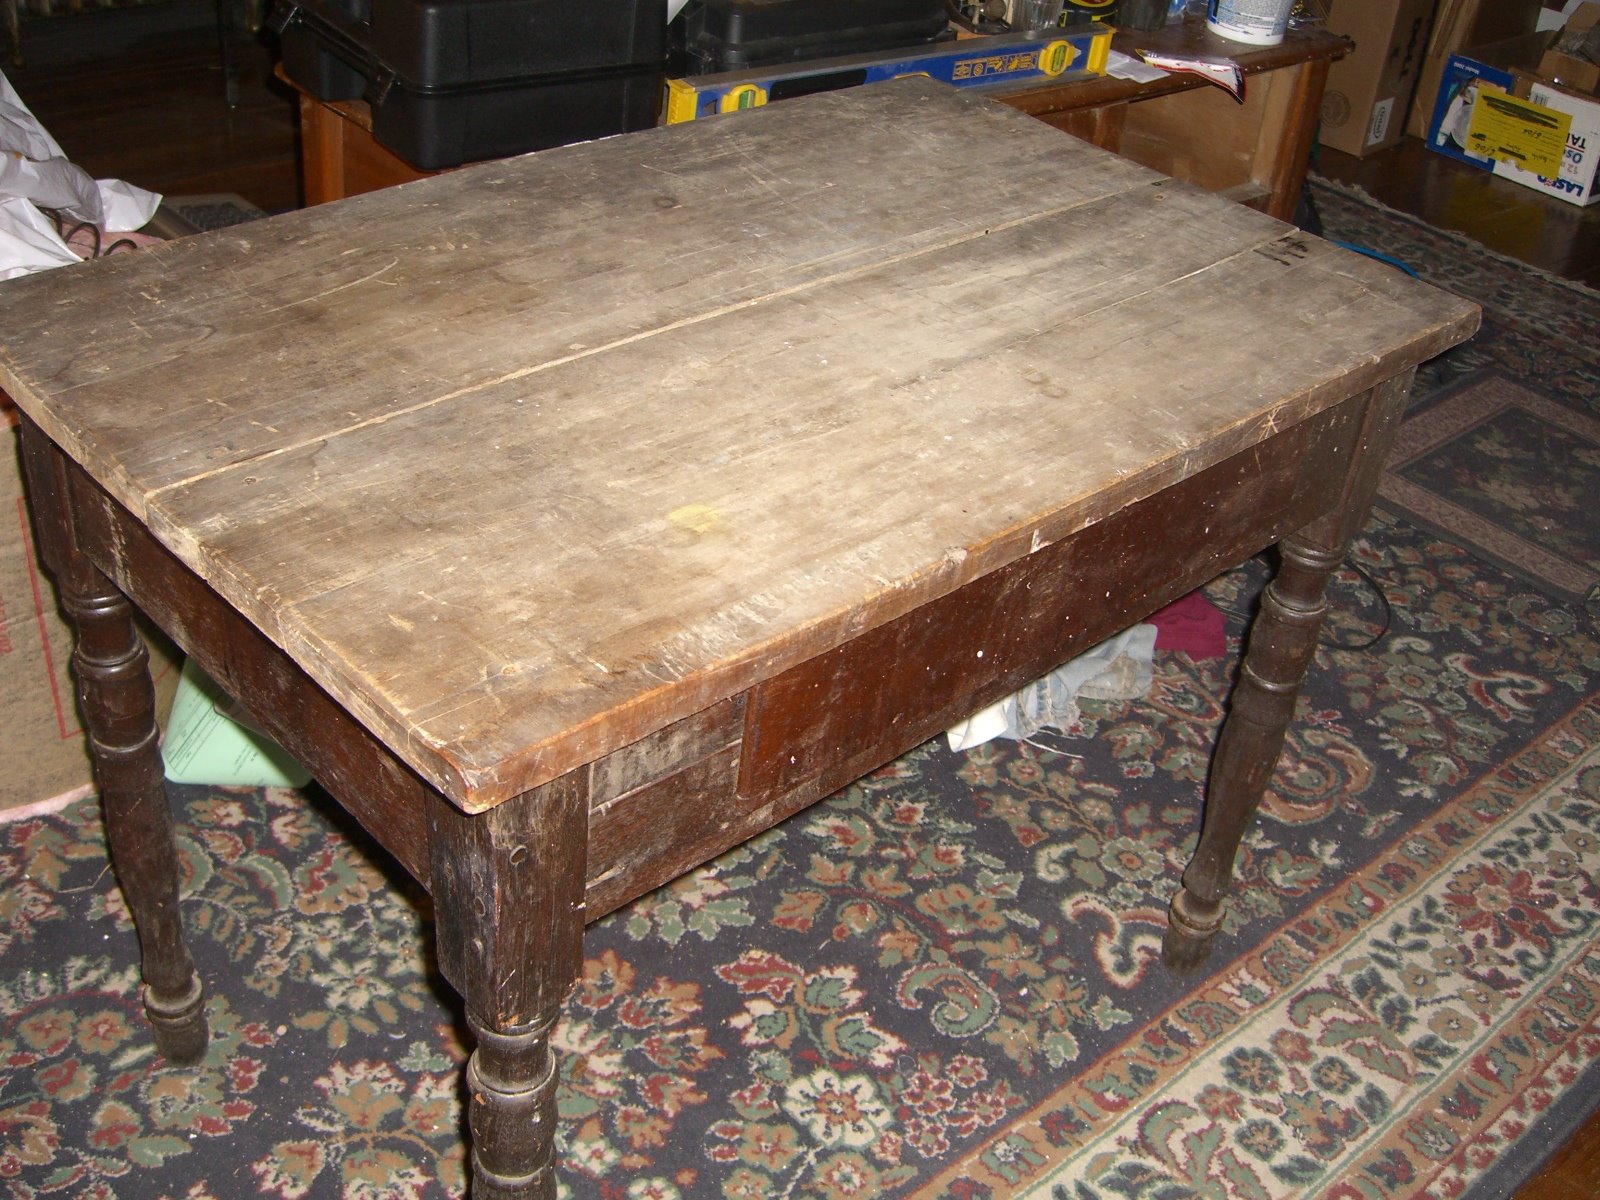
The glue had hardened around the outside edge of the leg, so the board couldn’t be pulled back evenly. Twenty minutes with a putty knife and razor blade and the glue was chipped away. Snug the board as close to the other as possible (the boards look like they were a replacement top ages ago – neither is fully square so there’s still a much smaller gap between them in the middle), tap the nails back into the same holes, and voila!
Before:
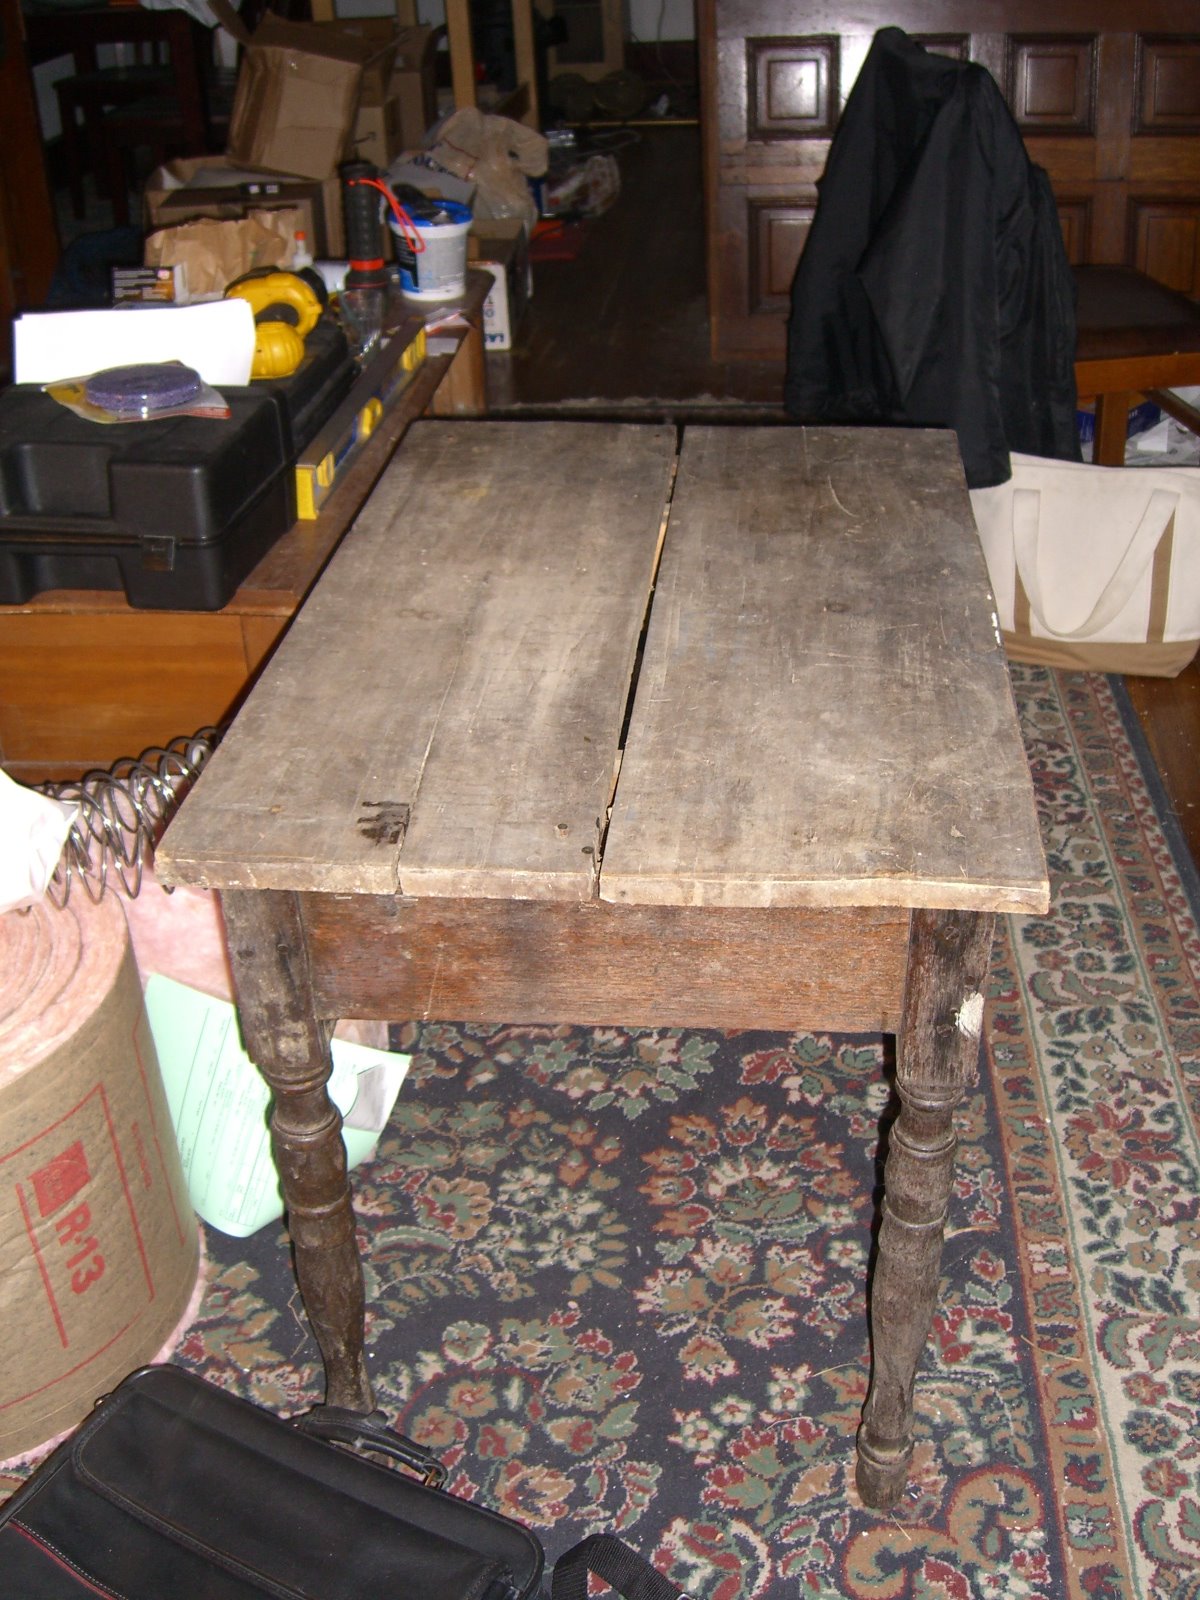
After:
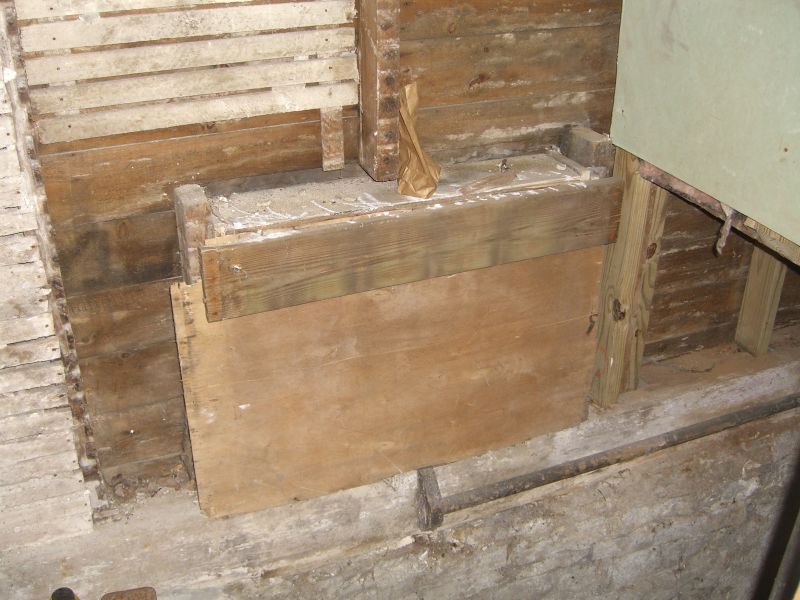
Also, and this was months ago, this is how the window on the steps to the basement used to look:
…and here’s how it looks now:
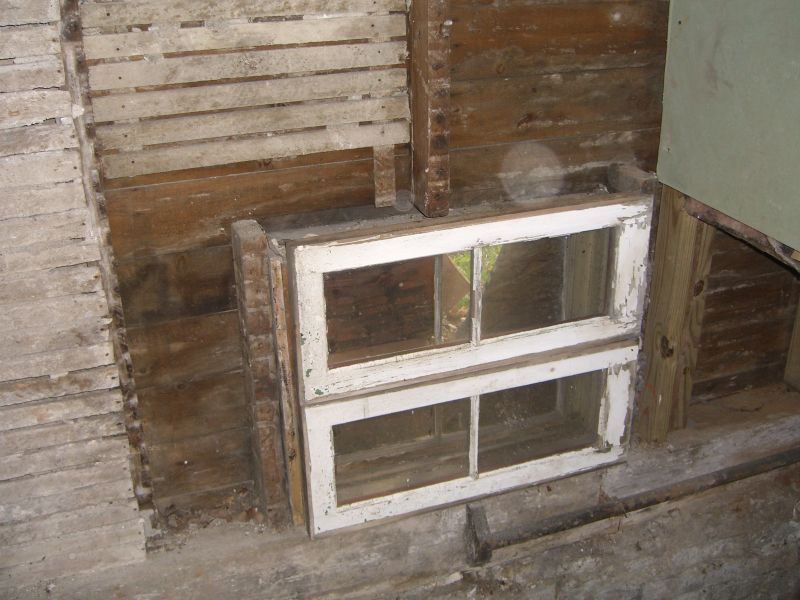
These two windows were lying around in the basement and happened to be the perfect width. Together they’re a little too tall for the space, but they fit snugly enough with the existing box that a heavy bead of caulk on all three sides seems to have sealed out the wind pretty well. The exterior window (sort of visible in the second photo) is missing a pane though, and I was waiting for the temperatures to come back up before testing out my new glass cutter/glazing points/glazing compound bundle that’s now sitting in the back room desiring to be useful. Better pics of both inside and outside once I lay that last pane.
Doors and windows
In addition to trying to sort all my tools and supplies in the living room (that’s where they’ve been since I don’t have real space in the back room until the shed is built) today was spent painting windows, caulking a few of the storms, and finally finishing fixing (alliterative adventures abound) the porch door. Every window on the first floor is painted; almost all are ready for winter – I need to caulk the new ones in the kitchen and we should be good.
The door had two minor problems. First, it had settled (and I hadn’t hung it super squarely to begin with) so the top far corner was rubbing against the frame. There’s a simple fix using a trick I learned while hanging some drywall back in high school – wonderbars are just levers, and they let one person do two jobs. Prop the far side with the bar lengthwise:
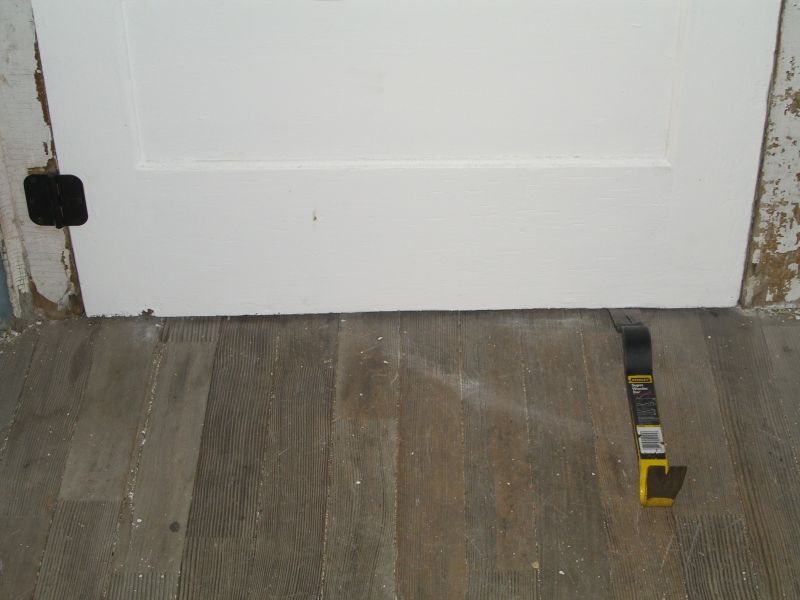 It’s actually best if you flip the bar over (so you are using the lever closer to the door), but this way might be necessary depending on how much clearance you have under the panel you’re trying to level – fortunately my very nice old porch door is very worn on the bottom, so I was able to use it the ‘right’ way. In other words I messed up when I was staging this shot after the fact. Resuming the how to: Take the screws out of the top and middle hinge on the frame side. Press down on the wonderbar to bring the door square against the frame on the hinge side. Resink the screws starting at the top – you may have to go in at a slight angle to catch clean wood as opposed to the old hole. Chances are you’ll be fine going straight – old doors tend to have a little more space between them and the frame, so if it’s to the point of rubbing then squaring the door will probably move the hinge screw holes over quite a bit.
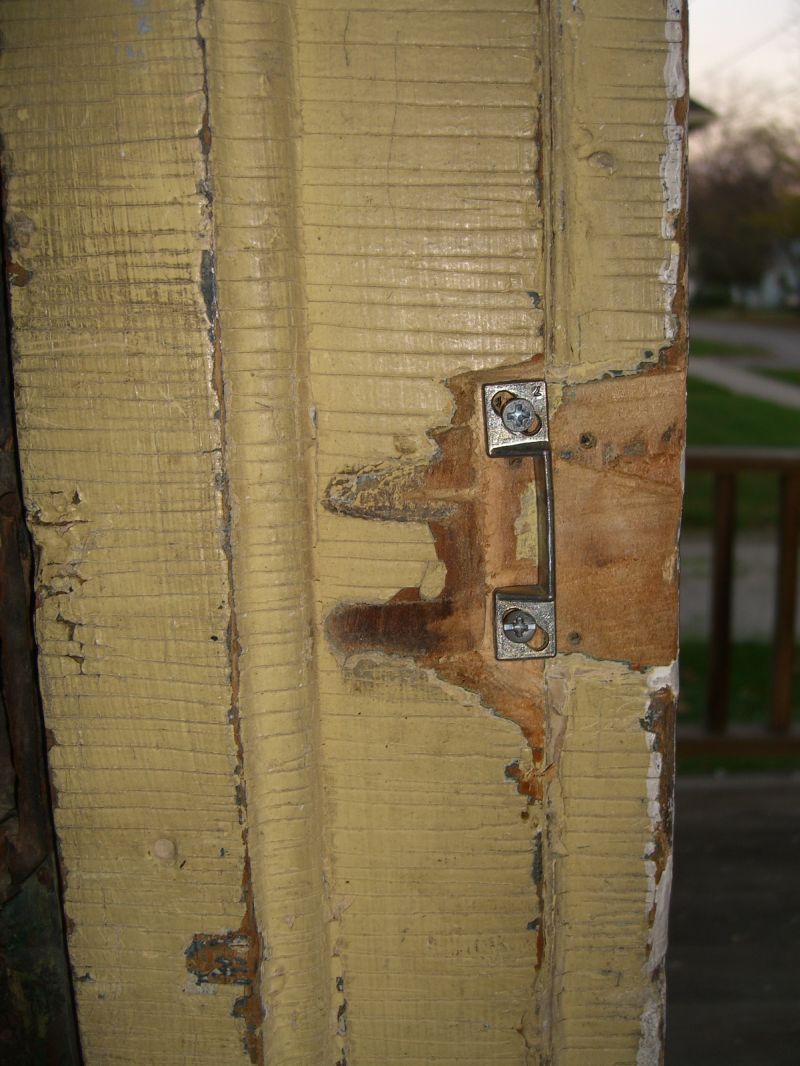
Problem two was mostly aesthetic. The strike plate was set for the aluminum screen door I took down. You can see where another strike plate used to be set further back, but this one didn’t quite fit there. The result was that the door latched but wasn’t flush with the frame – it butted out 3/8″ on the far side.
 I couldn’t locate a smaller strike plate during a couple of shopping trips, so I went for the next best thing – carving. A few minutes with the jig and then a pocketknife got me a flush enough space to screw in the plate. I think I’m going to invest in a chisel set for all the wood I’ve got in this place though.
 Properly hung door, seven painted windows, and a living room I can walk through. It’s been a good Saturday, even if I didn’t get out to the electrical supply place.
The worst thing on the outside of the house
At least I hope that’s the case.
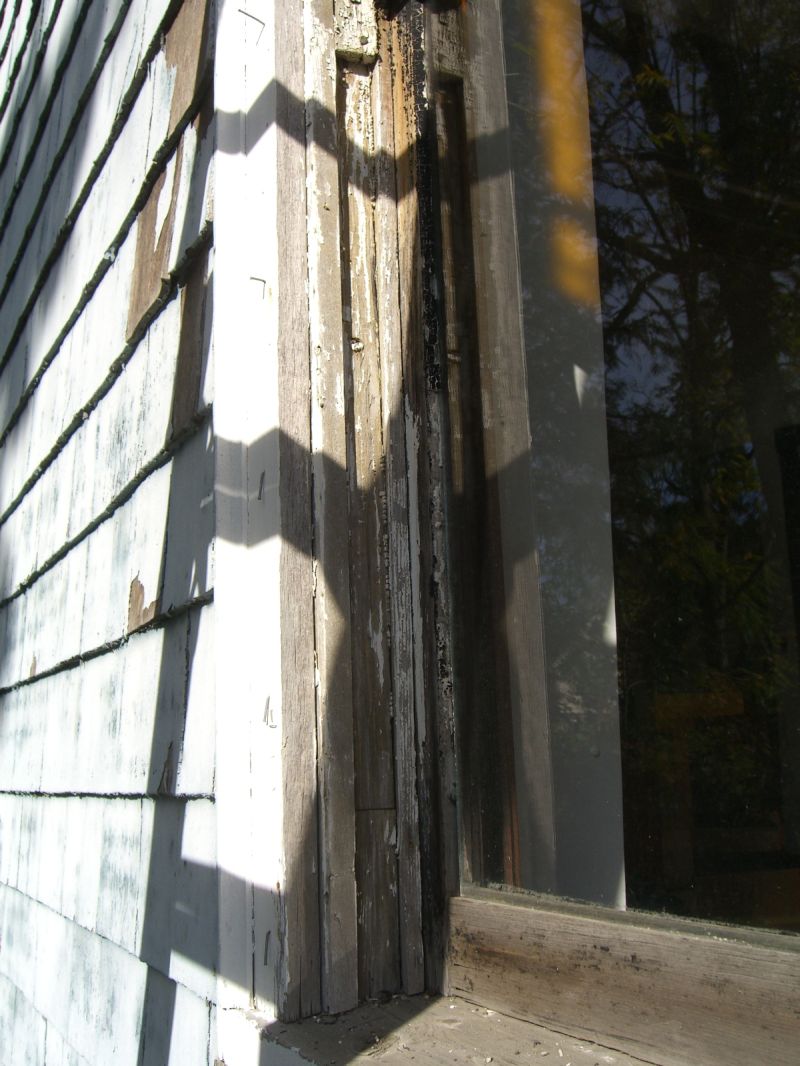
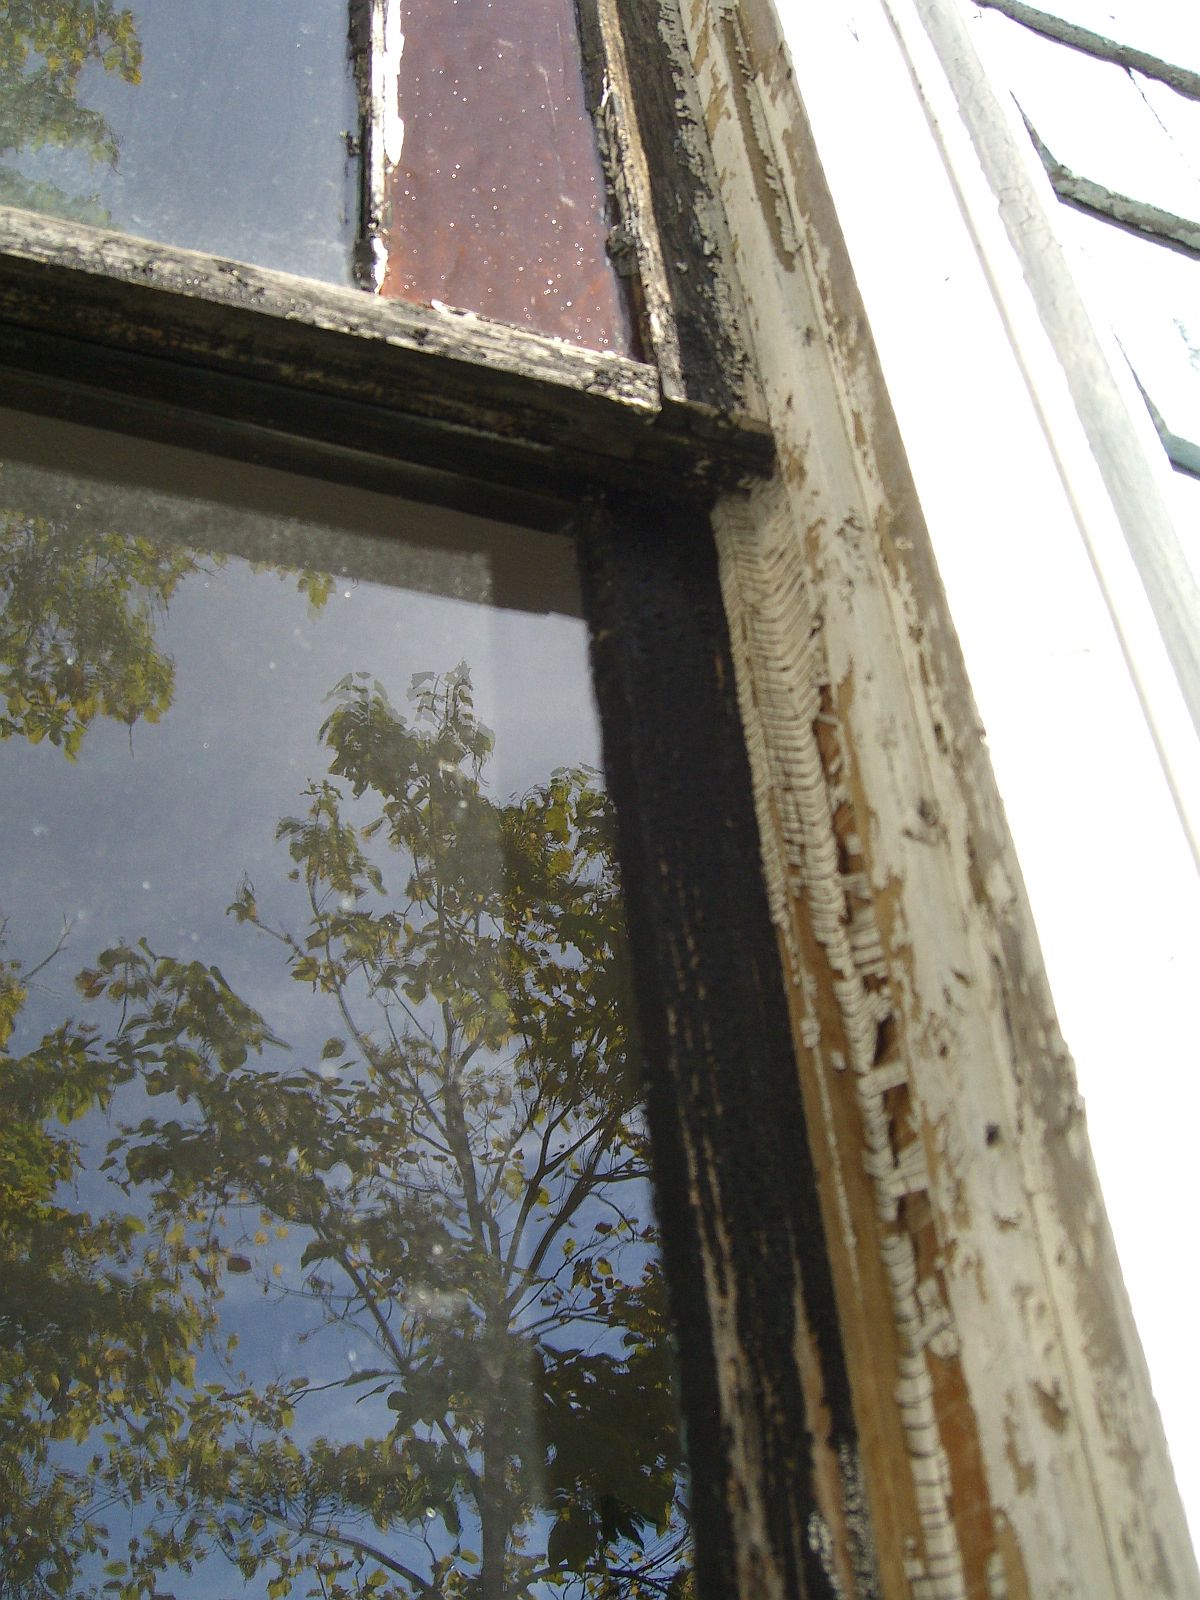
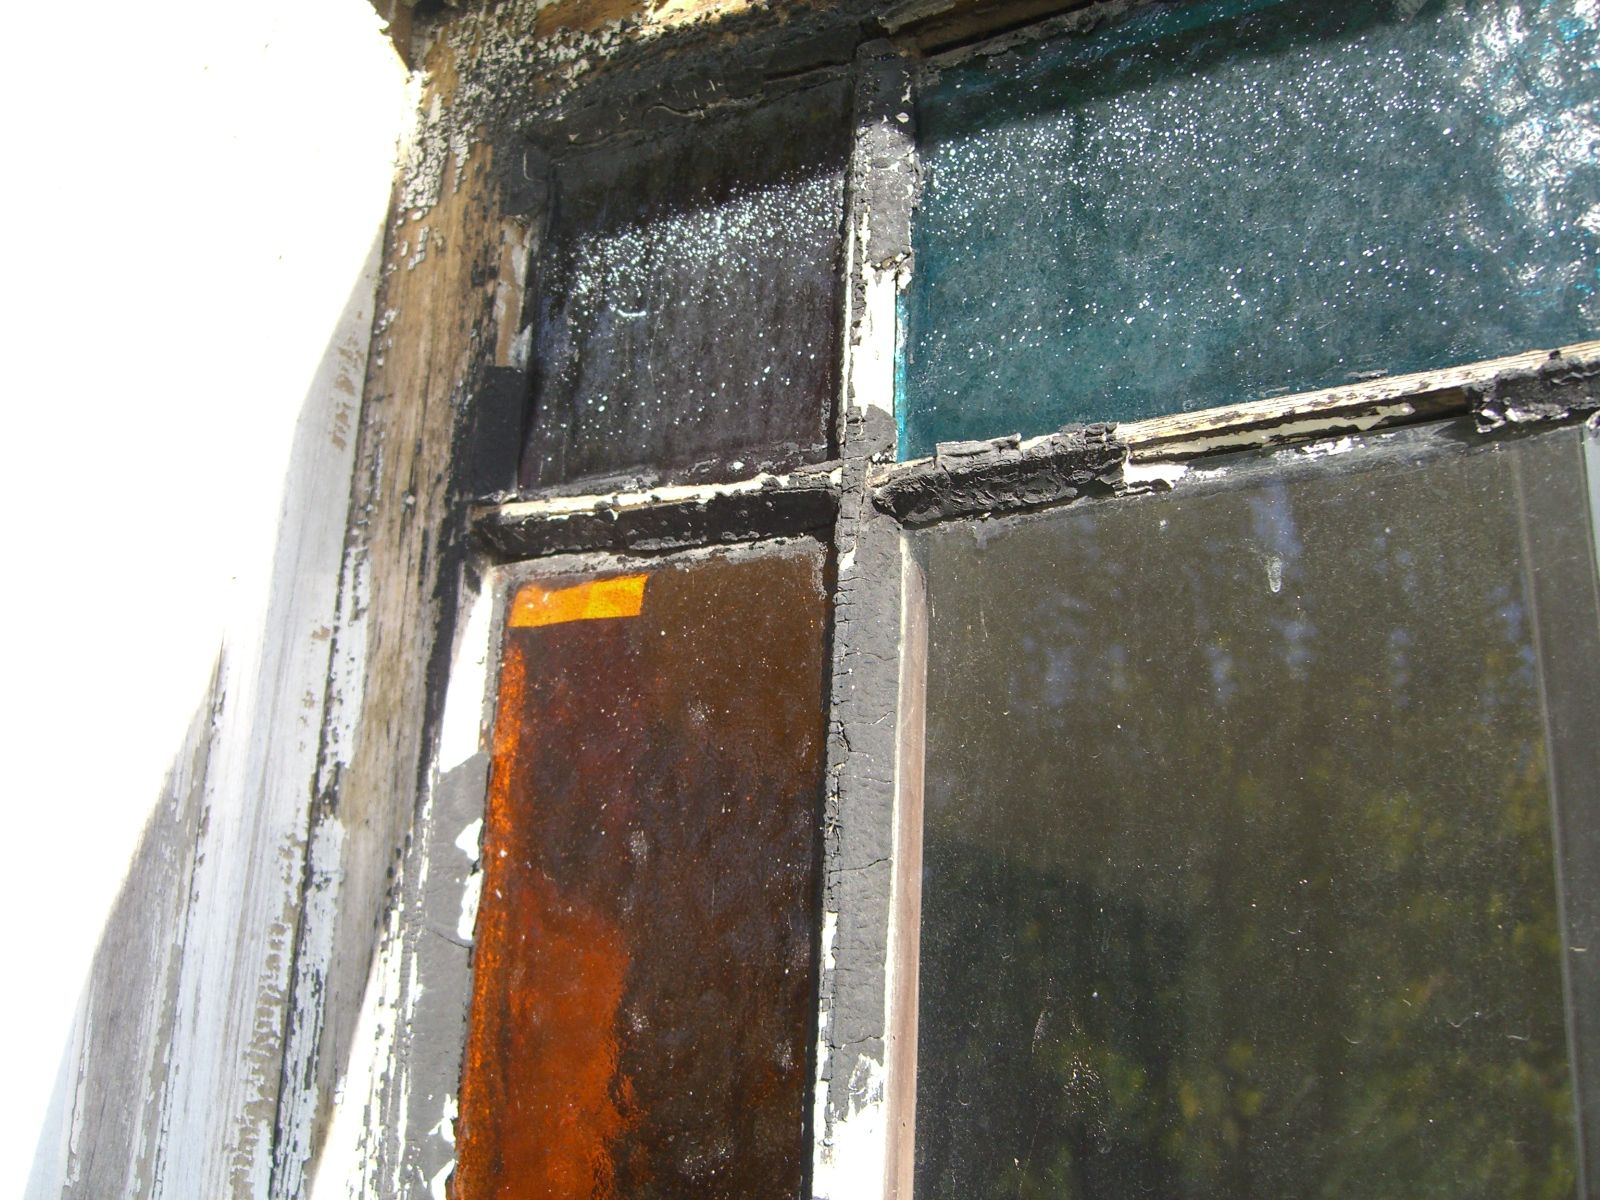
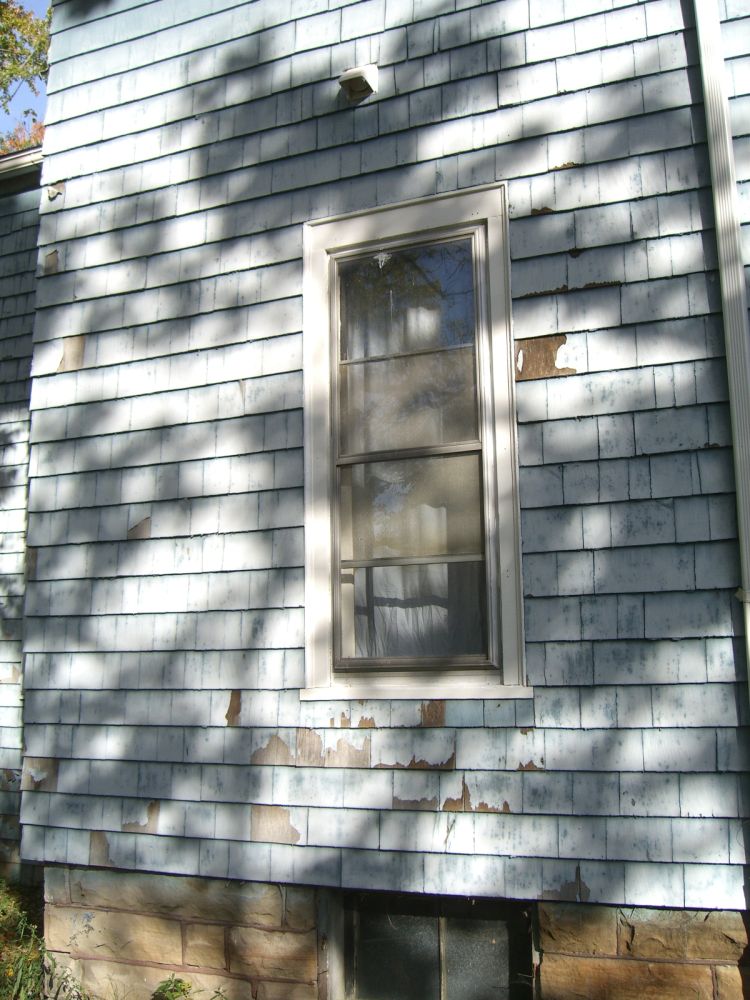
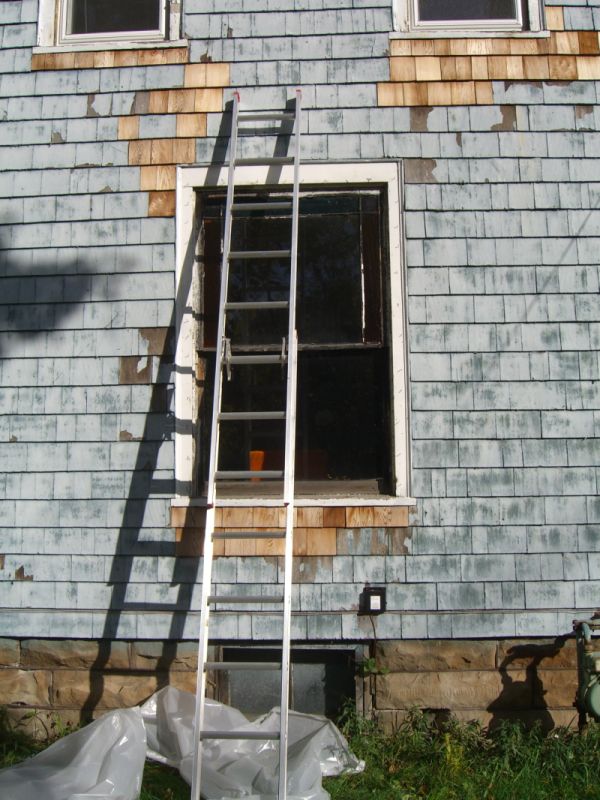
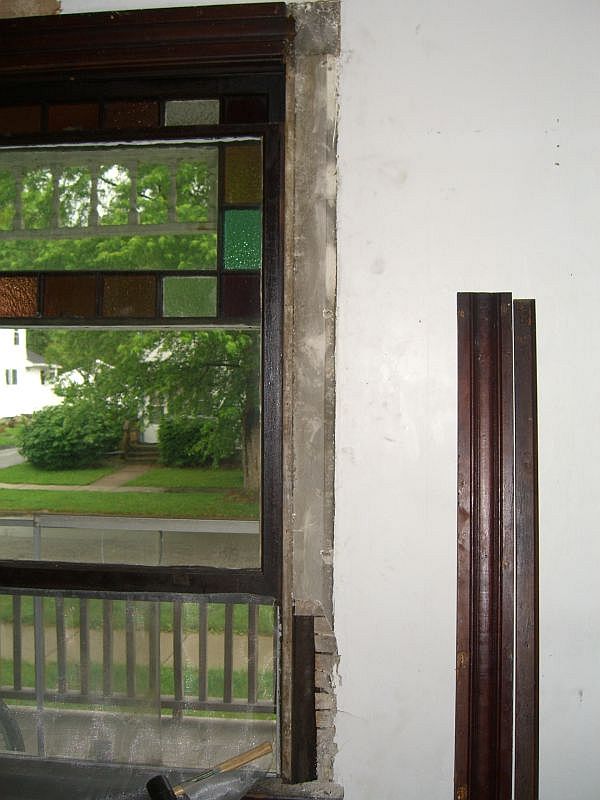
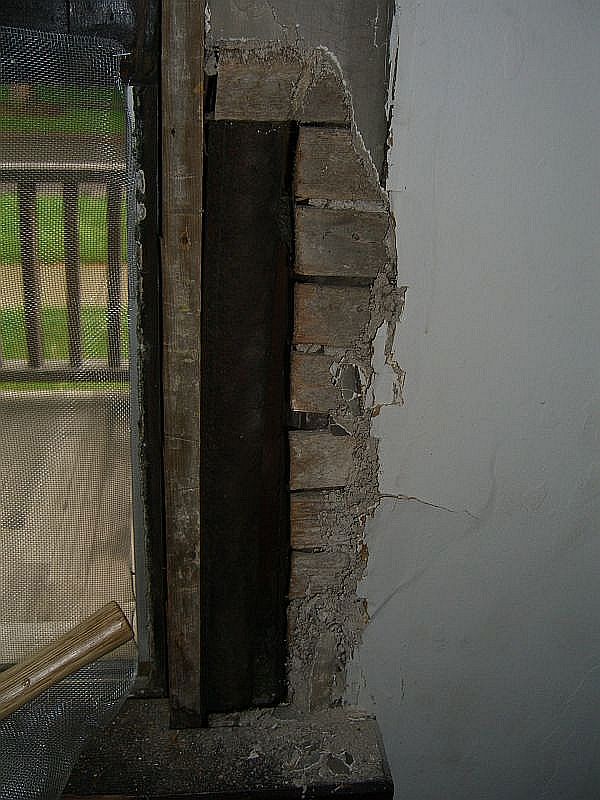
There are two big picture windows in the living room, both with some stained glass. The one on the west wall (which is the most exposed to the elements) looks like it hasn’t been touched in decades – when I moved in, I could see some separation between the glass and the wood framing elements; the caulk is severely damaged on much of it.
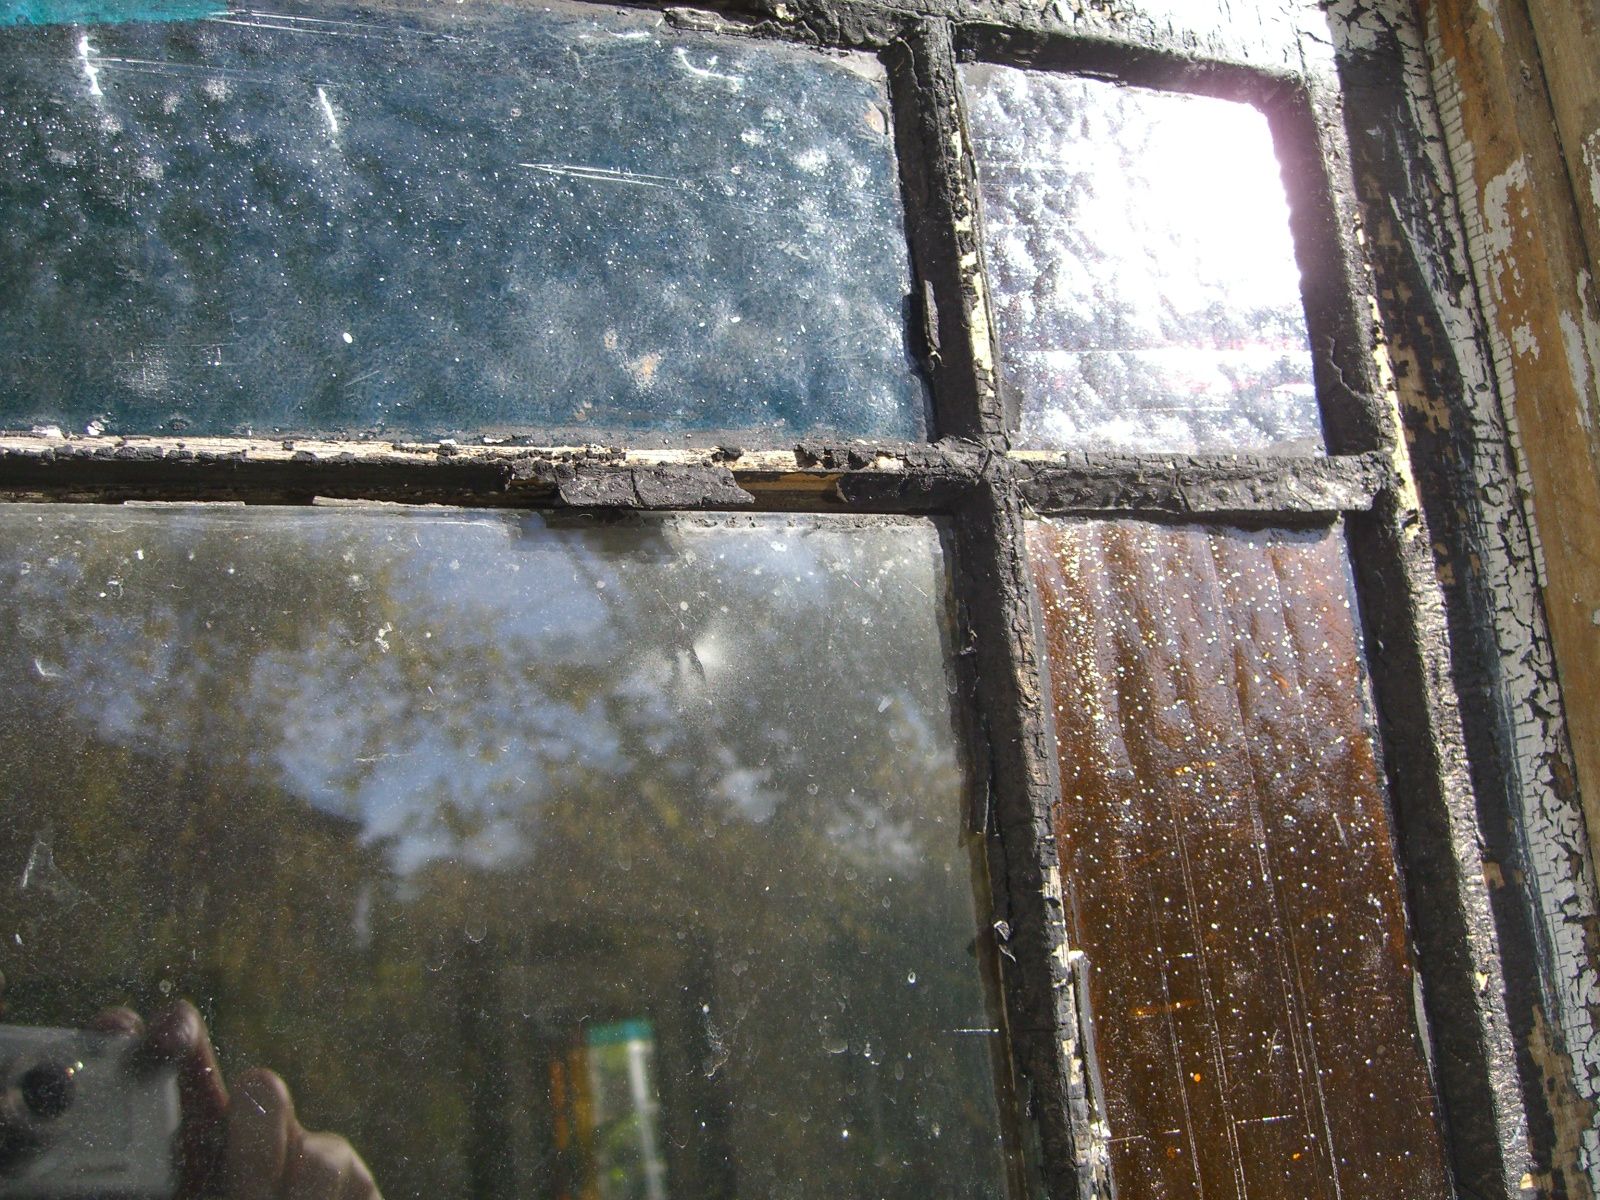
Now, the storm window that’s coming will go a long way to protecting this, at least for this year. I’ve had good success with plastic sheeting in the interim to keep the rain and some of the wind away. Tape on the inside plugs the biggest gaps to prevent drafts. I don’t plan on working on restoring or in any way fixing the two sashes anytime soon – painting the exterior frame and getting the storm in is likely all I’ll do this fall. However, there are two questions that this window raises.
The first is the obvious – how to best go about fixing the sashes, especially the multi-framed stained glass one up top? Any resources anyone can point me to would be much appreciated. The second is a historical one. Everyone who’s looked at this glass has said the same thing – it’s not original, and likely went in well after the other stained glass in the house. Is there a way to narrow down when the glass was installed – the color, the style of framing?
Sunday
No more creative a title than that. Today was a productive continuation of yesterday – swapped some lightbulbs through the town lightbulb exchange (Oberlin College students and town residents can turn in incandescent lightbulbs and get CFLs instead – totally free thanks to a donation from an anonymous alum), took my new jigsaw out for a spin (pictures hopefully tomorrow when the rest of that project falls into place), and painted several windows. Most of the windows have pretty weathered sills and surrounds – it’s been a while since anyone painted the trim, let alone all the shingles. As long as the shingles aren’t loose, they should survive the winter regardless of paint. The trim on the other hand really needed a good seal – I’ll probably go over the sills and any rough spots with a second coat this week.
 Once again I failed to take a before picture.
 Just pretend the trim looks like everything around it.
 Oh, and also mowed the front lawn – who wants to take bets that this won’t be the last time I’ll do that this year?
Stuck (un)
Posted by aaron in living room, window on 9 July 2008
Finally. Four cutting wheels on a borrowed rotary tool to score the plaster and start to cut the wood, a screwdriver to chip the plaster out, a saw and a steak knife (long story) later and I could access the wheels inside the wall. The rope had in fact jumped off and was wedged between the wheel and the wheel well.

 Snipped the rope, rolled the wheel to loosen the stuck section, and the window finally came down. Some new line and an assist from Marion later and I swear this thing moves smoother than before.
I haven’t gotten a chance to look into options for the next part of this project, though – security. Right now there are a couple of heavy screws above the bottom sash to keep anyone from just sliding it up from the outside. There’s probably a more elegant solution to be found, something custom that matches the old wood, maybe. Perhaps it can be located at Home Depot.
Update: Stuck
Posted by aaron in living room, window on 4 July 2008
Attempts to fish at the stuck window‘s sash rope failed, partly because the wheel is farther down than I initially estimated. Unless someone has another idea I’ll be cutting a new hole in the plaster and lathe as soon as I get the appropriate tools.
Stuck
Posted by aaron in living room, window on 24 June 2008
These photos – and this project – have been sitting around for a week and a half or more. When opening this lovely window to look at the underside of the bottom sash I apparently raised it too far and now it won’t close. The top of the sash – maybe even the rope tie point – is past the inset wheel in the frame, and I’m pretty sure what’s happened is that the rope has come off the wheel. My friend Hans examined the window at some length and noticed that the rope appears slack in the crevice between the side of the sash and the frame, and goes even more slack when we raise the sash further. Between that and the feel of where the sash catches when we try and move it, I think the rope-off-wheel theory is sound enough to test.
So the current plan is to lift up the counterweights enough to create some slack on both sides of the wheel, then attempt to fish around from the top of the sash with a heavy paper clip or some similar hook and try and catch the top of the rope loop, lift it, and guide it back on the wheel.
Option 2 is to get a Dremel (I’ve been thinking about buying one anyway) and saw a square through the plaster and two or three of the lathe boards underneath up towards the top of the channel where the wheel is. This would, in theory, let me reach right in and do the same thing as above but without trying to imitate Huck Finn.
And in other news, these two nails just do not want to come out of the rosette:
