Archive for category garden
Believe it or not…
I’ve done a bunch of housework since February, I just don’t have internet at the house so I often forget to post anything. Besides, you like pictures with your stories, I know you do.
More of the exterior is painted, the garden beds have been expanded a little, the raspberry bushes are coming in all over, and more light fixtures have been upgraded. But all of that is but words. Pictures, and more frequent updates, hopefully soon.
Rabbit-proof fence?
Another old project which I am only now posting. With plans for some garden space (in place of lawn) came the realization that there are rabbits bounding about my town much of the year. Some fencing was in order.
First, to prep the space… I pulled sod in a roughly 8′ x 4′ rectangle next to the existing flower beds, and I think I came across a footer or something connected with the old old old porch stairs that likely came off the front under the peaked roof.
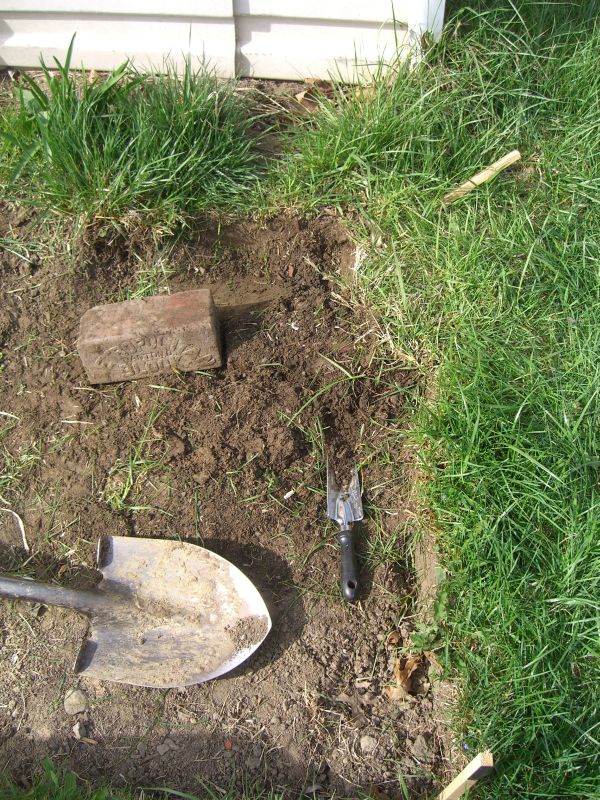

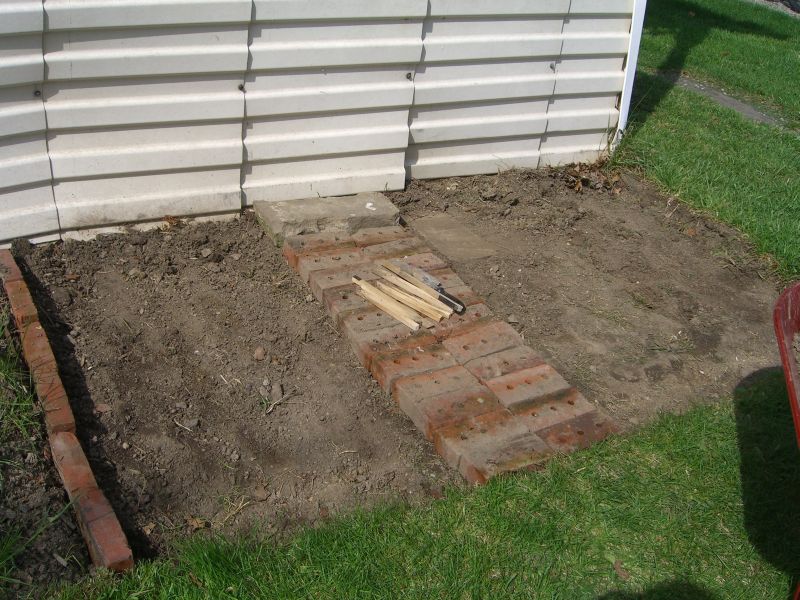
With the space cleared and major rocks and roots removed, I laid a ‘path’ using salvaged bricks so I could access both ‘plots’ easily.
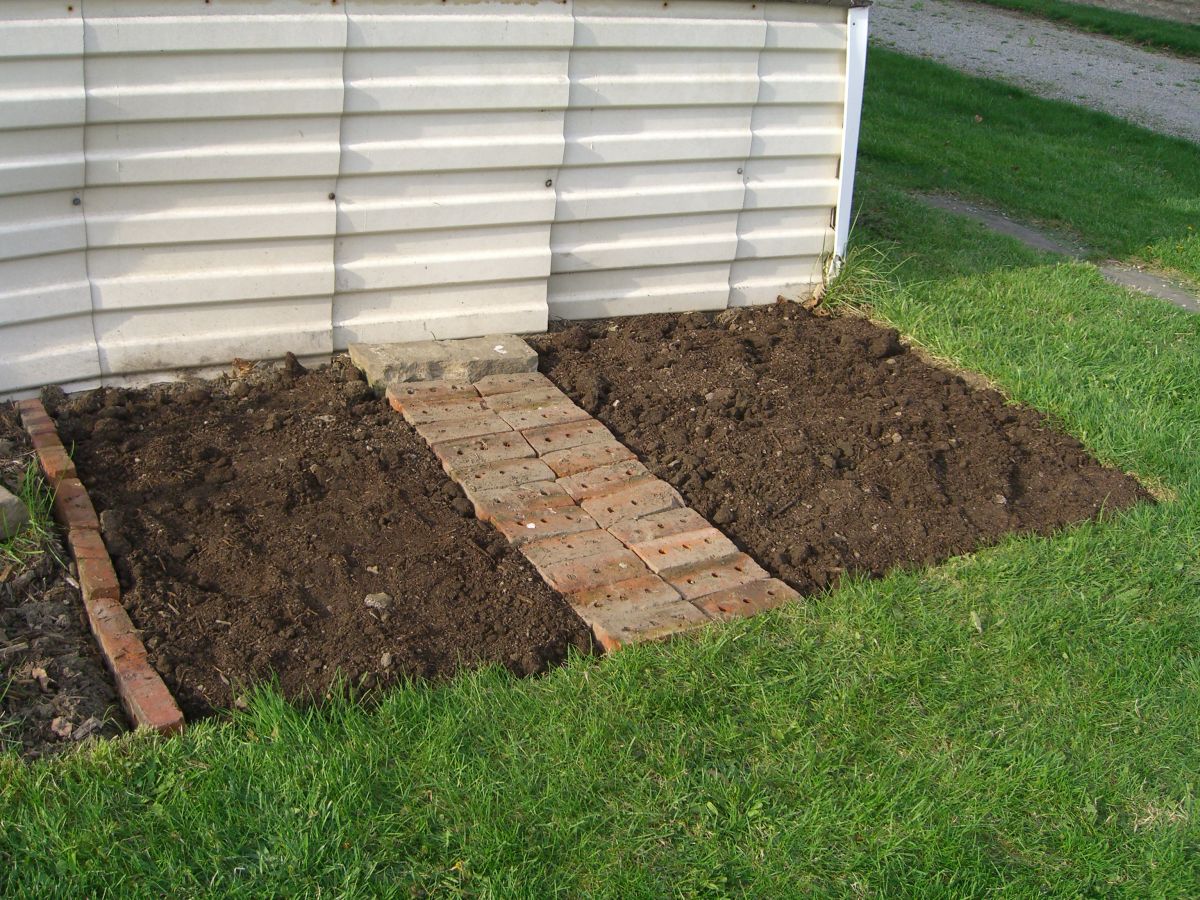
Fill in with several inches of topsoil…
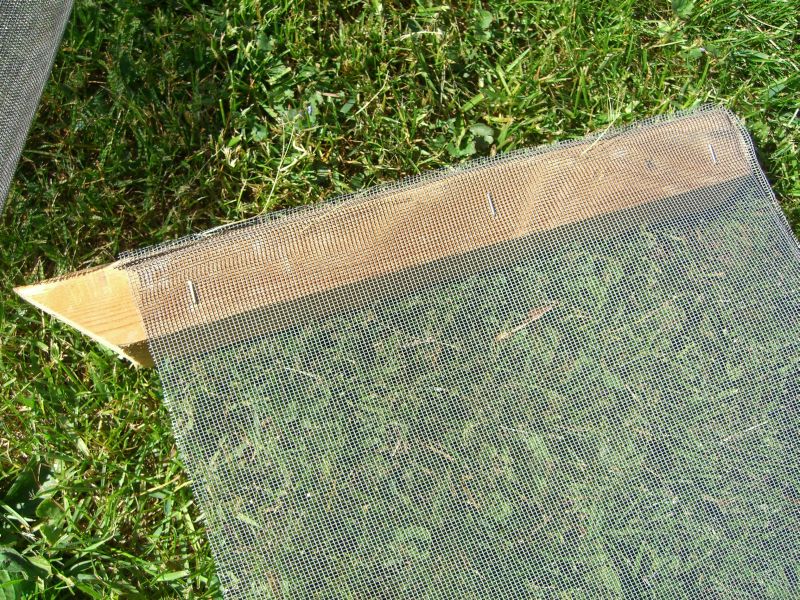
And now for the fences. These held up fine in the ensuing winter, but they were definitely a temporary solution – although a good way to use existing materials, I think. I started by pulling the screen – some fiberglass/nylon, some maybe aluminum – from the frames of old storm windows I hadn’t yet dragged to the scrap yard.

Once again, my 1″x1″ poles were turned into stakes with a quick miter. I then cut the screen maybe 5 inches wide and attached the runs to stakes with ye olde staple gun.
As with the raised beds out back I found it easiest to attach no more than two walls at a time, and then complete the sides after the first walls are in the ground. You may also want to carve some trenches along where the screens will run first (you want them to be even a little bit underground so gaps don’t open up between earth and barrier) to make it easier for yourself as you lay in the stakes, the screens, and then refill with some dirt.

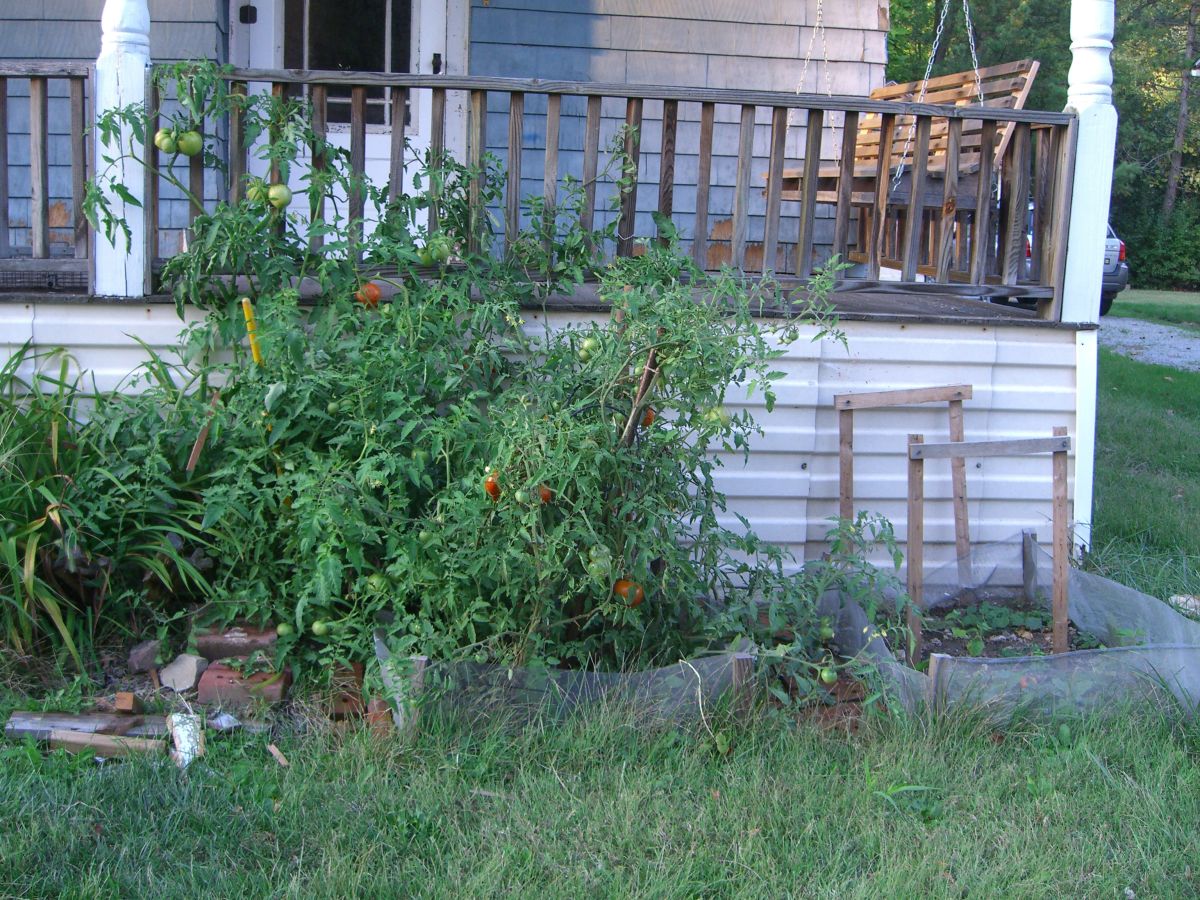
And here’s what you get when you drop some plants in your now rabbit-proof plots:

Raised garden beds
I am now light-years behind on any sort of posting schedule, or non-schedule, or really just posting, period. As a result, several of the next few posts will be horribly outdated: projects I finished months ago – some even last year. I’ll start with some adaptive reuse that’s been feeding me for part of this summer:
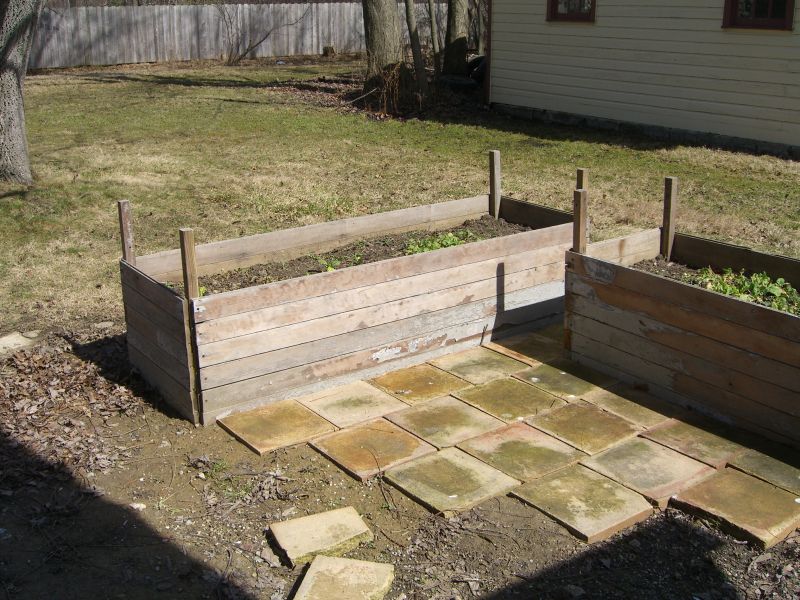
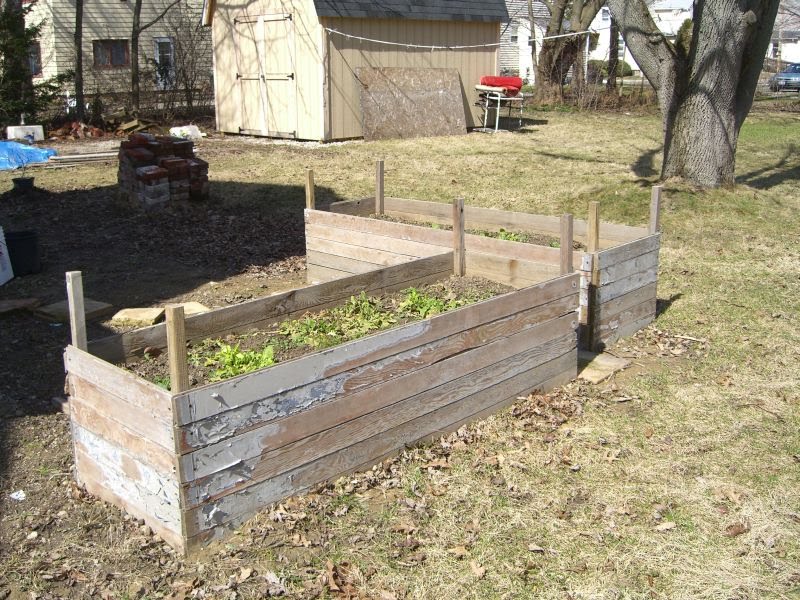
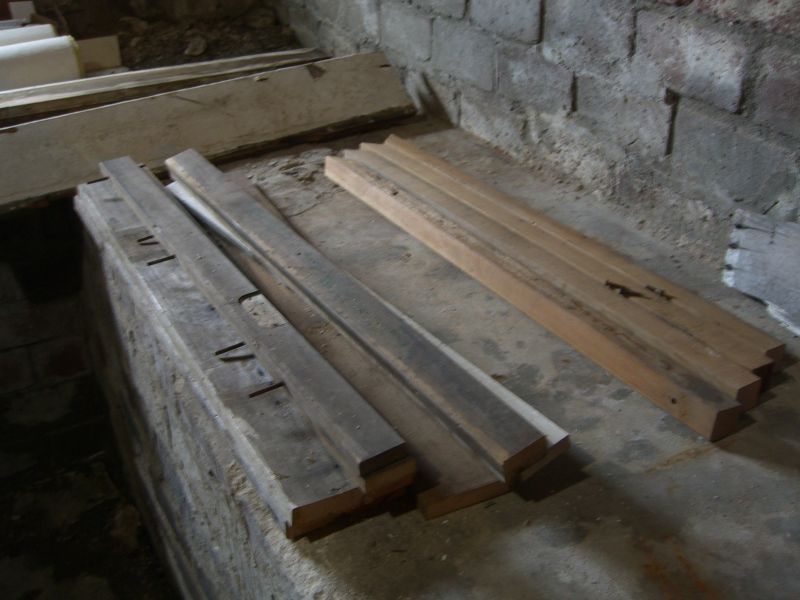
I won’t go into the virtues of raised beds here (plenty of others have said it better than I can right now) – and I’m not even to the point of square foot gardening – but I knew a couple of raised beds were going to be an important feature of my efforts to turn the gravel pit behind my house into something better. These are made entirely from found materials. The stakes – which are roughly 2′ in length each – are the same scrap posts I used for the compost bin last year; each has the same 45-degree miter at one end. The walls used to be a porch up in Elyria. The homeowner had redone his porch but hadn’t thrown out the wood yet, then saw my post on Freecycle looking for tongue and groove planks.
Construction could have gone several ways, each with their own pros and cons. One option would have been to measure off the stake locations and dig/drive them in first, then fit the walls to that skeleton. This would probably wind up with some imperfect corners since you’re looking at keeping things square over a four foot run. Another involves building the entire box in the workshop, moving it, holing out for the stakes, and then hoping you’ve leveled the ground well so it doesn’t skew when set down.
I chose to lay out two stakes on a flat surface, attached the planking for a long wall, then sank that whole wall into the ground. After both long walls were in I attached the short walls, screwing in the lowest plank, then fitting the next plank, screwing it in, etc. It was easier for one person to handle, and a little forgiving of leveling issues. The most important detail in this approach is being as exact as you can in spacing the two walls – otherwise the corners are likely to look ugly.
It’s conceivable that you could build two ‘L’s of one short and one long wall each, then move those into position. Again, that approach will have its own pros and cons.

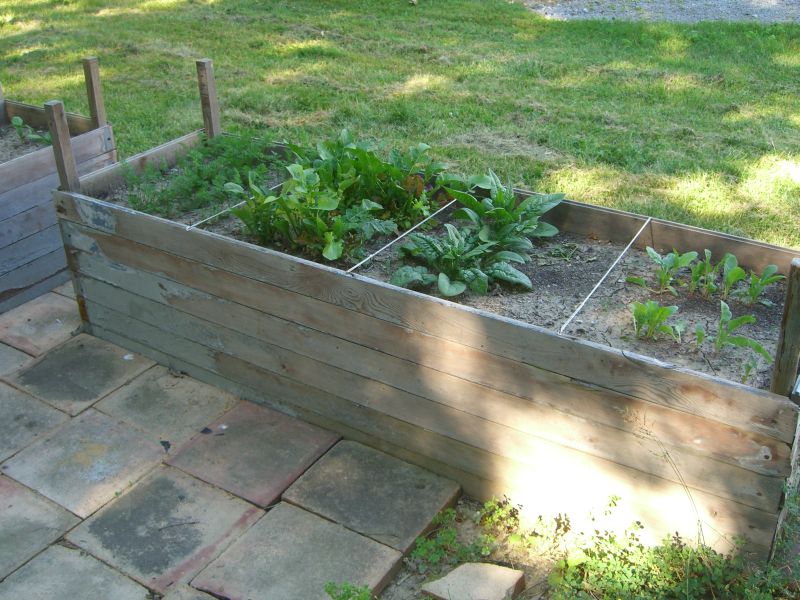
Ultimately, no matter how you build your garden beds, it’s still all about the dirt. These beds are roughly 20″ high so I wasn’t planning to fill them entirely with top soil. I have piles of clay fill from a neighbor’s basement excavation and put in about 15″ of that to fill the lower half. A healthy topsoil mix (river soil and mushroom compost from the local nursery) filled the rest of the box to within an inch or so of the top. Gravel or other drainage materials might have been helpful in the long run, but this mix seems to be working fine.
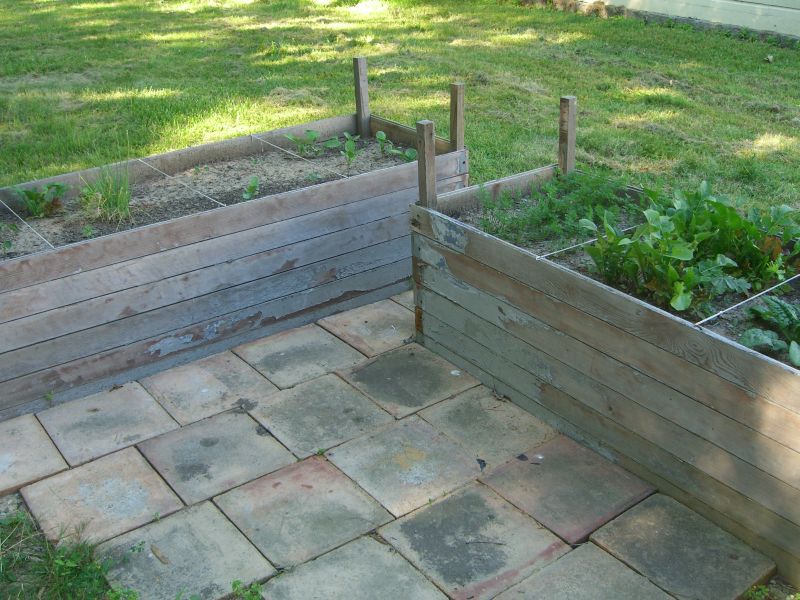
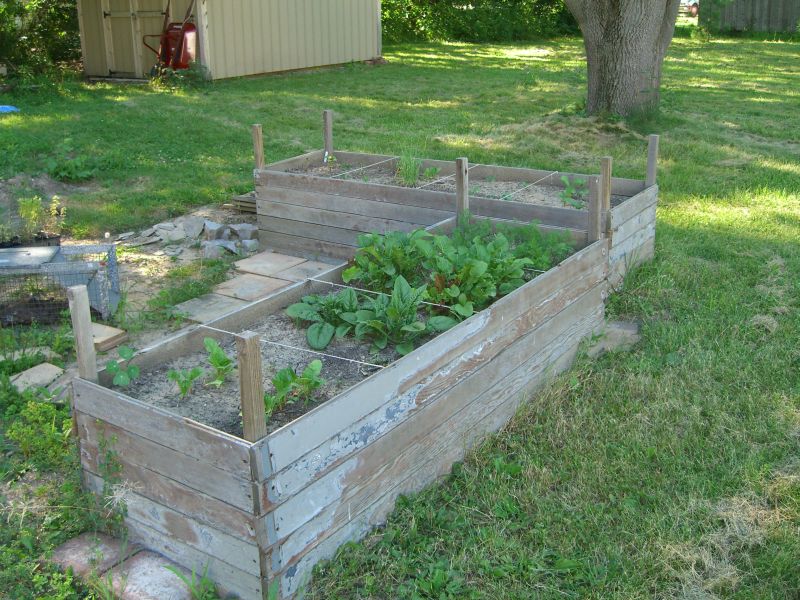
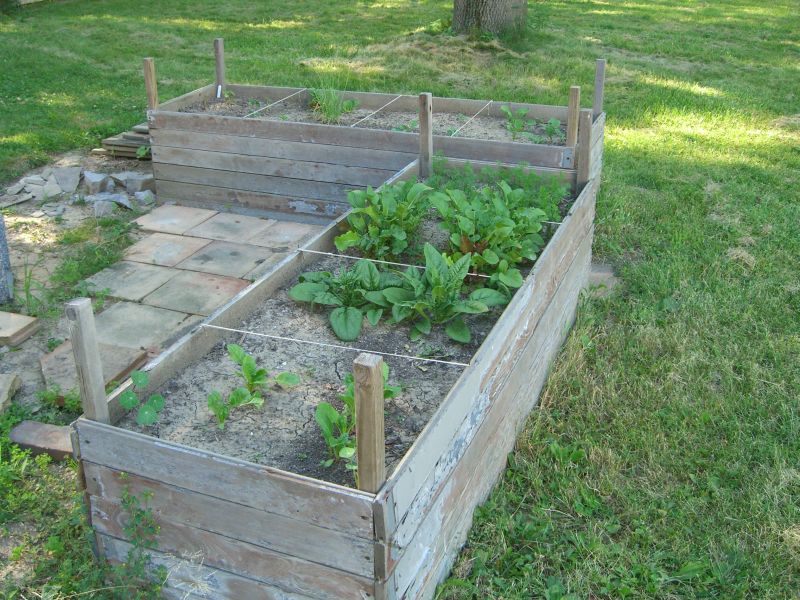
The paving stones were highlighted in the previous post. We’ll see how these beds and that mini patio tie together into the rest of the landscaping plan.
More updates as they are warranted.
Update (warranted):
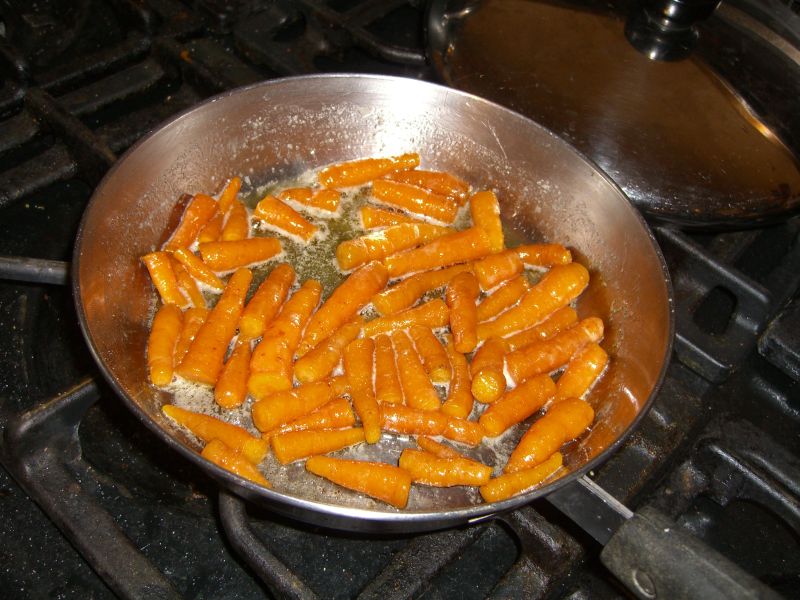
Never posted these, but here’s the first dish that came out of the garden (cukes were from the front garden beds):


Delicious in butter, sadly not from the garden:
Compost bin
Maybe I’ll catch up on some – what, two months? – missed posts at some point (treasure hunt, circus, now summer theatre festival all conspire to suck my time from updating this blog, if not also updating the house). Meanwhile, let’s go with what we know (and have pictures of). Today’s illustrated lesson: how to make a compost bin for $4.
Start with scrap wood. I took some 1″-square posts – probably from an old wooden swingset – cut them down to 3′ with a 45-degree cut at one end so they became stakes. Miscellaneous scrap of a huge variety of widths cut to 3′ gave me the planking for the sides.
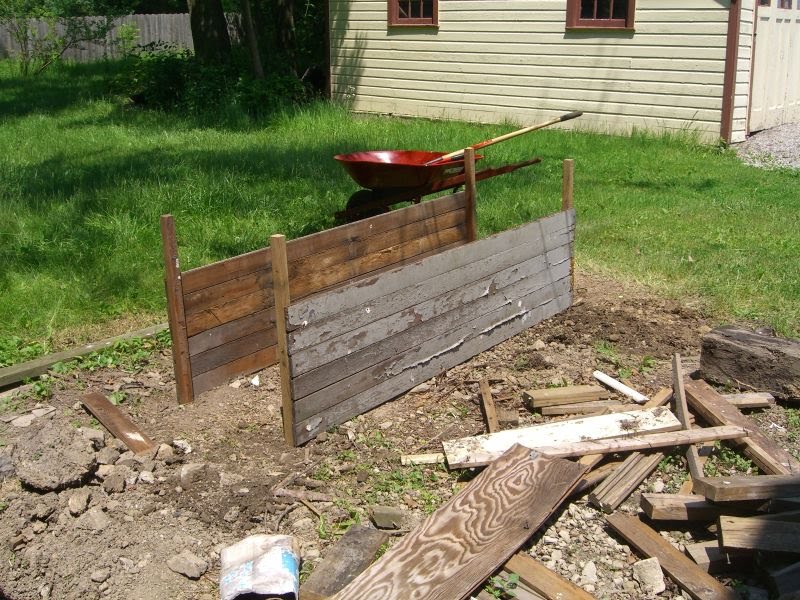
 Depending on the weight of the scrap wood you’ll probably want to assemble (or at least connect the sides to each other) closer to where you plan to place the bin. This next image shows three completed sides, leaving about a foot of each post at the bottom to be driven into the earth. This turned out to be unnecessary (and hard to do) so I wound up driving them about 6″ deep, and moving the top plank on each side to close the bottom. I think planning for 6″ of clearance at the bottom of each post should be fine.
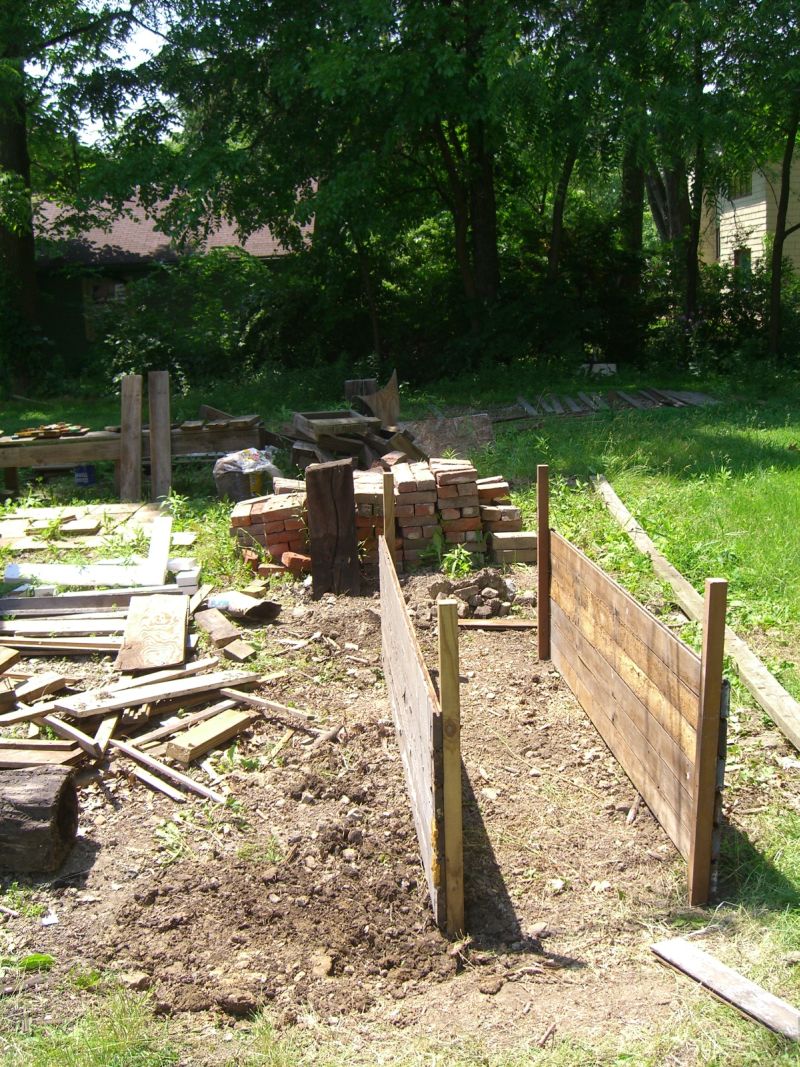
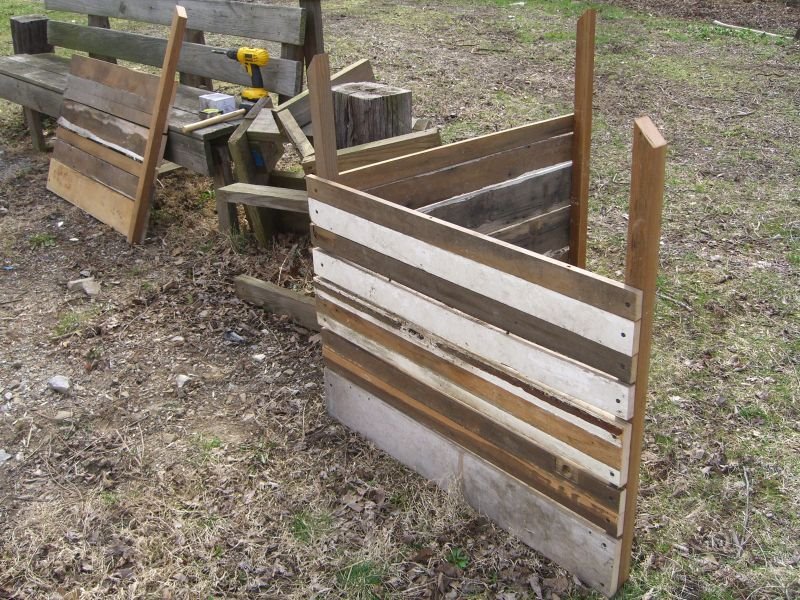 Locate the bin, pound into the ground with a mallet or hammer and woodblock. Here you can see the ‘swapped’ planking, leaving some space at the top of each stake – handy if I ever string or fit a cover over the top.
 As luck would have it, I stumble across what looks like part of a shipping crate in a junk pile – and it was the perfect width to serve as the bin’s gate. If you don’t have handy piles of pre-built salvage lying around your neighborhood, just remember that the gate you build out of scrap won’t be as wide as the other ‘walls’. Two hinges and a hook from the hardware store were the only materials costs on this project – about four bucks in all.
