Archive for category kitchen
Tea shelves
Today on Well That Was… An Idea… a good idea to turn scrap wood into a useful kitchen organizer.
We’ll be back after these commercials.
(That’s your clue to click on all the banner ads on this site and make me millions.)
So I had a cabinet full of boxes and bags of tea. I also had a small gap between a door and a cabinet, and plenty of scrap wood just waiting to be project-ed.

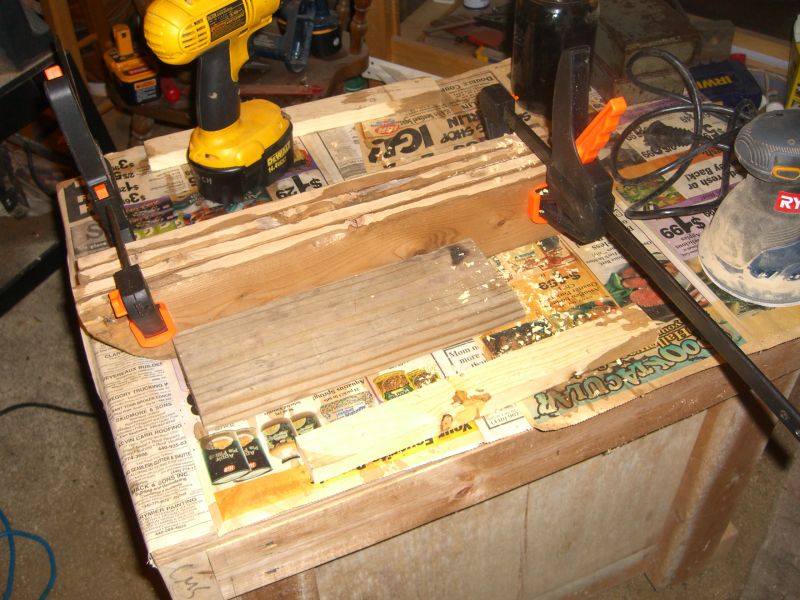

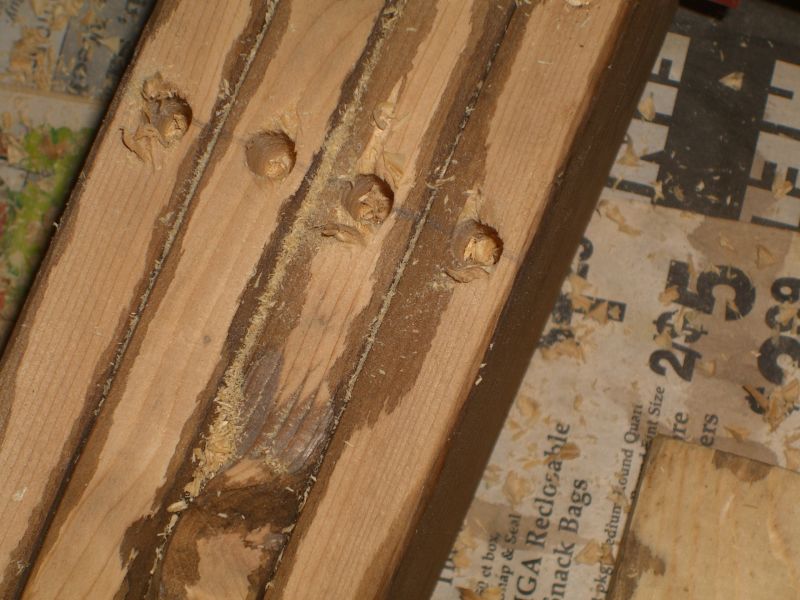
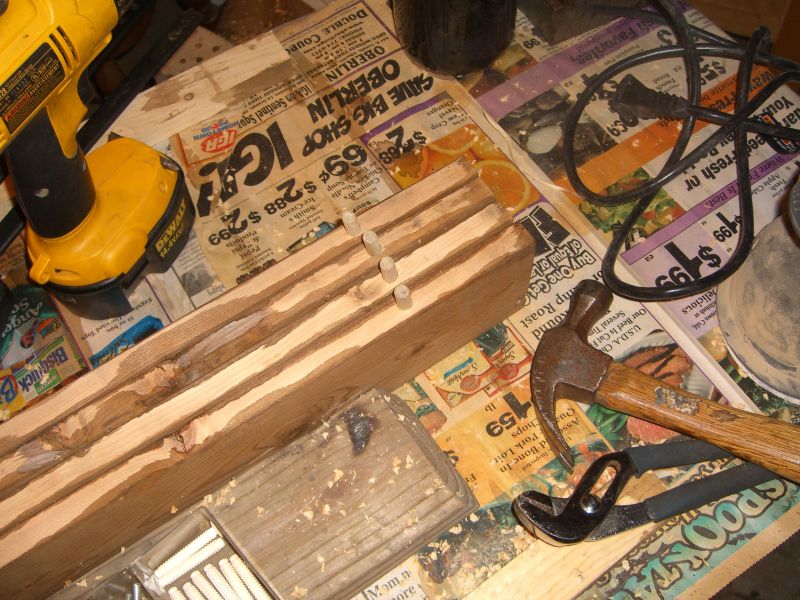
The second problem is you’ll want a peg that goes all the way through the cabinet wall and sinks into the board; much easier to achieve this with a screw or nail.
There’s actually a third difficulty if you’re going into artificial surfaces (like the heavy particleboard of these cabinets) – it’ll be almost impossible to drill a hole of the exact right size so the peg can be tapped in yet won’t slide out over time. Natural woods will be slightly more forgiving. Regardless of your woods, skip this approach and just use the screws.
Shelve it
The good news is I’m doing things around the house. The bad news is I’m doing many things around the house (as well as client work, the very start of ObieGame planning, and a campaign) so updates will probably be horribly behind going forward.
Yes, that made sense.
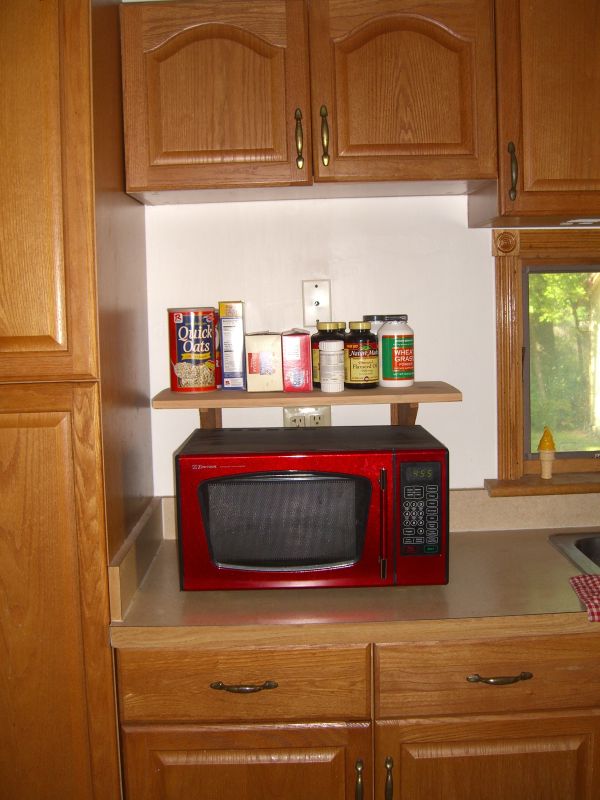
Here’s a project from the other week that, of course, was more involved than I expected. The newer cabinetry in the kitchen included a microwave shelf – handy, but it made the counter space in that area feel too cramped. I decided to pull it and put in a simple open shelf in its place.
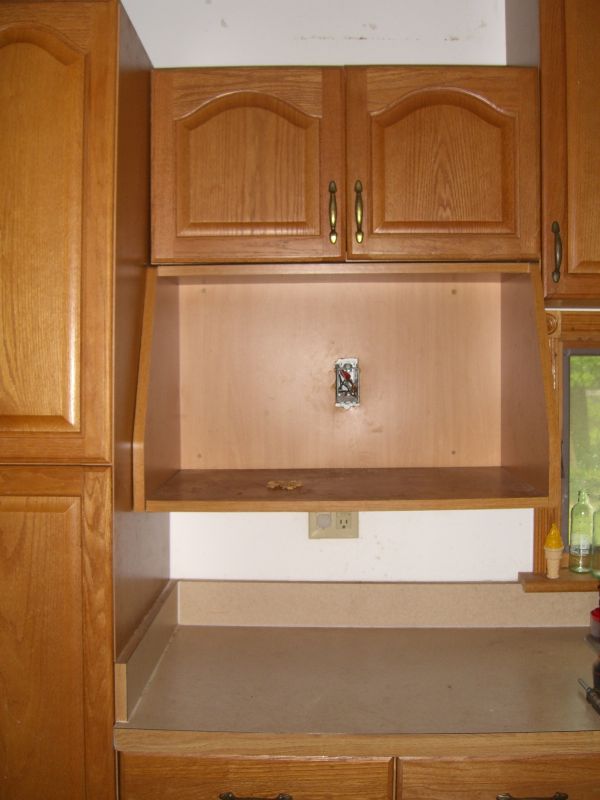 Taking it down was a little tricky. The shelf, and the cabinet above it, were screwed into a stud on one side, but didn’t line up with one on the other. They were mounted, as you do, by sandwiching screws with heads coming out the back of the units between two pieces of 3/4″ particle board screwed to the studs and into the wall with plastic anchors. I should have taken a picture for you, but the short of it was to get to this point:
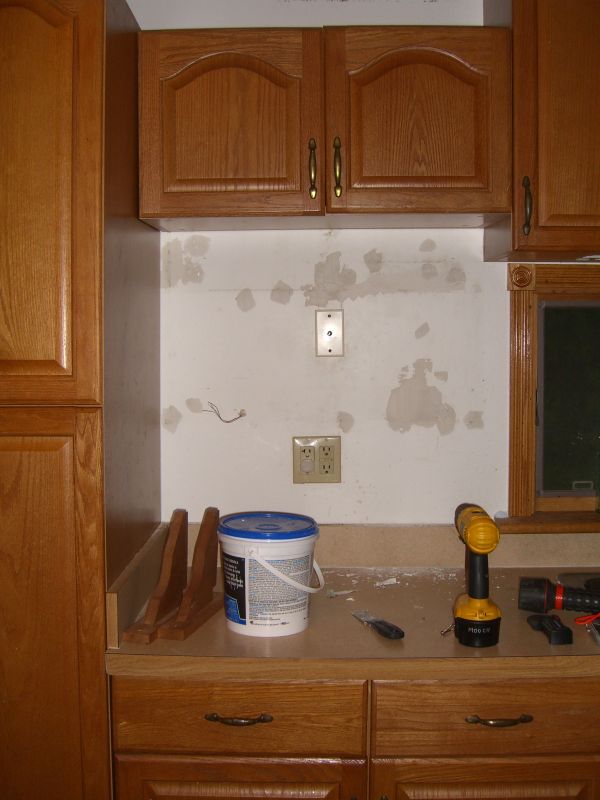 … took half an hour so the wall wasn’t damaged more than it needed to be. Some spackle in the screw holes and in scraped areas, a cover plate for the outlet I decided to remove, and we’re in good shape.
Oh, the outlet – it’s on the same circuit as the pair below, and it was real easy to deal with. Turn off the breaker, remove the faceplate, pull the outlet out of the box, unhook all wires – there will be many more than you’d expect since it’s in series – and simply attach all wires of the same color to each other (all blacks together, all grounds together, all whites together) making sure they’re capped and taped so the only exposed wire in the box is the ground (which should be pigtailed to the box still). Push the bundles back into the box and you’re done.
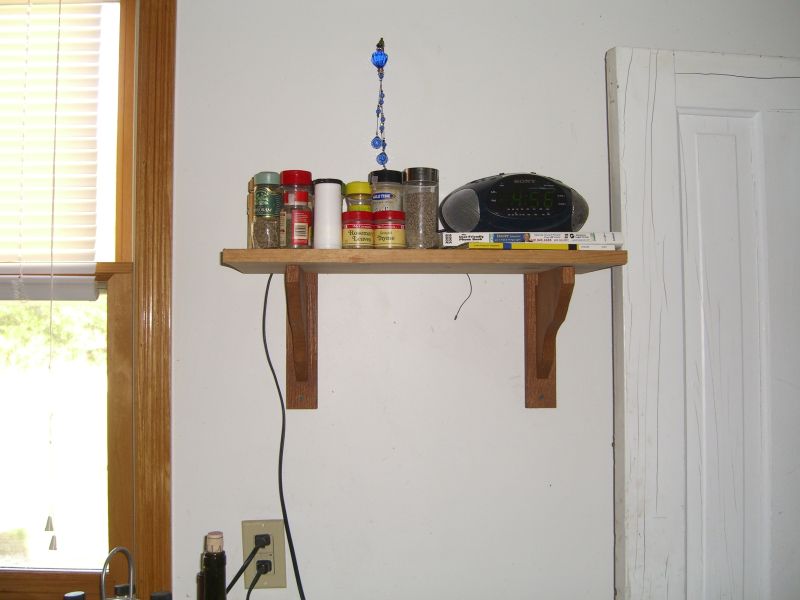
 Wall painted (thanks to Mike for hauling reclaimed remainders of a variety of useful products down from Michigan; I love freecycling) a nice plain white. The shelf supports are actually from my local garden supply store – the simple design stood out last summer when I wanted to install another simple shelf in the kitchen (see bottom of this entry). Both had to be mounted using plastic anchors into the drywall – this is one of the redone walls of the house so it has drywall over insulation as opposed to the heavy plaster and lathe elsewhere.
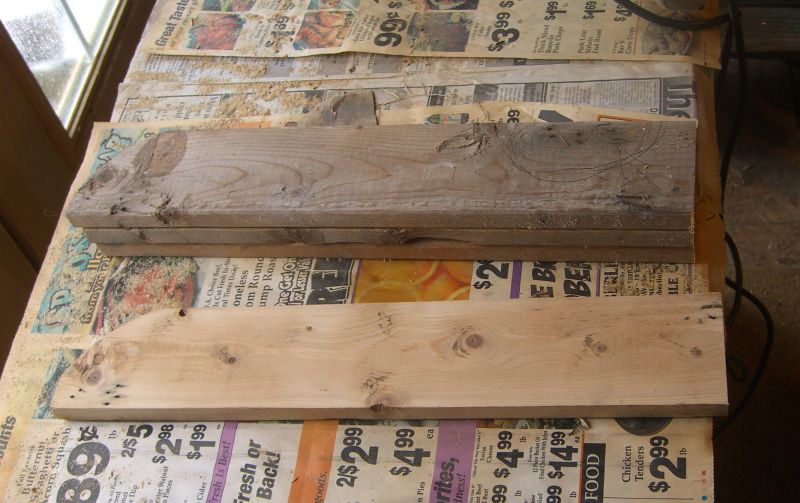
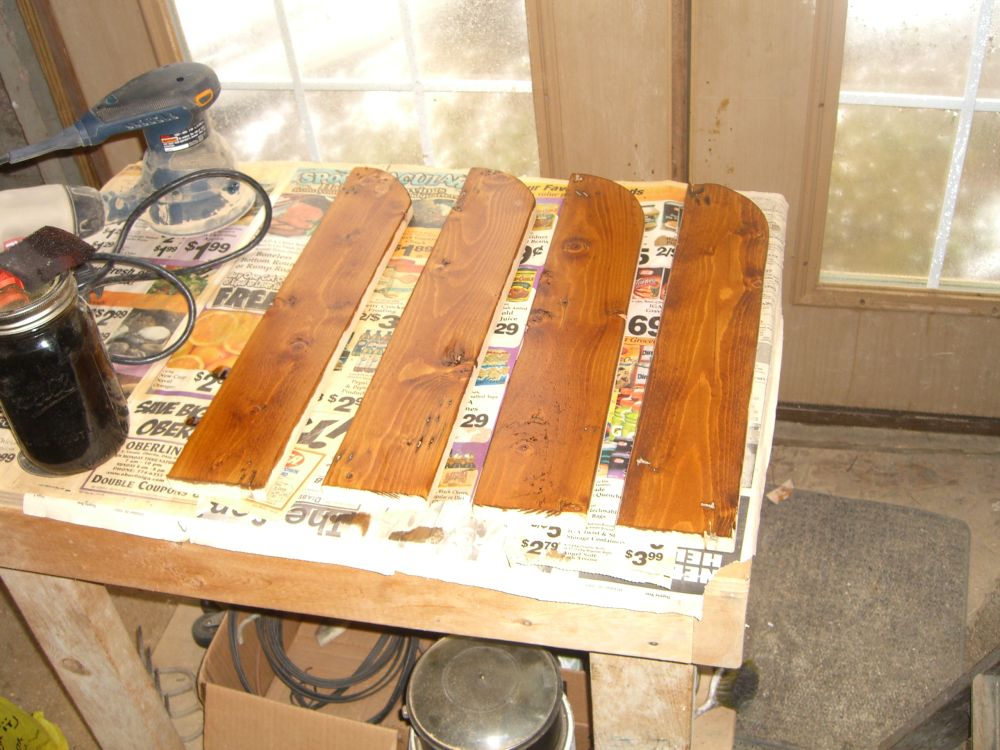
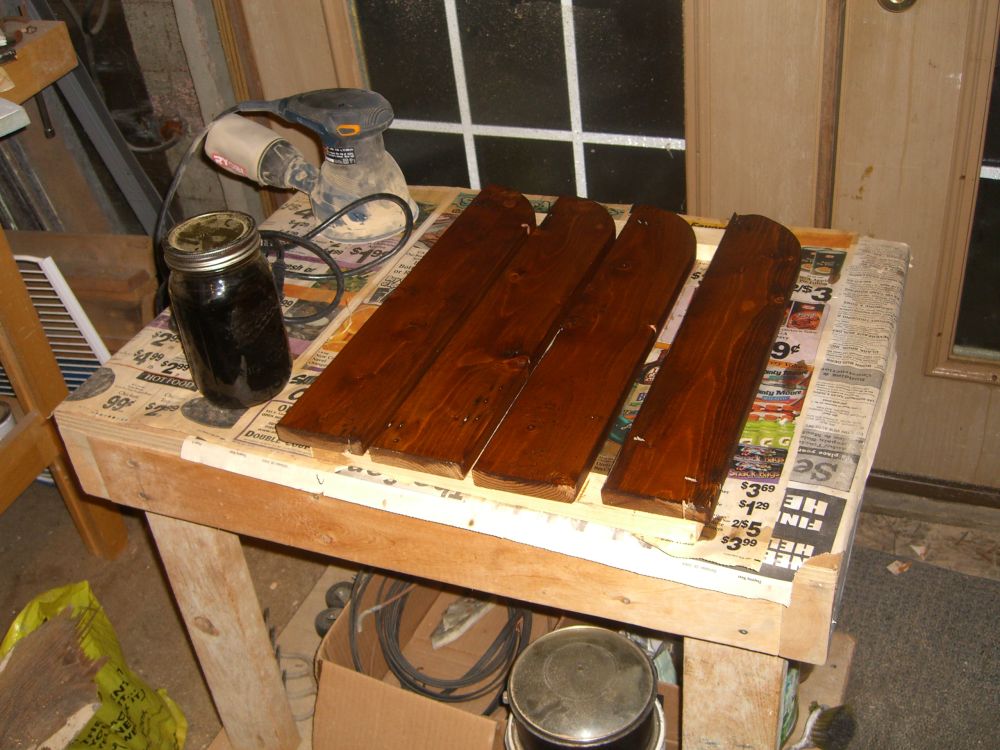
 The shelf is reclaimed pine from what looks like it was a shed shelf many years ago (there was a finish applied that had weathered in much the same way your wooden school desk might have looked, and faded bracket mount prints on one face). A half hour out back with the random orbit sander, and this thing looks pretty good, if I do say so myself. I may stain it at some point (installation involved one screw per support, so it’s pretty easy to take apart if need be).
No more parentheses. Here’s it’s sibling from last summer:
Project Week, the sequel
No work this week, so the plan is (was) to repeat Fall Break where I worked from early to late on the house doing numerous projectsd small and large. Monday got off to a slower start than I’d like, plus this week I do have one responsibility – Street Law at the high school every afternoon helping the students prepare for a moot court in front of the city council on Thursday. But I did manage to get some bits done in the afternoon and evening – more cleaning in the back room, installed the banister in the back staircase, and tackled cleaning the stove. Both Comet and baking soda and vinegar cut through some stuff, but it’s been six months of college students and me using that thing, so it’ll take more elbow grease to cut the grease.
Still working on the stand pipe cover – more blowtorching planned for tomorrow.
I was hoping that cleaning the stove top might reveal why the oven isn’t lighting. When I turn the oven knob, the igniters all spark, but there is no sound of gas flowing as there is when you turn on any of the burners. This unit has a main feed line that runs along the front of the stovetop under the cover, with six ports for the burners and a separaate distribution – two lines (one pilot, one main I assume) for the oven. No visible clogging or grease on that distribution, but I haven’t taken a wrench to the two lines to peer inside yet. No idea what to do if there’s not an obvious clog though.
With friends like these…
I should have more people over more regularly. It’s not just the multi-person projects that get done (painting part of one of the exterior walls, for example), something about having other people around gets me more active, to the point that I’ll swap a couple of mismatched cabinet handles in the kitchen (that I’ve been staring at for months) while we’re all standing around and chatting.
Sarah and Mike stopped over today and we did the above plus: mapped out shed dimensions to make sure I’m placing it well; installed a new jack in the basement to replace one that was missing (!); moved all the tree limbs that came down in the storm the other week to the front for city pickup; and I just put some plumbers tape on a valve in the upstairs shower to stop a small drip.
Pictures soon.
Catch up
Still digging out at work, meaning not much has been happening at the house. I hope to be back to actually part time soon. I also hope to order that shed in the next two days which will really be the last big thing that needs to happen before winter hits. Even the scraping and painting and such are either isolated sections or, should it come to it, they can wait.
Things done today:
– more porch scraping since the weather was nice; found that the squirrels are getting ready for winter and thus need to get kicked out now.
– hung blinds in the kitchen window so it looks less bare
– turned this: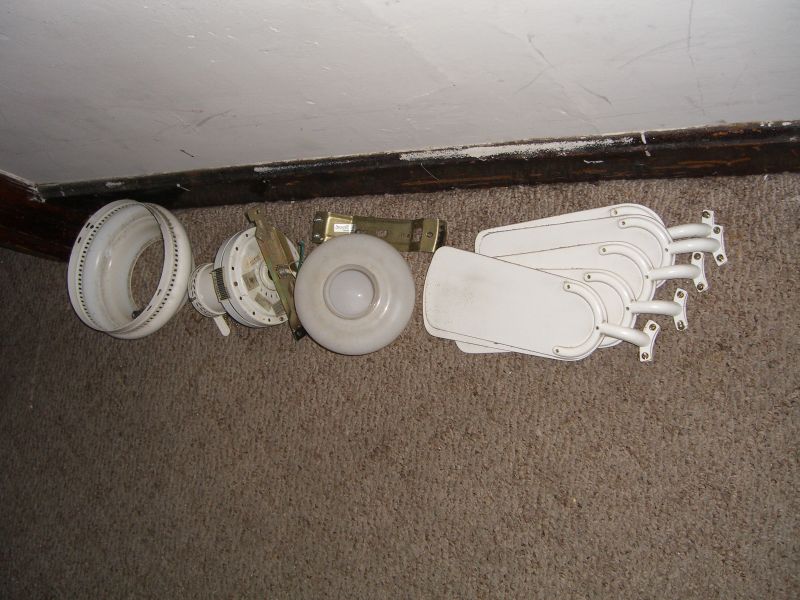
into this:
Also discovered that this light fixture and both outlets in the room are on the same breaker – the ceiling units and the outlets in other rooms are often separate due, I suspect, to when the lines went in. This is a little bit of a concern because I thought at least one other load is also on that circuit, meaning tenants might not find it so easy to watch TV, have the light on, and run the popcorn maker or whatever else they’re doing at once. Will need to double check the panel labels and add this to the list of rewiring jobs for next summer.
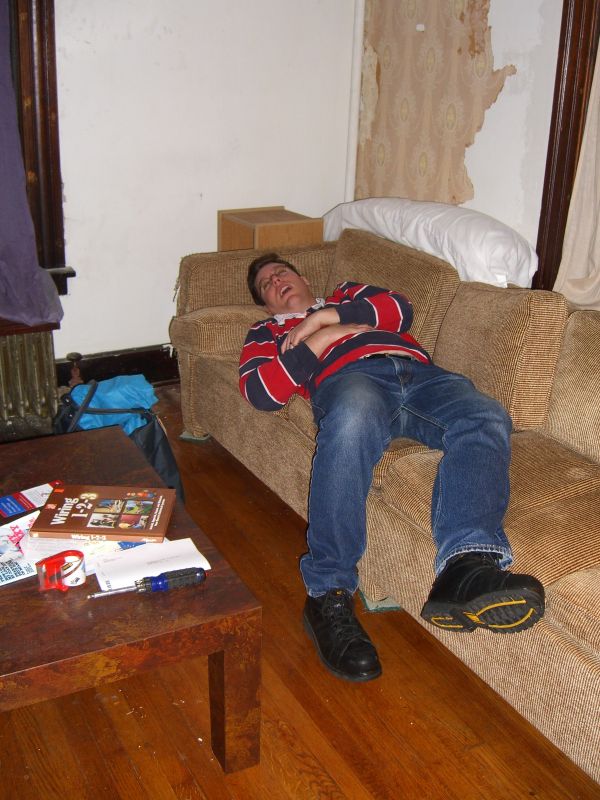
Finally, the latest entry in the series ‘People Who Passed Out Asleep on my Couch’. Doug took a red-eye drive in from Minnesota (11.5 hours) and fell asleep mid-sentence whilst laying on the couch.
It’s not even Labor Day…
Posted by aaron in bathroom, kitchen, living room on 31 August 2008
And I’m still doing so much work! Thanks, I’ll be hear all millennium.
Tasks tackled lately:
– more paneling hung. Have not yet reversed last week’s error though.
– installed a double roller catch in the kitchen passthrough so the door stays closed. Would have installed two but I didn’t see that the second one I bought was broken.
– finished off trim on window in upstairs bathroom. You haven’t done mental geometry until you’ve tried to match your measurements on a square frame to a series of 45 degree mitre cuts on 90 degree cap molding.
– other stuff I’m sure…