Archive for category furniture
Everything old is new again
Just in time for the new year, a couple of old pictures from my camera which I apparently never posted.
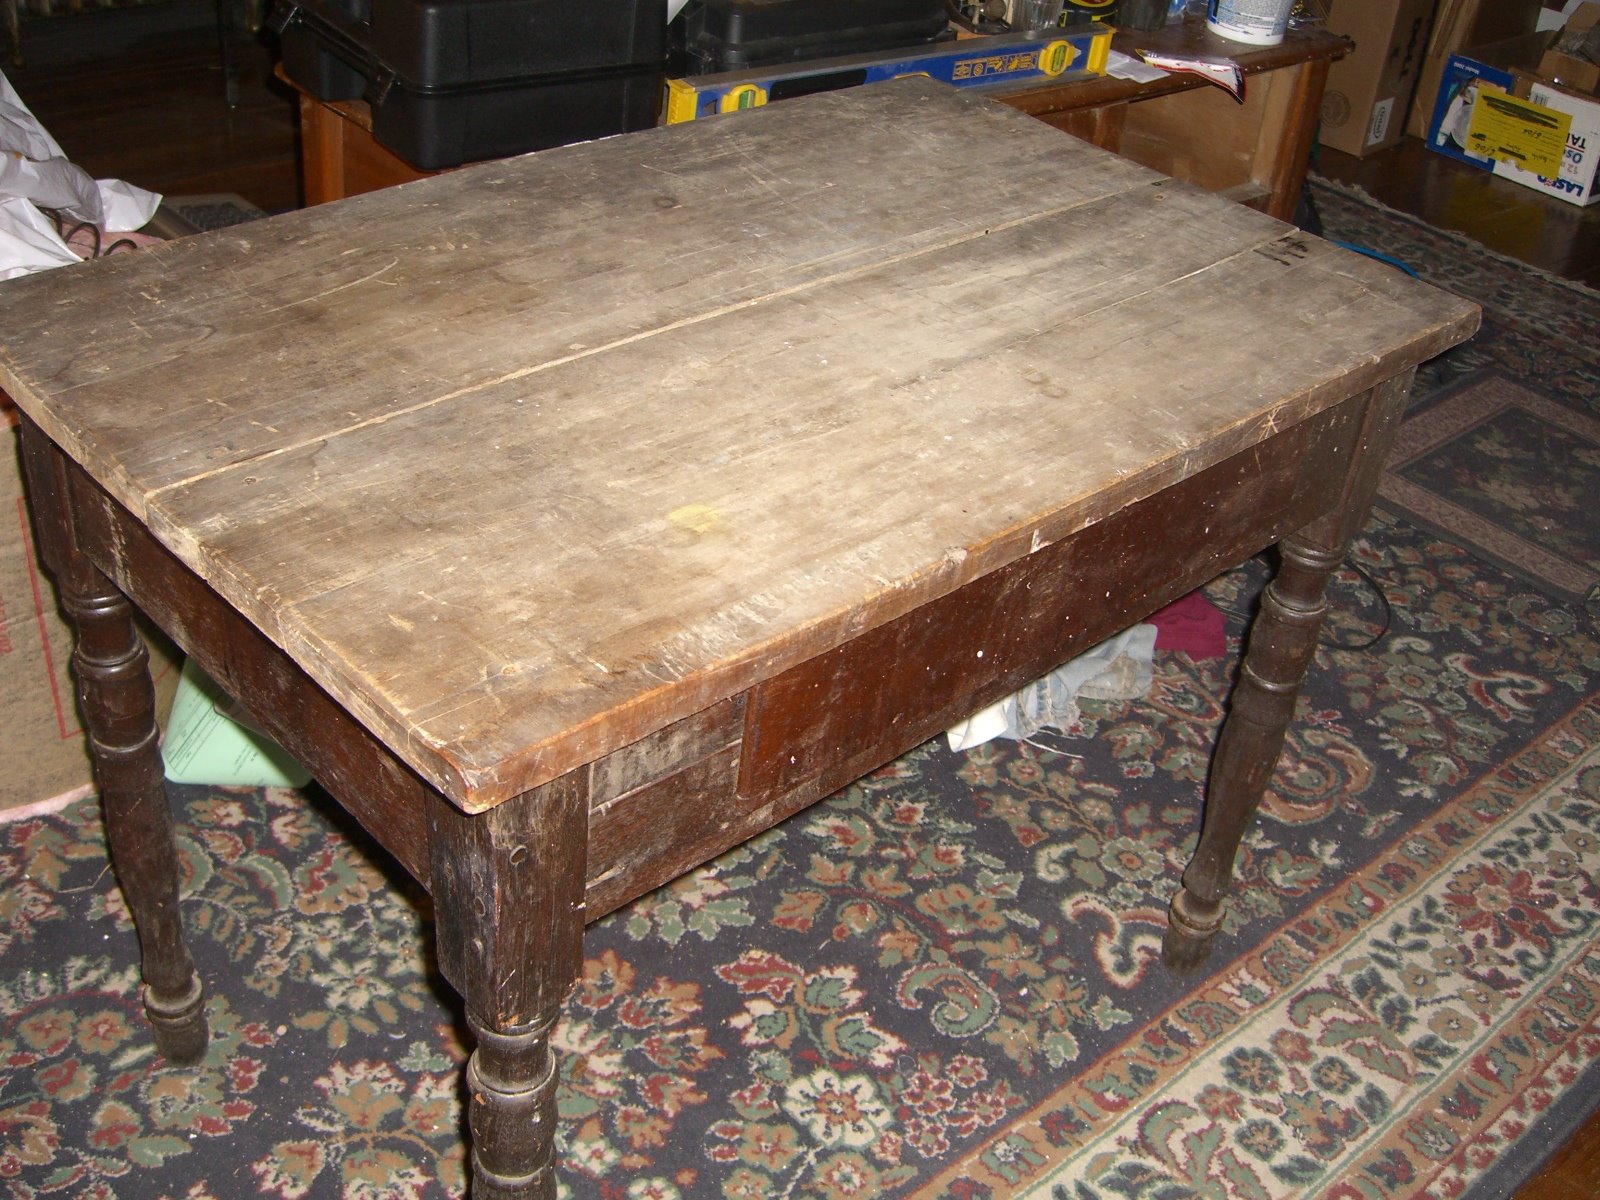
I picked up this table off of Freecycle, planning on using it in my back room/workroom as just a level surface. Originally it was covered in 30-50 year old contact paper (a lovely star spangled theme if anyone wants it) stapled to the underside of the top. When I pulled the paper I found a) a nicer looking old table than I expected and b) a pretty obvious gap between the boards forming the top.
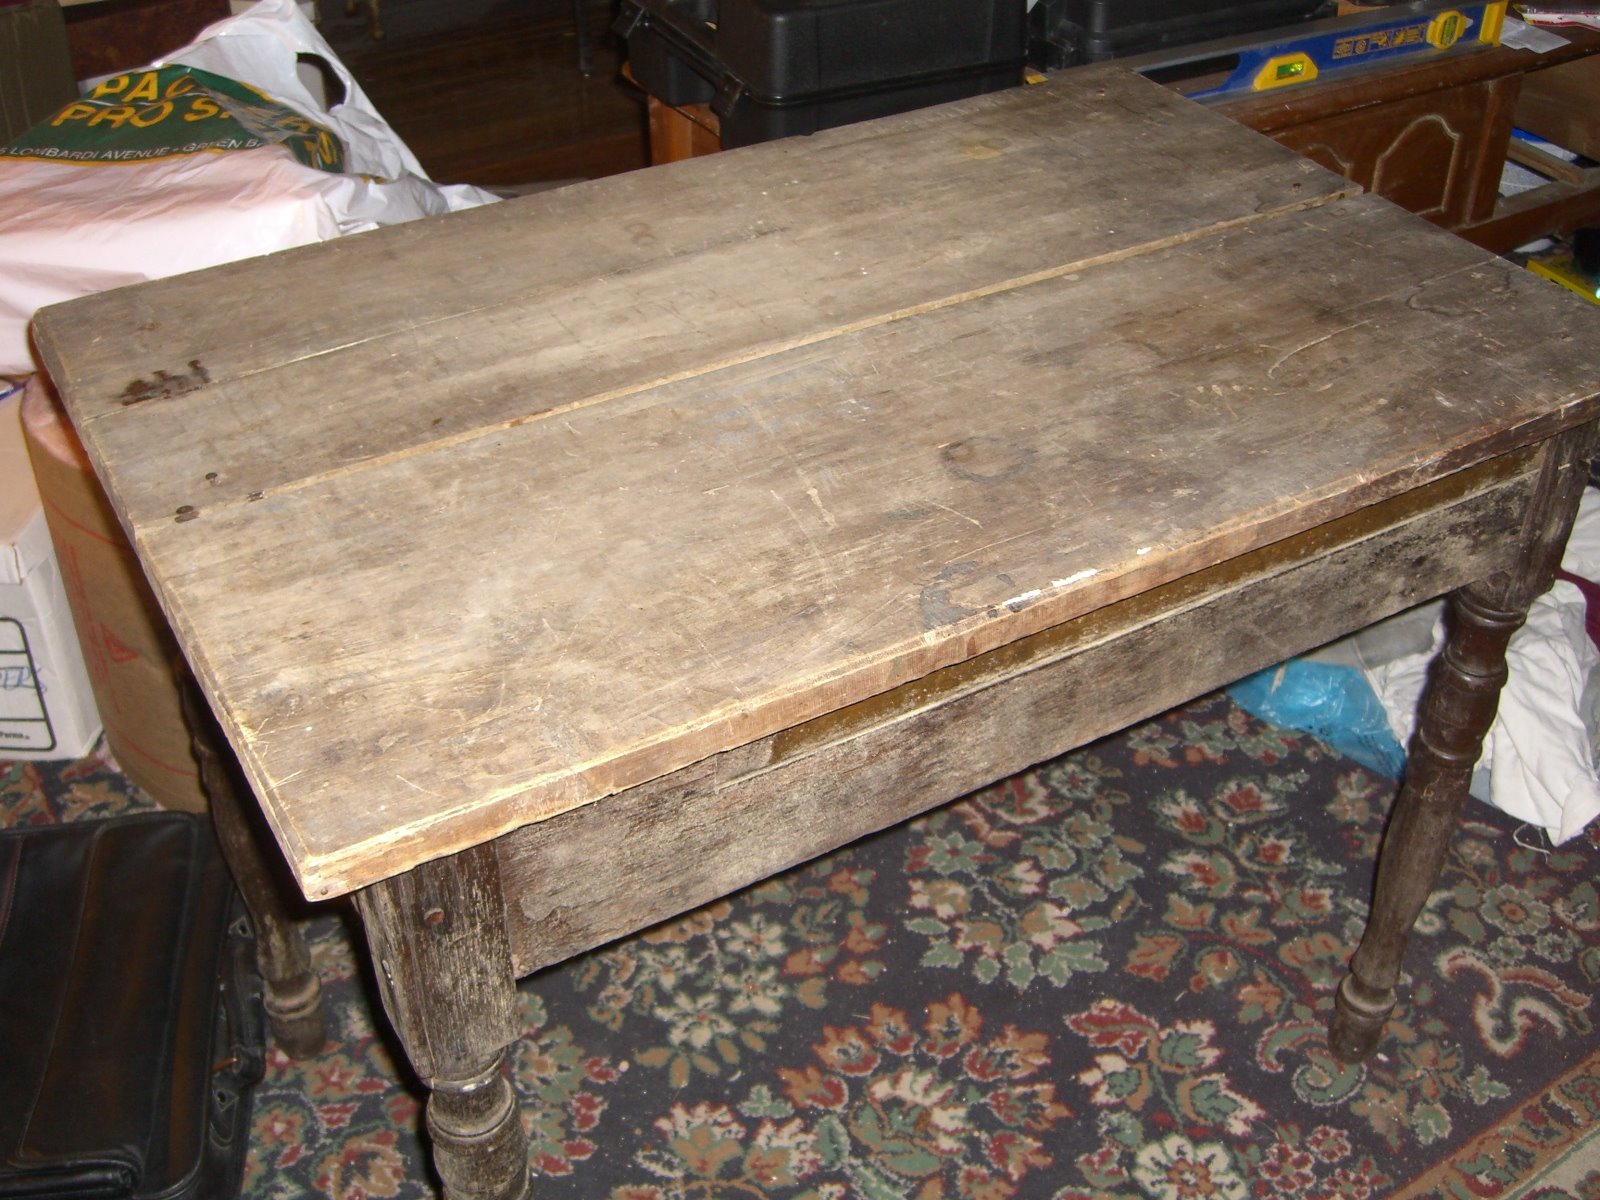
I was thinking about re-covering the table in something, but then I noticed that the nails holding one of the boards were loose. Turns out the table was very poorly repaired sometime decades ago (as well as probably rebuilt – looks like there are three different woods used, plus I’m pretty sure this once had drawer). So I pulled the four nails and tried to reset the board. At this point I discovered that the attempted repair job had involved a heavy coat of glue:
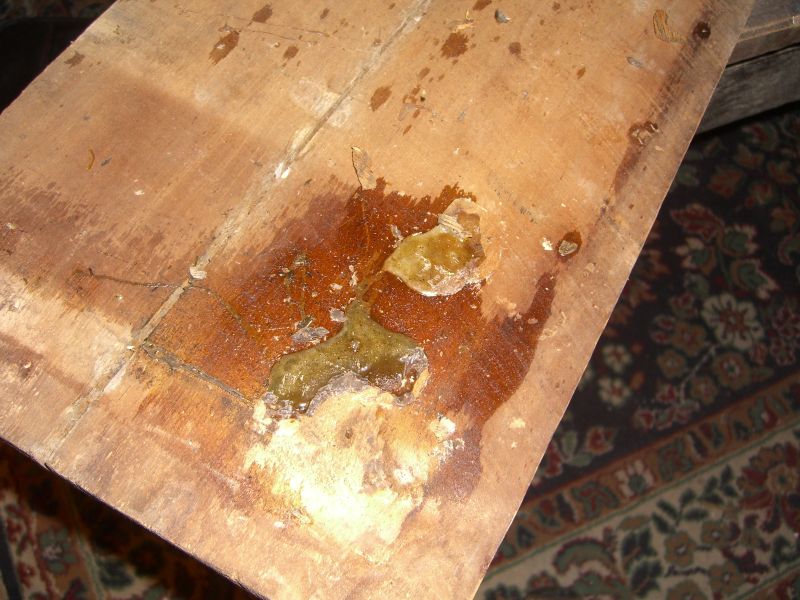
The glue had hardened around the outside edge of the leg, so the board couldn’t be pulled back evenly. Twenty minutes with a putty knife and razor blade and the glue was chipped away. Snug the board as close to the other as possible (the boards look like they were a replacement top ages ago – neither is fully square so there’s still a much smaller gap between them in the middle), tap the nails back into the same holes, and voila!
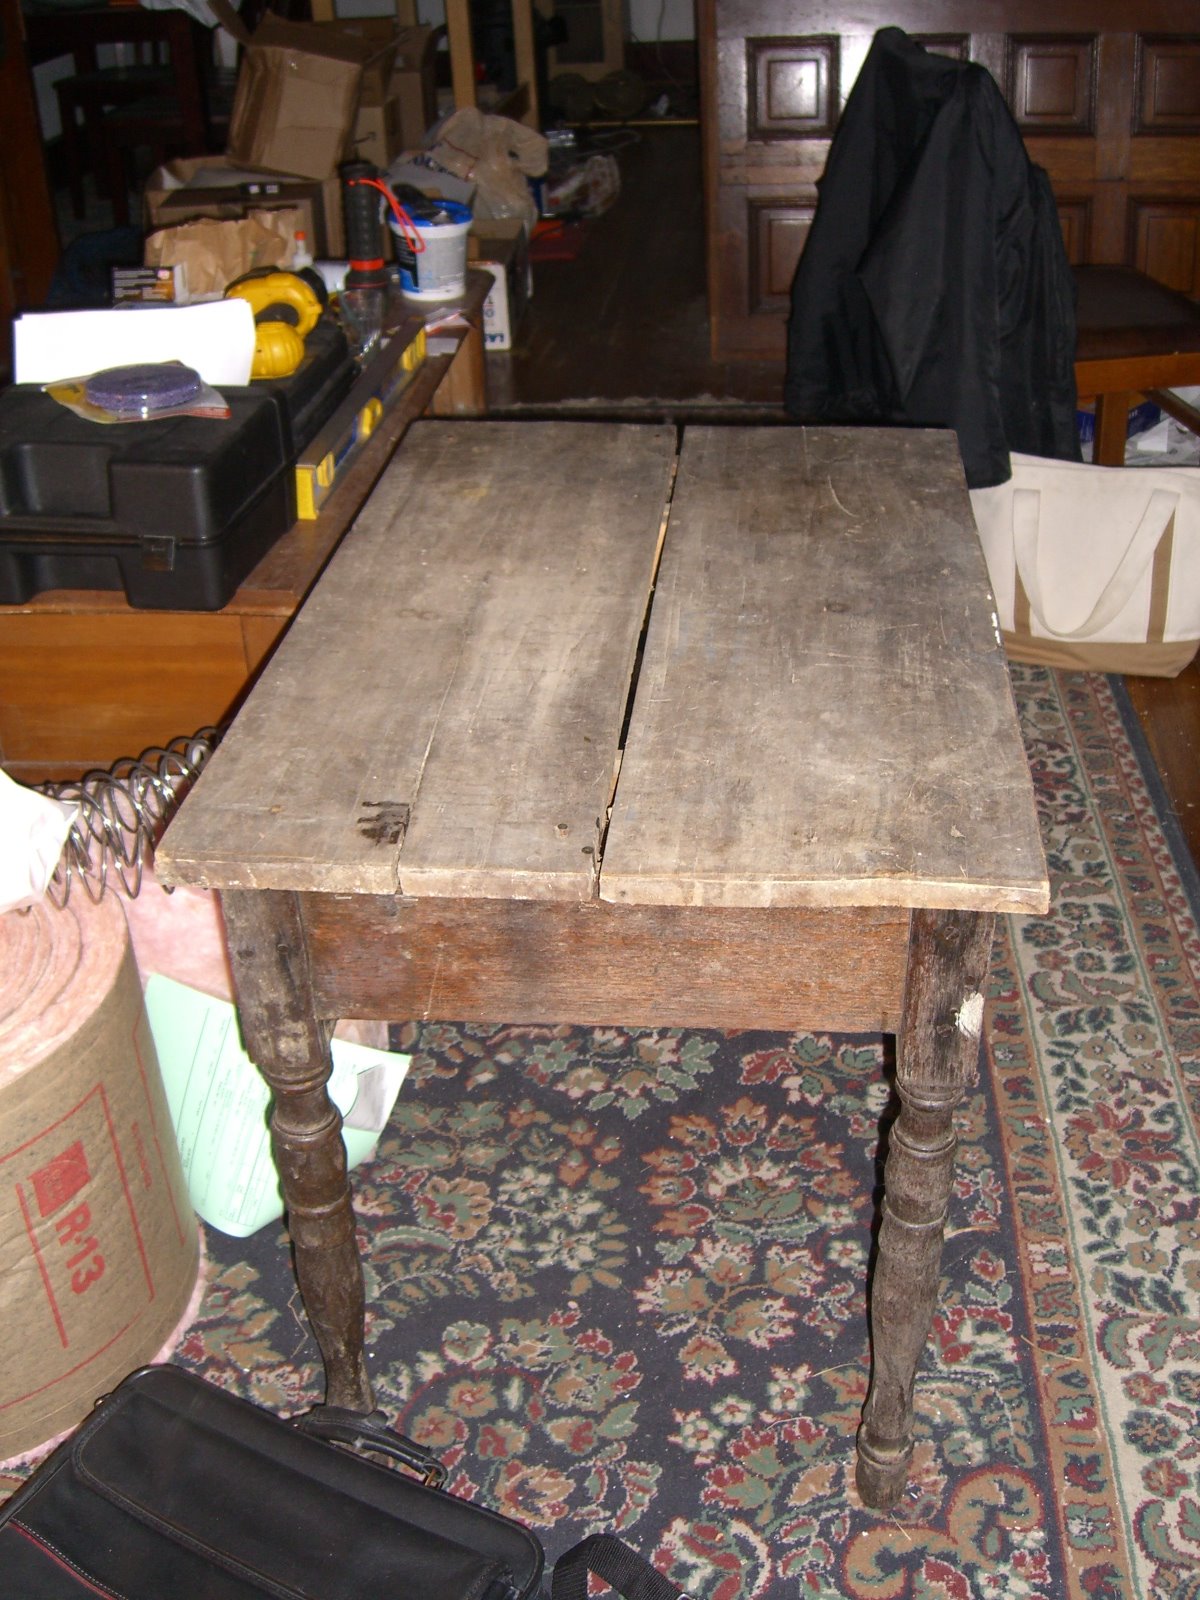
Before:
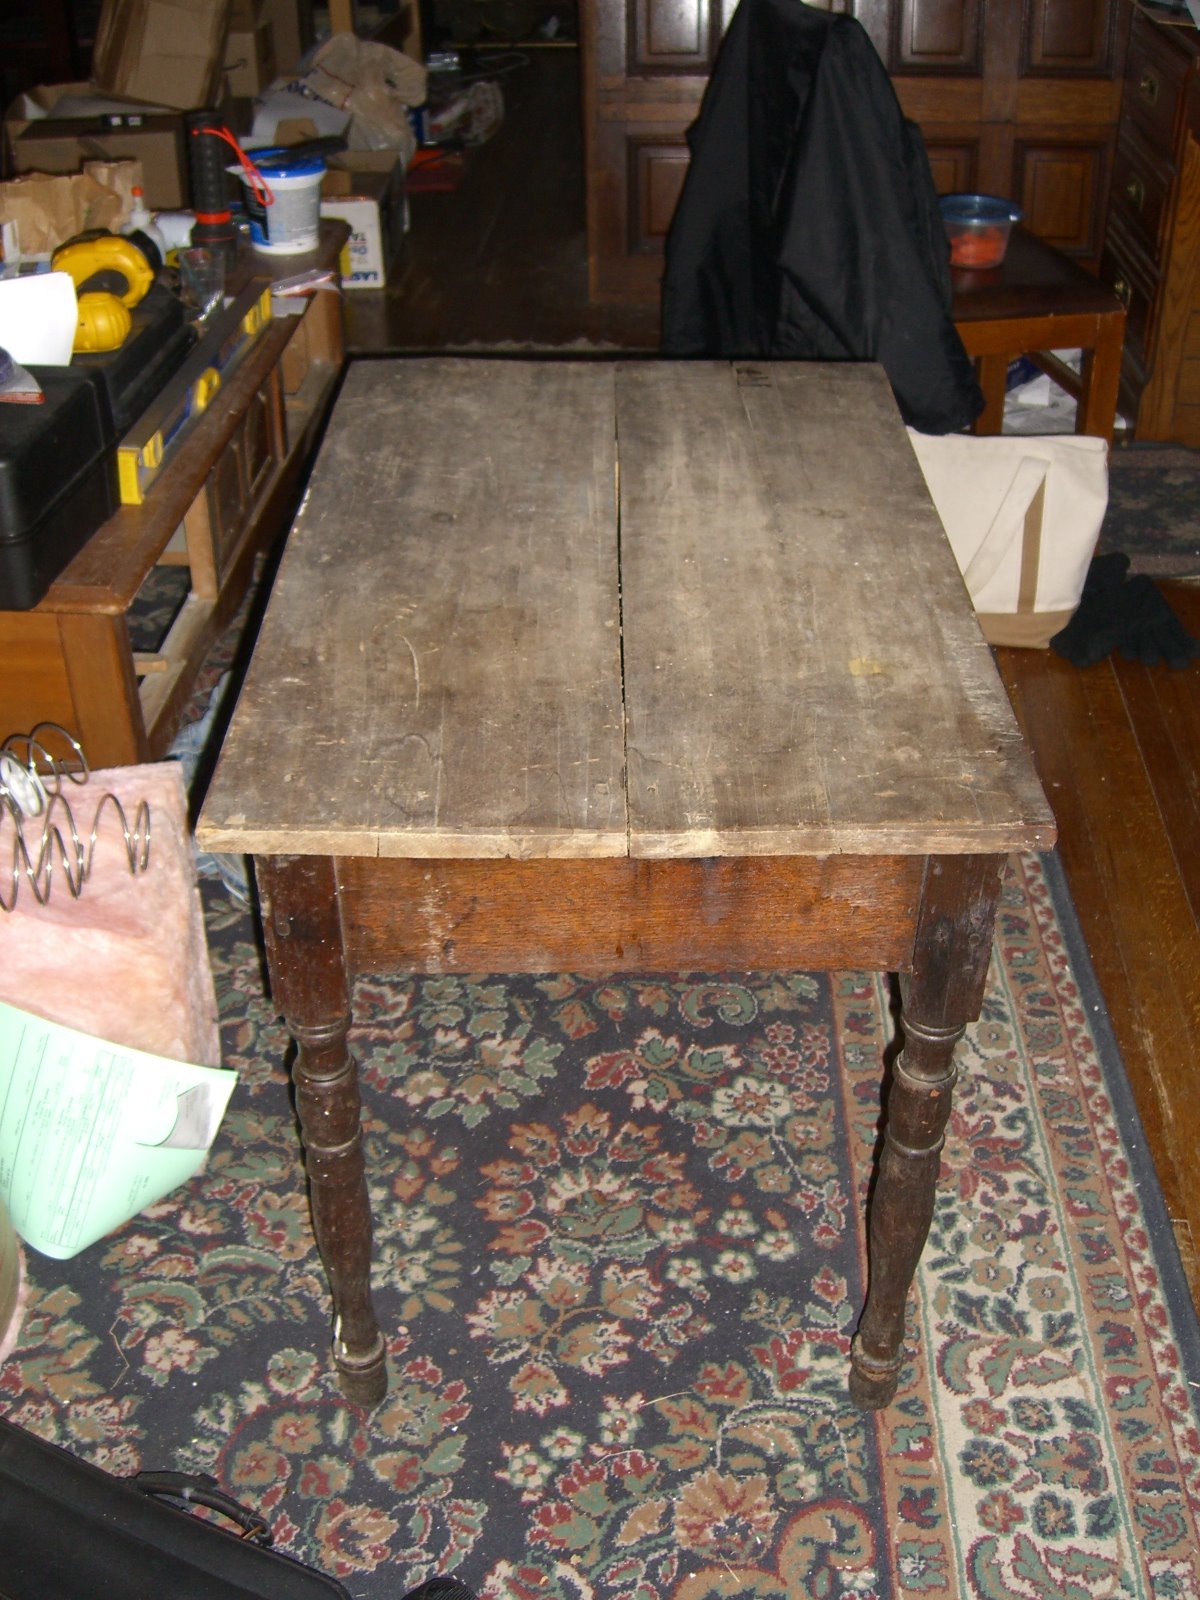
After:
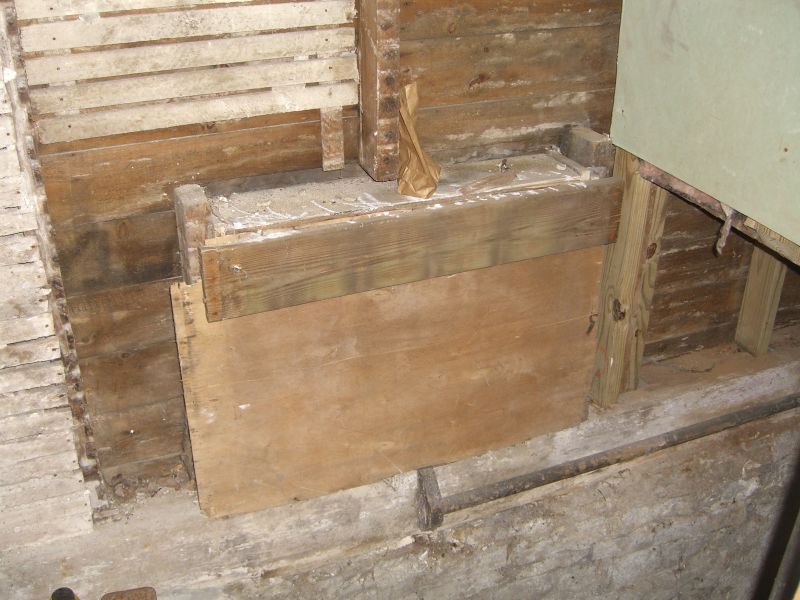
Also, and this was months ago, this is how the window on the steps to the basement used to look:
…and here’s how it looks now:
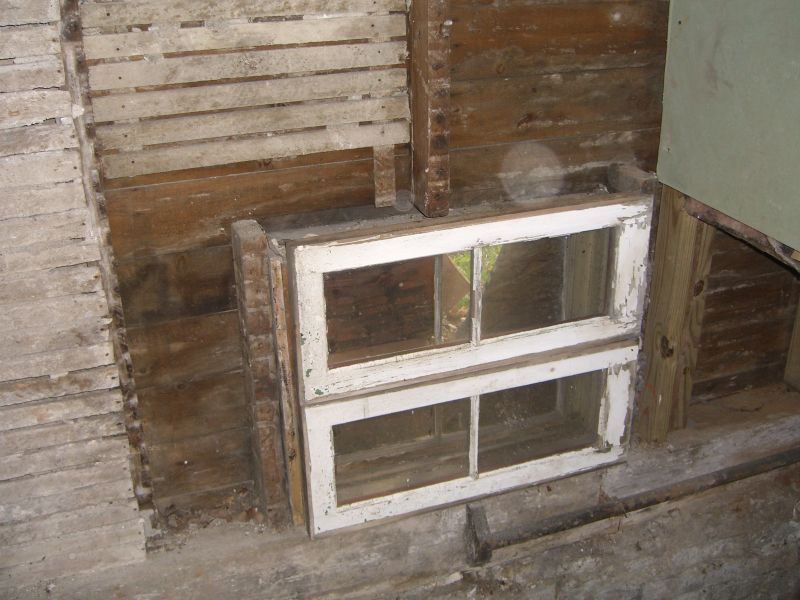
These two windows were lying around in the basement and happened to be the perfect width. Together they’re a little too tall for the space, but they fit snugly enough with the existing box that a heavy bead of caulk on all three sides seems to have sealed out the wind pretty well. The exterior window (sort of visible in the second photo) is missing a pane though, and I was waiting for the temperatures to come back up before testing out my new glass cutter/glazing points/glazing compound bundle that’s now sitting in the back room desiring to be useful. Better pics of both inside and outside once I lay that last pane.
They’re unique, that’s for sure.
After staring at my closet for yet another day thinking how great it’ll be once I install some shelves and move the dresser inside, and get a bar of some kind to hand all my shirts on, I realized that I had all the prep work done and it was just pure procrastination preventing me from (alliterating apparently and) doing at least the first two items.
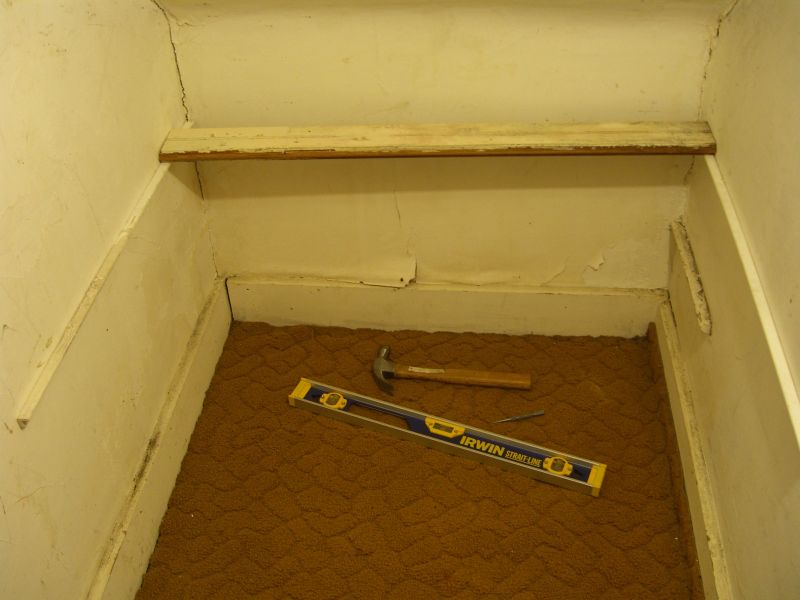
The custom shelf was pretty easy. It doesn’t have to support much weight, meaning the shelf supports themselves don’t have to support much weight, meaning this half-inch right angle piece I had in the back room would be fine tacked straight into the wall.

[Update 8/14 – should have mentioned all the steps here. First I pre-drilled the support at 4 places along its length; it makes the next several steps much easier, not to mention keeps you from splitting the support and teahcing your neighbors some new curse words. Then I tapped the nails into, but not through the wood – ‘porcupine’ boards also make the work go faster, assuming you didn’t pre-drill holes that are too big. Then: found my height, nailed one nail in part way to the wall, LEVELED the support (this is the sort of step I’d normally space on and have to pull out a nail), tapped in another nail, and then hammered all four nails in using a nail set to finish them off. Nail sets are wonderful, wonderful tools, especially when working with small nails and/or tight spaces.
You can try and measure from the floor to the support on both sides, or just use a piece of wood and the level to quickly find the right height. If you’re a little off for some reason, don’t sweat – these shelves are only 3’1″ wide, so a slight grade won’t even be noticeable.]
 You can use whatever one-by wood makes sense for you – scrap is great if you sand or paint, or don’t mind how it looks. This is a bunch of old old tongue and groove that came out of a friend’s house and that I knew would be useful for something. In addition to having some character, it also comes apart in 3″ sections if, for some reason, I needed a little more clearance at the front.
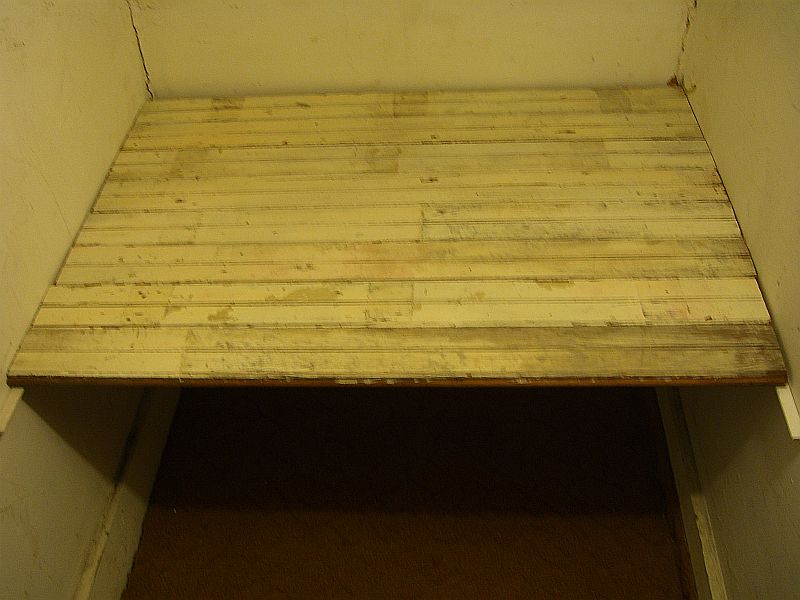 If you’re doing something like this in an old house like mine, make sure to take multiple measurements. For whatever reason this closet tapers slightly. The slats are all cut the same, but the two closest to you in the picture have probably 3/16″ wiggle room, whereas the very back slat is jammed in too tightly (you can see where I accidentally gouged some paint on the right while putting it in). Measuring the way back as well as the couple of runs I measured elsewhere would have prompted me to cut one board a hair shorter.
Doesn’t matter much at all – it works great and looks nice as is. I’m thinking of putting a small rolling shelf underneath this one for my shoes.