Posts Tagged medium
En français, s’il vous plaît
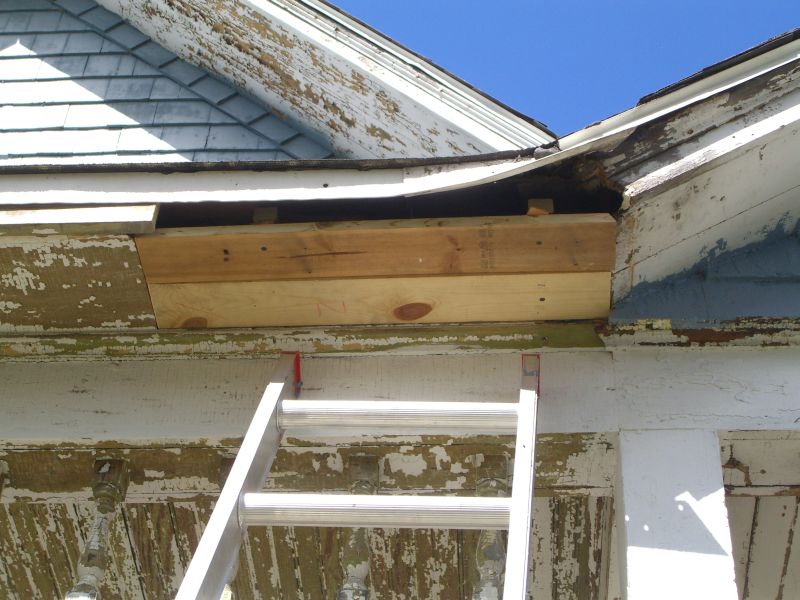
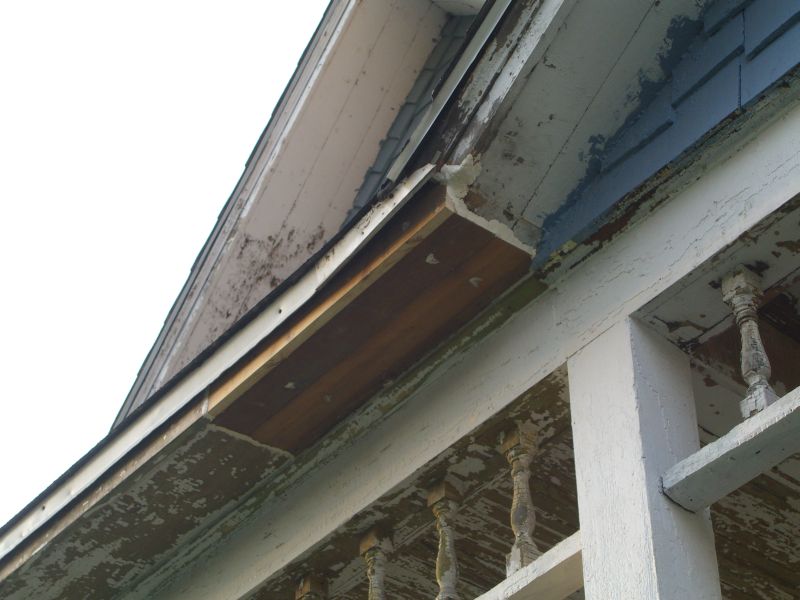
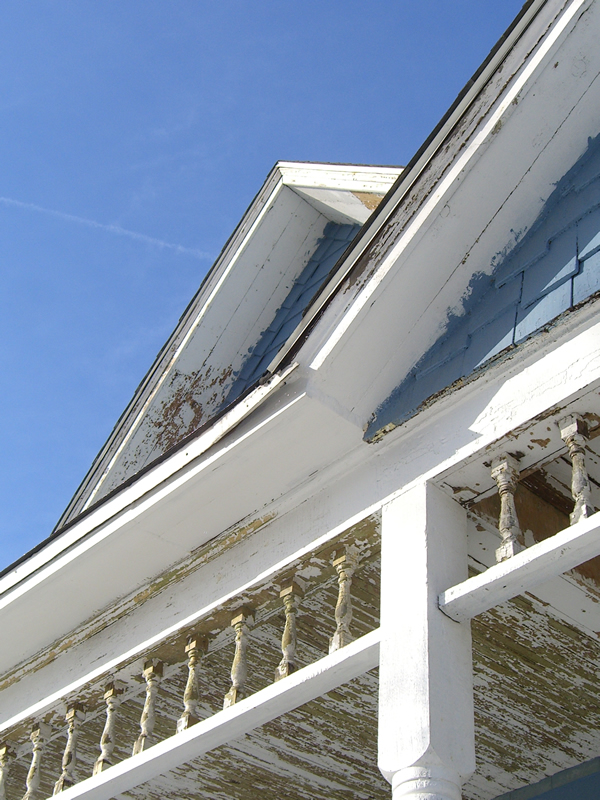
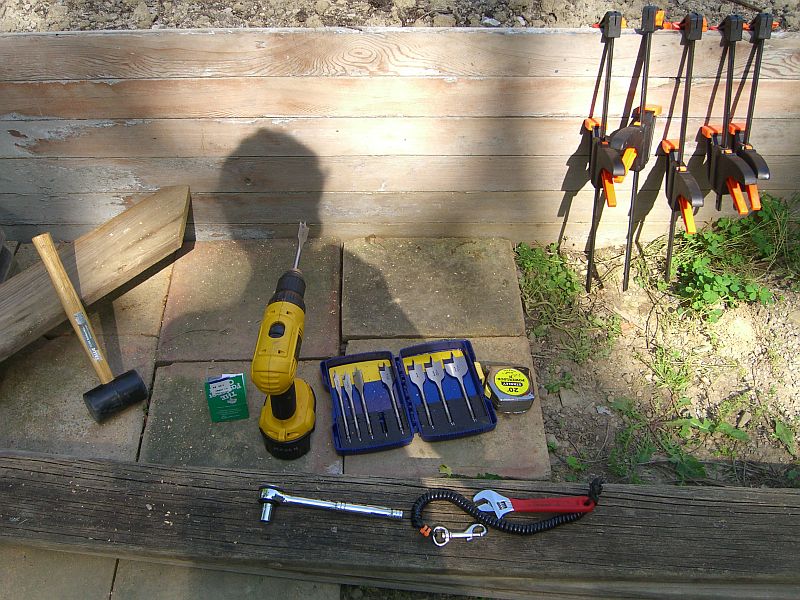
Sometimes you just have something really heavy to hang:
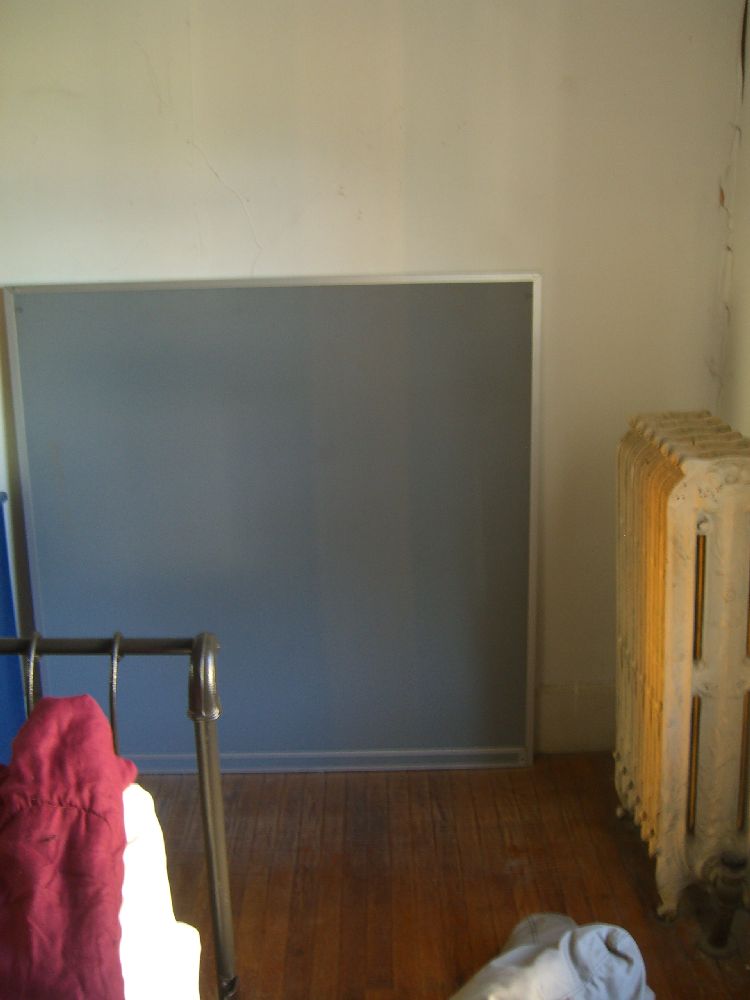
That is one of two (!) four-foot by four-foot metal-clad hardboard-backed bulletin boards I picked up years ago at a liquidation ($0.51 a piece, baby!). While they may eventually wind up in the library (and the library may eventually wind up being built) I had use for one on a wall in my bedroom. The main difficulty was figuring a way to securely hang the rather heavy square without putting tons of holes in the plaster wall. Read the rest of this entry »
Finishing that floor project
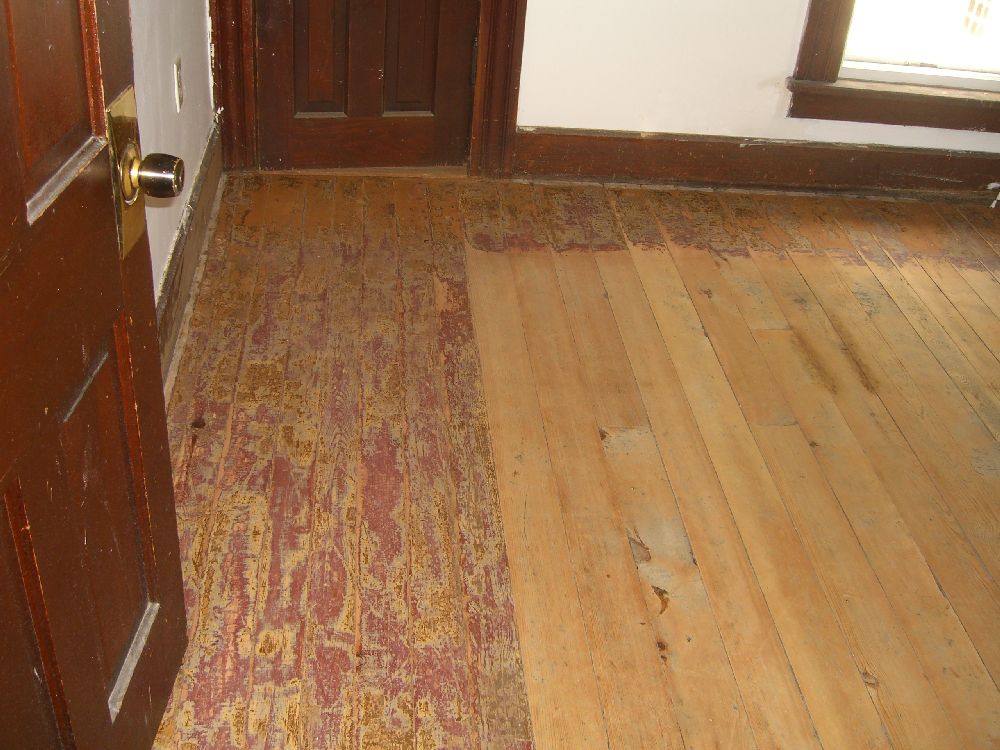
Here’s the thing about paint on floorboards (and probably other old wood surfaces) – it’s damn hard to take it off. Paint stripper, sanding, all of it only gets you so far. So, after a while, I agreed with the writing on the floor and decided to let sleeping metaphors lie. But the floor did need to be finished in some way, shape, and form (let’s be honest – the shape would probably be a slight rectangle) – the options were all some combination of painting and staining, or not, and laying some sort of urethane over the top, assuming I didn’t paint the entire floor.
While I didn’t love the oddly distressed look of the partially removed paint, it did have a certain style all its own. I finally decided to leave it as was, and leave the bare, sanded boards in the middle; a nice seal would show off their return to life.
Necessity is the mother of semi-permanence
Posted by aaron in bedroom, closet, furniture, reused materials on 6 August 2013
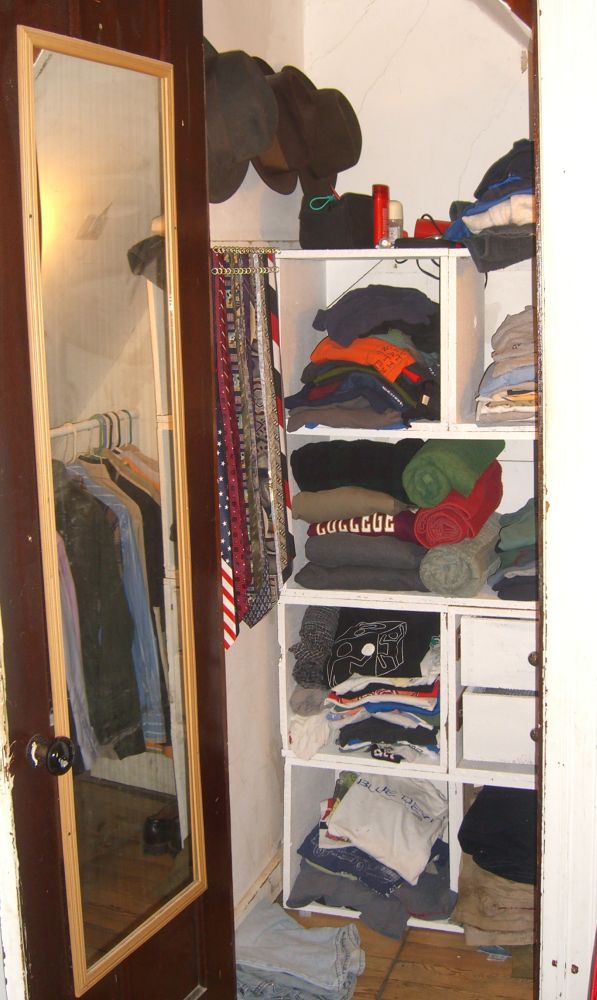
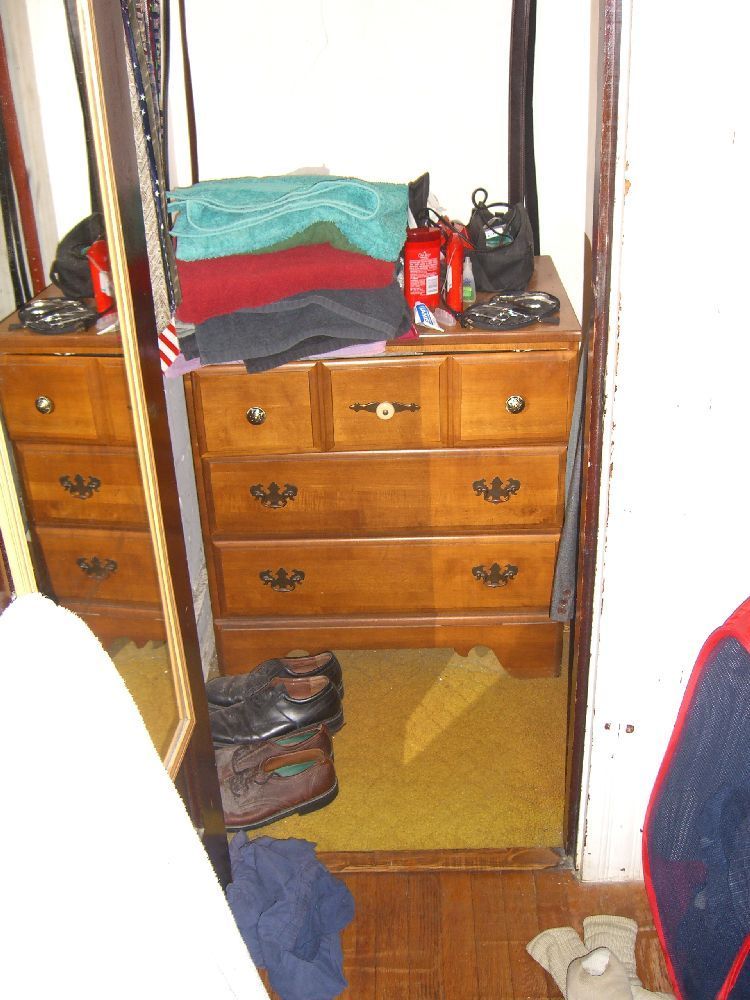
Close readers of this blog (hi Ezra!) will note that my closet project had reached a midpoint, and said midpoint involved all my clothes in the living room. After standing in front of the now-bare closet for many a day, chewing on the end of a metaphorical pencil and gazing thoughtfully into the space, envisioning a huge range of possible shelving and hanging possibilities, colors, finishes, rewired light fixtures, and a use for that trap door, I determined that my clothes were still in the living room. The situation now growing untenable, I built some box shelves:
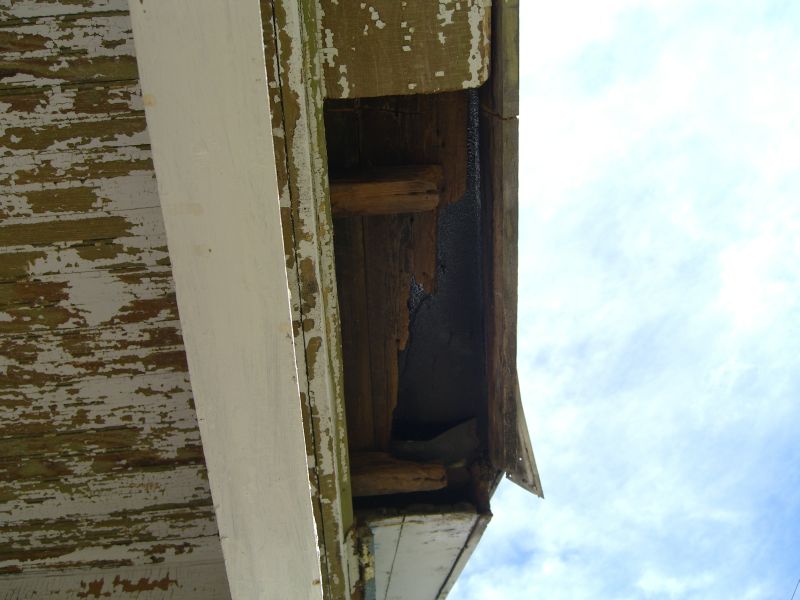
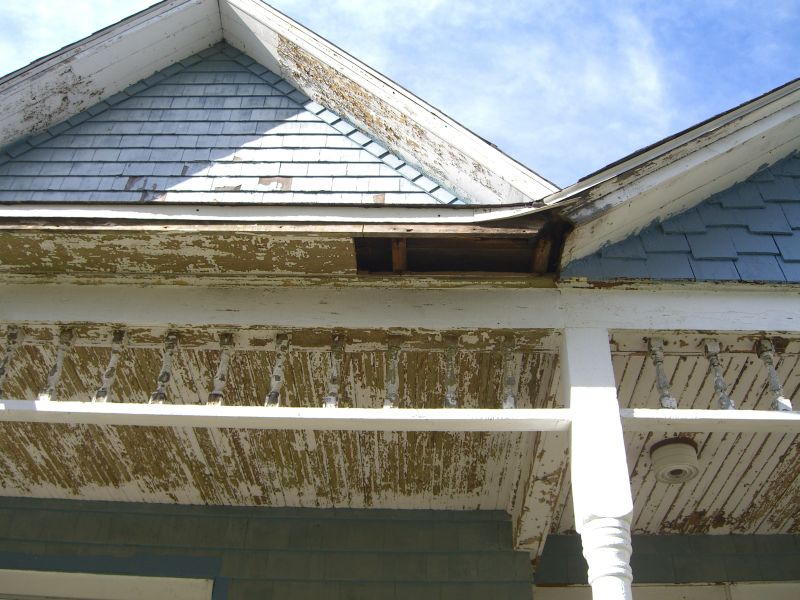
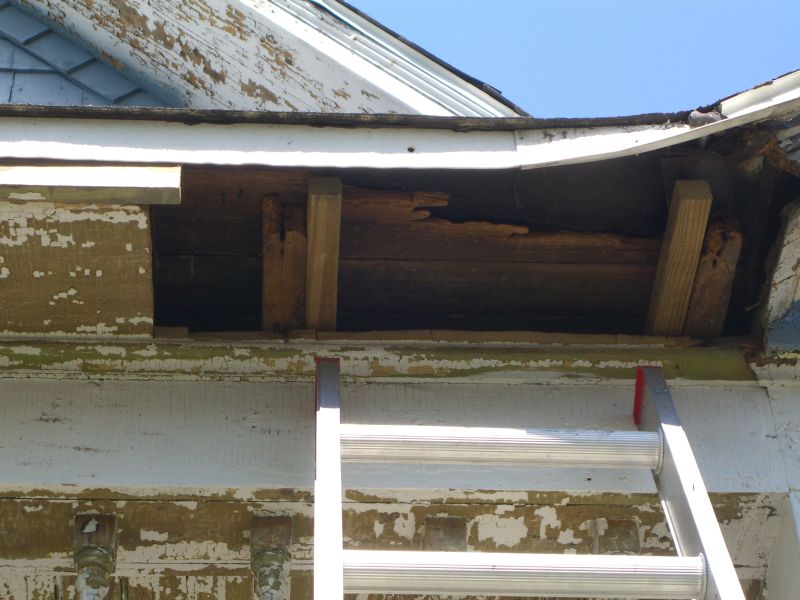
A porch is a porch, of course, of course
But it looks better with lattice instead of whatever corrugated white fiberglass-like stuff has been wrapping the porch for years:
Read the rest of this entry »
The Great Bedroom Closet Project of Aught-Twelve
Wherein I start a project, discover a trap door, and eventually realize I need a better plan than ‘build some shelves’.
So in other words, Tuesday.
Years ago I cleared floor space with the brilliant discovery that an old dresser fit neatly in my bedroom closet. Between that, a tie rack discovered… somewhere, and existing hooks and nails, the closet had functioned fine, if somewhat unimpressively, for storing the bulk of my clothes.
Rabbit-proof fence?
Another old project which I am only now posting. With plans for some garden space (in place of lawn) came the realization that there are rabbits bounding about my town much of the year. Some fencing was in order.
First, to prep the space… I pulled sod in a roughly 8′ x 4′ rectangle next to the existing flower beds, and I think I came across a footer or something connected with the old old old porch stairs that likely came off the front under the peaked roof.
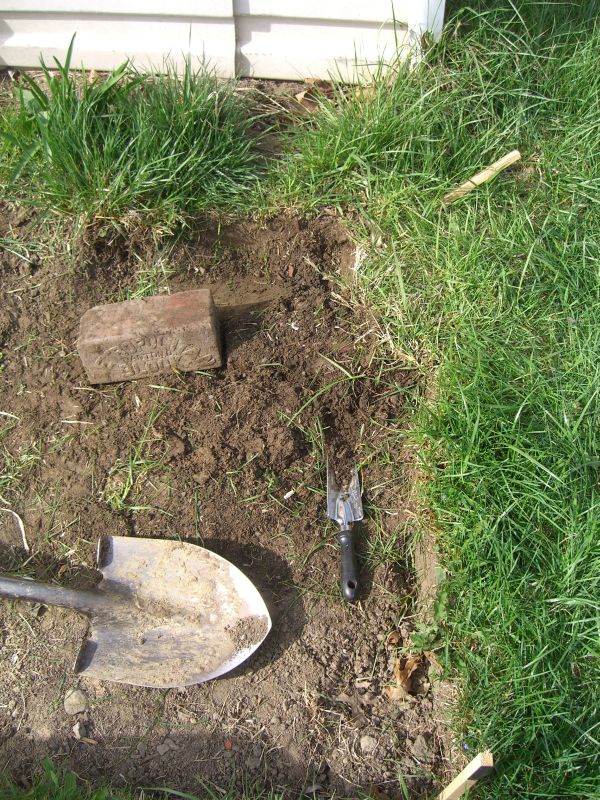

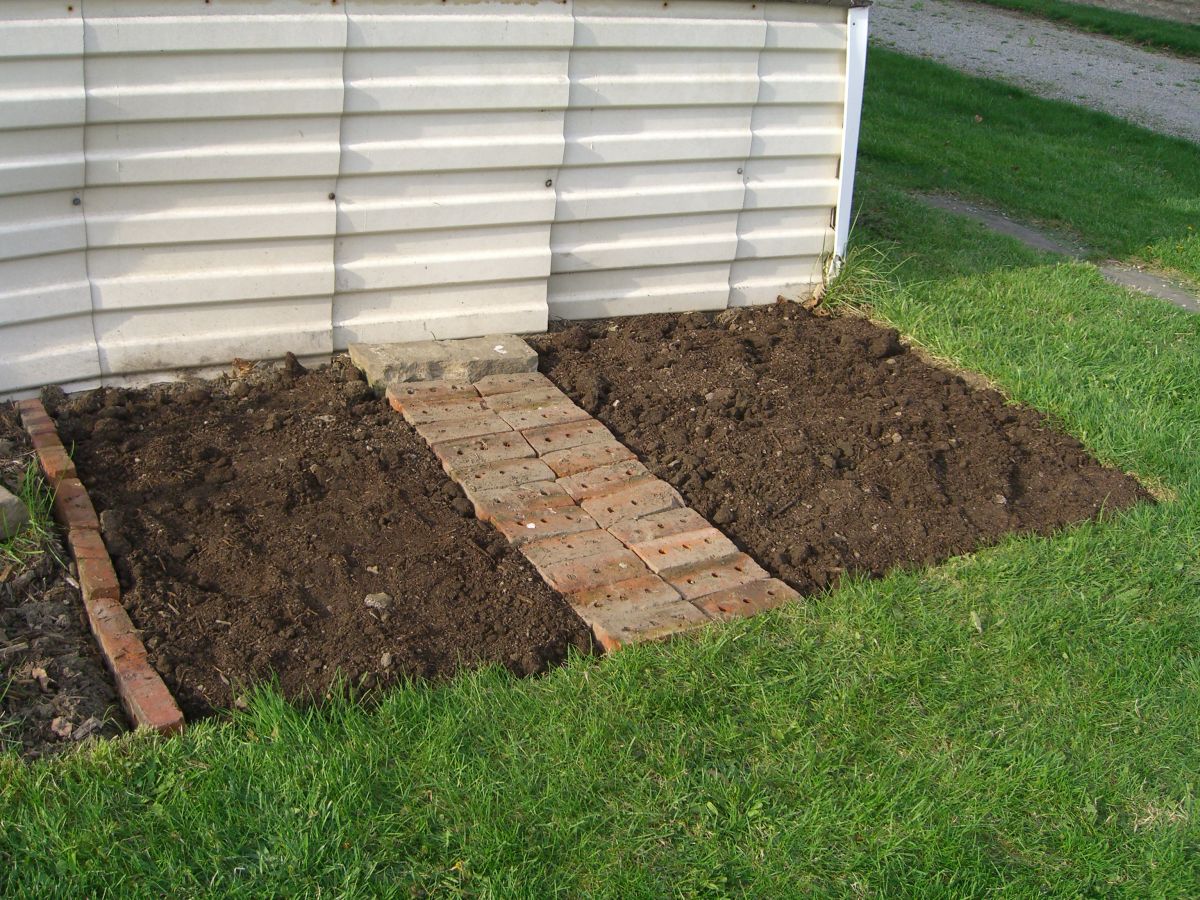
With the space cleared and major rocks and roots removed, I laid a ‘path’ using salvaged bricks so I could access both ‘plots’ easily.
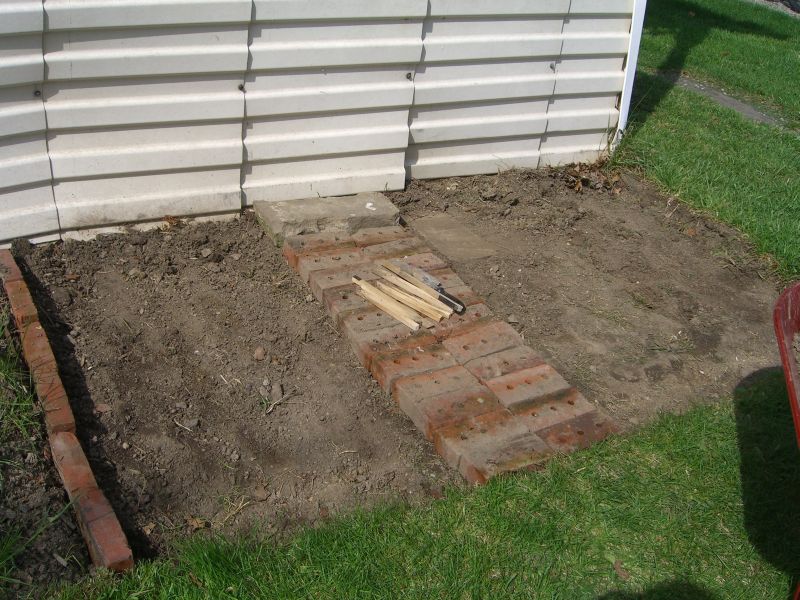
Fill in with several inches of topsoil…
And now for the fences. These held up fine in the ensuing winter, but they were definitely a temporary solution – although a good way to use existing materials, I think. I started by pulling the screen – some fiberglass/nylon, some maybe aluminum – from the frames of old storm windows I hadn’t yet dragged to the scrap yard.

Once again, my 1″x1″ poles were turned into stakes with a quick miter. I then cut the screen maybe 5 inches wide and attached the runs to stakes with ye olde staple gun.
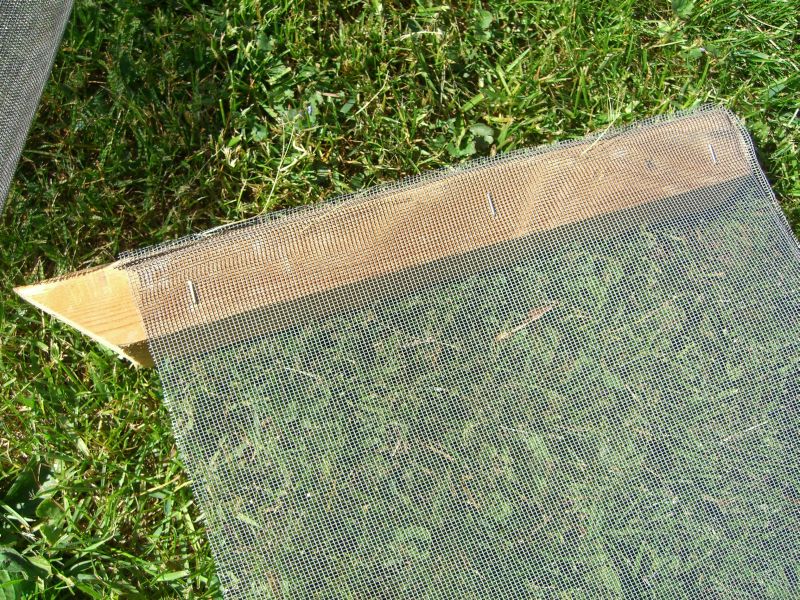
As with the raised beds out back I found it easiest to attach no more than two walls at a time, and then complete the sides after the first walls are in the ground. You may also want to carve some trenches along where the screens will run first (you want them to be even a little bit underground so gaps don’t open up between earth and barrier) to make it easier for yourself as you lay in the stakes, the screens, and then refill with some dirt.

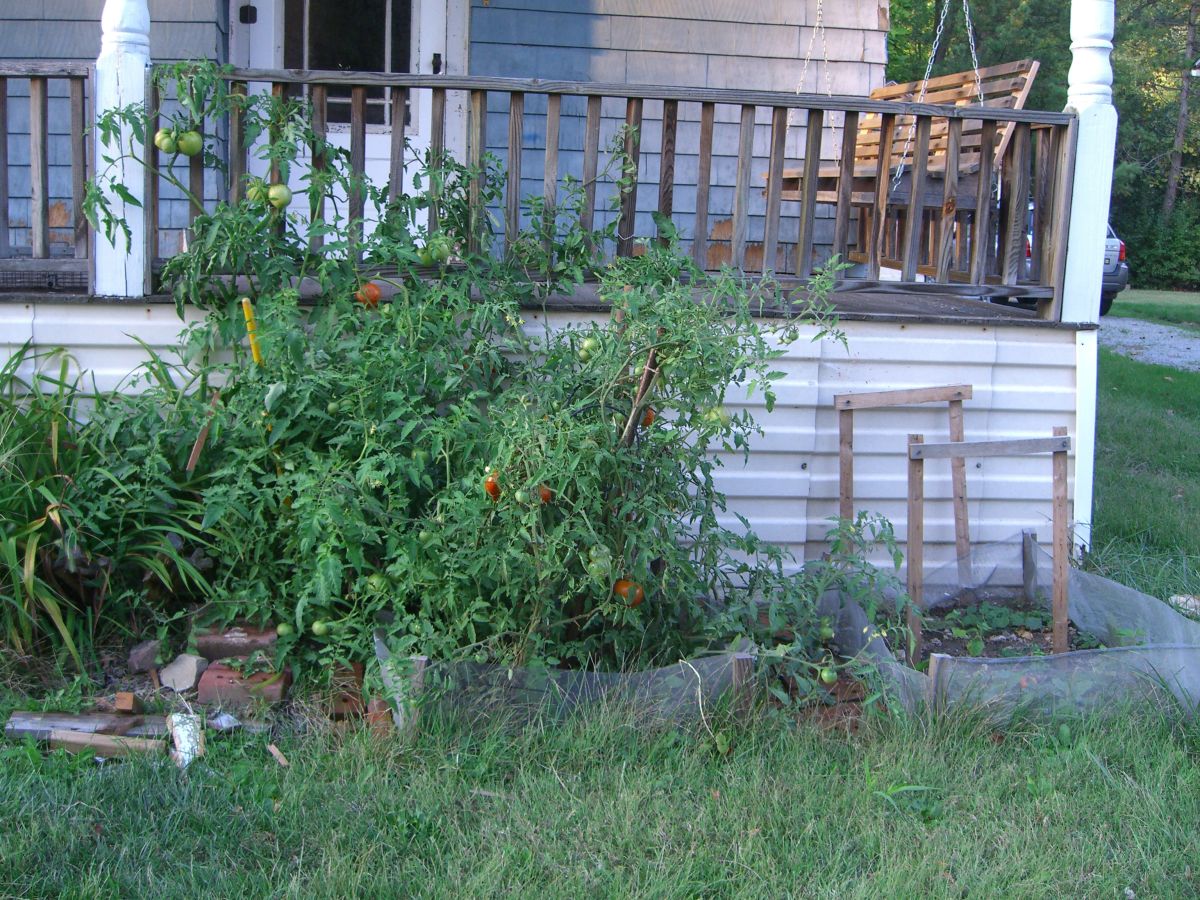
And here’s what you get when you drop some plants in your now rabbit-proof plots:

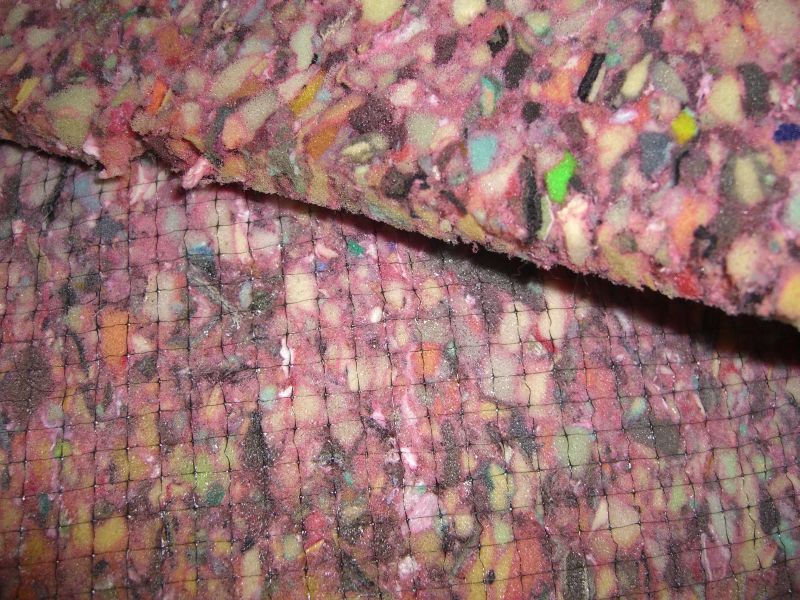
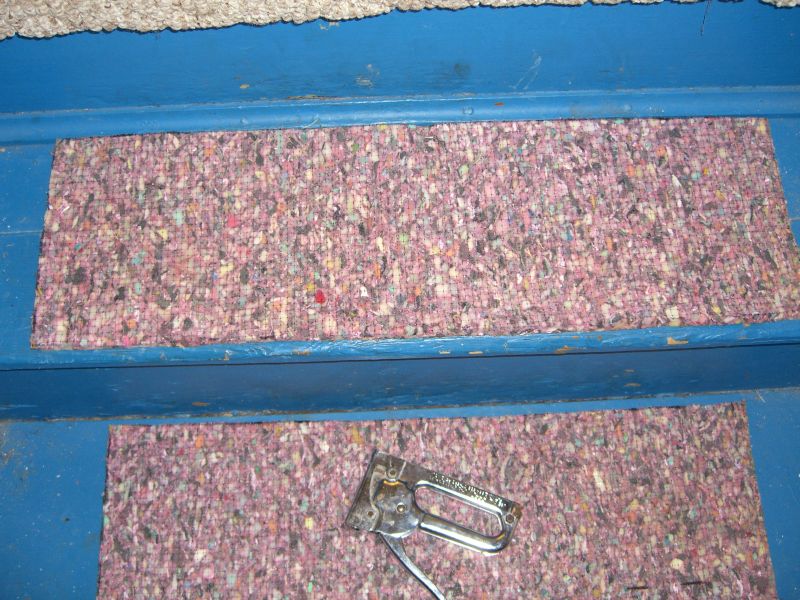
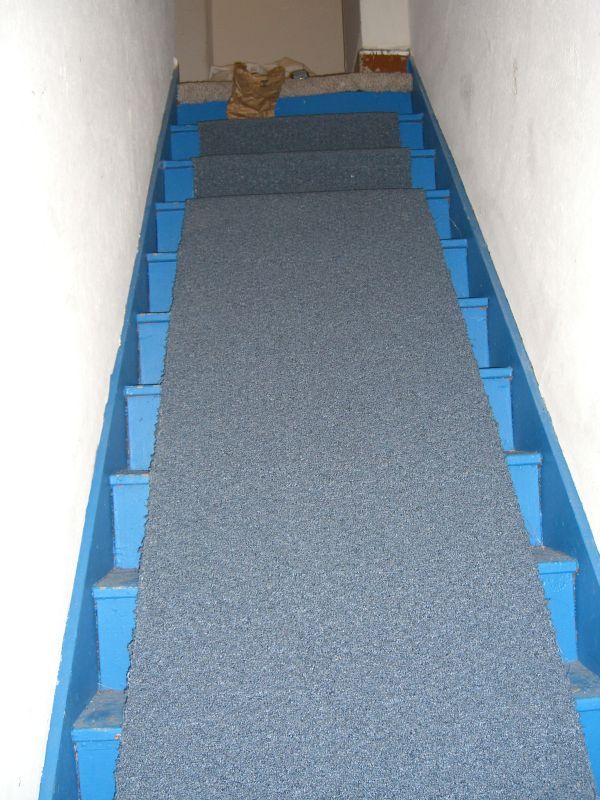
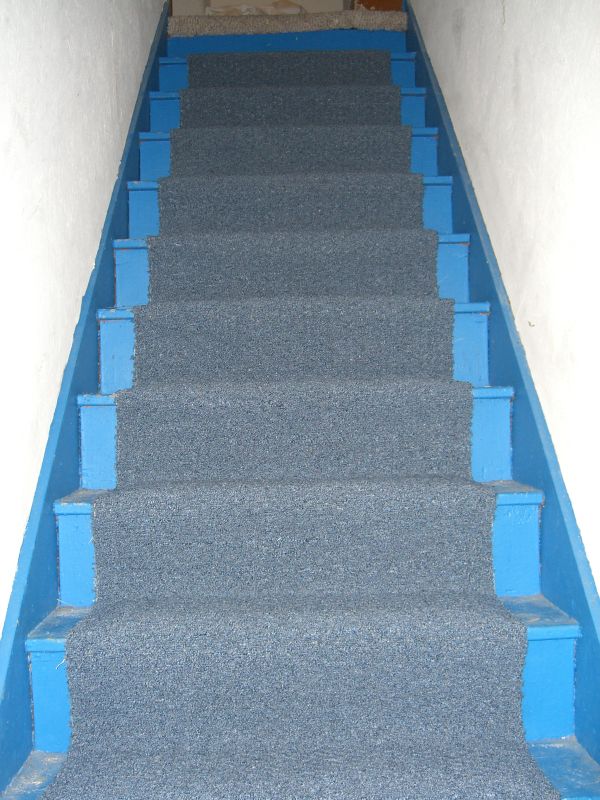
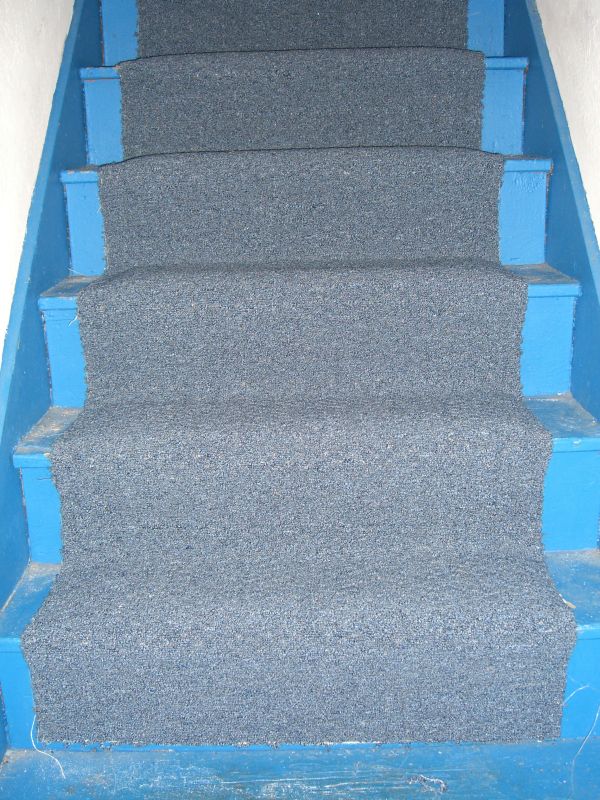
Stair carpeting


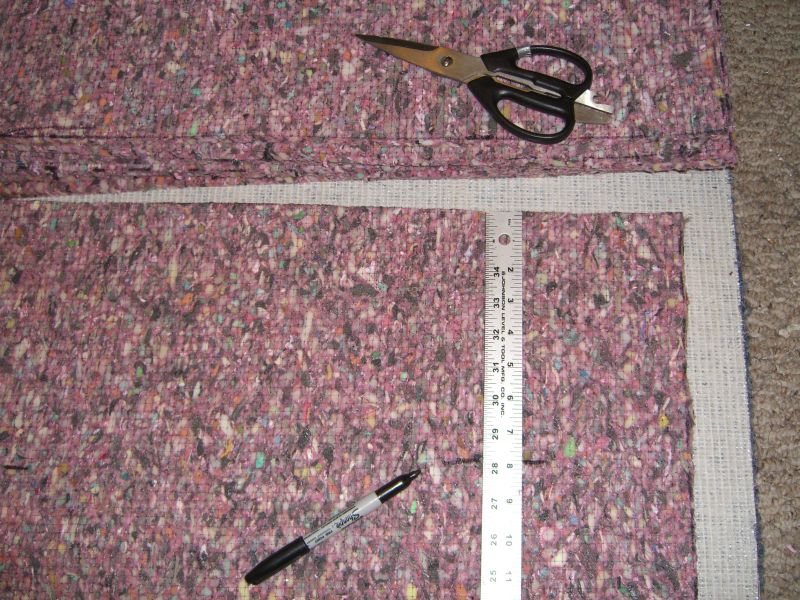

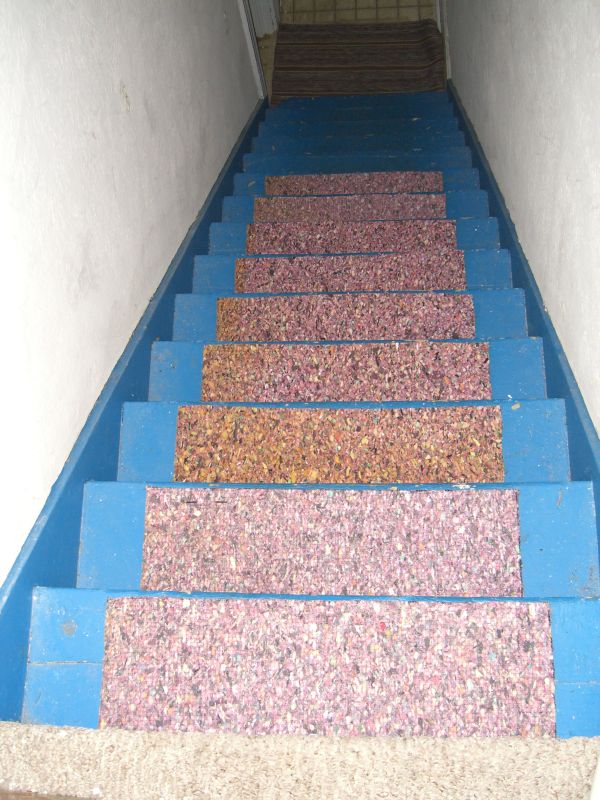

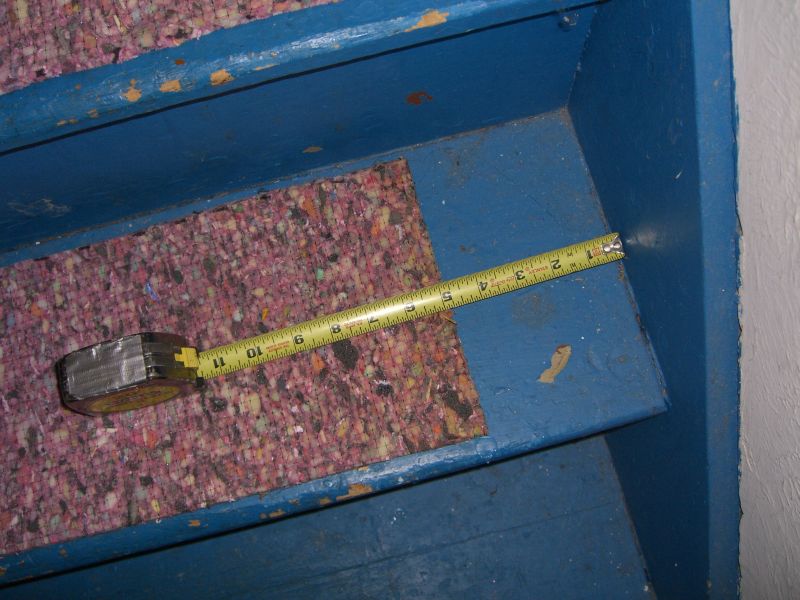
A staple gun with 10mm staples was enough to hold the padding in place. I put at least 10 staples into each piece, four each along the top and bottom, and one additional centered on the sides.
A really old project
I just found these photos from a project I completed in winter 2008-9. The downstairs bathroom was largely complete when I got the house, just missing trim:

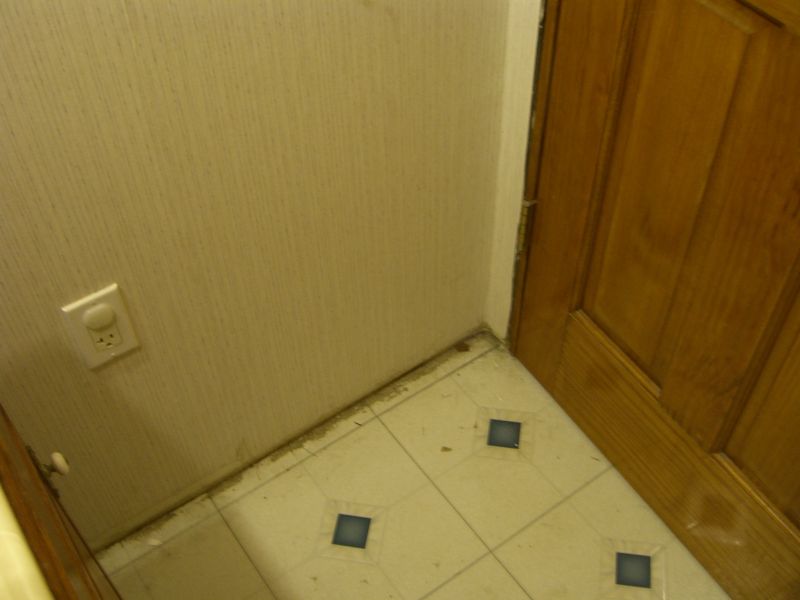
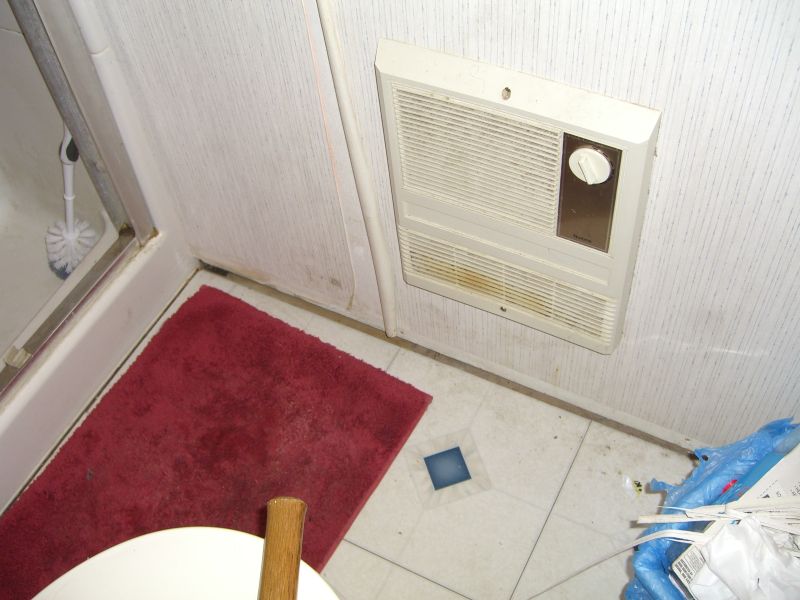
This was a pretty straightforward project. Given that nothing in this century house is quite square, the only thing I would have done differently if I could go back was the order of cuts. Actually, just the measuring, not even the cuts themselves. I’d recommend starting with the door – it will probably have a different trim pattern than the baseboard, so it’s a self contained project:


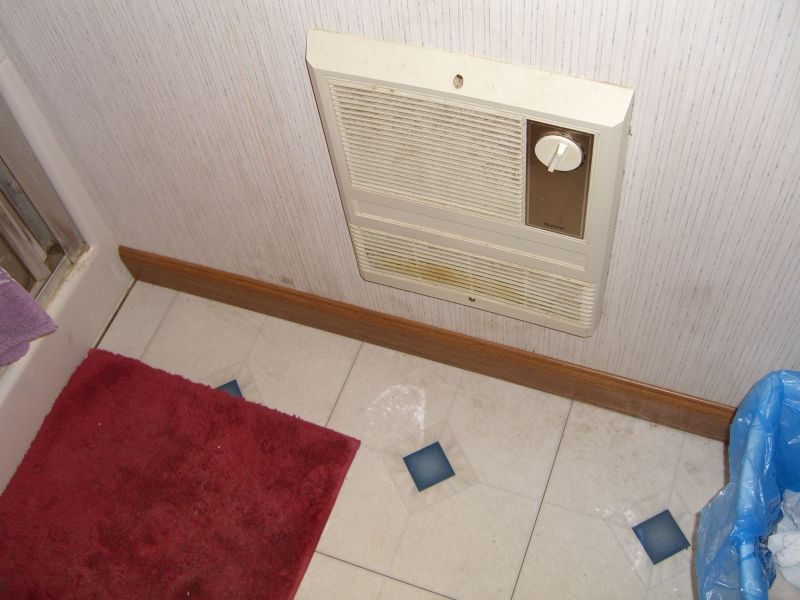
This trim, incidentally, is a composite from Home Depot, attached with Liquid Nails and a couple of very small brads for insurance. While I’d normally go with real wood in any project, this was one of the first house projects I was trying to complete, and I wanted a low-maintenance solution, something that wouldn’t react badly if I missed a bit of paint or sealant. If this bathroom ever gets redone, it would be a top-to-bottom approach and you can bet reclaimed wood would be used for the ‘new’ trim.
No more squirrels!

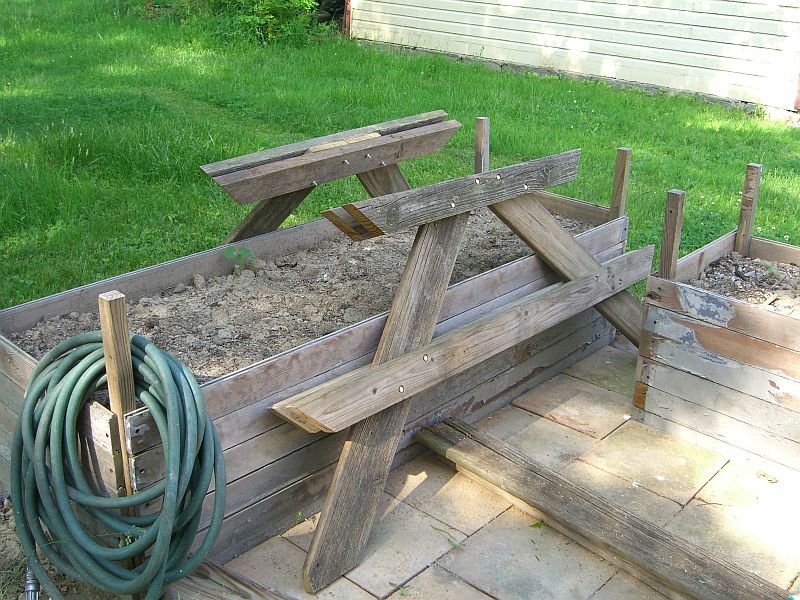
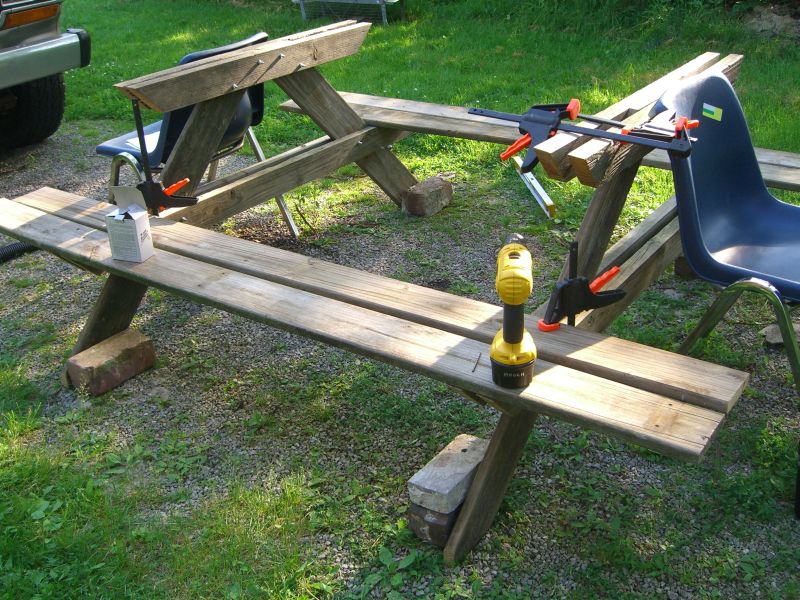
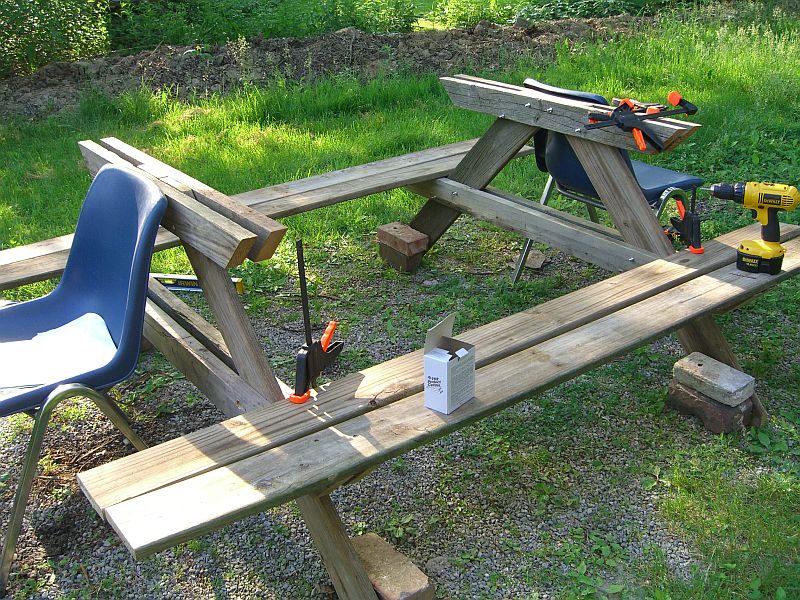
Just in time for winter – a picnic table
The table was completed in May, actually, but the post title was far too clever to pass up (right? right?).
The internet is a wonderful place. Not just for movie trivia and porn and porn movie trivia, no, it also includes dozens (dozens!) of downloadable plans for picnic tables, including at least one document that covers the theory behind picnic table construction. Not theoretical picnic tables – those are littering my backyard right now, next to the imaginary deck and behind the possible archery range – but the concepts and principles behind constructing a table, particular one without cross braces underneath (I just don’t like that design for some reason). This set of plans can also be completed with a few power tools (drill, compound miter, and… that’s it), an added bonus.
Having a well-explained primer on building a particular thing is very handy when, like me, you’re using materials on hand, not buying fresh stock to match specs. The raw materials for this table are almost entirely pressure-treated wood from the old deck benches I took apart last year – 2x4s and and something like 1 1/4x6s This meant both building deeper benches and adjusting the number of planks for the top.
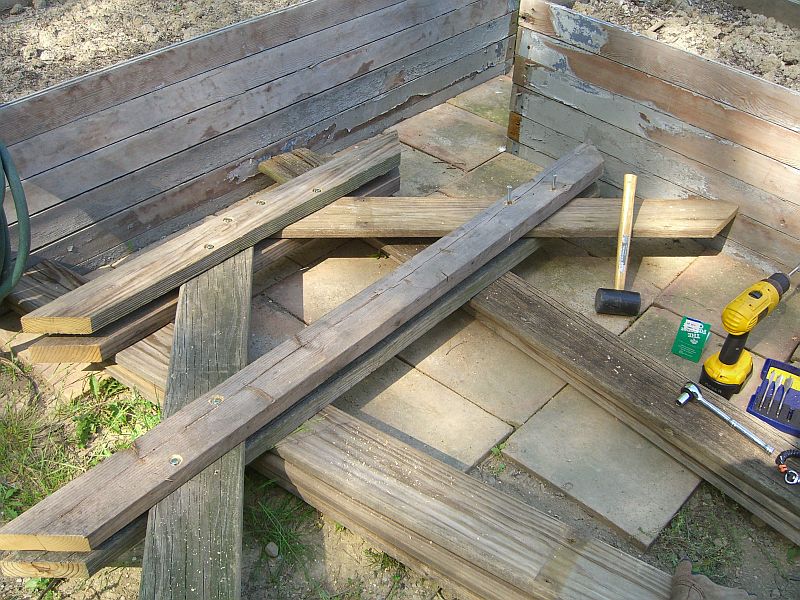
Paddle bits let you sink the bolt heads for a cleaner look:
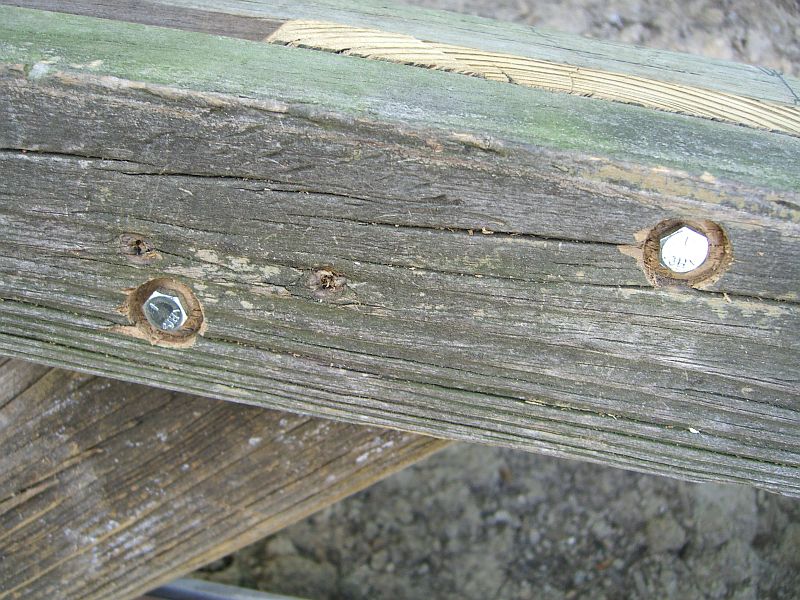
My local hardware store (Watson) lacked the exact length of bolts needed for this thickness of wood, but a little extra length shouldn’t hurt since they’re all on the inside of the frame:
If you don’t have a friend to help level and assemble everything, or a properly equipped shop, find matching chairs:
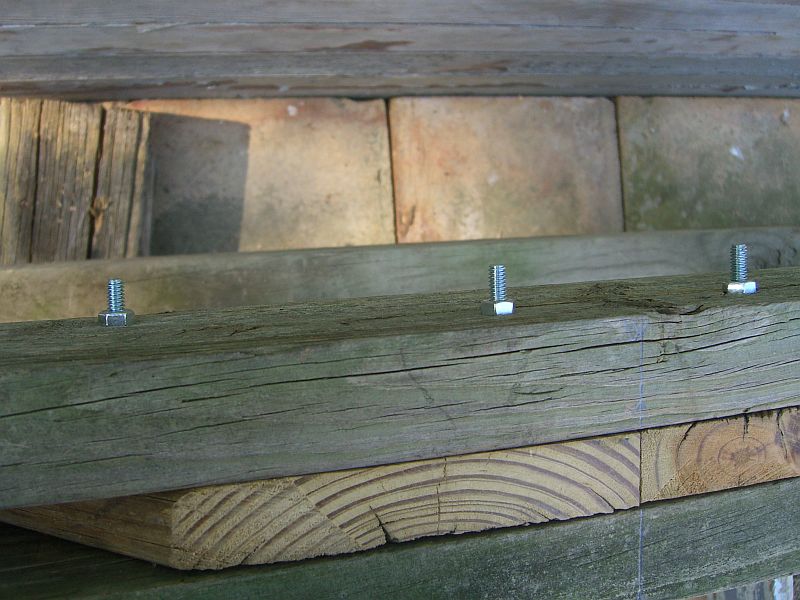
Jerry, Watson’s owner, recommended ceramic-coated screws from the Project Center line – these are great. They’re self piloting, the drill tip means they aren’t likely to split the wood if used near an edge, and the coating makes this table a lot more weatherproof.
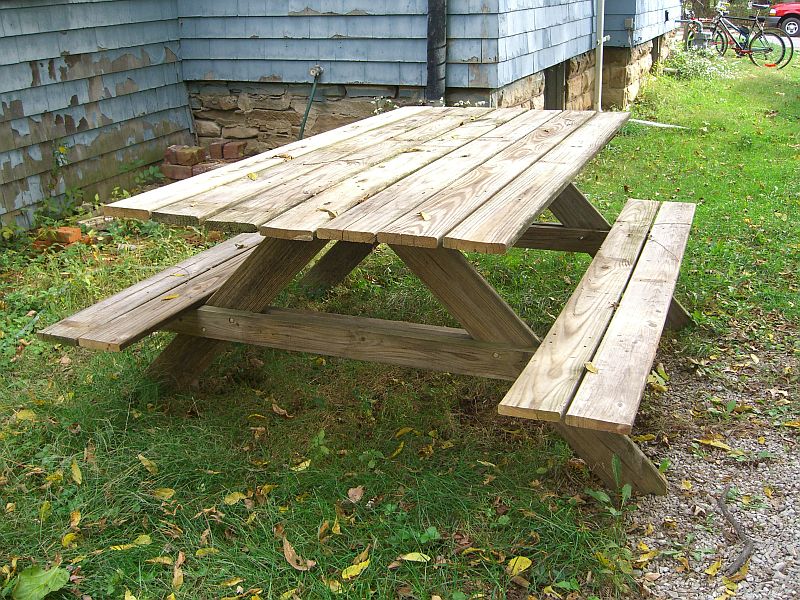
You’ll notice some minor bowing in the top planks – I was working with reclaimed materials, remember. Everything seems to be holding together fine – we’ll see how it survives the coming months.
Total cost: about $20, all for the fasteners.