They’re unique, that’s for sure.
After staring at my closet for yet another day thinking how great it’ll be once I install some shelves and move the dresser inside, and get a bar of some kind to hand all my shirts on, I realized that I had all the prep work done and it was just pure procrastination preventing me from (alliterating apparently and) doing at least the first two items.
The custom shelf was pretty easy. It doesn’t have to support much weight, meaning the shelf supports themselves don’t have to support much weight, meaning this half-inch right angle piece I had in the back room would be fine tacked straight into the wall.

[Update 8/14 – should have mentioned all the steps here. First I pre-drilled the support at 4 places along its length; it makes the next several steps much easier, not to mention keeps you from splitting the support and teahcing your neighbors some new curse words. Then I tapped the nails into, but not through the wood – ‘porcupine’ boards also make the work go faster, assuming you didn’t pre-drill holes that are too big. Then: found my height, nailed one nail in part way to the wall, LEVELED the support (this is the sort of step I’d normally space on and have to pull out a nail), tapped in another nail, and then hammered all four nails in using a nail set to finish them off. Nail sets are wonderful, wonderful tools, especially when working with small nails and/or tight spaces.
You can try and measure from the floor to the support on both sides, or just use a piece of wood and the level to quickly find the right height. If you’re a little off for some reason, don’t sweat – these shelves are only 3’1″ wide, so a slight grade won’t even be noticeable.]
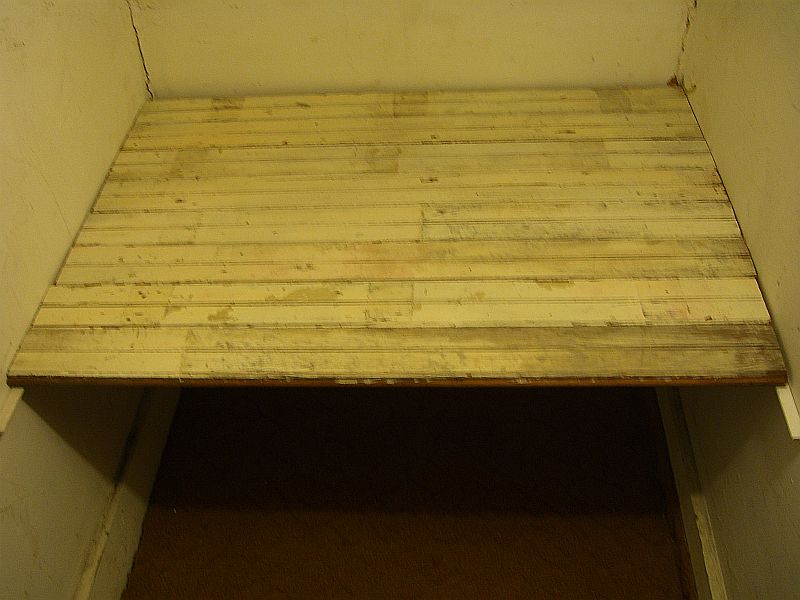
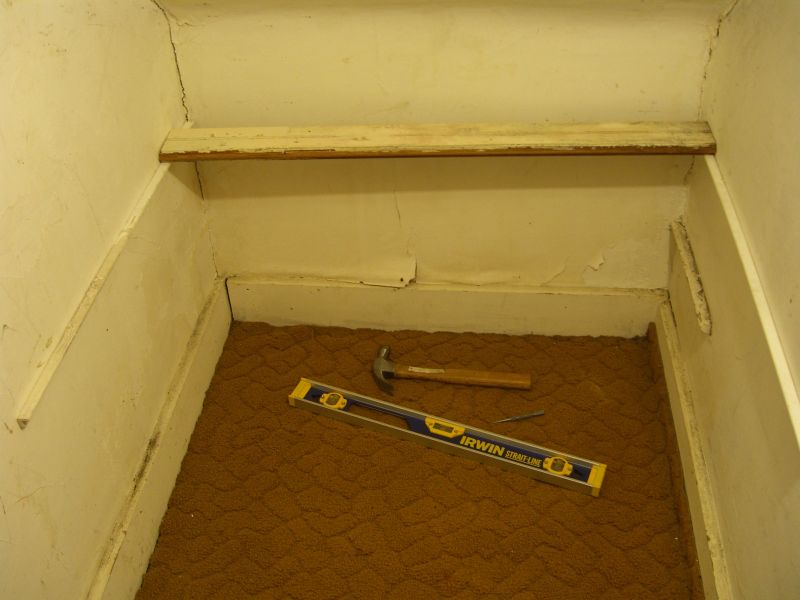 You can use whatever one-by wood makes sense for you – scrap is great if you sand or paint, or don’t mind how it looks. This is a bunch of old old tongue and groove that came out of a friend’s house and that I knew would be useful for something. In addition to having some character, it also comes apart in 3″ sections if, for some reason, I needed a little more clearance at the front.
 If you’re doing something like this in an old house like mine, make sure to take multiple measurements. For whatever reason this closet tapers slightly. The slats are all cut the same, but the two closest to you in the picture have probably 3/16″ wiggle room, whereas the very back slat is jammed in too tightly (you can see where I accidentally gouged some paint on the right while putting it in). Measuring the way back as well as the couple of runs I measured elsewhere would have prompted me to cut one board a hair shorter.
Doesn’t matter much at all – it works great and looks nice as is. I’m thinking of putting a small rolling shelf underneath this one for my shoes.
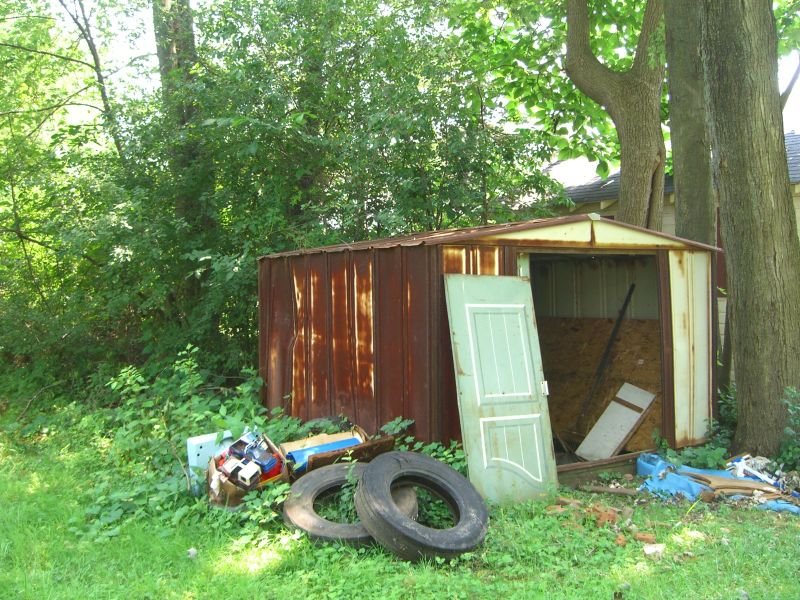
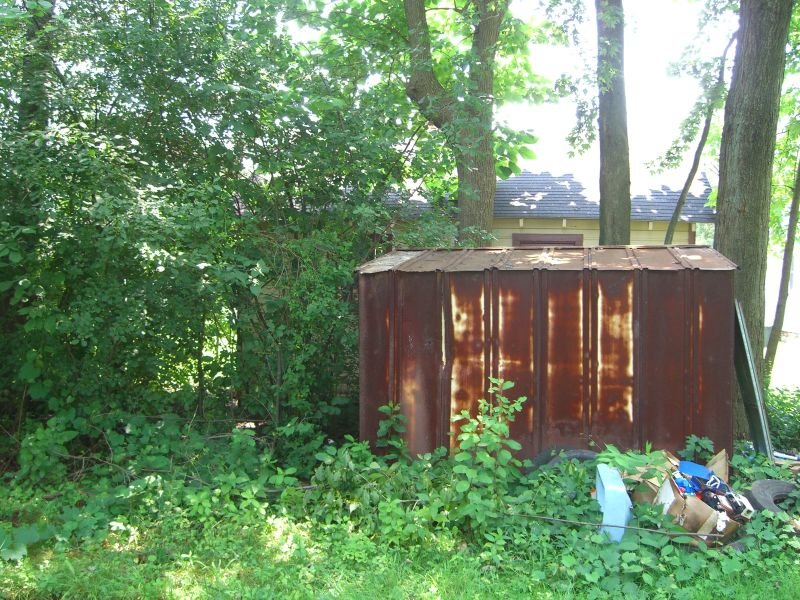
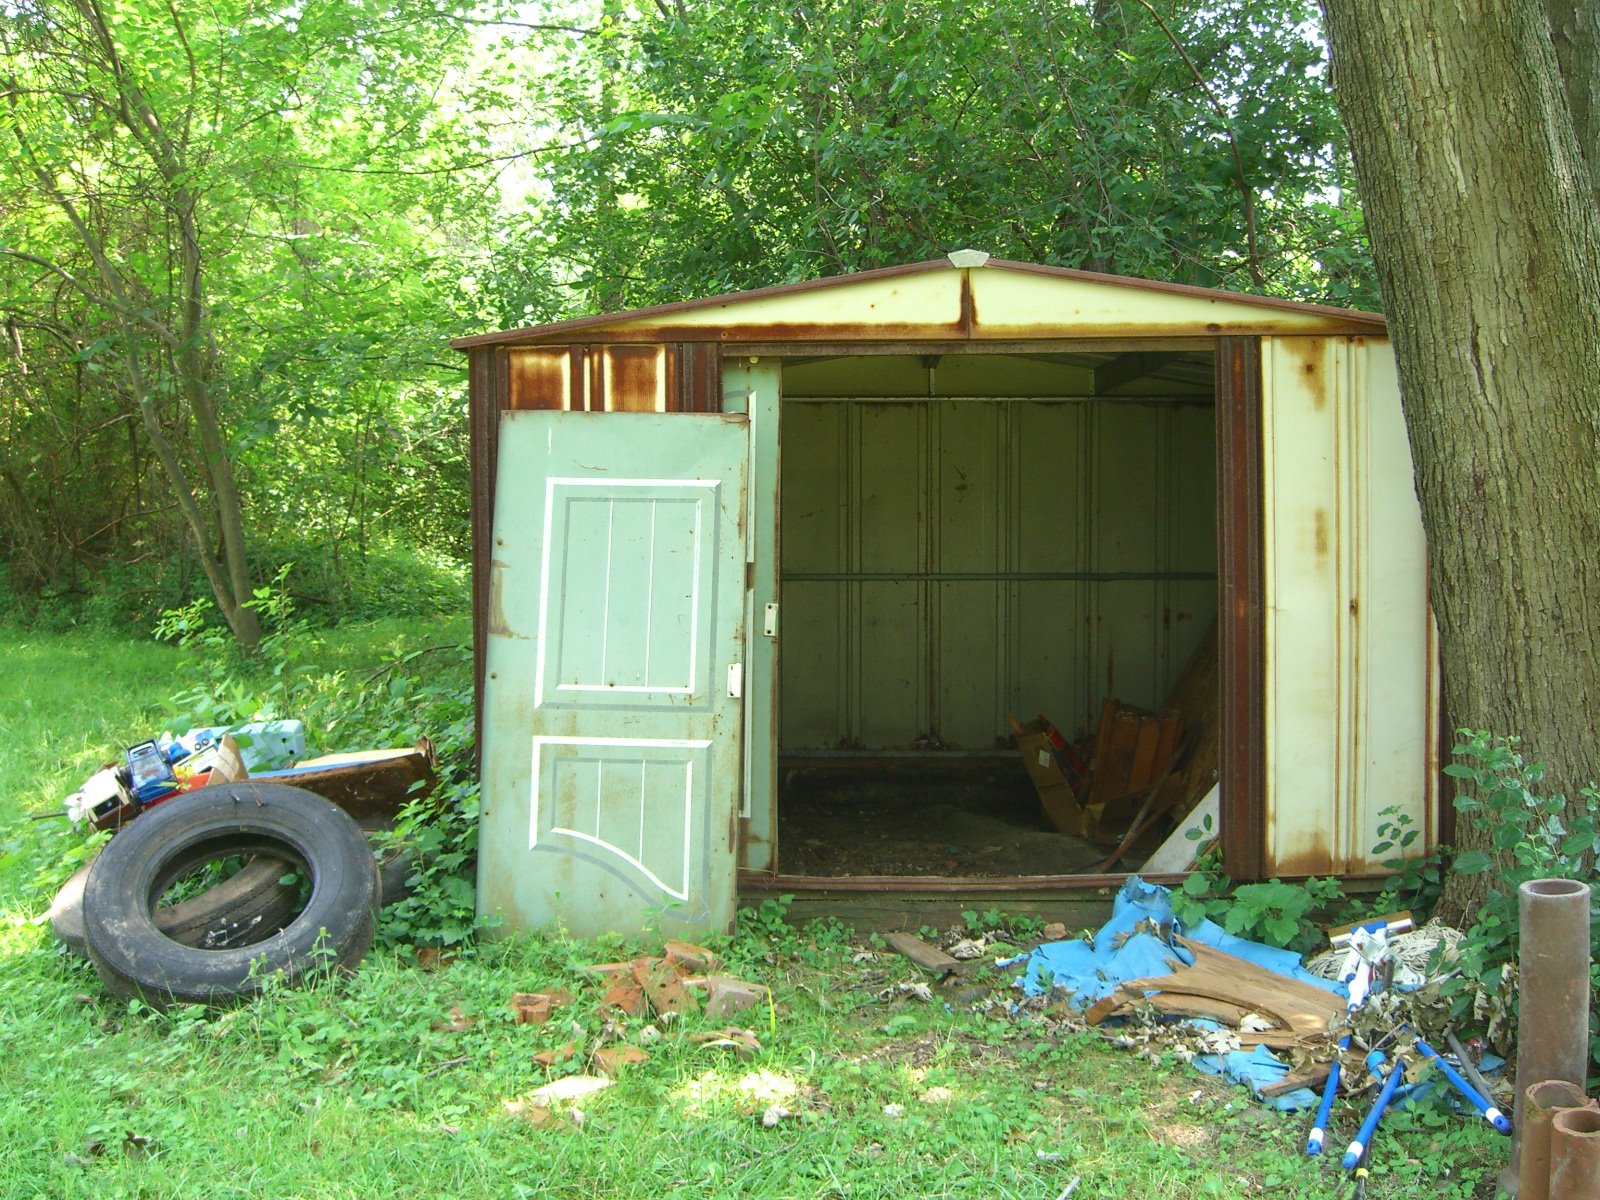
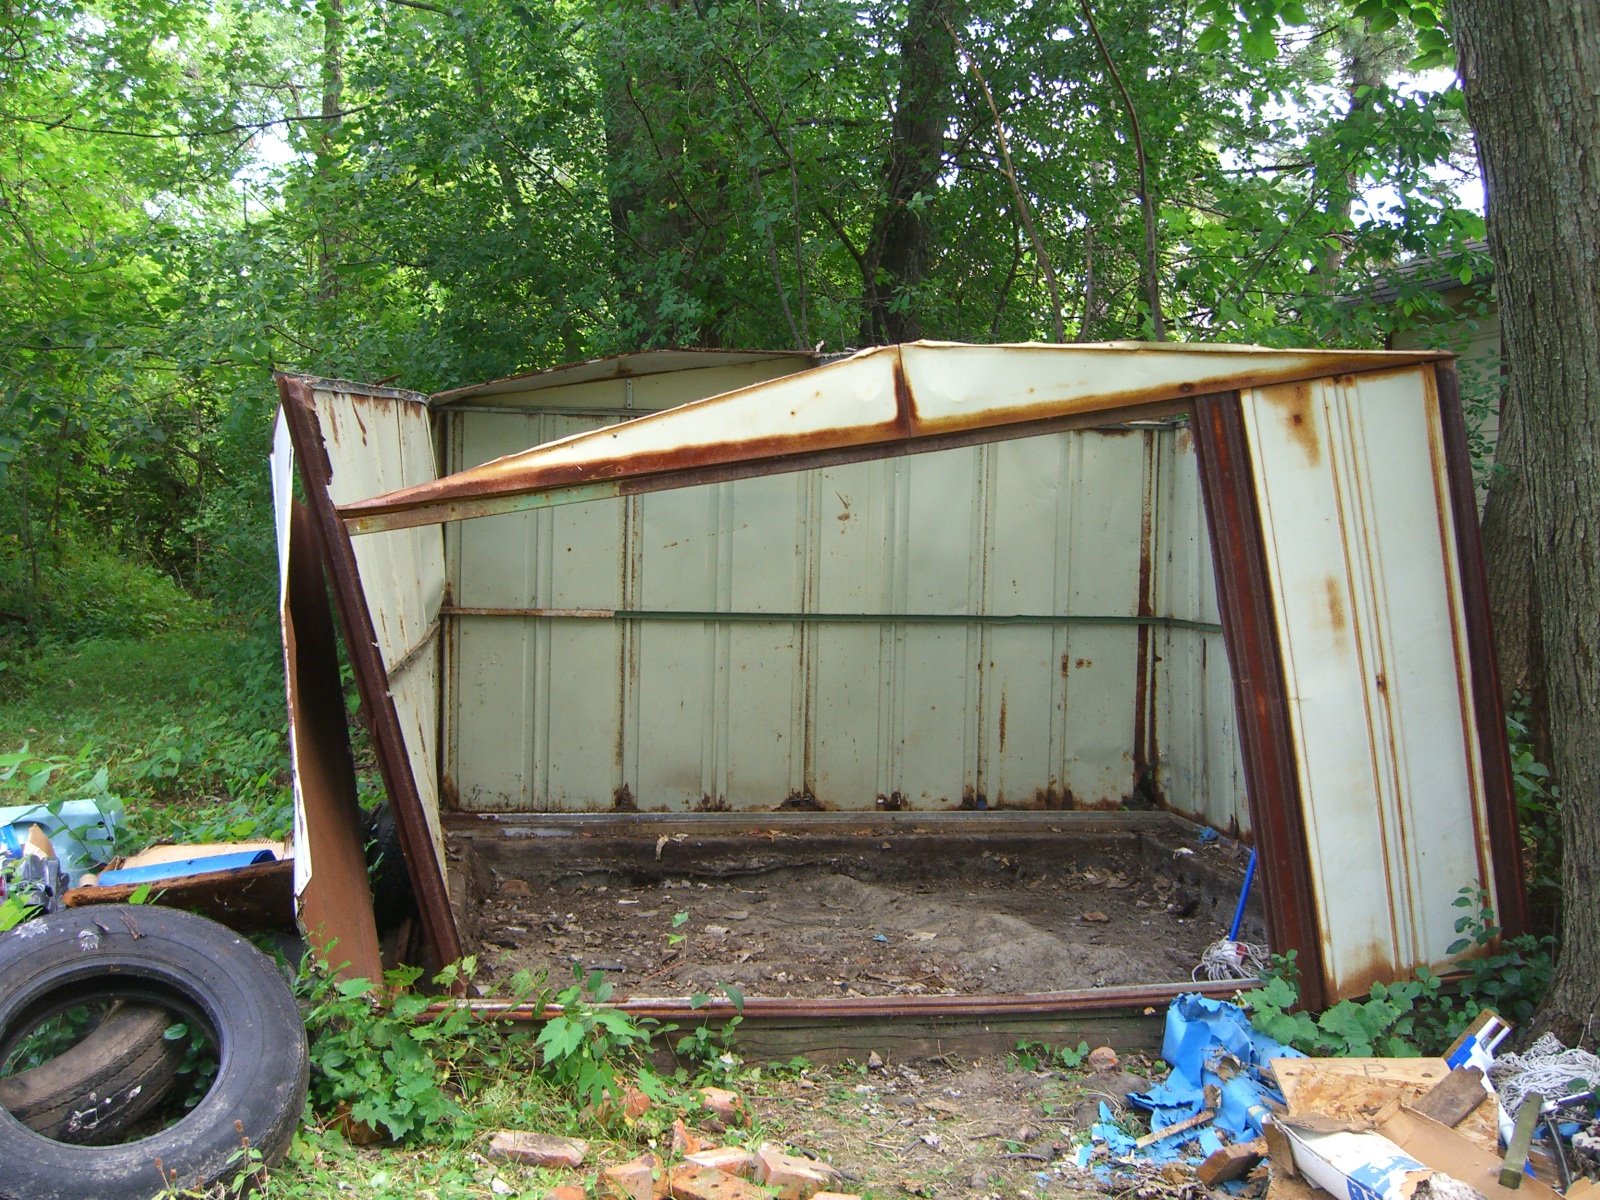
Shed’s dead, baby. Shed’s dead.
Wonder bar, mallet, screwdriver, elbow grease, two hours.
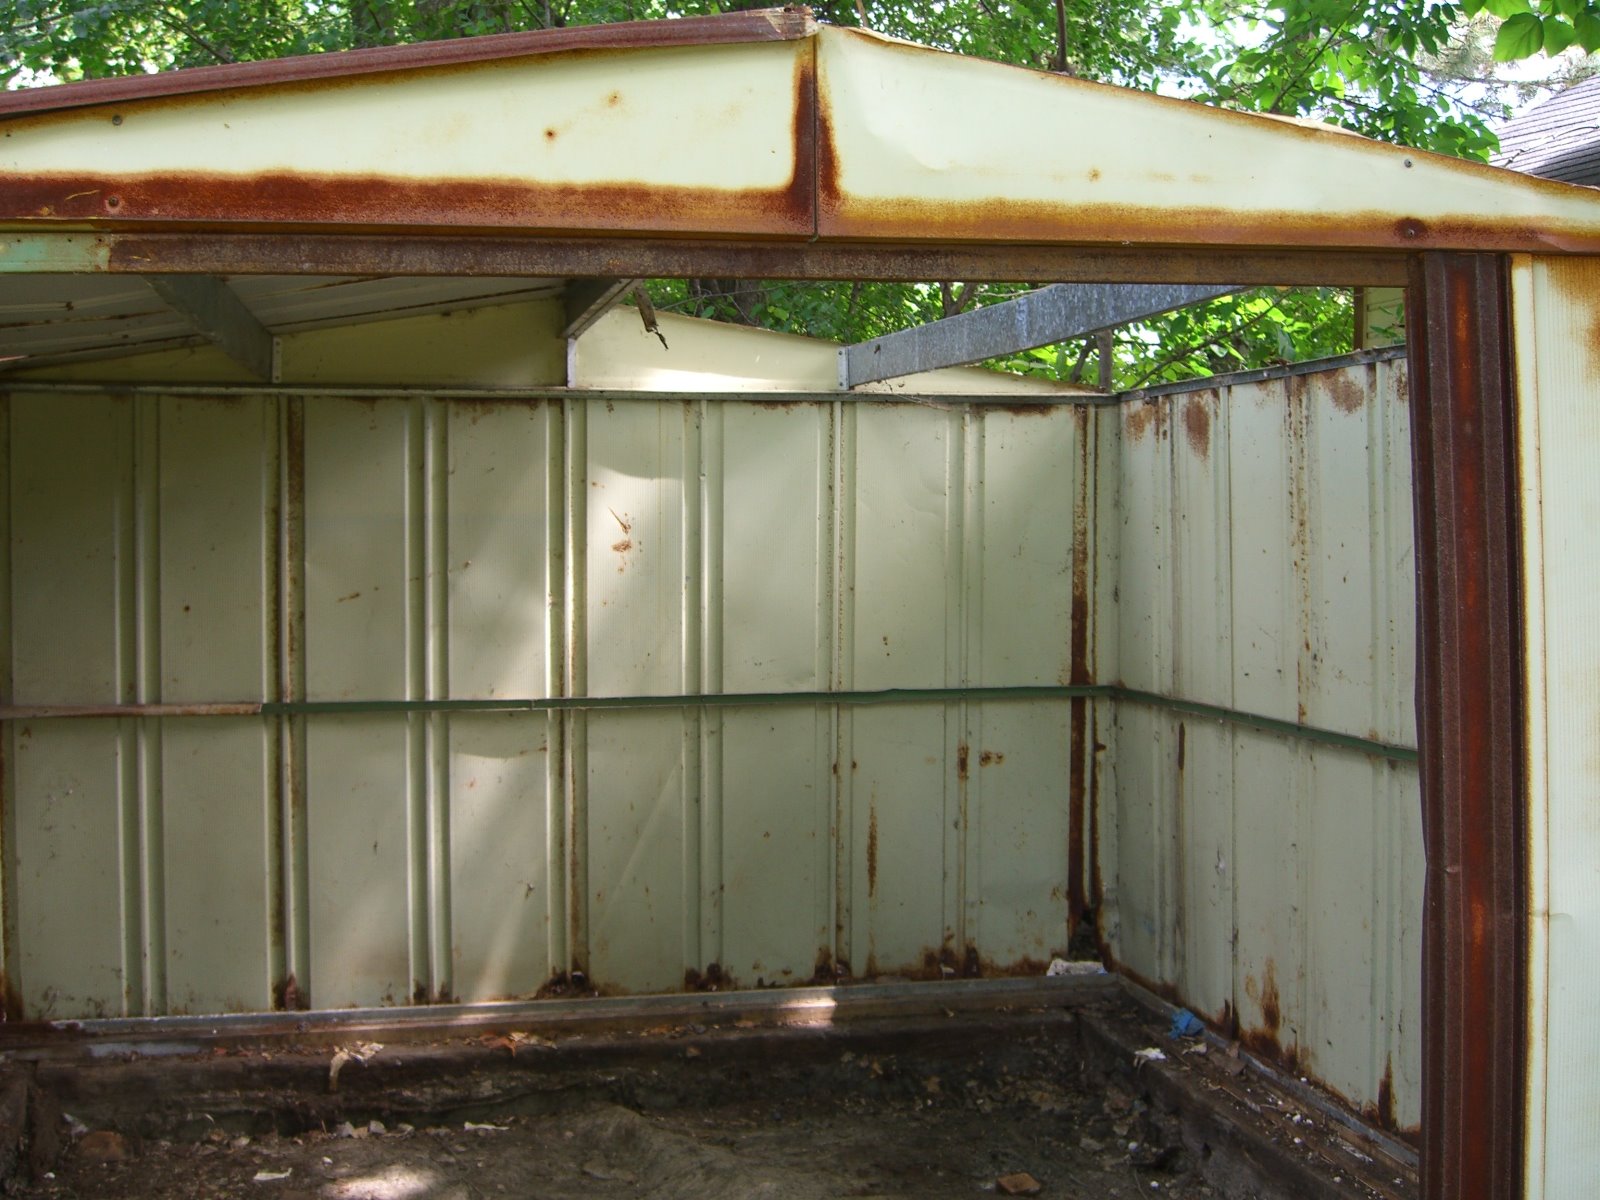
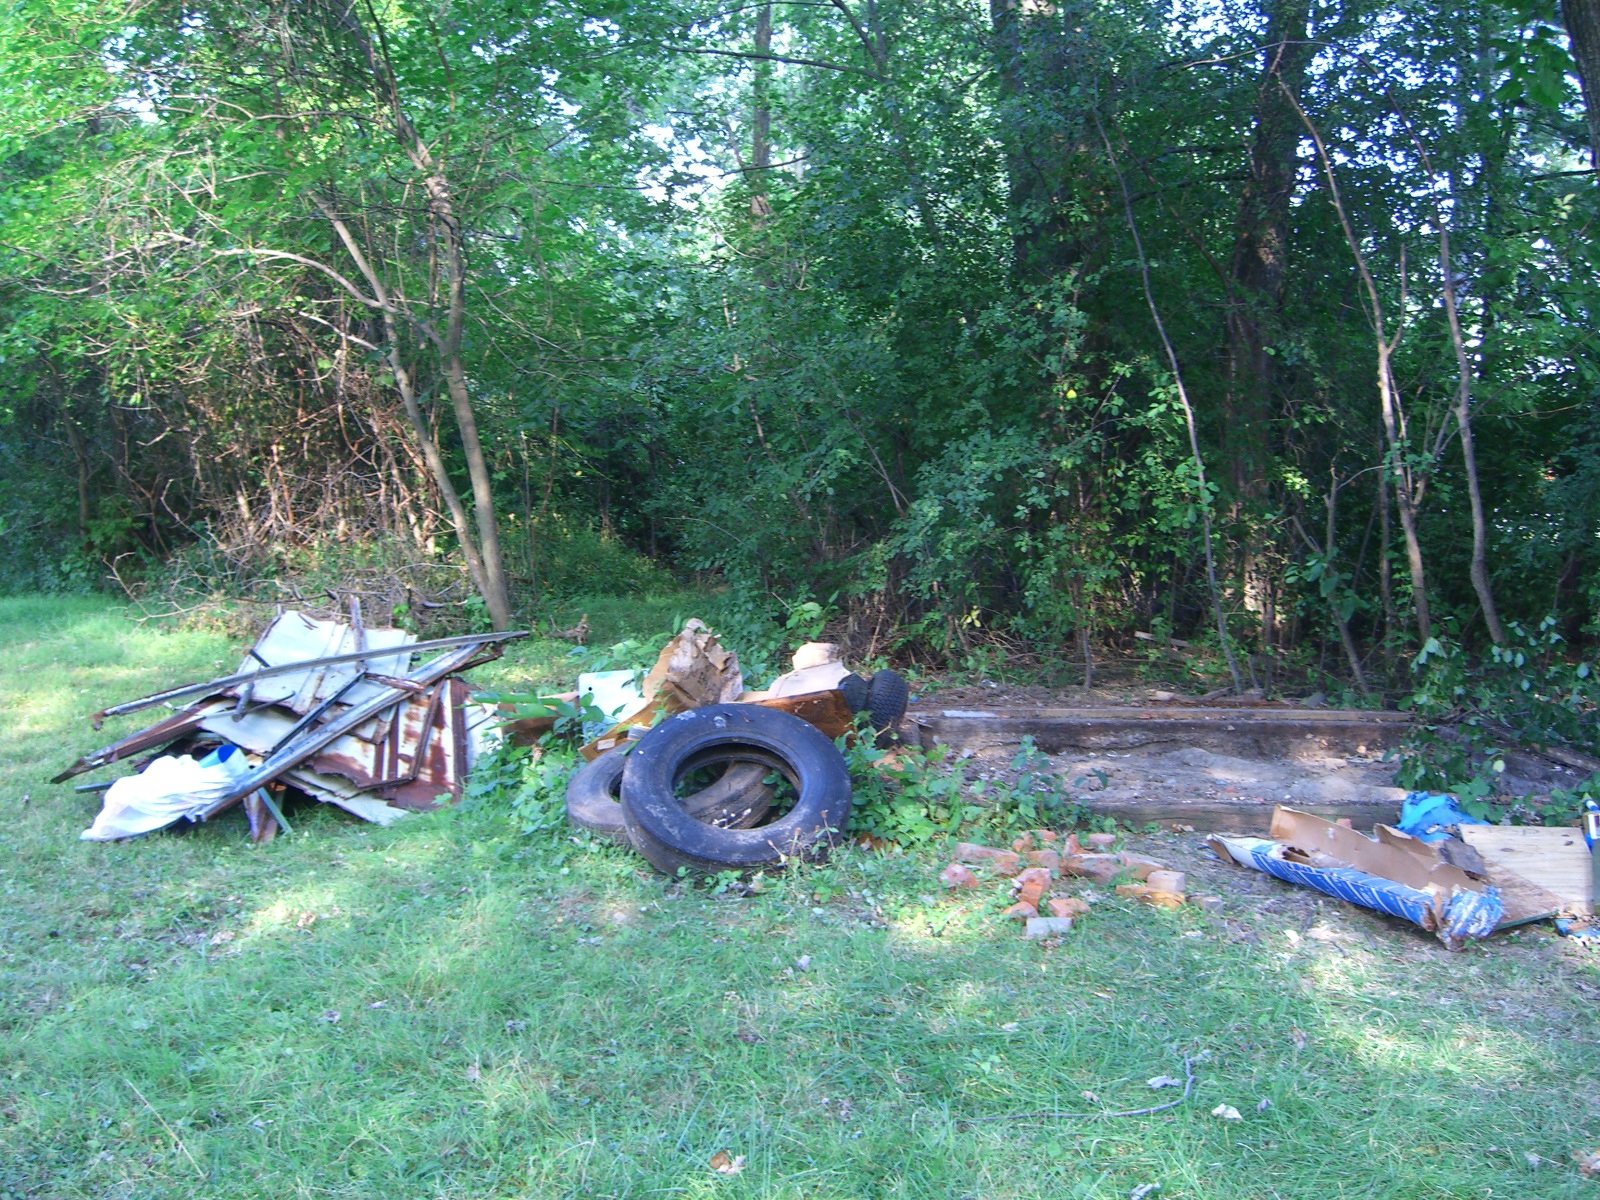 Here’s more of the sequence.
 Direct quote:
Me: I’ve got beer and cola in the fridge, you want any?
Sarah: Haven’t had my coffee yet. Let me get through that, *then* I’ll be ready for a beer.

 I swear, I did work too. I just also took all the pictures.
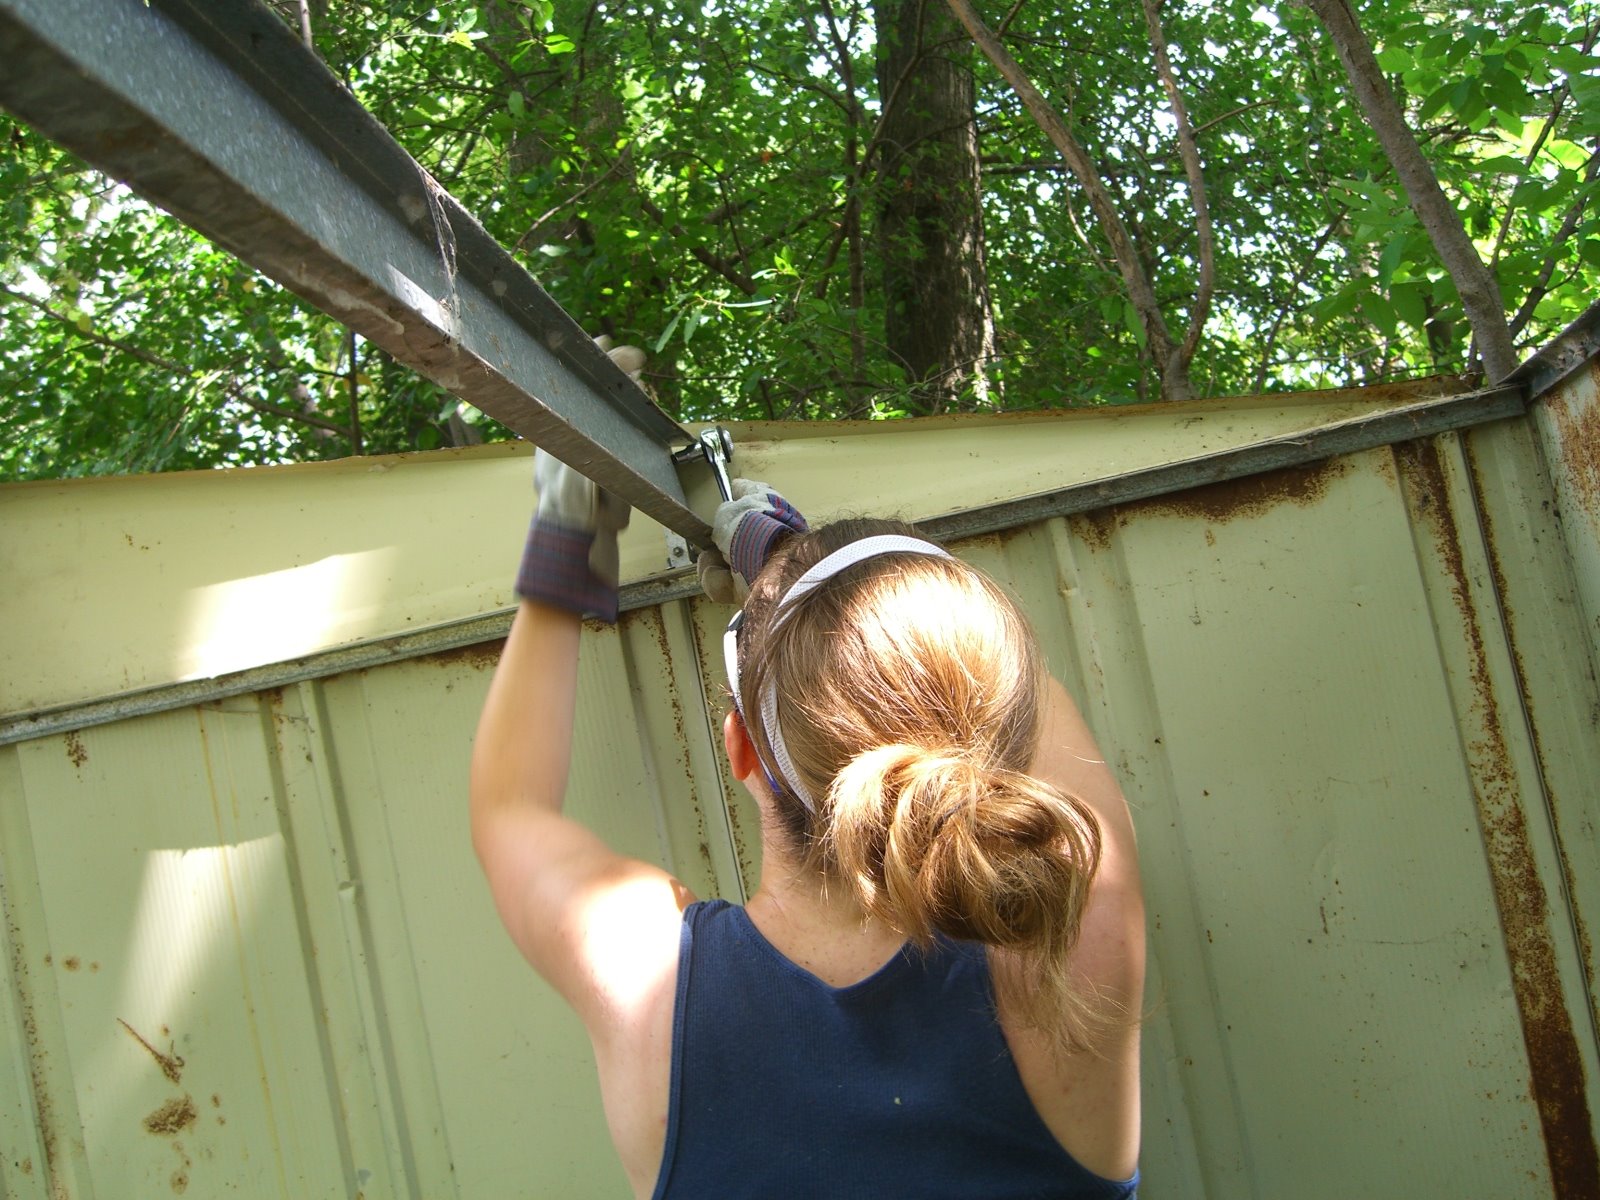
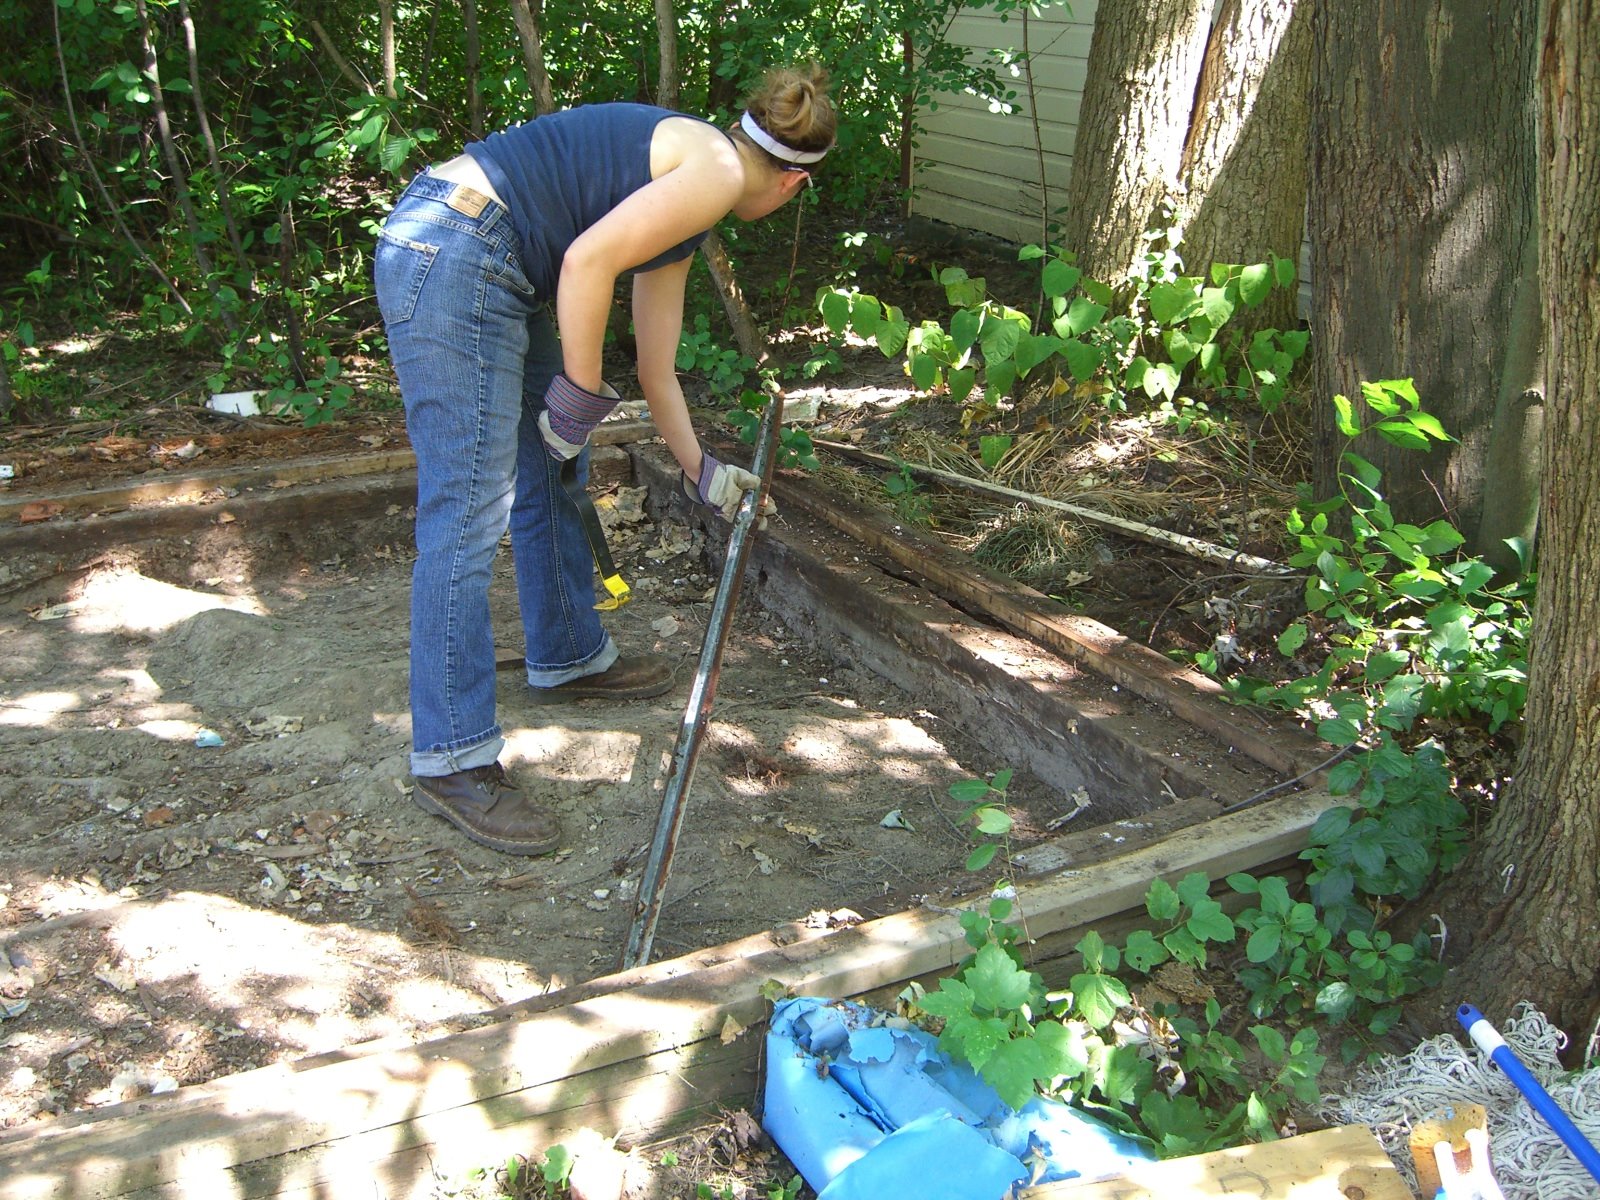 And of course, after doing all this, we looked around and decided there’s probably a better place to put a shed. On the bright side, I’ve got scrap metal to sell and a nice little clearing (once I figure out how to get these ginormous timbers up and away) for a garden or a place to sit.
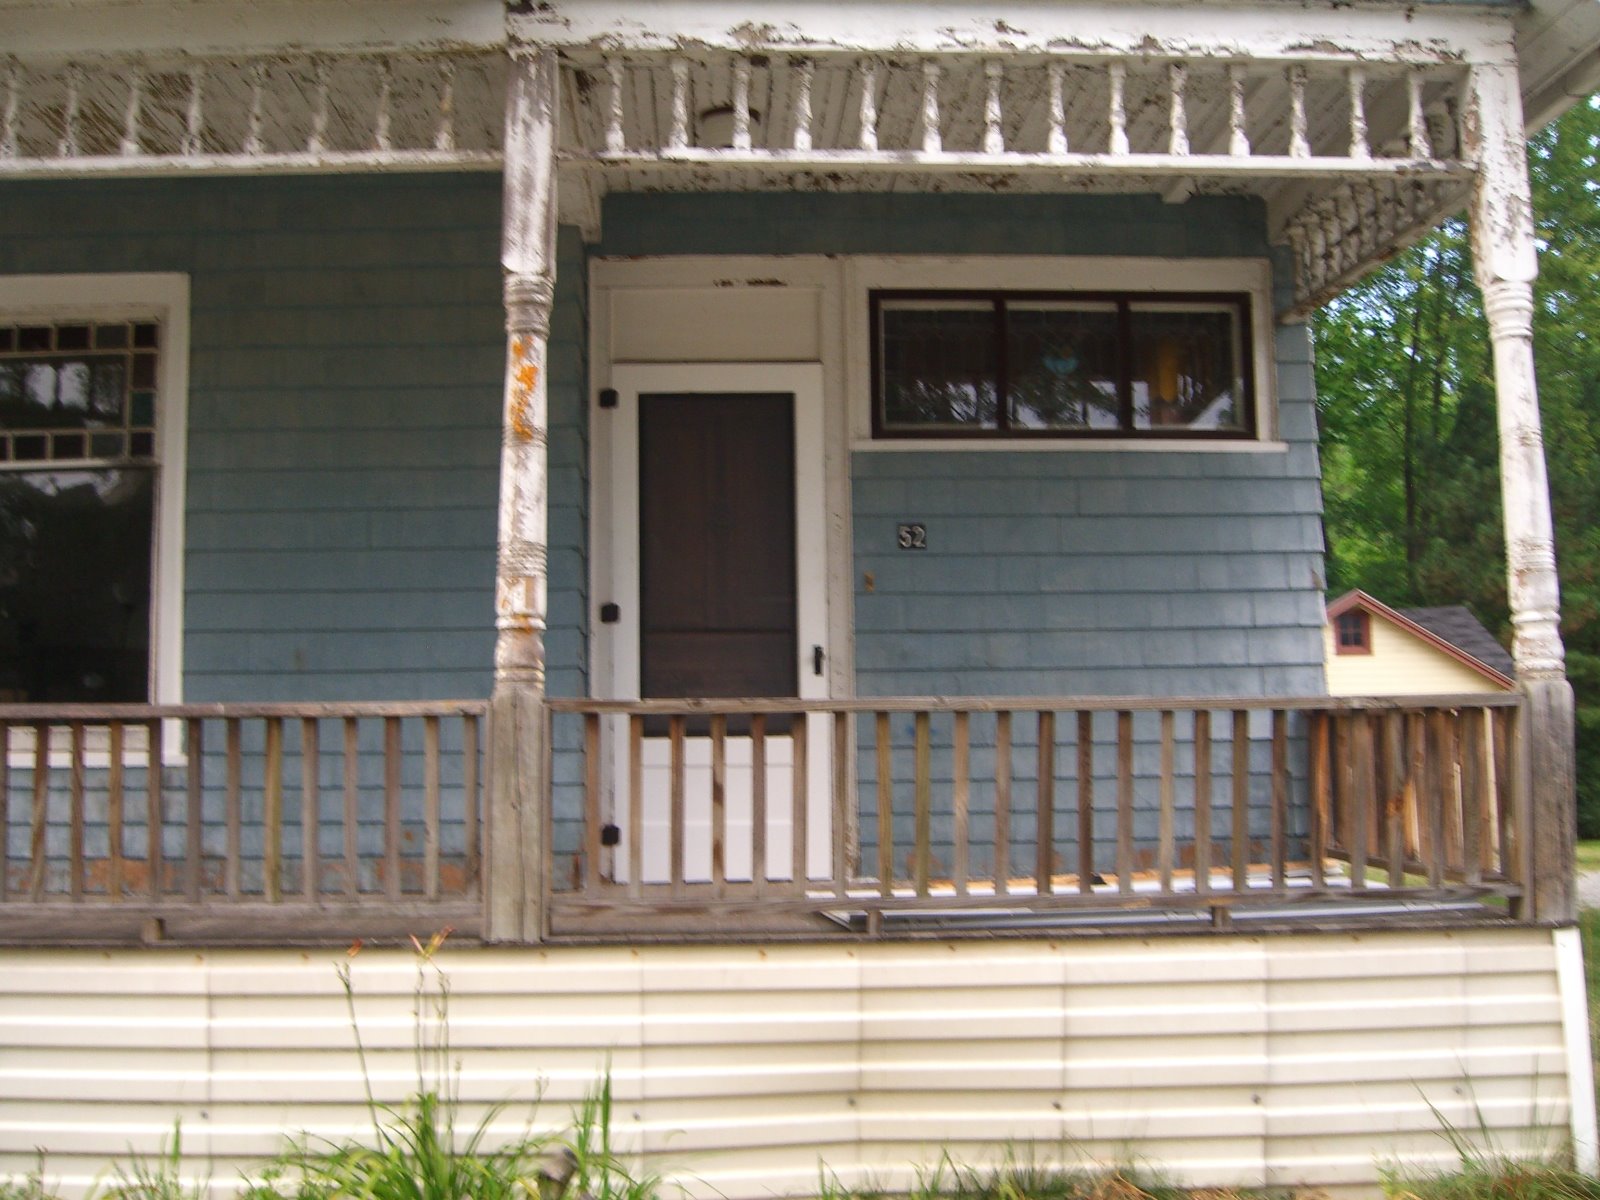
Hey look, it’s a door!
Adjusted the hinges this morning so it sits right in the frame, picked up the right screws for the handle at the hardware store this afternoon. Will paint all the hardware tomorrow (maybe…)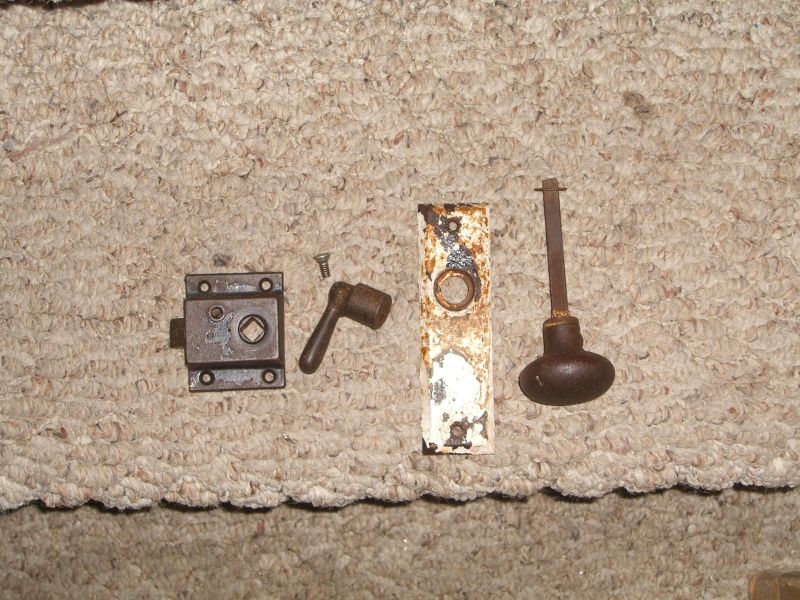 and I need to dig up some weatherstripping for the bottom. Also I should build a cutout for the latch jamb so it actually latches. But look! What an improvement! (Ignore the rest of the porch).
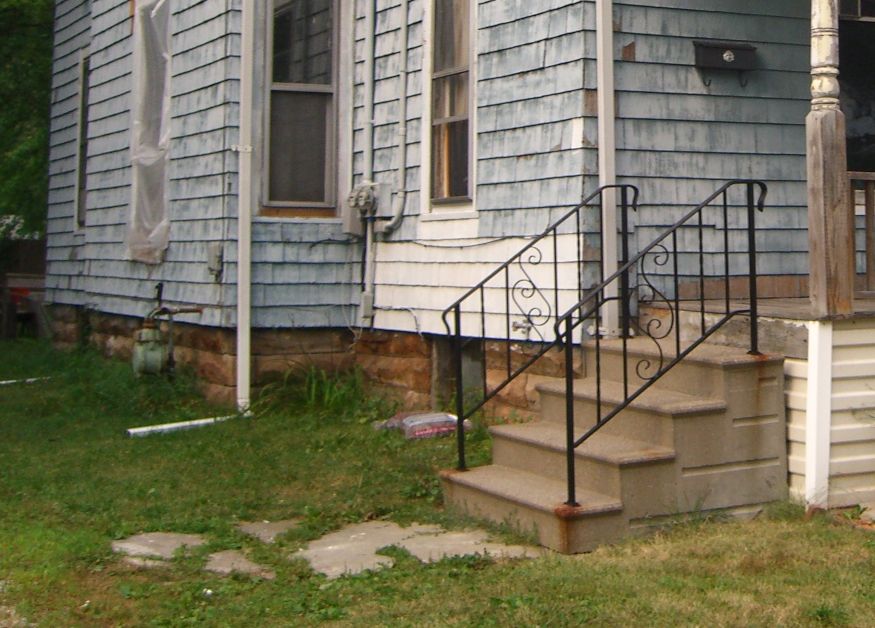
 Also done today – painted the banisters on the front steps to cut down on rust –
 …and finally got the windows installed upstairs. My tenants can breath again. Hooray for breathing.
Ed note – man those are lousy pictures. I’ll try and take some better ones when I’m done with the last bits of hardware.
Sick day
The big plan for today was to take down my old rusted shed and pull up a few roots/stumps to make way for a new shed (one of these days). I got the barn-razing (har) email out a little late, though, and I was feeling under the weather (don’t worry – a nap and some food and I was fine by evening), so that plan has been postponed for a bit.
Instead:
– finally hung porch door; need to either adjust middle and top hinge or shave 1/8+” off the other side to get it fitting smoothly in the frame.
– leveled washer; now need to get a vibration dampener
– started prep on wall in back bedroom – there was a cracked section of drywall; I started cutting and have wound up expanding to about 18″ square to get around various cracks and warps. There’s more to one side, but I don’t want to rip out too much, and what remains is at least level. Plan is to cut a section of drywall (looks thinner than normal), screw into the gap, putty edges, paint entire wall.
Daily log
Posted by aaron in bathroom, closet, laundry room, porch on 3 August 2008
I don’t know if this will help or just turn this into a mess of uninteresting posts, but I’m going to try posting daily (or close to it) even if that means only bulleting small things I’ve started or finished. For example:
Over the last three days:
– took down porch screen door
– prepped hinges for new (actually old) screen door to go up
– cut and hung molding for upstairs bathroom door frames (well, the verticals)
– cut old tongue and groove boards and two supports for shelving in my closet
– finished all pipe connections for washing machine
HaHA! (triumphant sounding)
Posted by aaron in laundry room, plumbing on 1 August 2008
All I can say is I’m glad I a) bought a hacksaw the other week and b) had the foresight to buy plumber’s tape a while back.


Eight dollars of pipe connections later and it’s hooray for cleaning of clothes.
Foiled again…
Posted by aaron in laundry room on 31 July 2008
Soldered, really. Here’s tonight’s fun project:
 The two pipes with the blue handles are water pipes that are supposed to go to the washing machine I’m having delivered tomorrow. I forgot to double check the connections and find that the lower one – which is actually the hot water despite the handle color – just had a screw cap in the pipe end, but the upper one has a soldered pipe cap that my soldering iron won’t be hot enough to melt. I’m not totally sure how I’m going to get that off before tomorrow. Moreover, I’m realizing these threaded pipe ends are unlikely to connect smoothly with the hoses for the machine. Hopefully a trip to the hardware store for some spigots will fix that.
Small Successes
More camera cleaning. Here are a variety of things I’ve actually done at the house over the last 2+ months.
 This was the first fully successful project in the house, actually, which is the only reason I’m bothering with posting it – minor surgery to remove a shard of what may have been the previous doorstop’s screw from the hole in the wall, then sinking the new stop into the barest sliver of good wood next to it.
 All I wanted to do was replace the two broken door guides for my shower doors. But the generic ones Home Depot required some… modifications. As in, there used to be another upright portion on the bottom edge there, and there wasn’t a screw hole in the originals. But hey, they both stay in place and guide the doors.
 I hung it myself. And it even turns on! Its sister at the other end of the hall is still not up, though, because the wires in the attic might as well be replaced before I attach anything to them.
 And now people don’t suffocate while working in the back bedroom.
More on the attic
This is a project list more than a list of work done. Call me on it if I haven’t followed up on any of this stuff in the next month.
1) I’m planning to replace much of the wiring in the attic – some of it is just old, the insulation on a couple of pieces appear to be a little gnawed (a while back – there’s no signs of a recent critter infestation up there), and none of the old stuff – which is most of it – is grounded. Plus this is the easiest section to reach and replace since it’s all exposed. Of course, it’s probably over 100 degrees most days up there.
2) Once the wires are taken care of I figure I’ll put in some more flooring as wanted to access the whole attic easily. I’m looking into insulation numbers too. A friend said that you typically need something like 7+ inches of blown insulation to achieve a satisfactory rating, but that would require me to either scrap all the flooring or build rails off of the joists and lay flooring on top of that. I’m wondering about the insulation factor of 2x4s, pink foam (or maybe those eco-friendly recycled blue jeans), and perhaps carpet or foam layers over the wood.
3) Question: How bad is this?


4) And here’s a fun one. The house was built around 1894, remember, so it originally had gas lights before electricity was run sometime in the 1900s. The previous owner pulled out the old piping in the rooms he renovated, but there’s still a long stretch in the attic. Actually it used to be longer, and interfered a little with the attic entrance, but half an hour with some Liquid Wrench and a real wrench got rid of 10′ and an elbow joint. I’m looking forward to pulling up the rest, including an old valve that’s still attached to one length up there. That’ll go in the curio cabinet.

What to do with a large pile of wood
Posted by aaron in attic, tools and materials on 13 July 2008
1) Build a step stool for reaching ceilings.
 2) Build a sink stand for a portable slop sink (There’s a pic around here someplace).
3) Put in a temporary floor in your attic so you can move around without fear of falling through a ceiling, and store stuff for a garage sale someplace other than the laundry room.
