A touch of cement
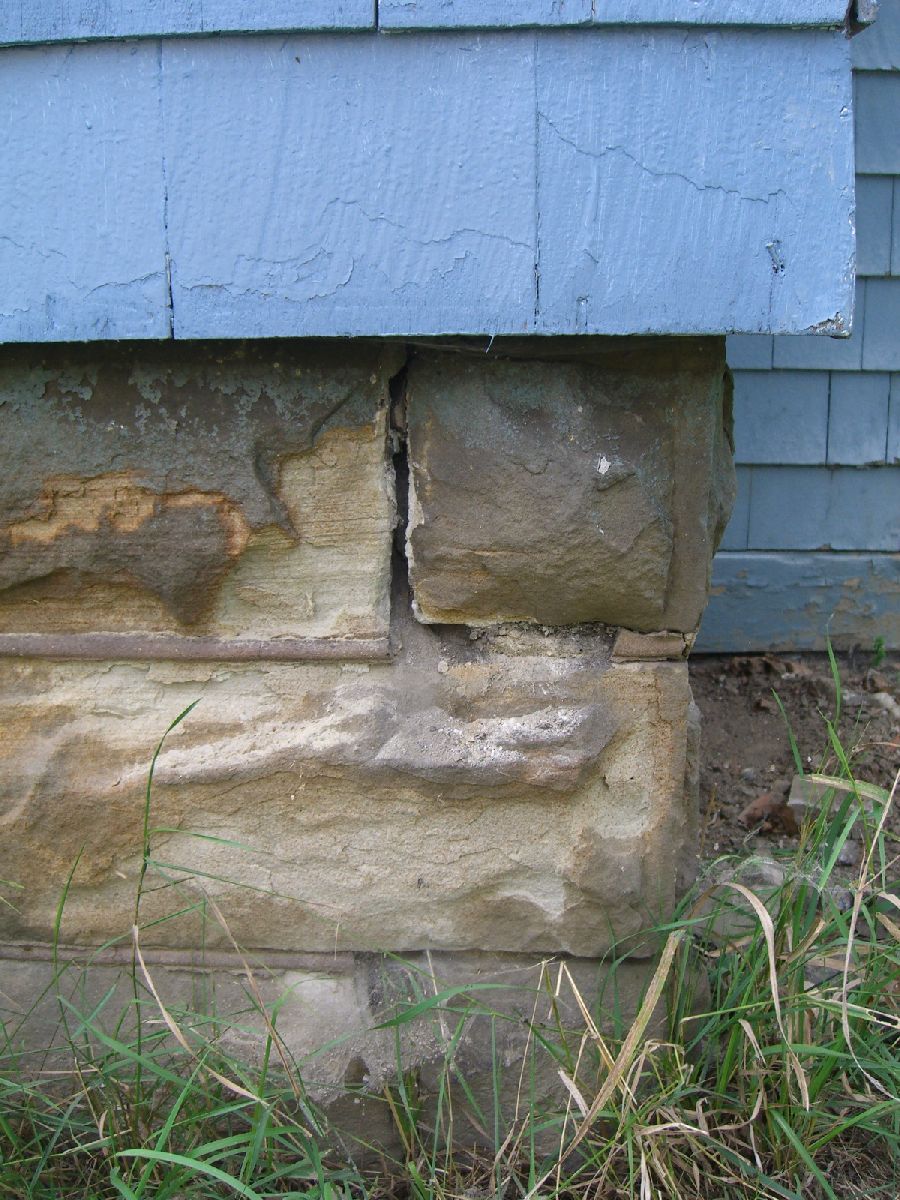
Makes for great weed control, among other things.
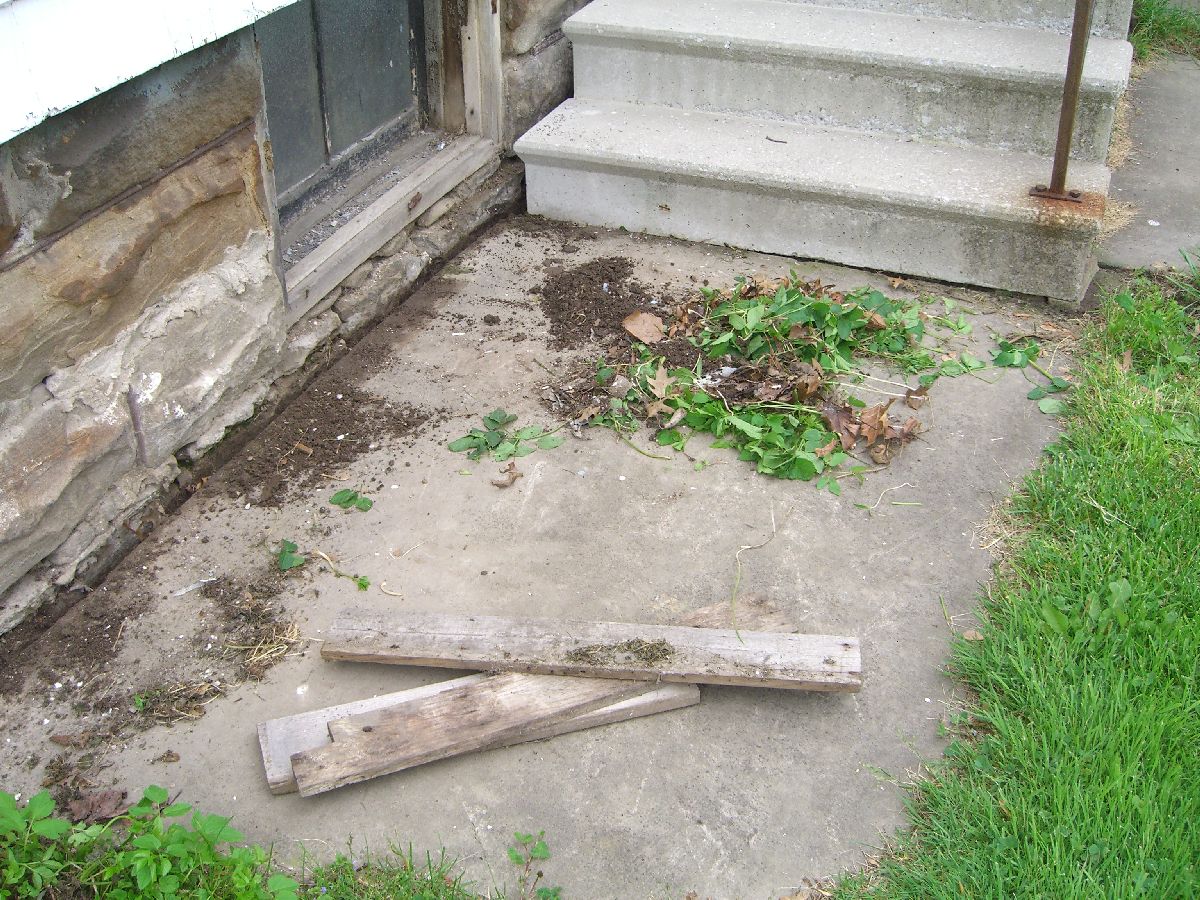
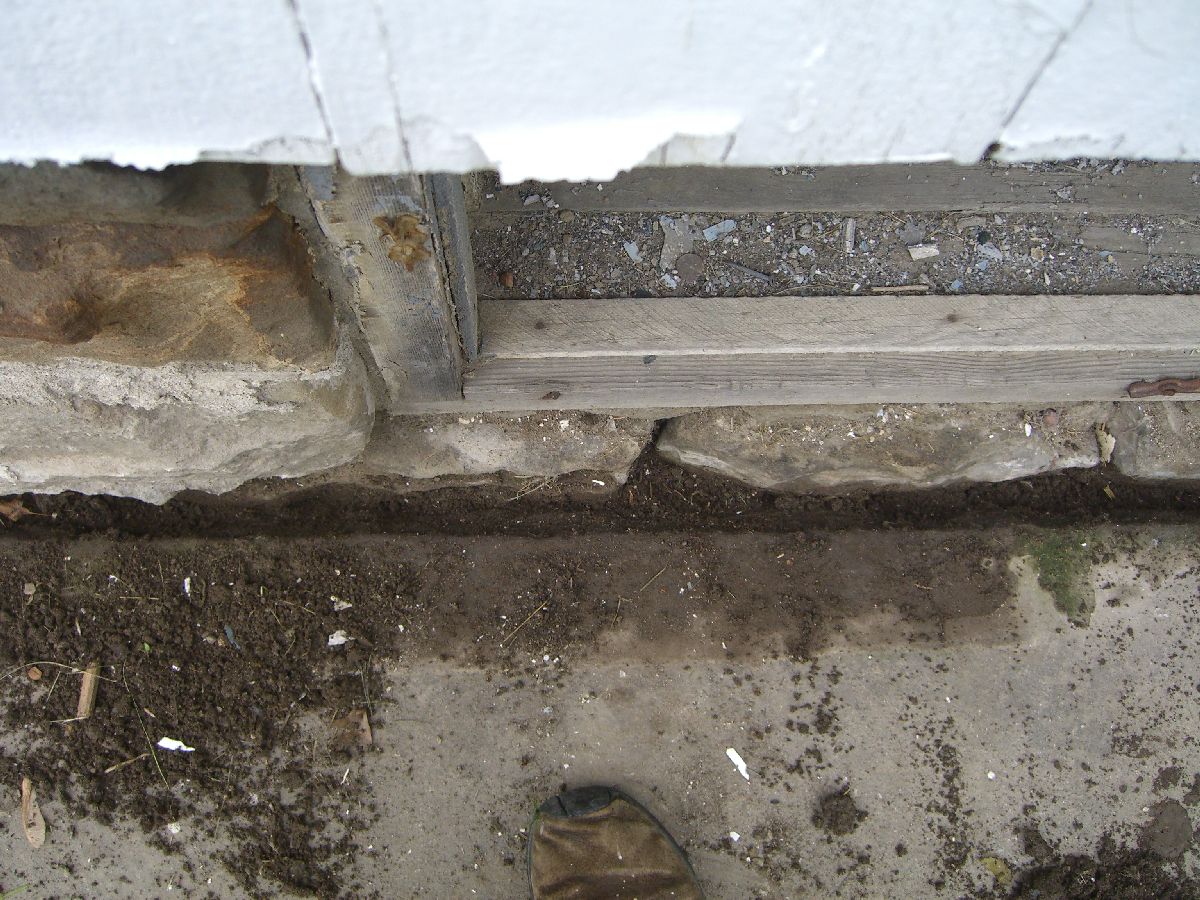
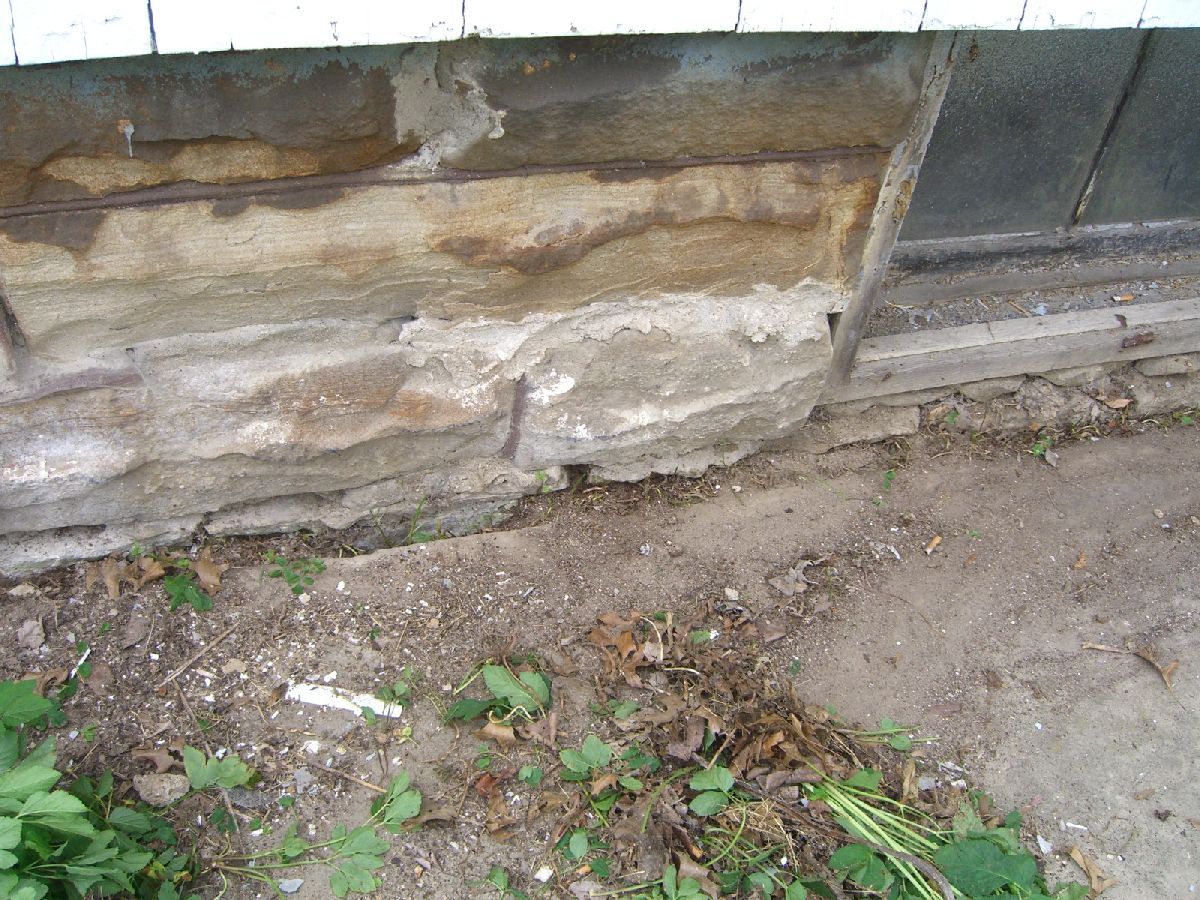

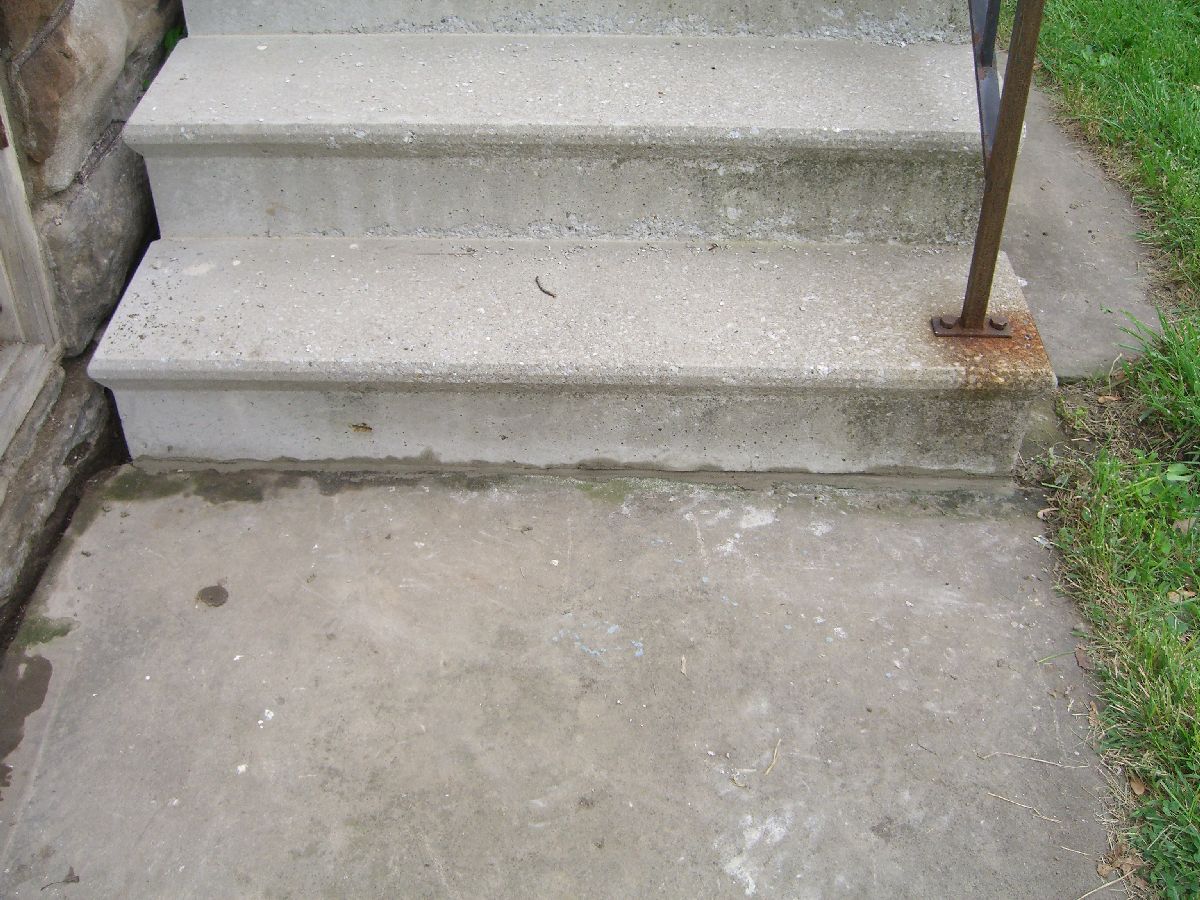
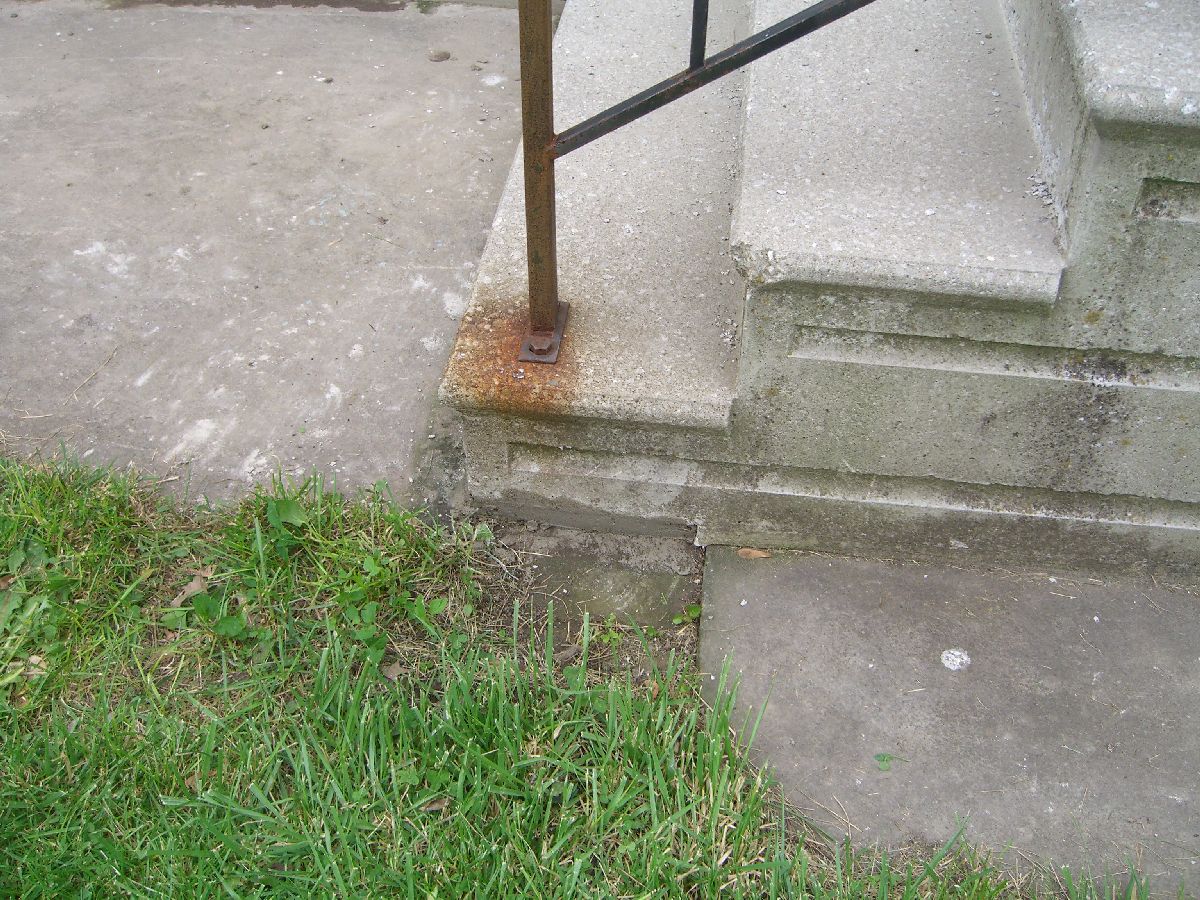
Said other things include cleaning out a few crumbling spots in the 110+ year old mortar and filling that back in.
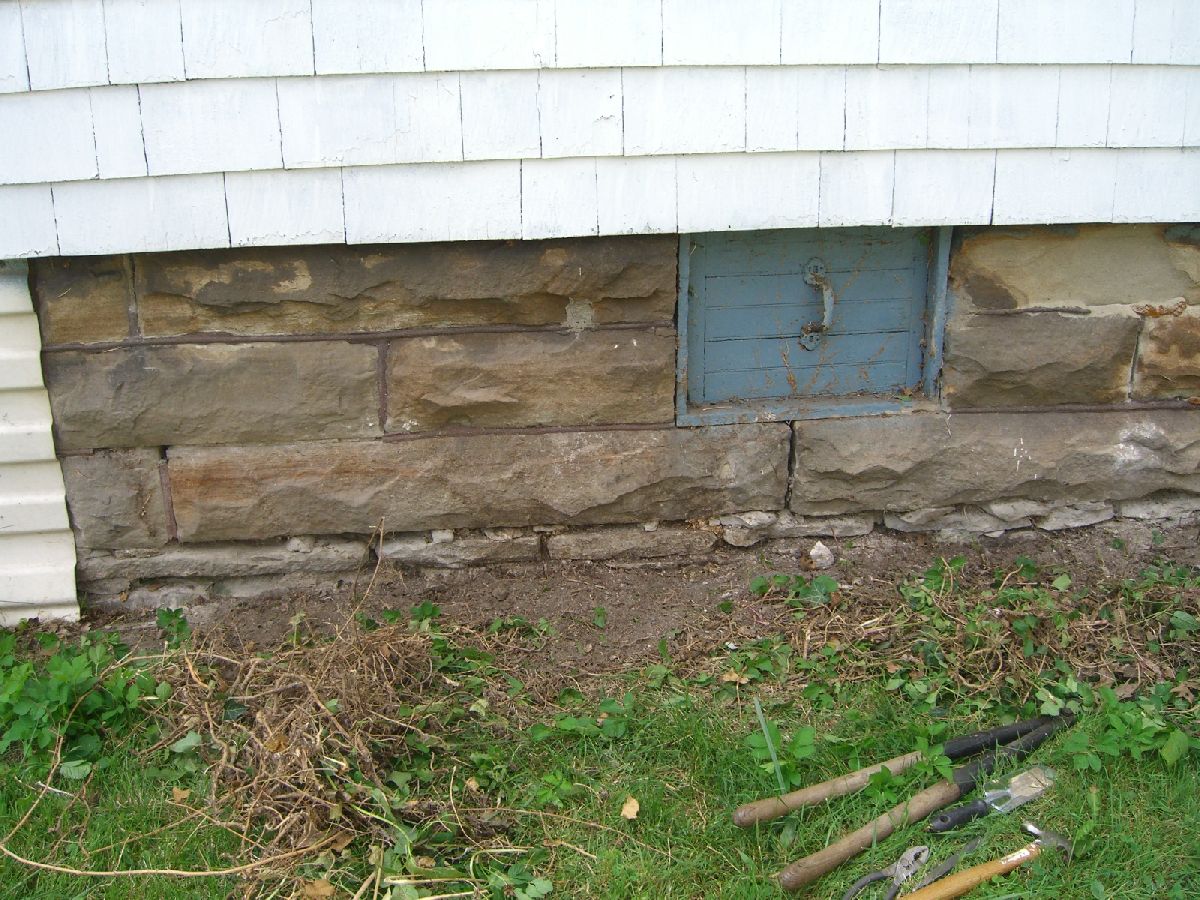
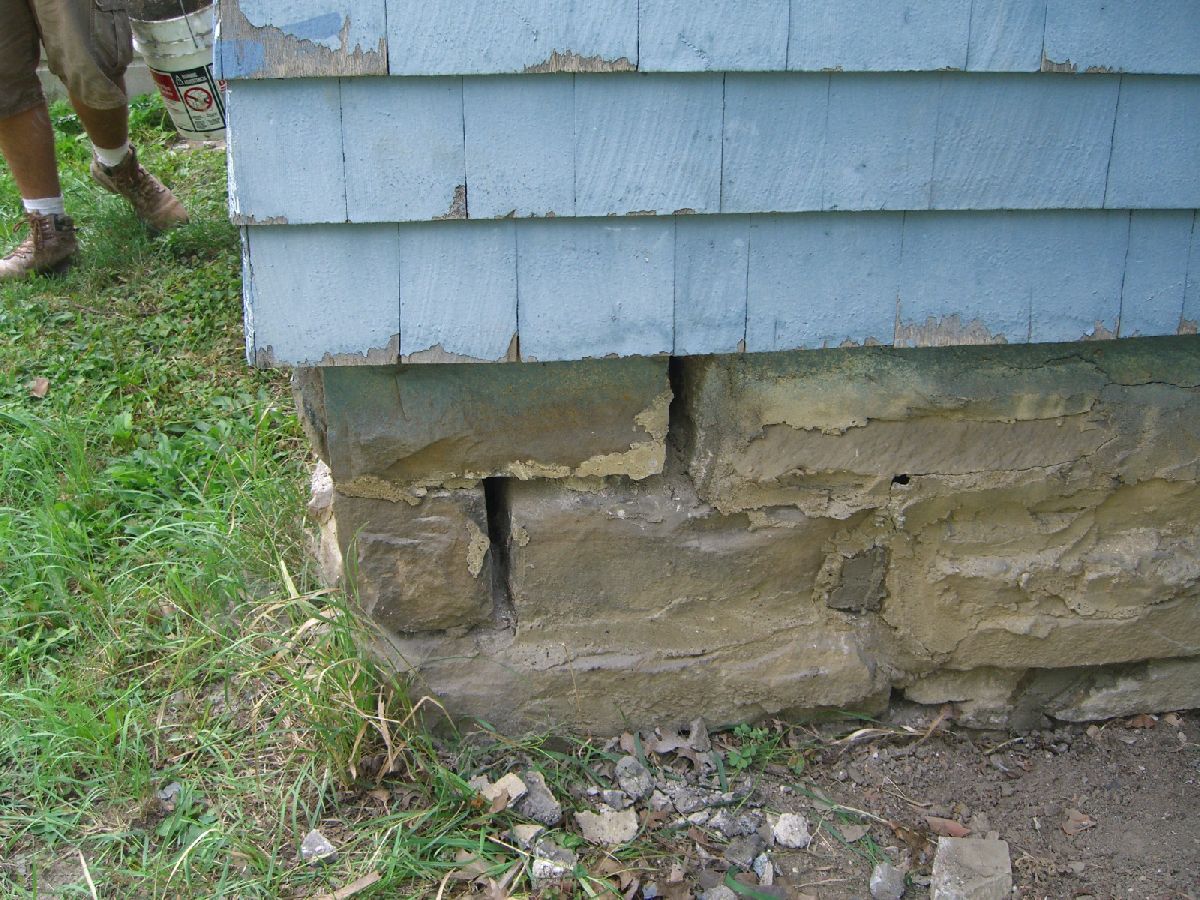
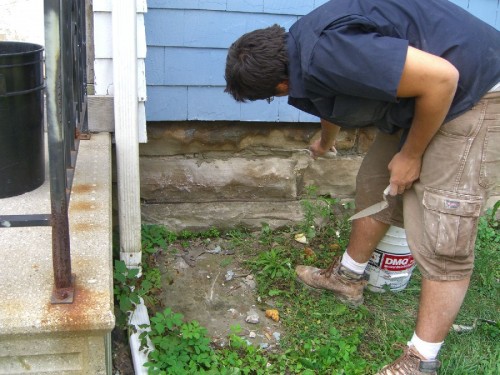 Quentin, mason to the stars.
A danged menagerie, that’s what I have here
A couple of young groundhogs took up residence under my shed. I borrowed a larger live trap from a neighbor and staked it out with delicious bait (cantaloupe apparently works well). Of course, something walked off with the bait without tripping the trap. Fortunately, young groundhogs are notoriously… naive. Leave the empty trap out near their den, and within a day or two:
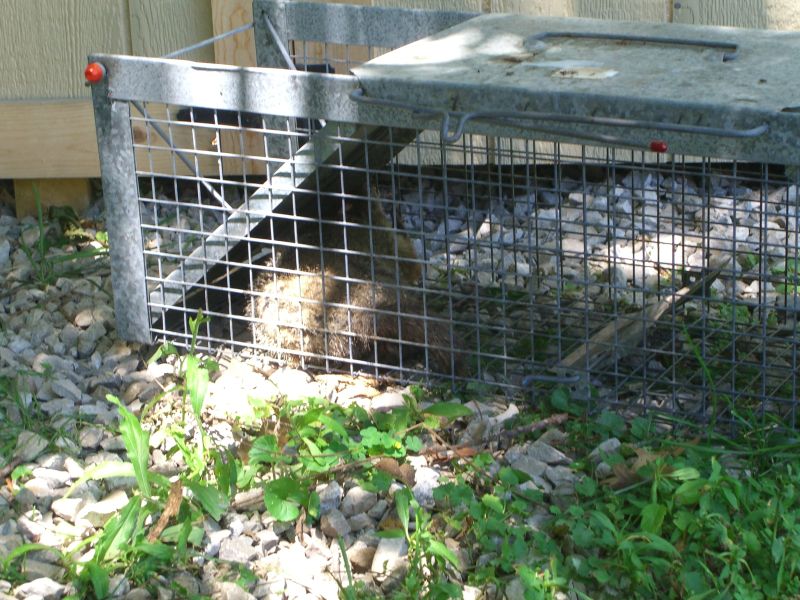
 Looks like he scraped himself up on the trap or before getting in. Released him in the woods and, a few hours later, did the same with his partner in crime (who may have been attracted to the trap by the first one’s scent for all I know).
Even though I’d only seeing these two wandering around, I reset the trap and left it out that evening. Came home to find a young raccoon inside, and a very anxious mother prowling around. Despite the youngster’s whining, I let everything sit overnight – raccoon mothers are notoriously protective and I wasn’t certain I could scare it off long enough to release the kid. Come morning though, mom was nowhere to be seen and the young one was half asleep in the cage. Open it up, tap the back end a few times, it finally lumbers off – under the shed. Time for some cayenne pepper I think.
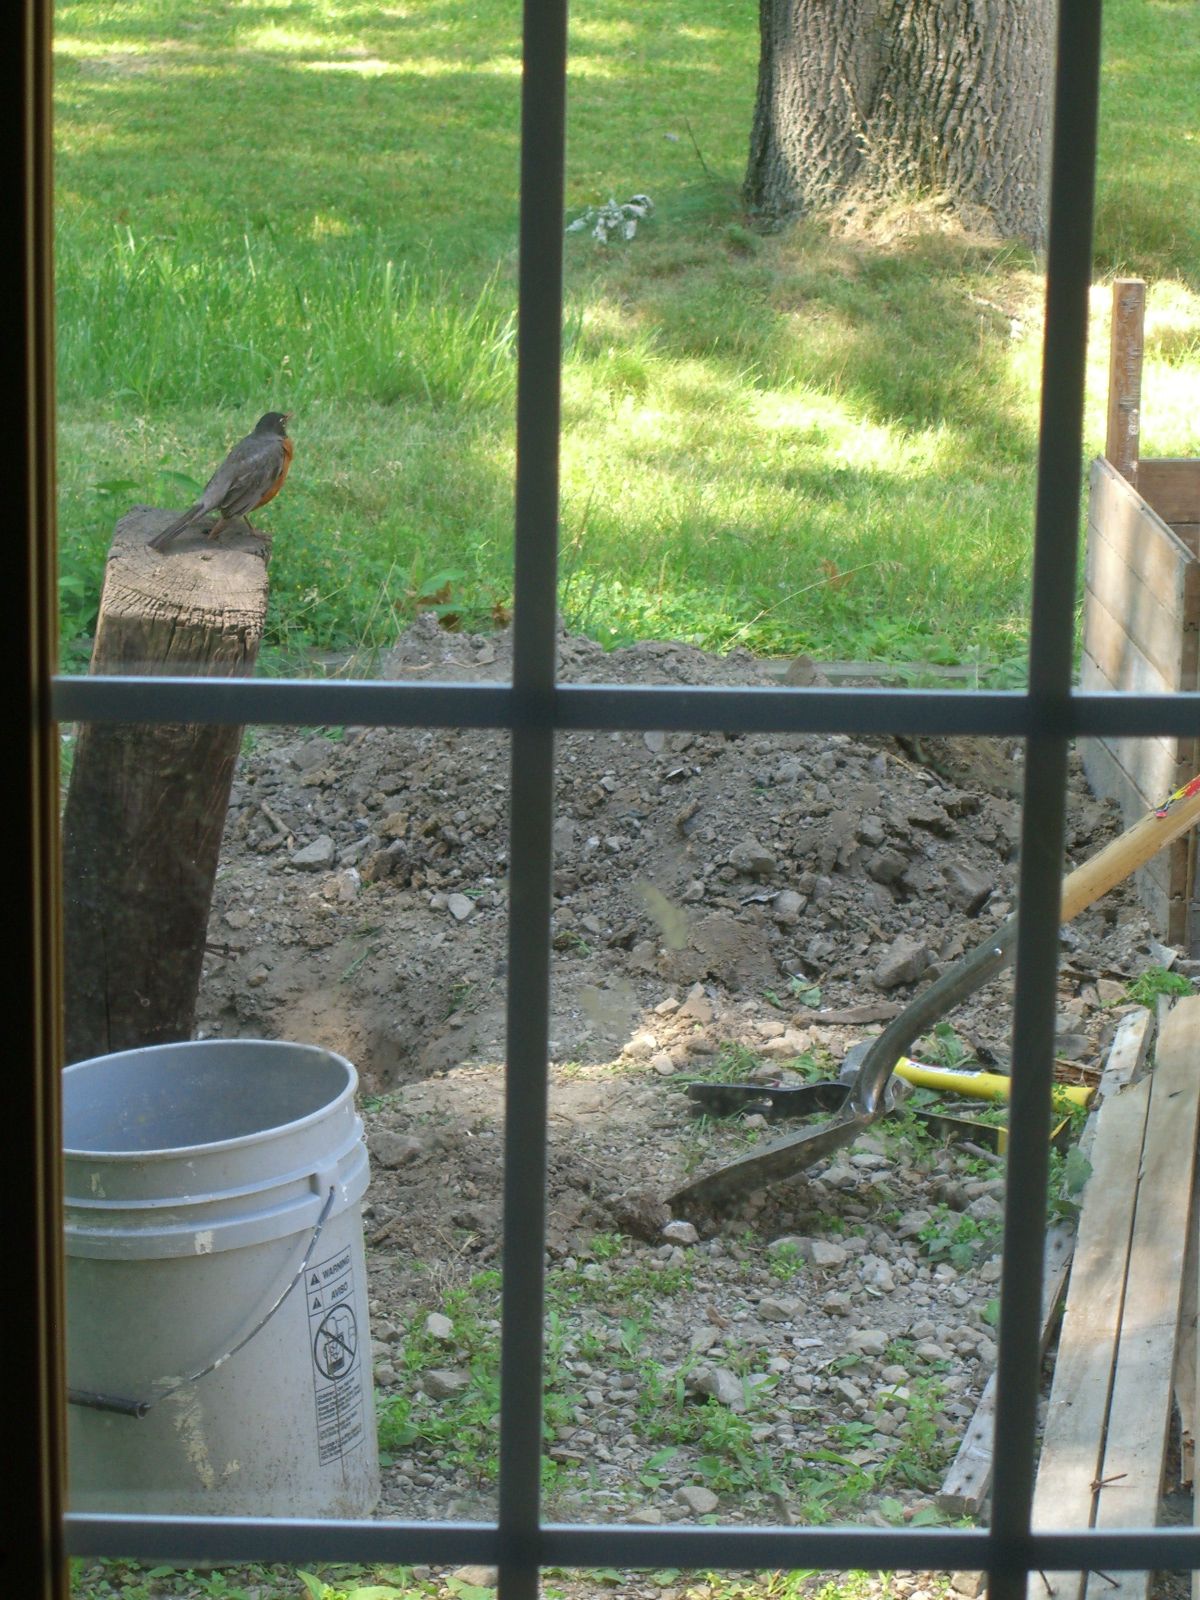
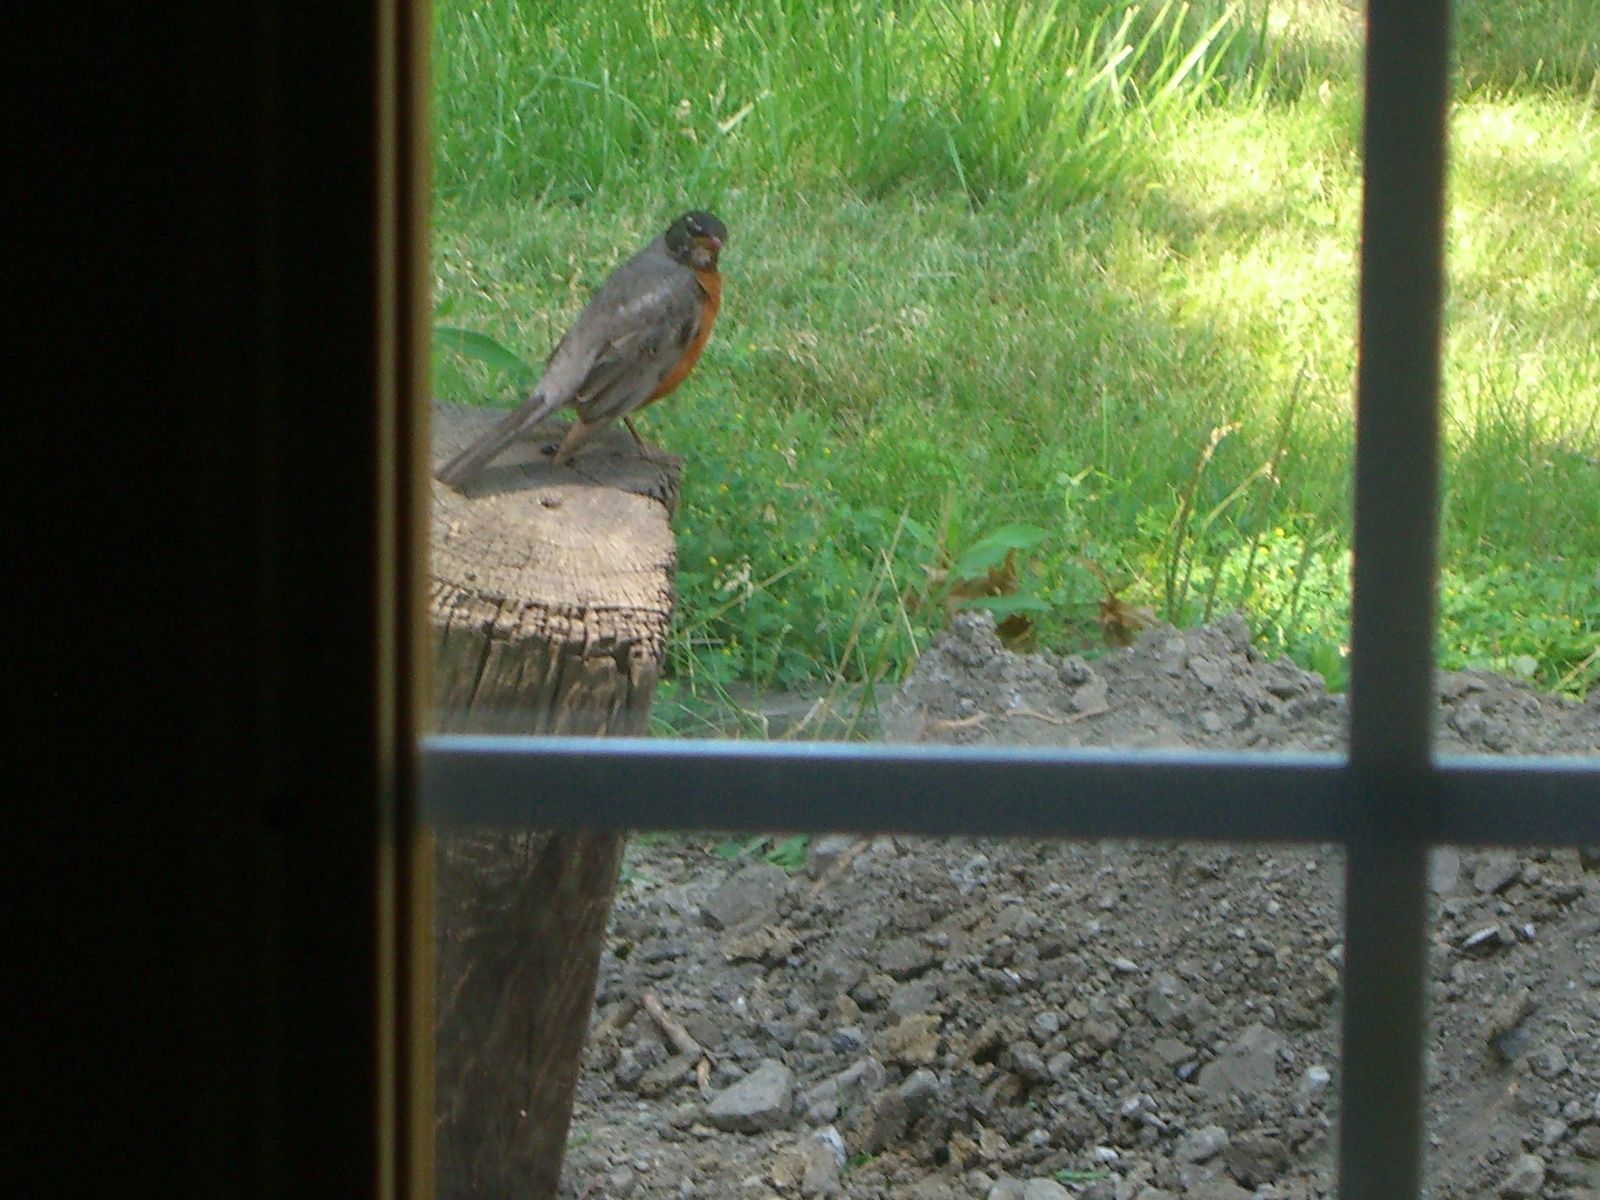
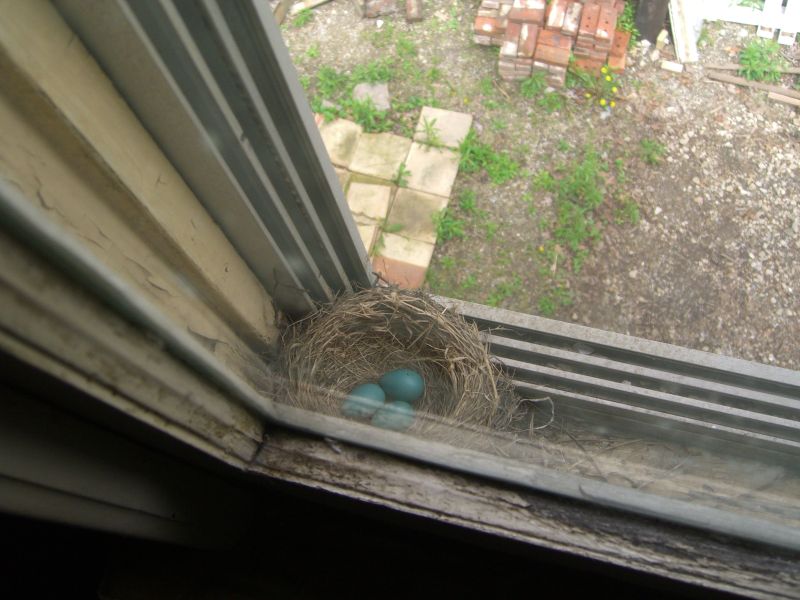
To conclude this post about trapping tiny animals, here are some pretty pictures of a bird:

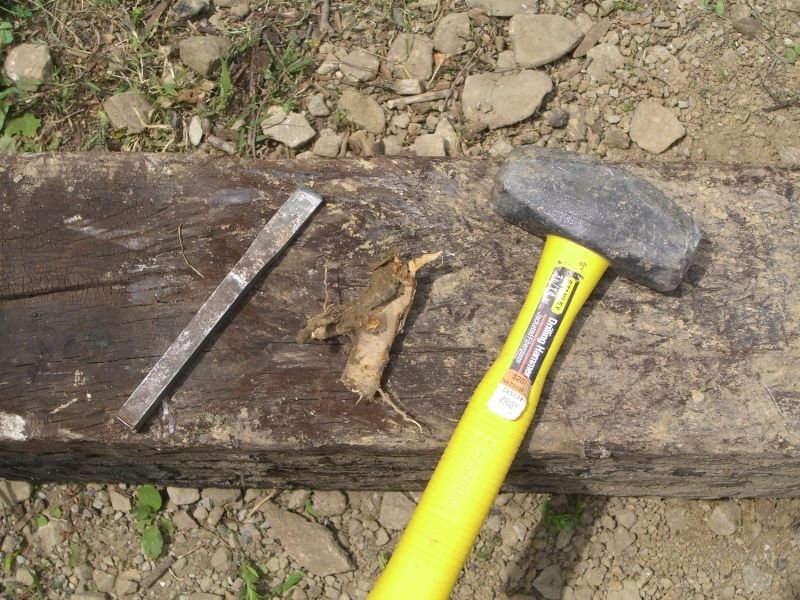
When the only tool you have is a hammer…
You really need to go to the flea market. Amongst the other tools I picked up was a cold chisel. While digging out one of the pilings in my backyard, I ran into a series of tough roots. The smaller ones split under the shovel, but the thicker ones just sheared off a layer and stayed put. Cold chisel plus hammer plus two or three taps at each point on the root equals no more root.
Hard and deeply buried targets
That’s not an innuendo, just a reference to my days working for DoD. It’s also an appropriate title for this post about pulling a set of old pilings that had once supported a deck in my backyard. The deck is long gone and the thick pilings are now just in the way of various plans for the space.
Incidentally, these pics were taken over the span of at least a month. Plenty of things have been happening at the house, but since June 2 plenty more have been happening with the theater festival I’m in this summer. My days have been a combination of rehearsals/performances, housework, client work, eating, and sleeping. No time for reportage.
Back to the reportage:
 This is one of five pilings that need to be pulled this summer. Thick, heavy, sturdy wood that’s been sunk in the ground for a number of decades now. I asked the previous owner how deep they were and if there was any concrete. To the best of his recollection, they’re buried about three feet down, and there was no concrete. You can see where this is going.
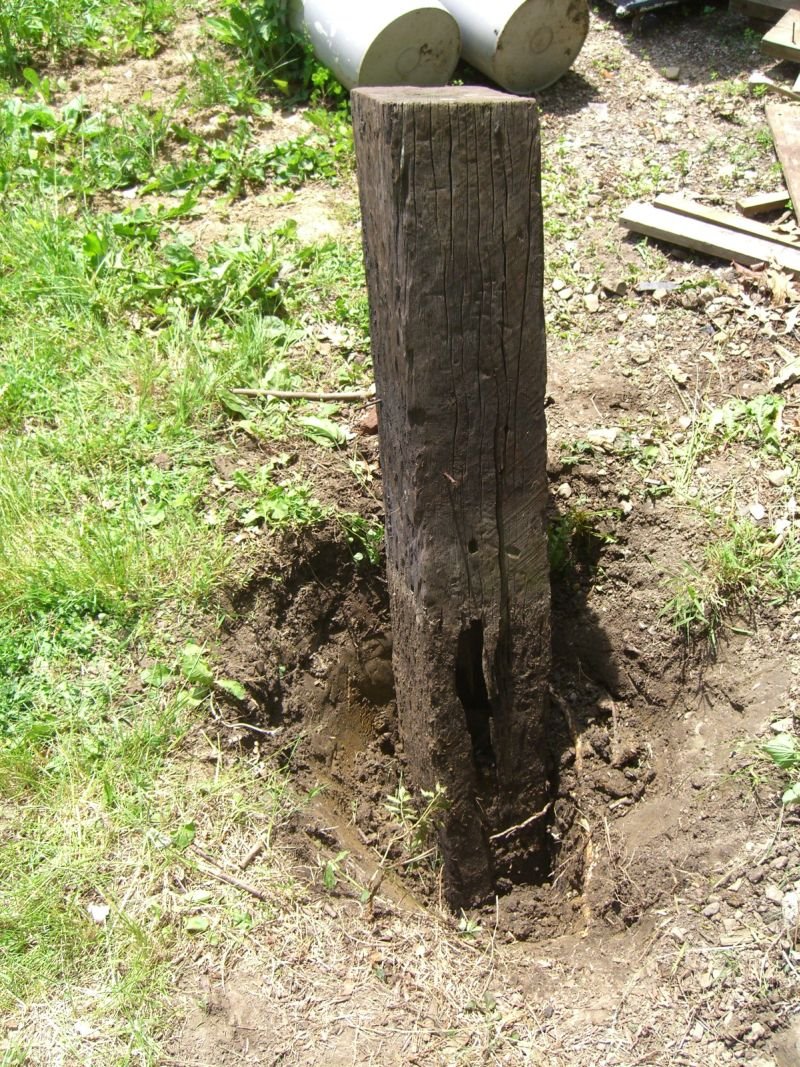 They are buried three feet deep.
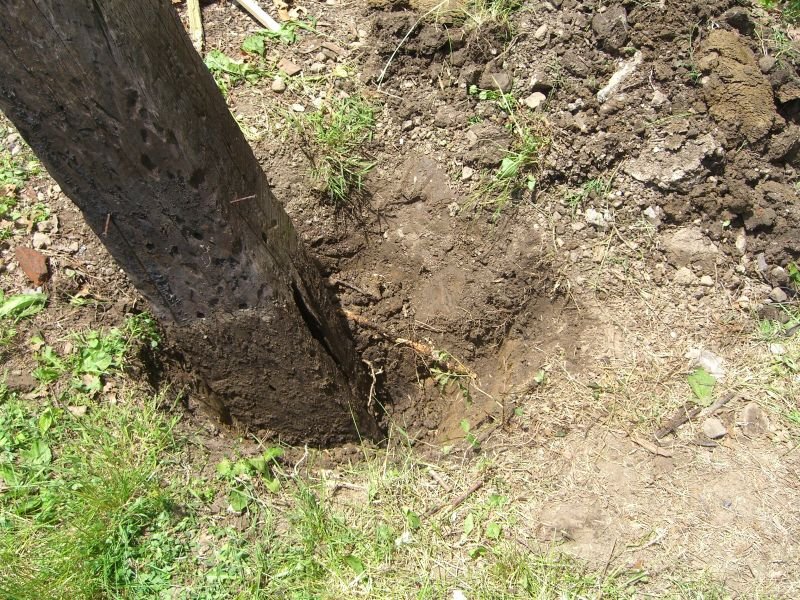
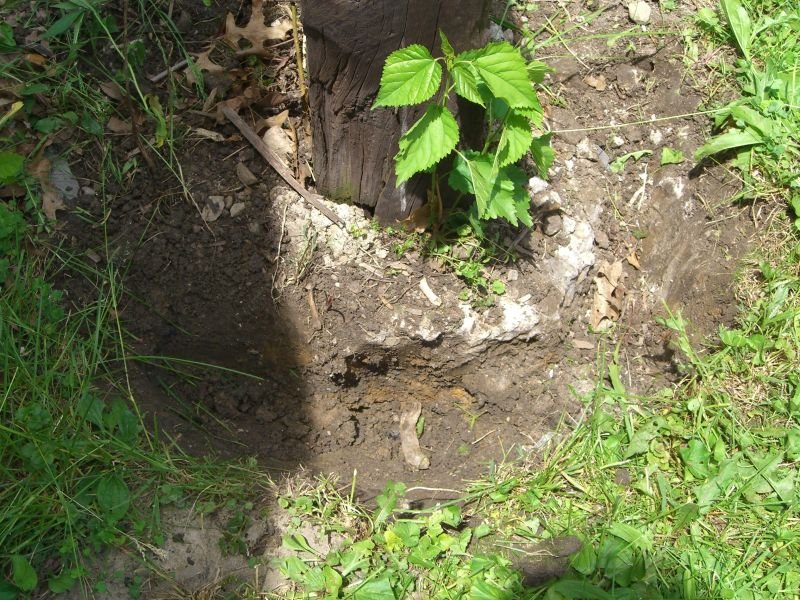 There is a ring of concrete a few inches down, about 4-6″ deep. Fortunately I’d recently bought a three-pound sledge. Remember to wear safety goggles when taking out your aggression on some harmless (but very in the way) concrete. Also, dig out underneath the concrete as much as you can with either a shovel or spade before wacking the rocks.
Pulling an old piling isn’t that difficult a process, just time and labor intensive. Dig, break up any concrete, pull any rocks right by the base, keep digging…
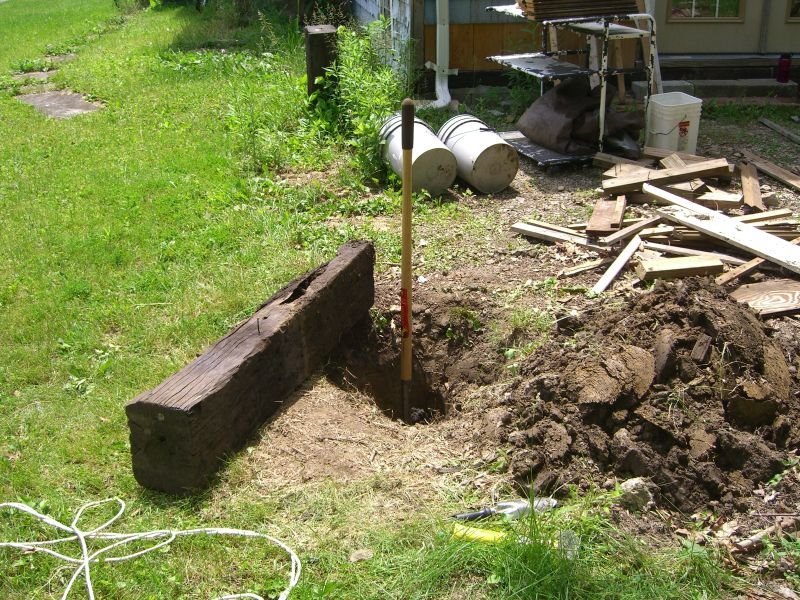 If they’re buried three feet deep these things’ll be pretty hard to pull straight up (although far from impossible – see the last pic in this series). I found the best way to remove them was to rock them back and forth (it also loosens some of the dirt at the base, although if you rock it too hard you’ll start compacting the dirt), digging out more of an oval to allow the piling to ‘fall’ further with each shove. Eventually you should be able to do one of two things – either get a 2×4 under the buried end and just lever the piling out:
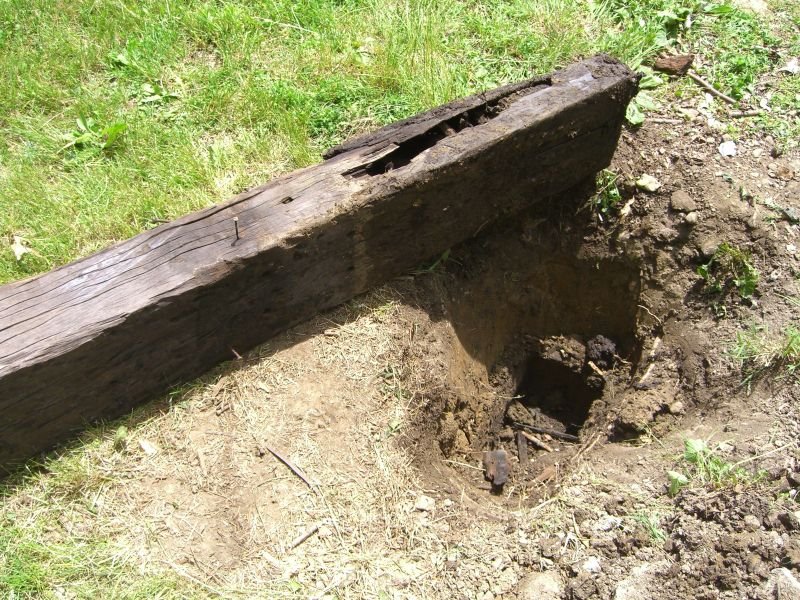
 Or, if you really loosen all the dirt around the base enough, and there’s something to grab onto, you can lean the piling against the side of the hole and drag it up and out:
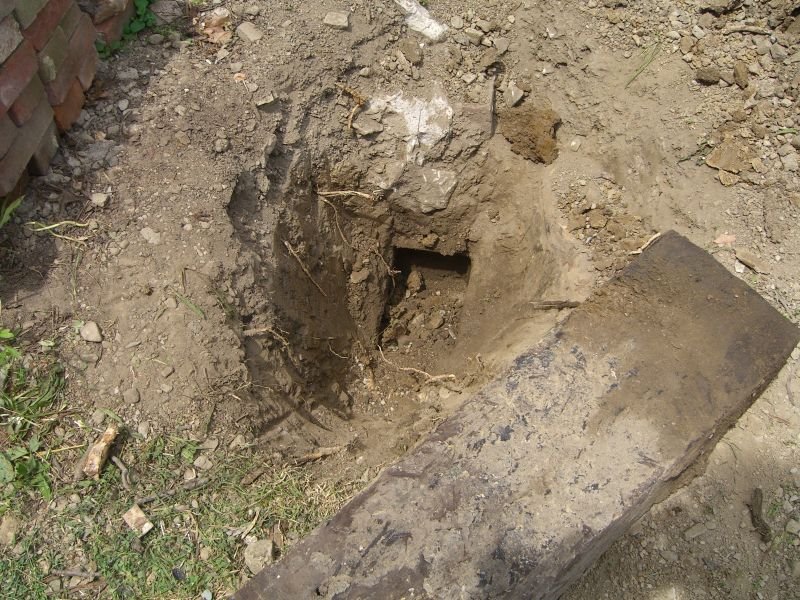 This third one was a real problem. Aside from the bricks I’d stacked right next to it before the winter that had to be moved, two sides of the piling had obstructions that made it very difficult to dig a full hole. On the right (not visible) are some old tree roots about as thick as your arm. On top is either an old cement/brick pour from who knows when, or some additional heavy fill put in when the piling was sunk. It just took a little longer to work around everything, but now it’s done. Hooray!
Oh, and fill the holes back in before you close up for the day. It’s always these little details that escape us after hours of manual labor.

Door!
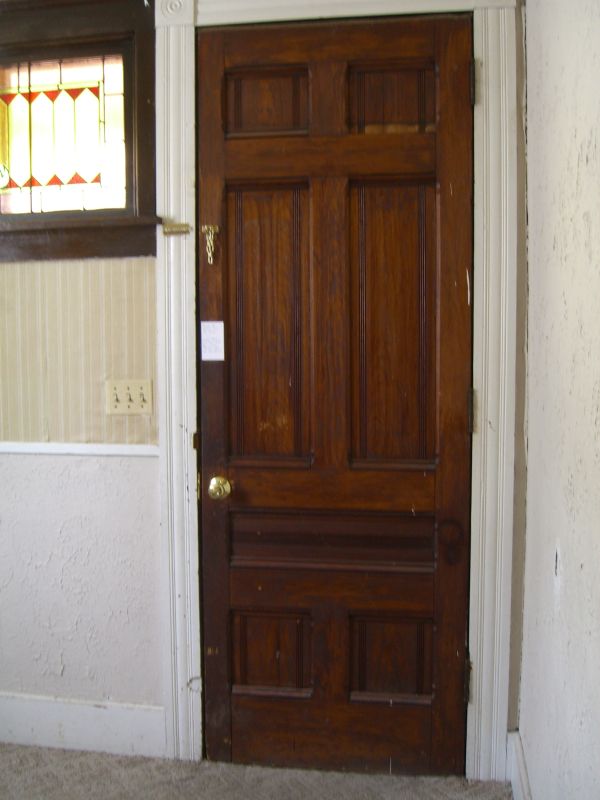
The house has a beautiful old (huge) front door that gets comments from many visitors. Not clearly visible in the pictures is that the door use to hang the other way and it was switched probably well over 60 years ago. It needs some refinishing and a couple of accent bits but those can come later. Meanwhile, functionality is obviously paramount.

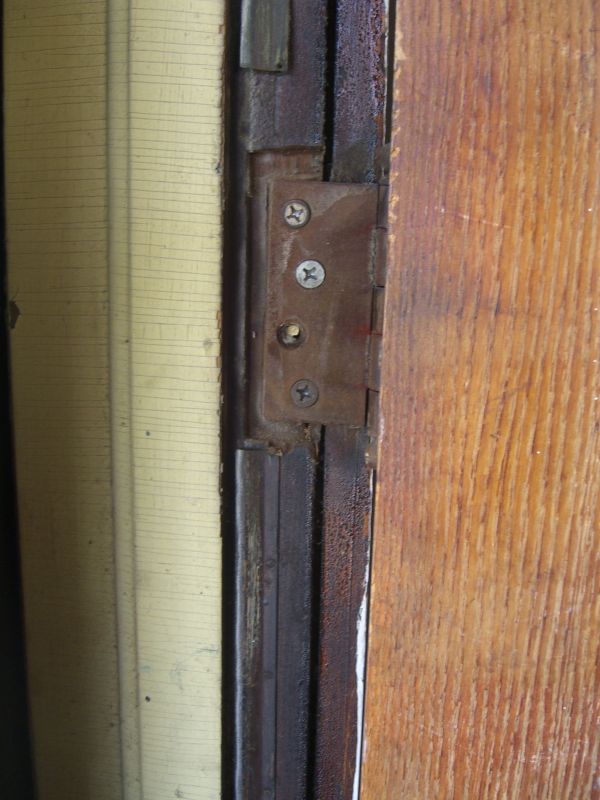
 A few months back, though, the door began rubbing in its frame more and more. Mishandling (slamming) didn’t help things and the situation got worse. I took a look at the frame and found a couple of things. First, there are at least three different types of screws in the hinges, indicating it was patched over time and probably not in the best way.
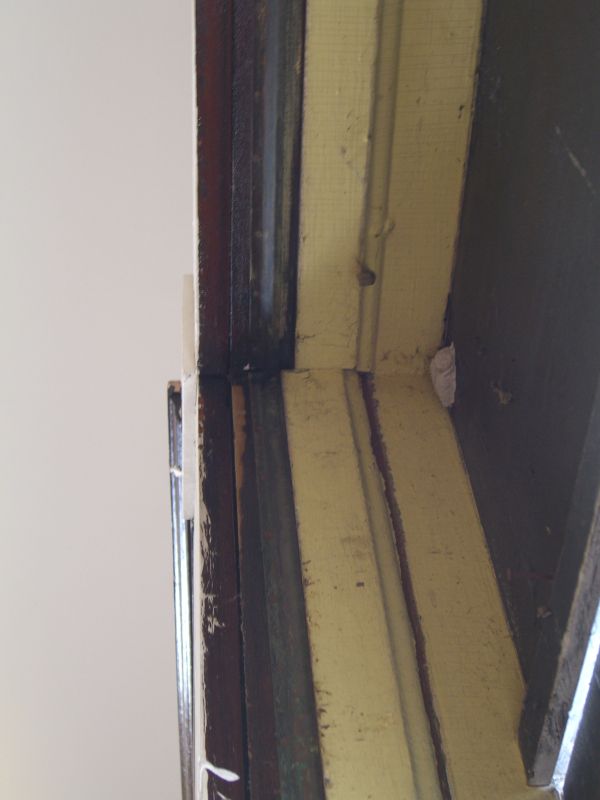
Second, the door stop was adjusted at some point and when it was reattached to the frame – with just a screw or two – it wasn’t properly lined up.
 Straightening the stop was an easy fix, and it made it a bit easier to close the door. But it was still rubbing, and getting worse. The top hinge was the worst culprit, and I tried a temporary solution of tightening the screws as far as they’d go. This helped, but was definitely temporary – and more slamming worsened the problem quickly. Soon, the screw holes – already over-wide and partly stripped from the patch jobs – weren’t holding the threads and the door was essentially leaning on two hinges.
Talking with several friends and carpenters the diagnosis wasn’t great – while some were more than willing to help make it happen, we were talking about replacing an entire side of the door frame. It would be time intensive. With expert friends, it might not cost too much, but it would still be a pretty big project.
Fortunately I emailed one other friend to confirm the diagnosis – O.T. emailed right back with a quick, simple, cheap fix he’s found extremely effective: chopsticks. Worth a try, he said, before getting into a costly, big repair.
 Rather than pack the old screw holes with putty or replace the entire frame side to give the screws something to sink into, all that might be needed is enough strong wood to surround most of the threads. Typical takeout chopsticks are still bamboo, which is very strong.
A few quick steps and this job is done:
1) Pull one screw at a time. Push in a chopstick as far as it’ll go, mark off.
2) Cut the stick – heavy kitchen shears worked for me. Because of the thickness of the hinges, I clipped at least 1/4″ shorter than my mark – cutting short in this situation is fine – cutting too long will just screw you over since it’ll be hard to pull the chopstick back out.
3) O.T. said wood glue couldn’t hurt – I used it on about half of the sticks, just a quick coat on two sides.
4) Put the shortened stick all the way in (use another chopstick to firmly seat it). If you used wood glue, you might as well wait a little while for the glue to dry. Otherwise, just put the screw back in – I felt immediate results with the hinge tightening back into place.
5) For really drilled out holes or thick diameter screws, multiple chopstick pieces can be necessary.
Doing this repair is pretty easy, but it only works if the screw holes are at least the diameter of the chopstick. Doors are often hung with heavier screws, so you’ll probably be fine – I would have been very reticent to drill out the holes if the chopsticks didn’t fit.
What the….??
Posted by aaron in Uncategorized on 16 May 2009
Was just sitting in my dining room when something in my semi-dark living room caught my eye. Turns out it was a bat. A bat flying about my living room, trying to get out. When/how it got into the house, I have no idea. Fortunately a quick dash around to the front door and it flew itself straight out.
Tomorrow, must check for previously unknown gaping holes in exterior…
Compost bin
Maybe I’ll catch up on some – what, two months? – missed posts at some point (treasure hunt, circus, now summer theatre festival all conspire to suck my time from updating this blog, if not also updating the house). Meanwhile, let’s go with what we know (and have pictures of). Today’s illustrated lesson: how to make a compost bin for $4.
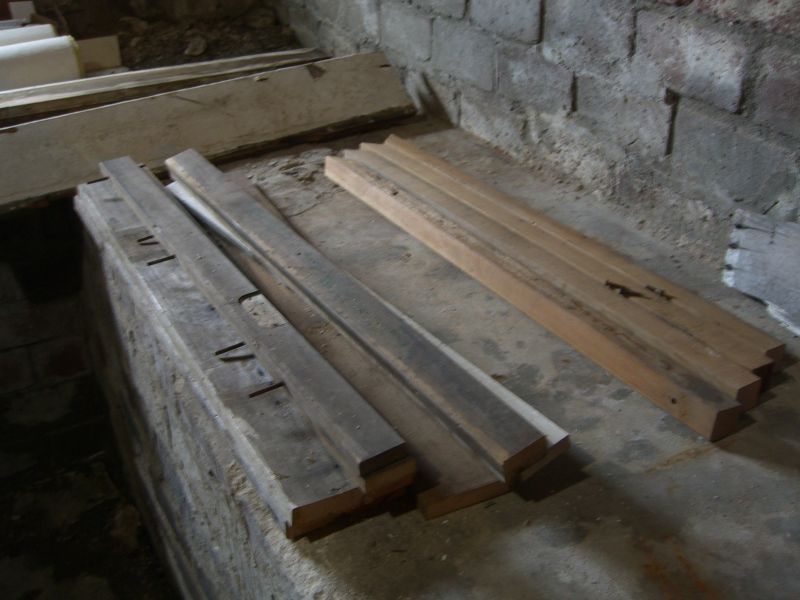
Start with scrap wood. I took some 1″-square posts – probably from an old wooden swingset – cut them down to 3′ with a 45-degree cut at one end so they became stakes. Miscellaneous scrap of a huge variety of widths cut to 3′ gave me the planking for the sides.
 Depending on the weight of the scrap wood you’ll probably want to assemble (or at least connect the sides to each other) closer to where you plan to place the bin. This next image shows three completed sides, leaving about a foot of each post at the bottom to be driven into the earth. This turned out to be unnecessary (and hard to do) so I wound up driving them about 6″ deep, and moving the top plank on each side to close the bottom. I think planning for 6″ of clearance at the bottom of each post should be fine.
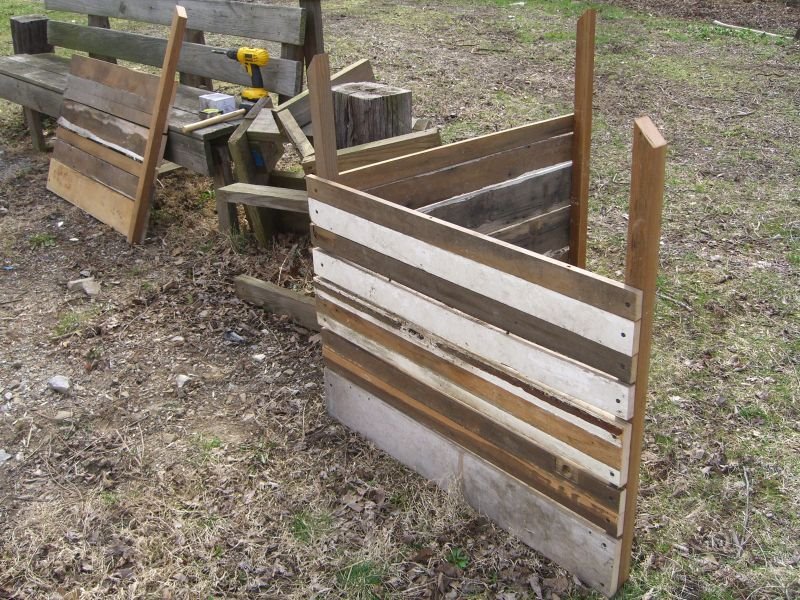 Locate the bin, pound into the ground with a mallet or hammer and woodblock. Here you can see the ‘swapped’ planking, leaving some space at the top of each stake – handy if I ever string or fit a cover over the top.
 As luck would have it, I stumble across what looks like part of a shipping crate in a junk pile – and it was the perfect width to serve as the bin’s gate. If you don’t have handy piles of pre-built salvage lying around your neighborhood, just remember that the gate you build out of scrap won’t be as wide as the other ‘walls’. Two hinges and a hook from the hardware store were the only materials costs on this project – about four bucks in all.

Back to it
Today:
– attached all supports for main shelf in shed
– moved scrap shelf from back room to shed
– hung ladder on shed wall
Tomorrow:
– basement workshop. Seriously.