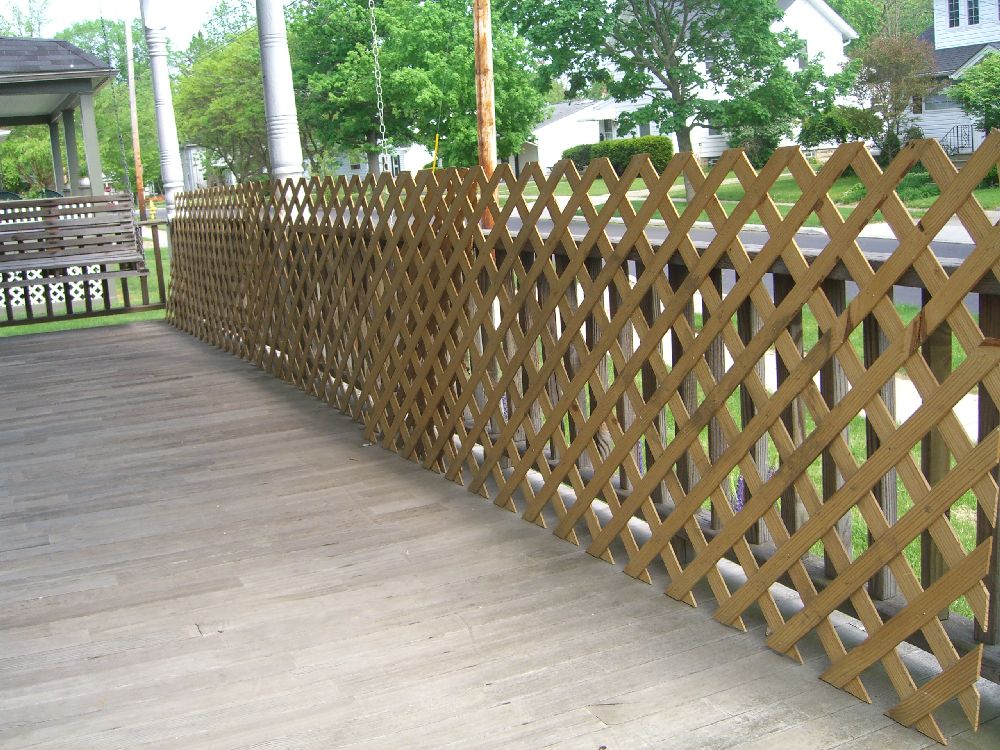
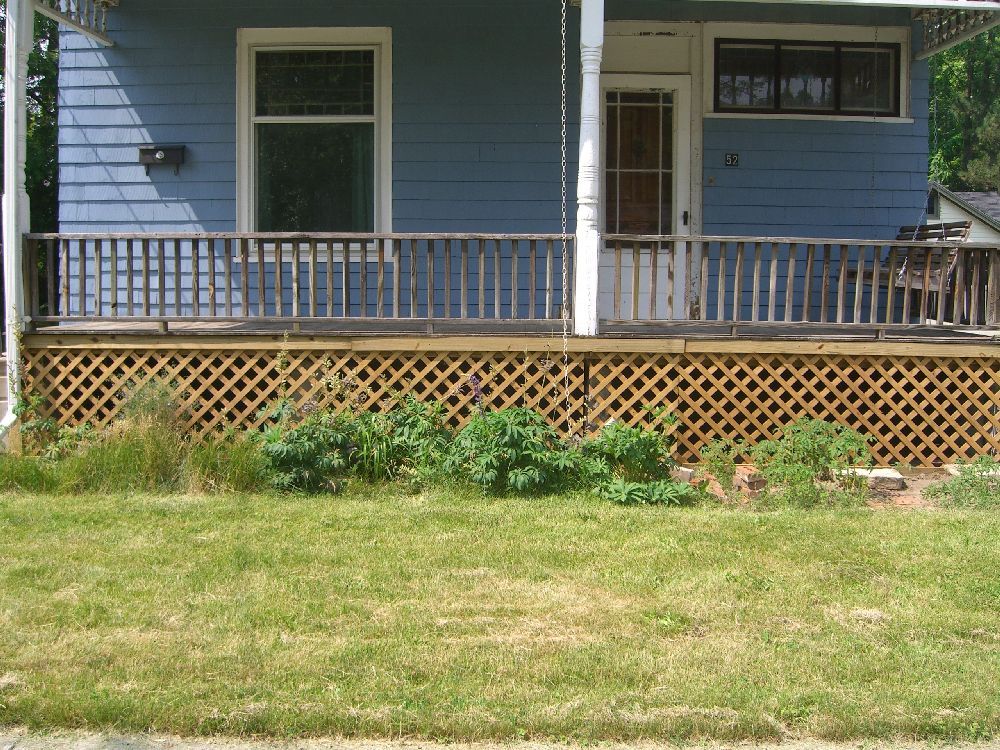
But it looks better with lattice instead of whatever corrugated white fiberglass-like stuff has been wrapping the porch for years: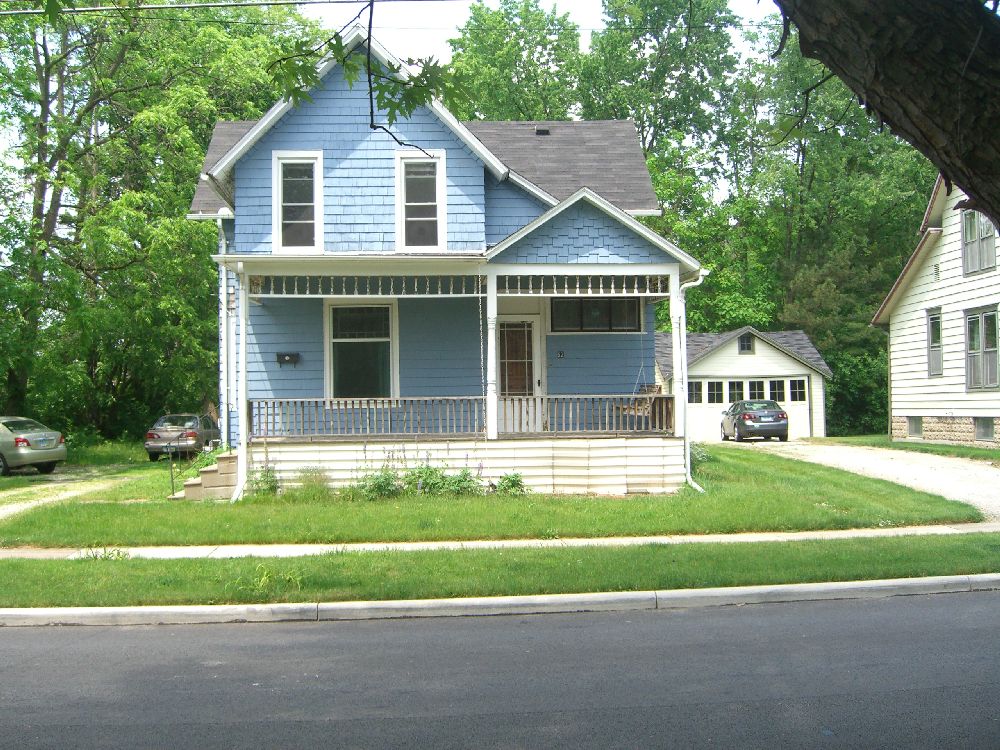
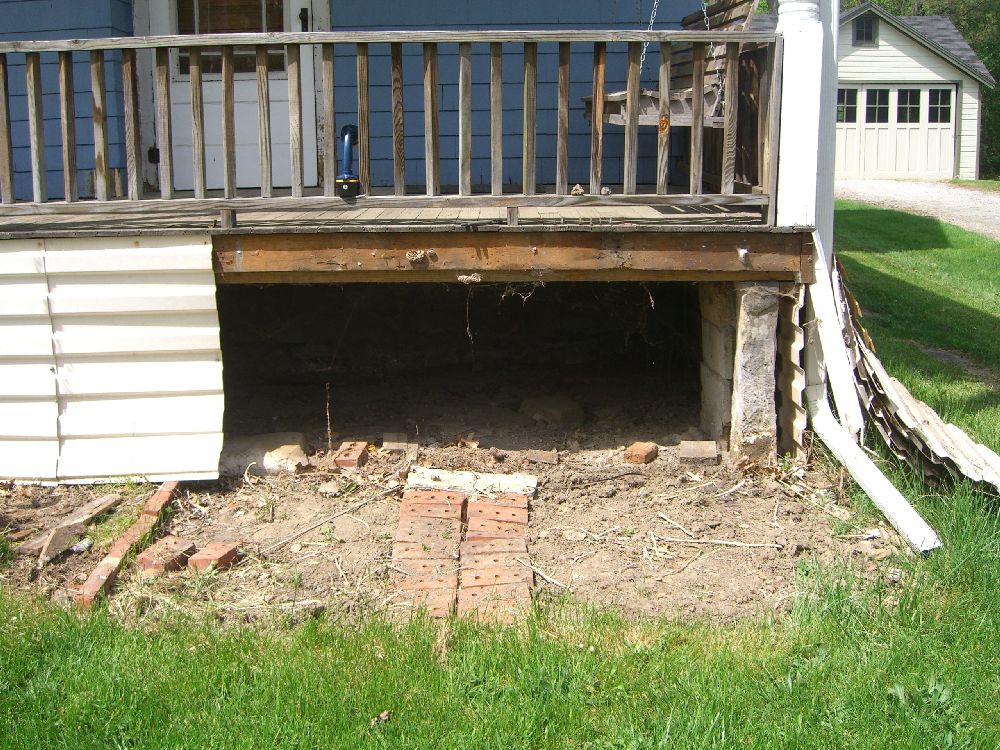
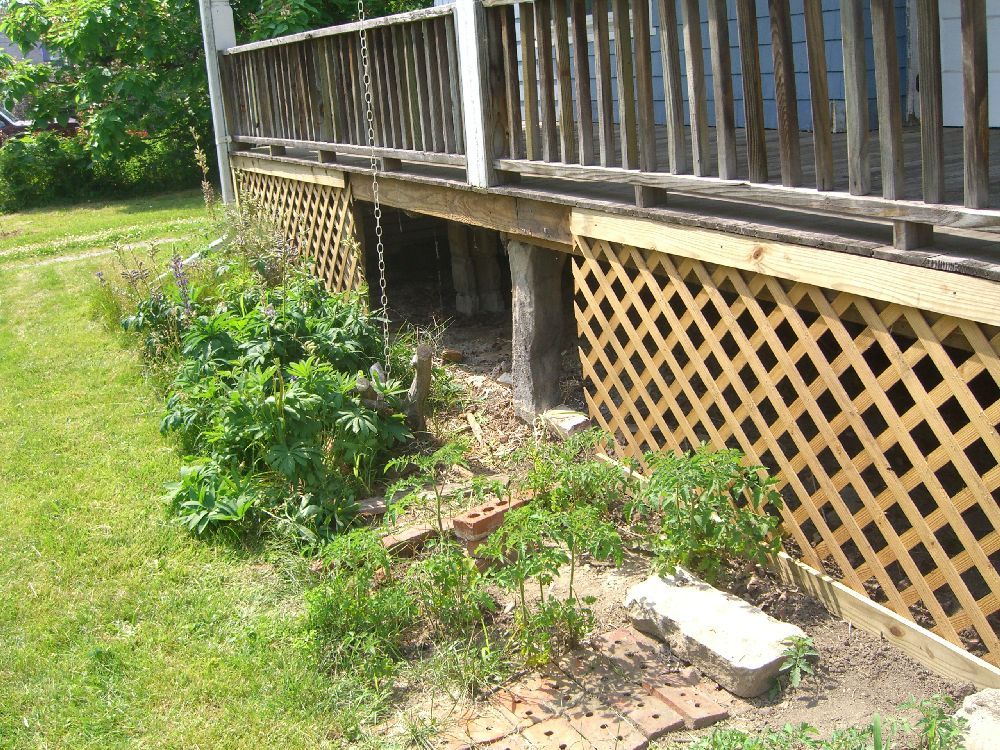
It’s been 20 years since the underside of the porch was last exposed. I’ll deal with all that some other time.
This project was easy for seventy-five percent of the way, then it became about eighty-five percent headache, and more than half of the time spent on the project was spent on that last quarter. For those of you scoring at home, that comes out to 28.5 and just covers the spread, but not the over.
Here’s my advice if you’re thinking about porch lattice: go with the square lattice as opposed to diamonds. I had bought these lattice boards cheap from a business that was closing. If I’d known how hard it would be to line up the different sections I would have spent the $15 more (per board, but still) to get them new from Home Depot.
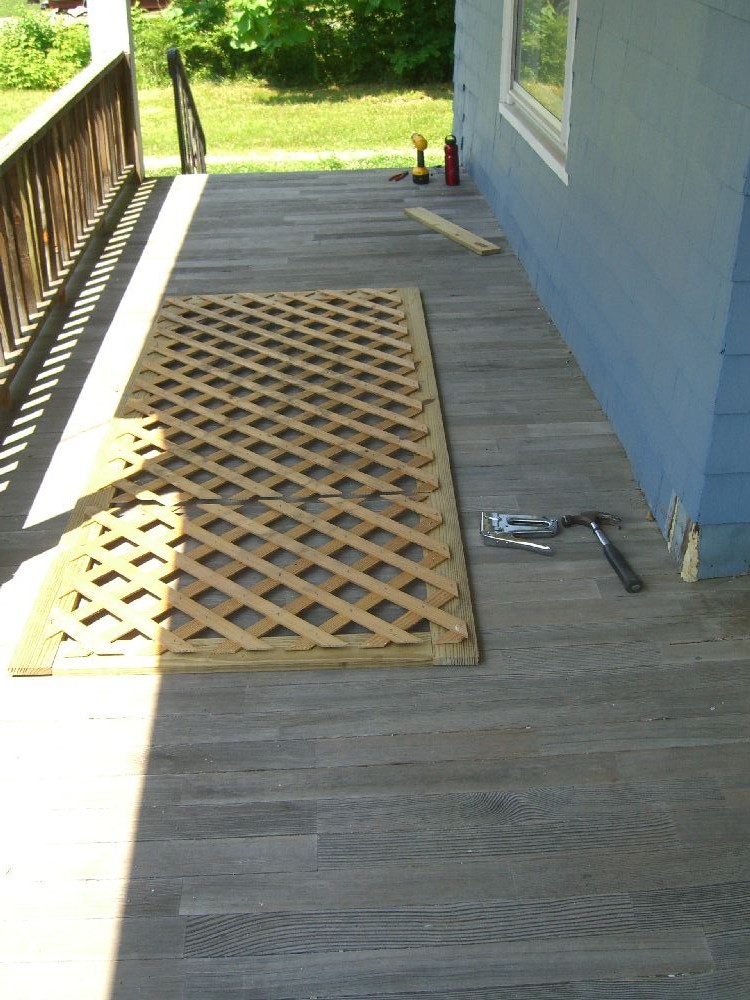
Square lattice would also allow you to proceed a bit quicker in terms of measurements, cutting guides, and the like. As it was, the basic principles of this project are straightforward – cut the frame from 1x4s, rip the lattice about 3″ shorter than the height, staple the lattice to the frame, attach completed sections to the porch facing board.
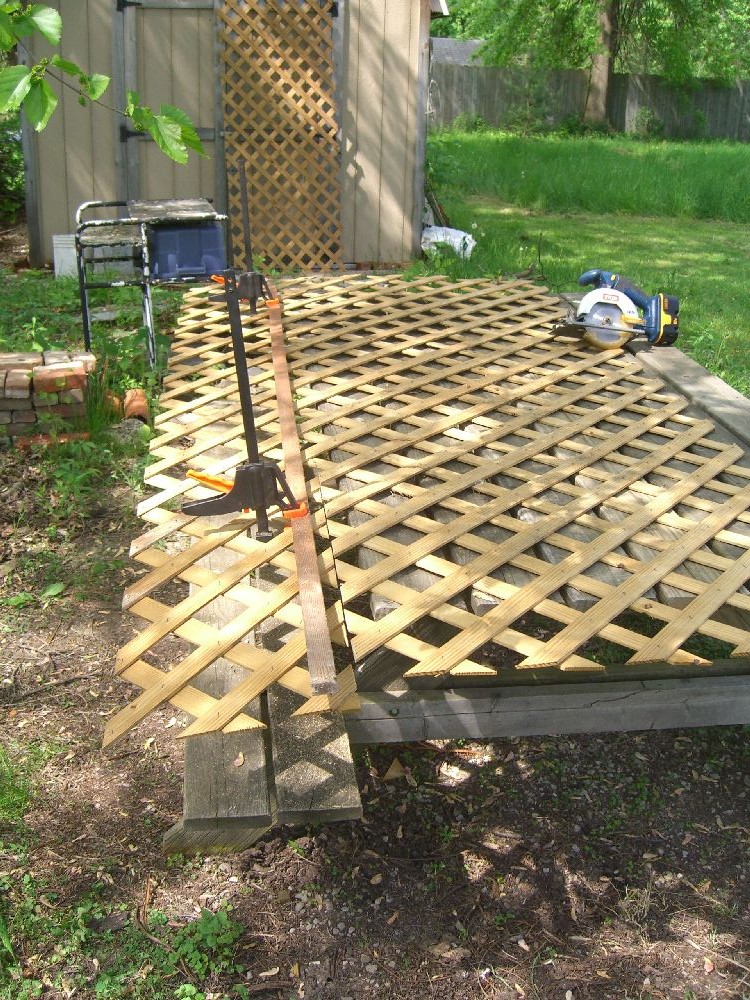


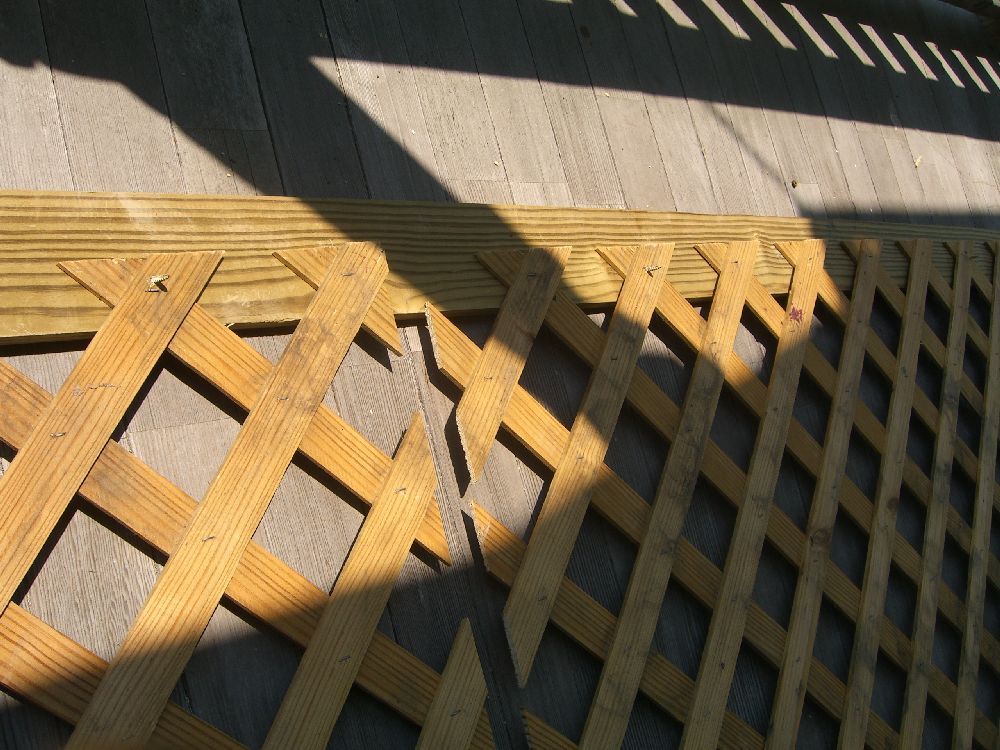
At this point the problems arose. I could cover the ‘seams’ to disguise the fact the lattice didn’t line up, but the desired design mimicked the porch division, i.e. a solid field of lattice with an upright underneath the off-center pillar. Before you say ‘well why didn’t you line the three sections up ahead of time, mark and trim one of them?’ it’s true I didn’t think of that until two sections were built – but it didn’t matter because the three original sheets were in no way contiguous. Take a look at the photo above with the three ripped-to-height sheets leaning against the porch railing – I would have had to lay all three sheets on the same flat plane and overlap them cleanly by shifting them both horizontally and vertically and there was no plane that large and uniform anywhere around. Plus something interesting emerged from the corner into which I had cut myself.
The left and right sections wouldn’t line up with one another if I put them together, and the middle section was going to have seven inches of decorative trim somewhere in its middle. I only needed to have sections a few feet long that lined up with the left and right lattice – and they wouldn’t have to line up with each other at all.
Lining things up involved placing the top trim and holding it in place with a single screw, then placing the subsection of lattice under the loose end and shifting it around until it overlapped cleanly, then sinking another two screws – and here’s the key – through both the trim *and* the subsection. Between marking and some measurements I could re-trim the end of the subsection to make it line up with its neighbor without overlapping. Then, by putting the screws back through both trim and lattice, there was a sufficient guide to staple the piece into its frame.
Repeat for the other subsection, and:
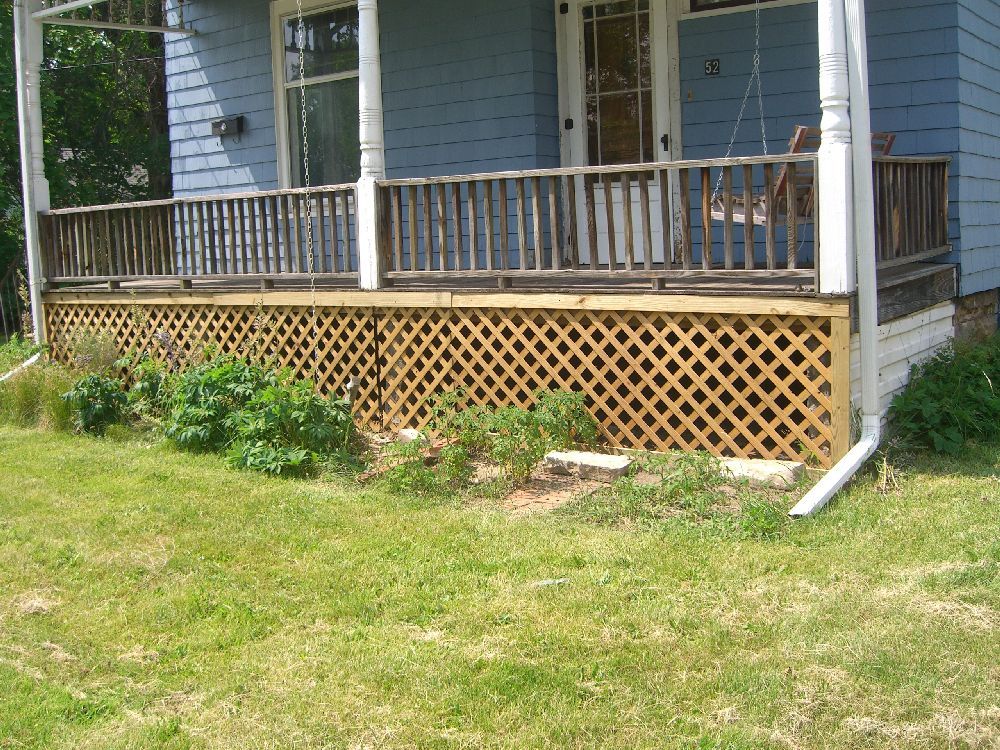
Once I knew they lined up, the middle section came off one last time to add the double strip of 1×4 underneath the pillar… and *then* the project was complete.


Except for the part where I might want to paint it all white.