Sometimes you just have something really heavy to hang:
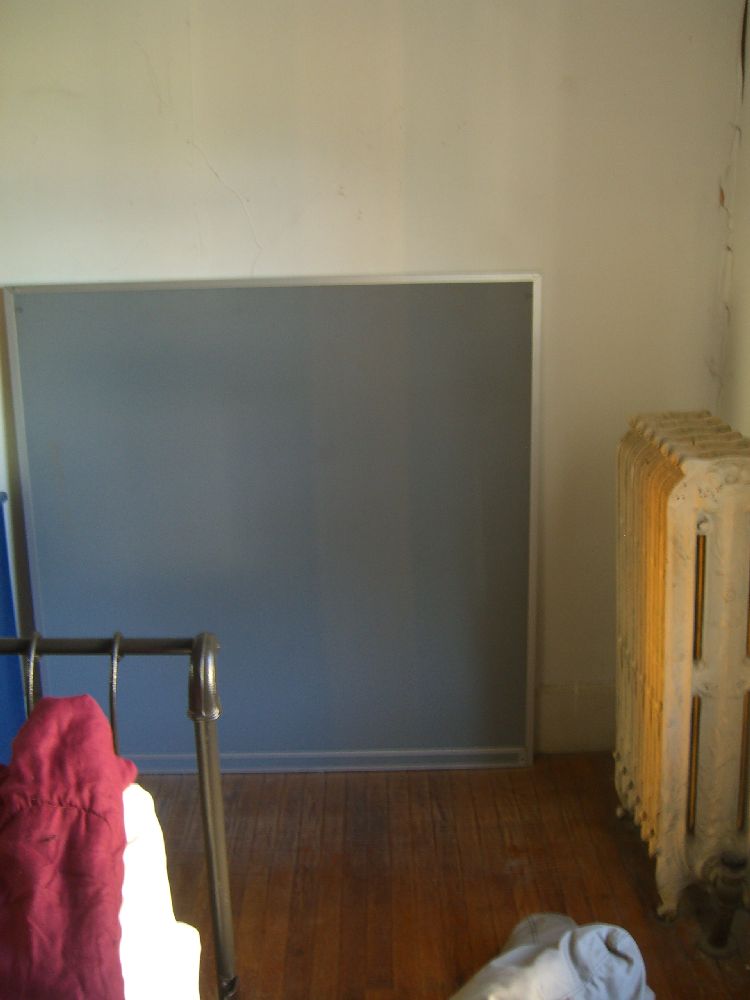
That is one of two (!) four-foot by four-foot metal-clad hardboard-backed bulletin boards I picked up years ago at a liquidation ($0.51 a piece, baby!). While they may eventually wind up in the library (and the library may eventually wind up being built) I had use for one on a wall in my bedroom. The main difficulty was figuring a way to securely hang the rather heavy square without putting tons of holes in the plaster wall.
The board was too thick for mirror hangers or other self-contained brackets, and I was unconvinced that two narrow supports (four feet spans two studs, not three) would hold up to the weight. A french cleat looked like a good option – running most of the width of whatever you’re hanging, it does an excellent job of distributing the weight – but I couldn’t figure out how to attach the cleat to the board’s back without putting bolts through the thing.
And then I had dinner with my friends Joey and Kendra (and Avery) and I mentioned the project to Joey, who is also a carpenter, and his eyes went wide and he crowed: ‘You know what you can use? [Expletive] Jay… Bee.. Weld!!’ After an anecdote involving a twenty-five foot long steel pipe (an anecdote, not a euphemism) we returned to our food.
But now I had… a plan.
A needlessly dramatically introduced plan!
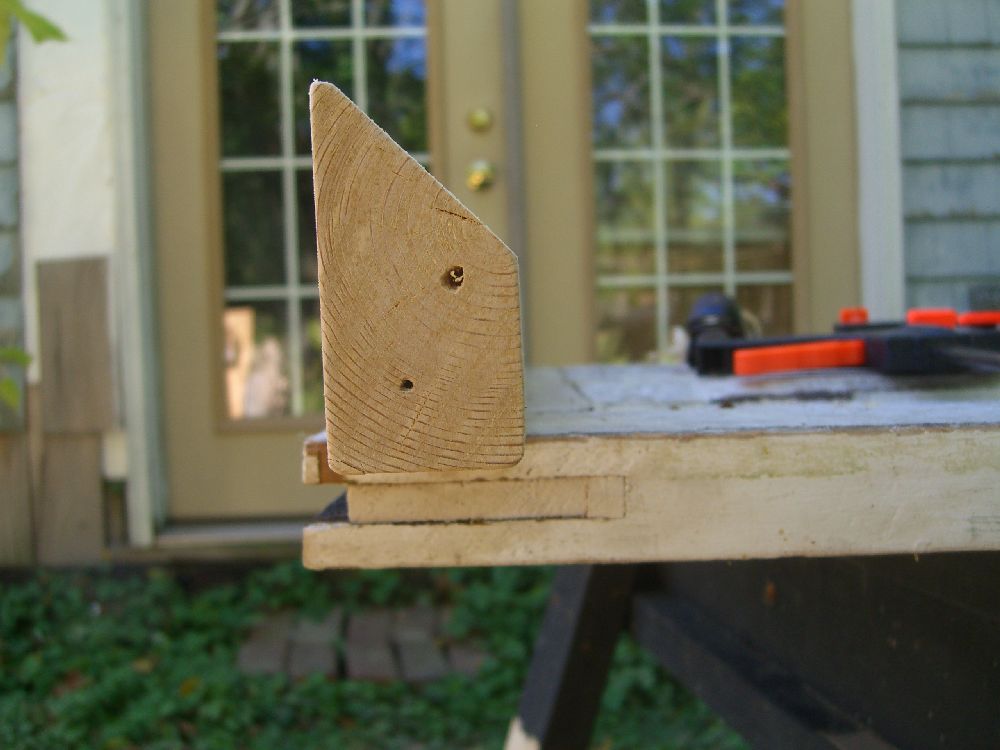
A french cleat is a simple-but-effective endeavor. Two boards ripped lengthwise at complementary angles – 45-degrees works best, and easiest – one attached to the wall, the other to the back of whatever heavy object needs affixing to said wall. In the following not-very-helpful illustration, pretend the wall is to the left, the object to the right, parallel to one another, thus the ‘lower’ of the pair will attach to the wall, the upper to the object:
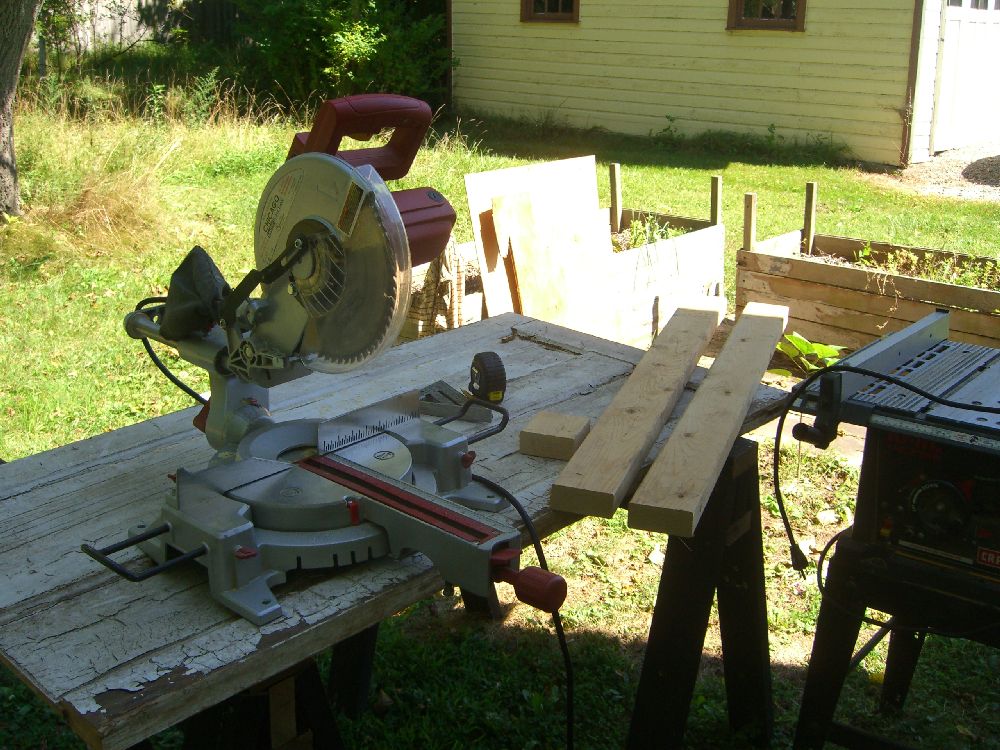
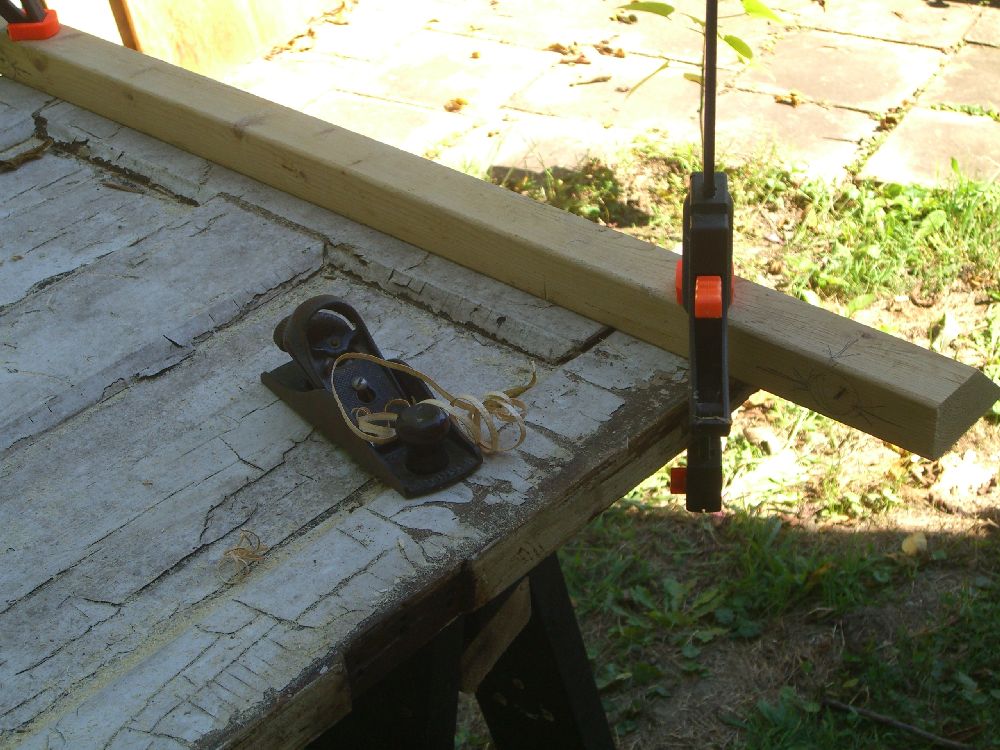
Initially I ripped a single 2×4 in half, then decided the resulting face where the boards remained full-thickness was too narrow to easily attach to the wall. A fresh length ripped from one corner left me with a 2″ face. A quick clamp down and a few passes with a plane to remove the sharp edge (I’ve been looking for an excuse to use it; really it’s delightful – and it makes those fun curls of wood!) and we’re good to attach.
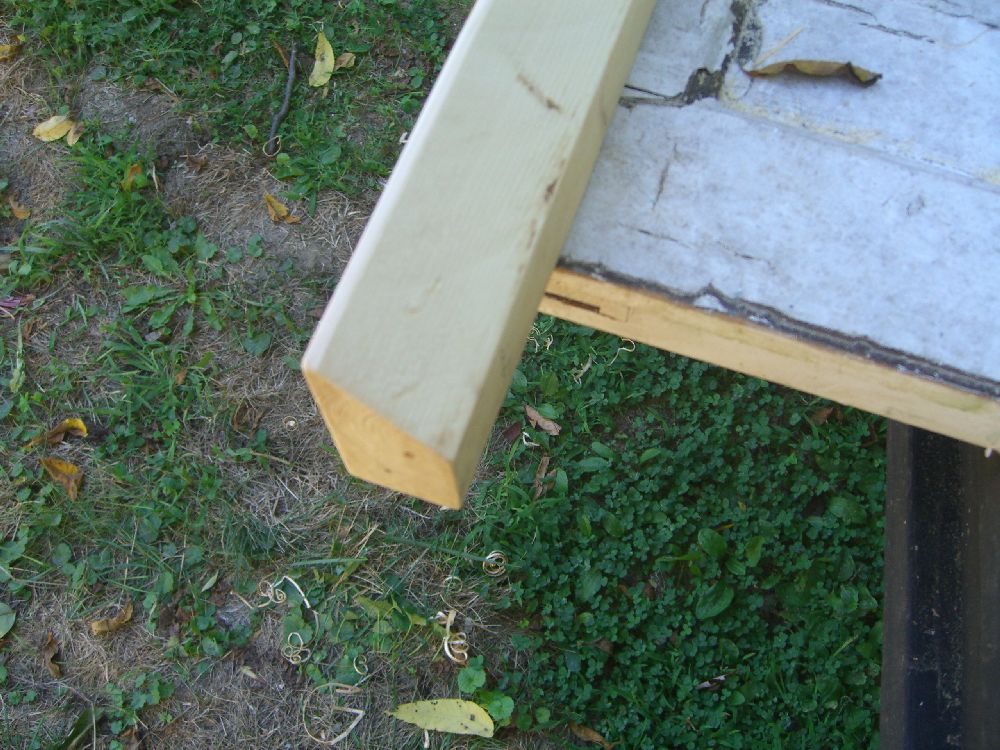
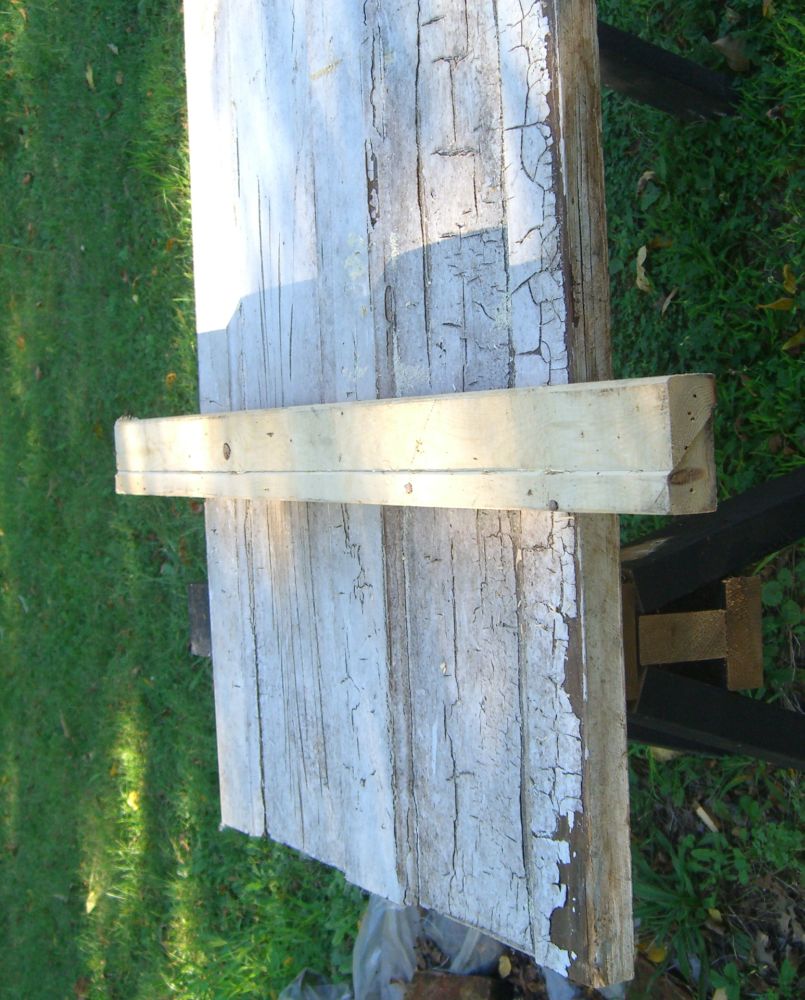
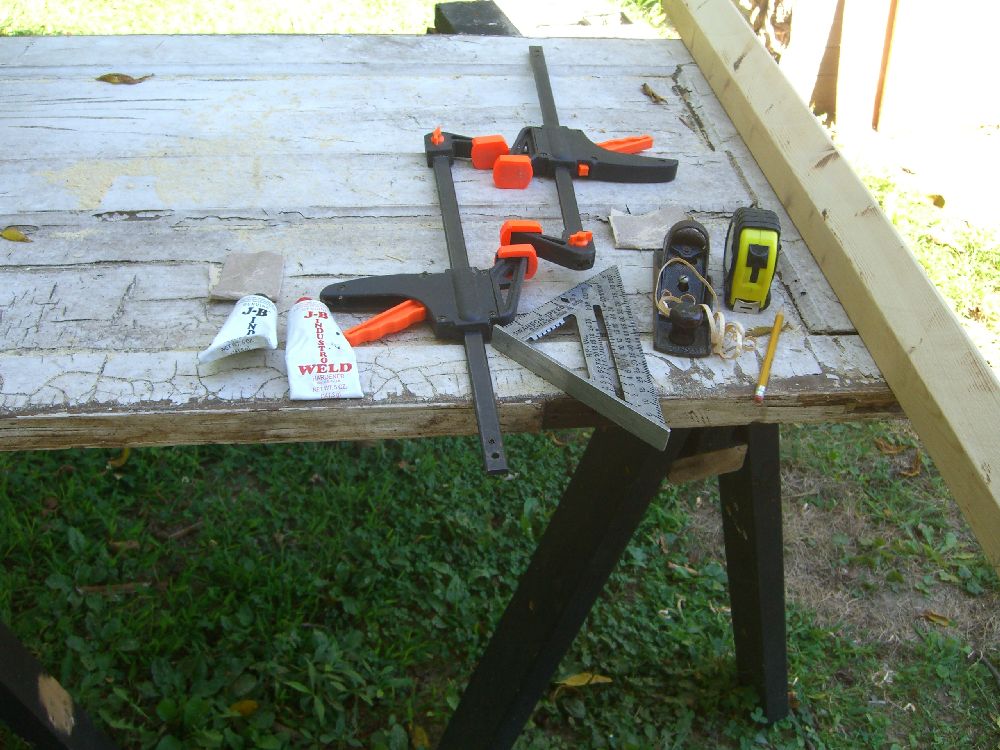
The half 2×4 from earlier was fine to go onto the board’s back since I wasn’t drilling through – I was welding. Using its twin to keep the narrow face flat under the clamps it took about five minutes to mix, apply, and place the cleat, then six hours of letting it sit under the clamps to set.
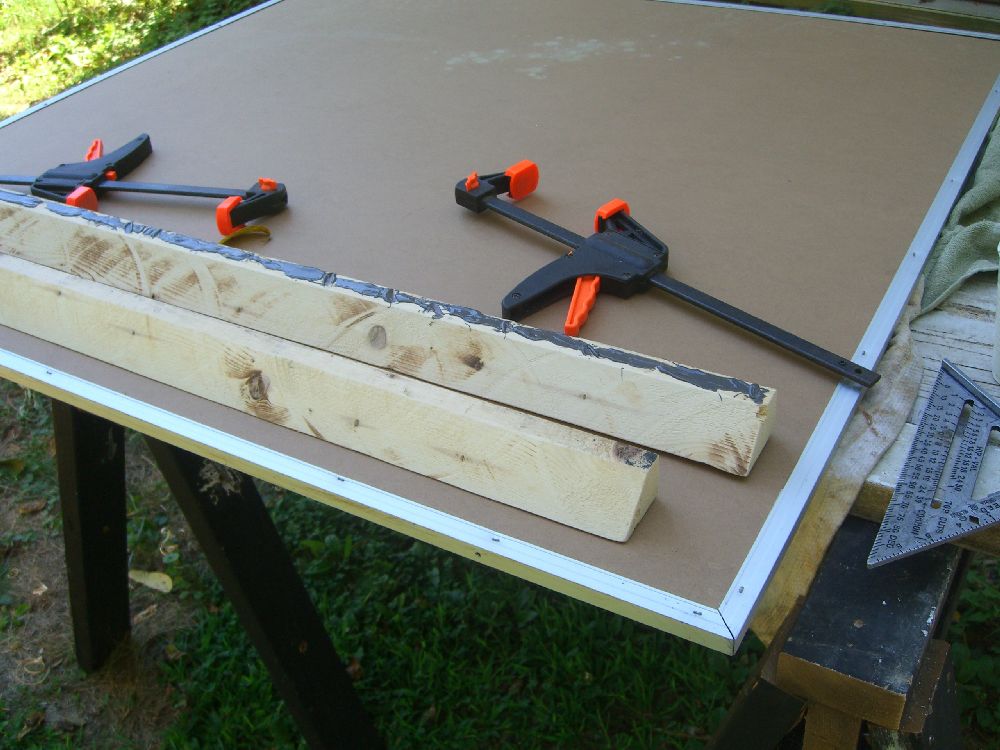
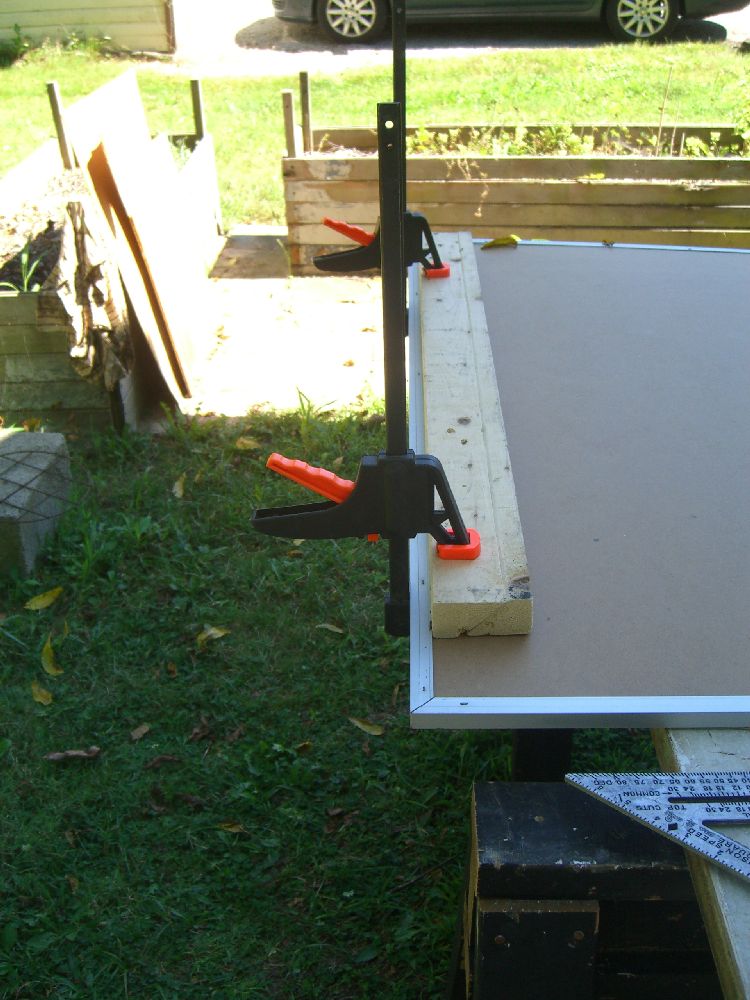
I used four clamps; no idea why I only took this interim picture.
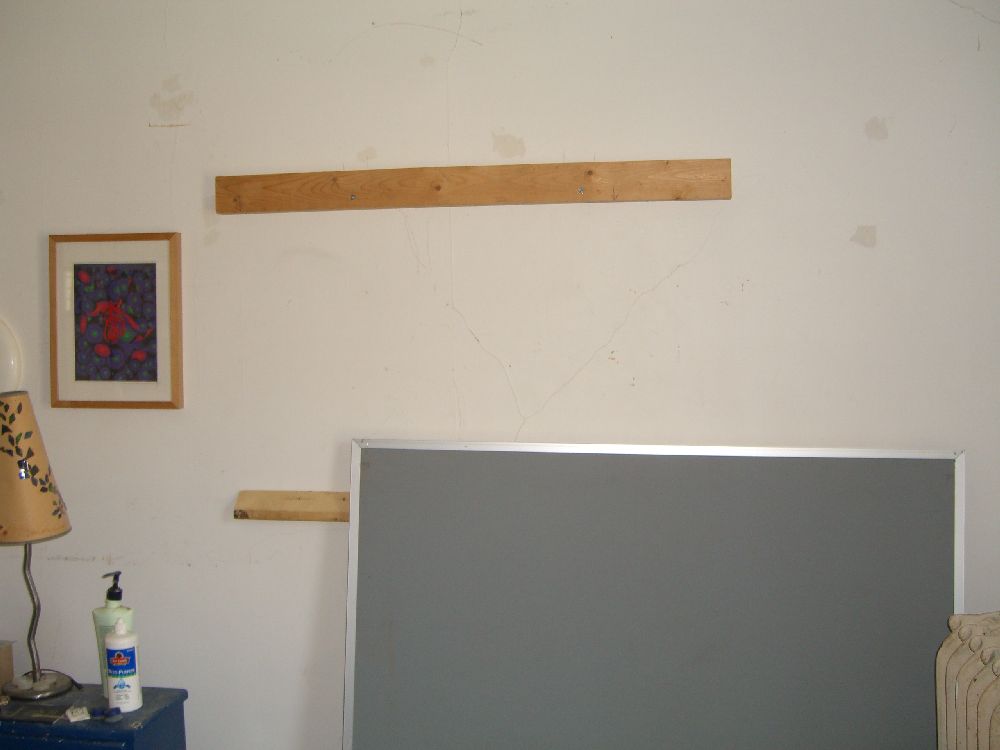
While waiting for the JB to Weld I marked the studs, picked up a couple of heavy-duty screws (12x and 3″ long… don’t go any shorter than 3″ since you’ve got 1.5 inches of cleat, probably half an inch of plaster and lathe and then the stud), predrilled the wall cleat, and then hung it.
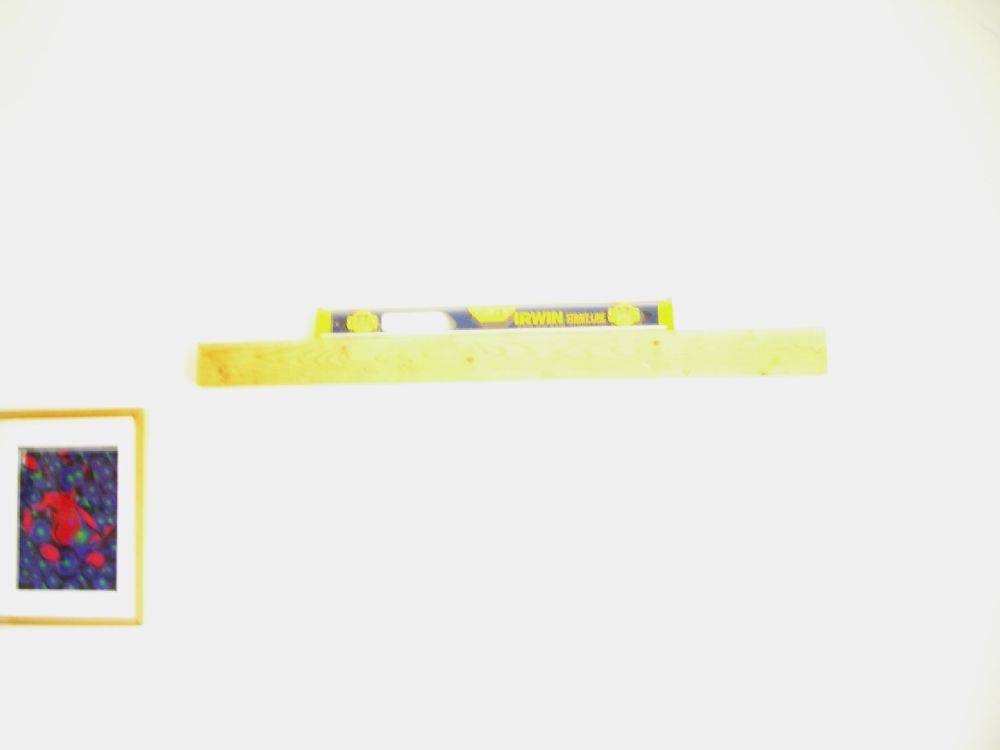
I also accidentally knocked my camera to the wrong shutter setting. You can barely tell the difference, though.
I decided on one addition to the project – once the spare 2×4 rip was no longer needed as a brace, it went up on the wall to compensate for the gap between board and wall that would result from this design. Typically french cleats are built into the back of a cabinet or other item and thus allow it to hang flush.
With everything attached to everything else, there was nothing left but to hang that sucker.
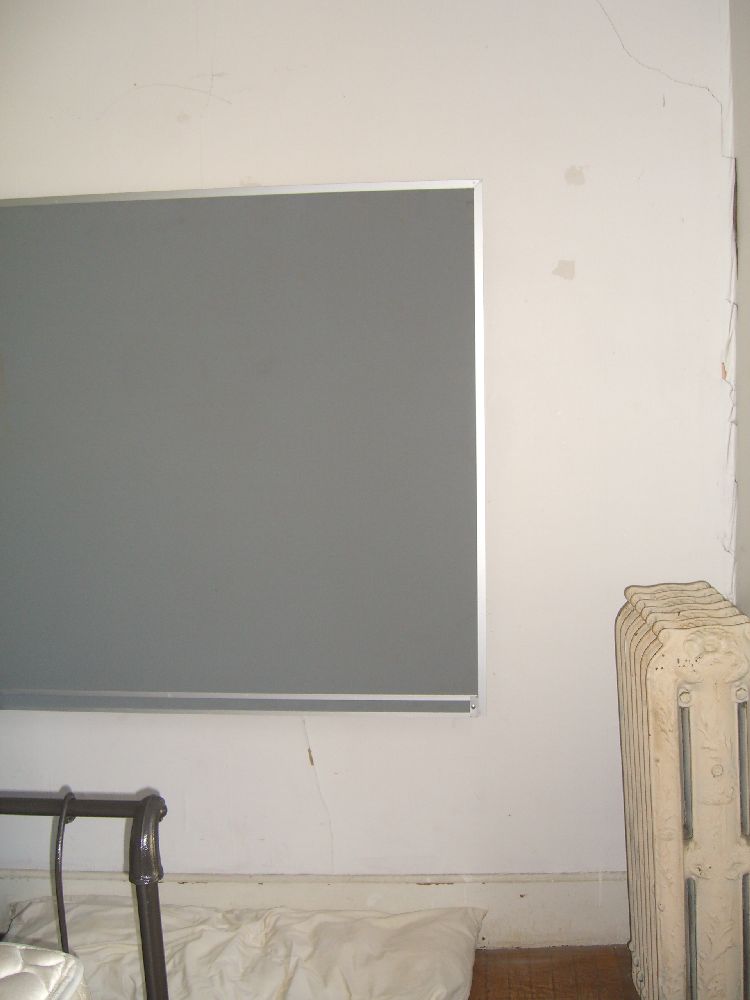
Like I said… simple.