The good news is I’m doing things around the house. The bad news is I’m doing many things around the house (as well as client work, the very start of ObieGame planning, and a campaign) so updates will probably be horribly behind going forward.
Yes, that made sense.
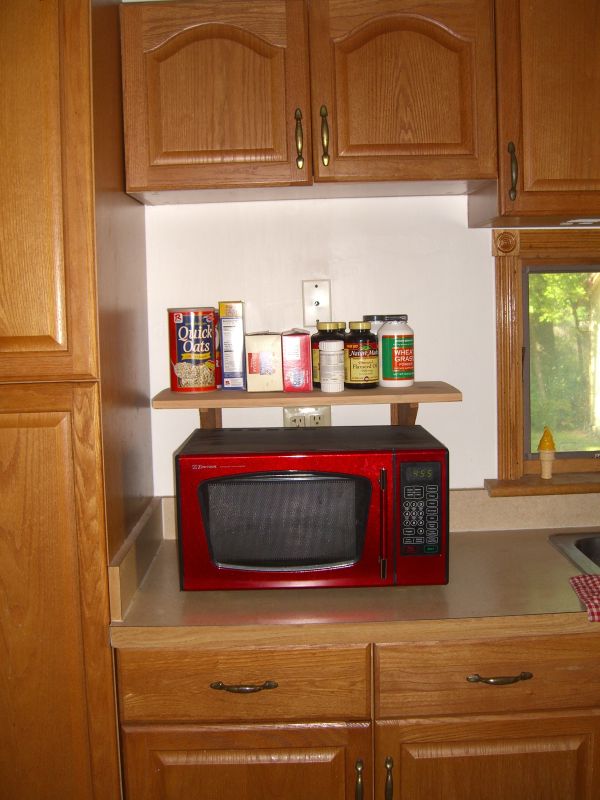
Here’s a project from the other week that, of course, was more involved than I expected. The newer cabinetry in the kitchen included a microwave shelf – handy, but it made the counter space in that area feel too cramped. I decided to pull it and put in a simple open shelf in its place.
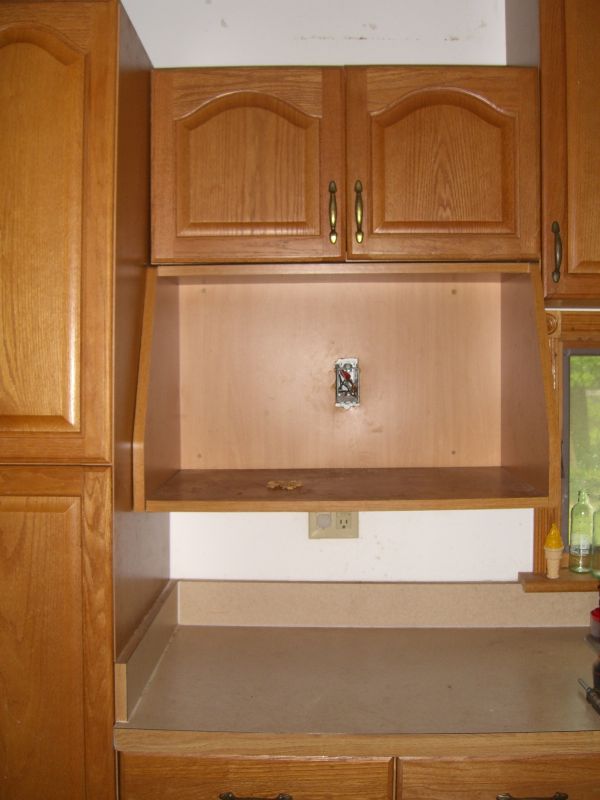 Taking it down was a little tricky. The shelf, and the cabinet above it, were screwed into a stud on one side, but didn’t line up with one on the other. They were mounted, as you do, by sandwiching screws with heads coming out the back of the units between two pieces of 3/4″ particle board screwed to the studs and into the wall with plastic anchors. I should have taken a picture for you, but the short of it was to get to this point:
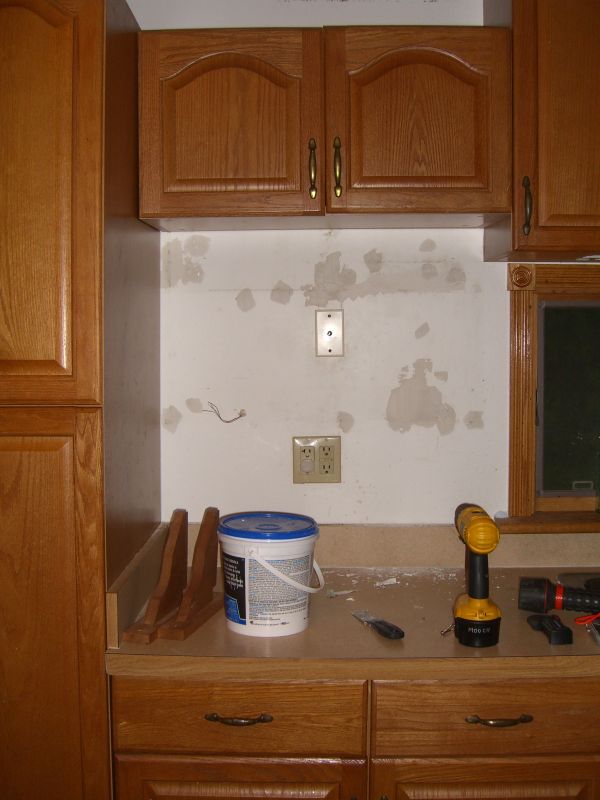 … took half an hour so the wall wasn’t damaged more than it needed to be. Some spackle in the screw holes and in scraped areas, a cover plate for the outlet I decided to remove, and we’re in good shape.
Oh, the outlet – it’s on the same circuit as the pair below, and it was real easy to deal with. Turn off the breaker, remove the faceplate, pull the outlet out of the box, unhook all wires – there will be many more than you’d expect since it’s in series – and simply attach all wires of the same color to each other (all blacks together, all grounds together, all whites together) making sure they’re capped and taped so the only exposed wire in the box is the ground (which should be pigtailed to the box still). Push the bundles back into the box and you’re done.
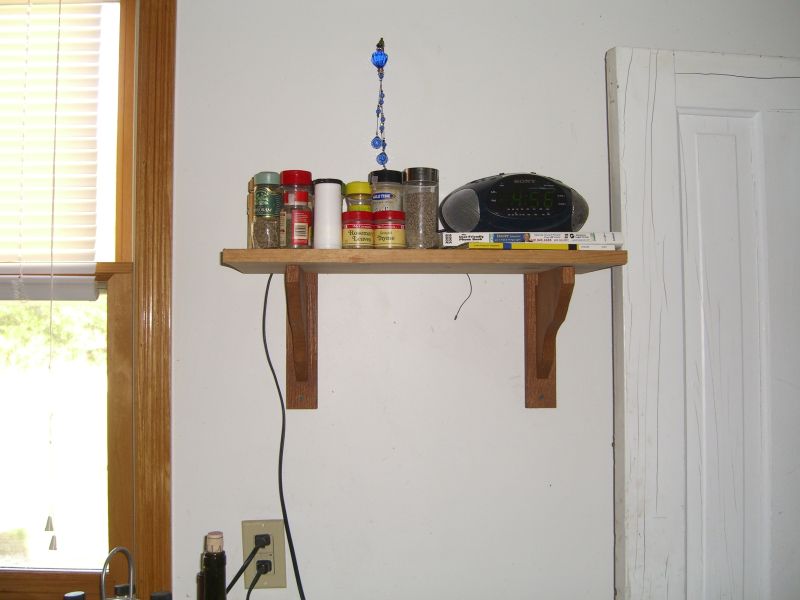
 Wall painted (thanks to Mike for hauling reclaimed remainders of a variety of useful products down from Michigan; I love freecycling) a nice plain white. The shelf supports are actually from my local garden supply store – the simple design stood out last summer when I wanted to install another simple shelf in the kitchen (see bottom of this entry). Both had to be mounted using plastic anchors into the drywall – this is one of the redone walls of the house so it has drywall over insulation as opposed to the heavy plaster and lathe elsewhere.
 The shelf is reclaimed pine from what looks like it was a shed shelf many years ago (there was a finish applied that had weathered in much the same way your wooden school desk might have looked, and faded bracket mount prints on one face). A half hour out back with the random orbit sander, and this thing looks pretty good, if I do say so myself. I may stain it at some point (installation involved one screw per support, so it’s pretty easy to take apart if need be).
No more parentheses. Here’s it’s sibling from last summer: