11 Feb 2012

Tea shelves


Today on Well That Was… An Idea… a good idea to turn scrap wood into a useful kitchen organizer.

We’ll be back after these commercials.

(That’s your clue to click on all the banner ads on this site and make me millions.)

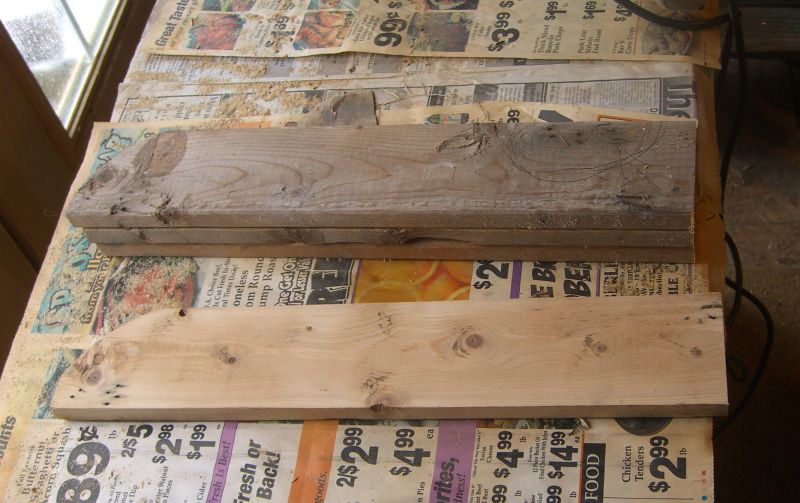
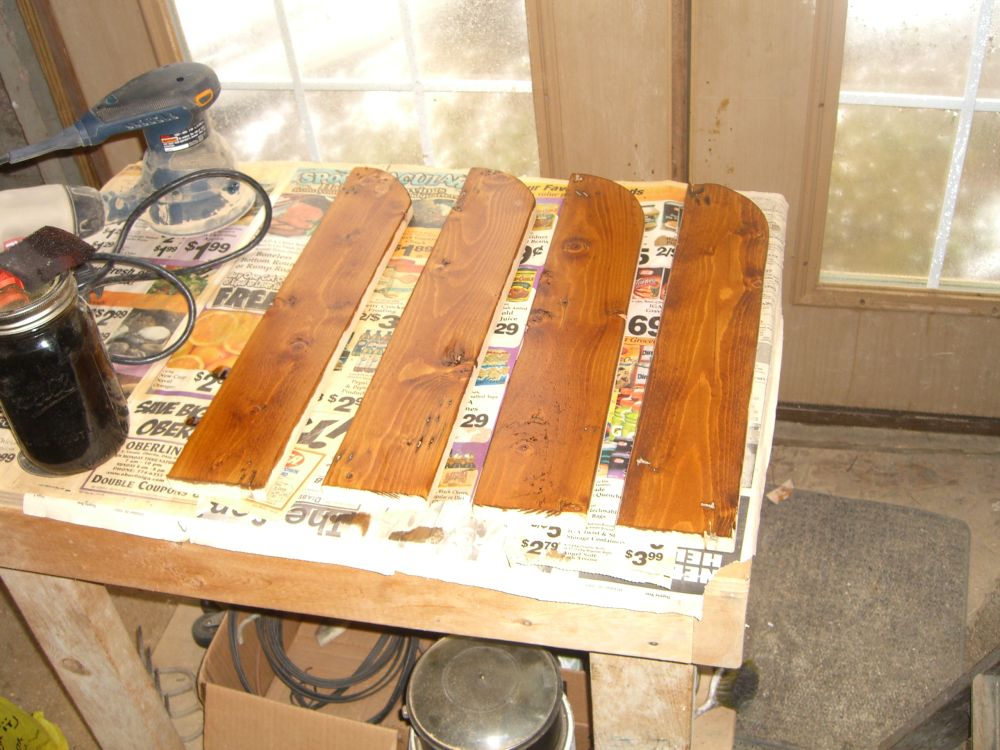
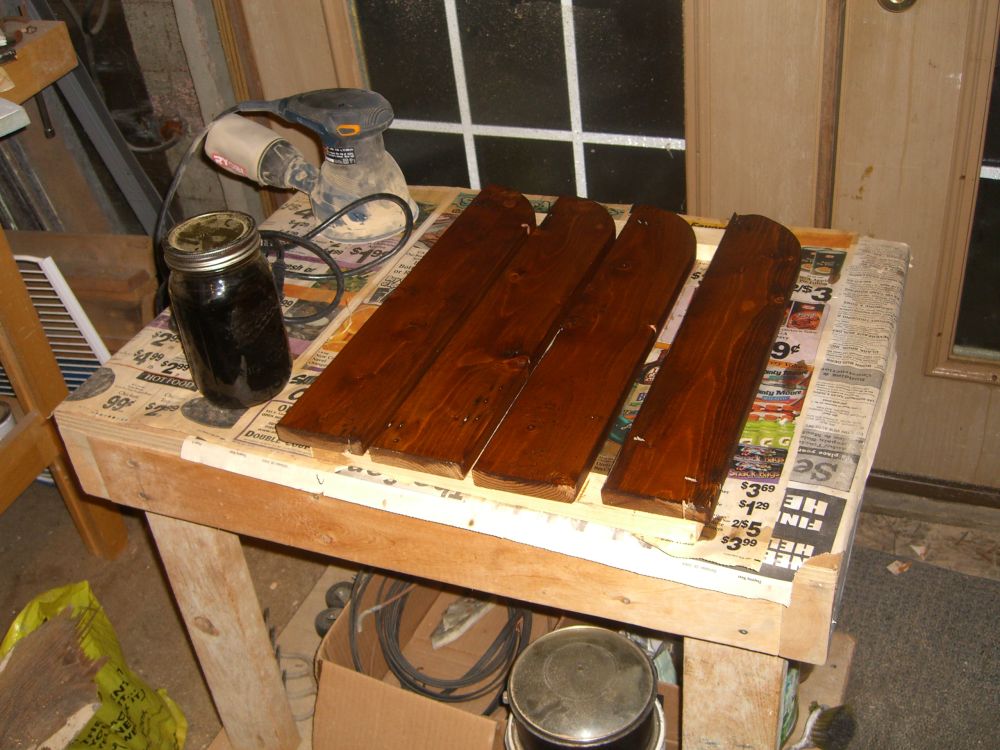
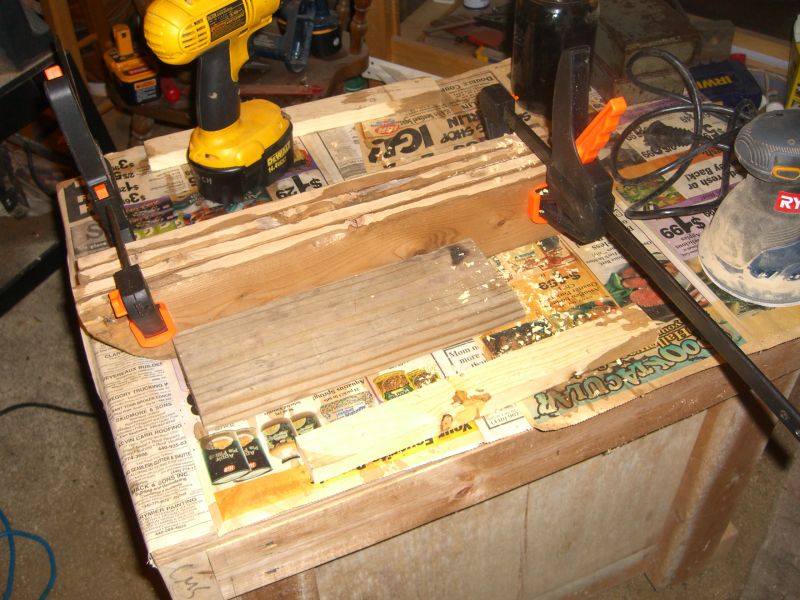
So I had a cabinet full of boxes and bags of tea. I also had a small gap between a door and a cabinet, and plenty of scrap wood just waiting to be project-ed.

Top: Scrap wood. Bottom: Scrap wood, lovingly sanded.

Ten minutes with a random-orbit sander can take weathered wood and turn it into a paintable, or in this case stainable, surface that retains the scars and irregularities of the scrap.
I should do a full post about making black walnut stain (the gist is pretty straightforward – throw husks into water, boil for a while) but meanwhile, here’s what one and then two coats on these pine boards looks like:

Installing was straightforward: sink a couple of 2″ drywall screw from the other side of the cabinet into the board:

Voila. Now I can find things.

Worth noting: the straightforward install was not the original method. That method did not work as intended. Learn from my mistakes and do it right the first time.
The plan was to drill holes into both the back edge of each board and the face of the cabinet and use wooden pegs to connect the two. There are two main areas where this can go less than great. The first is lining up all the holes correctly. A drill press can simplify drilling the holes into the boards (it’s not necessary – see my trick below), but you’ll be going freehand into the cabinet. 


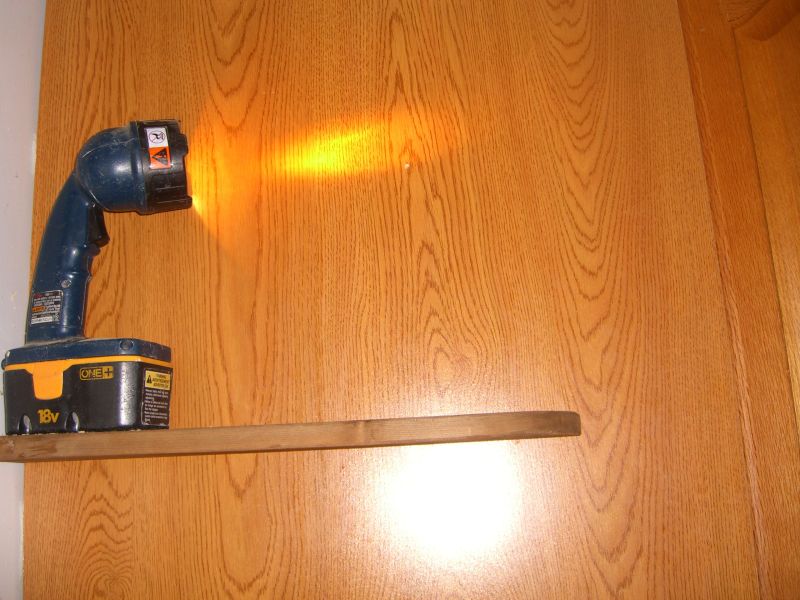
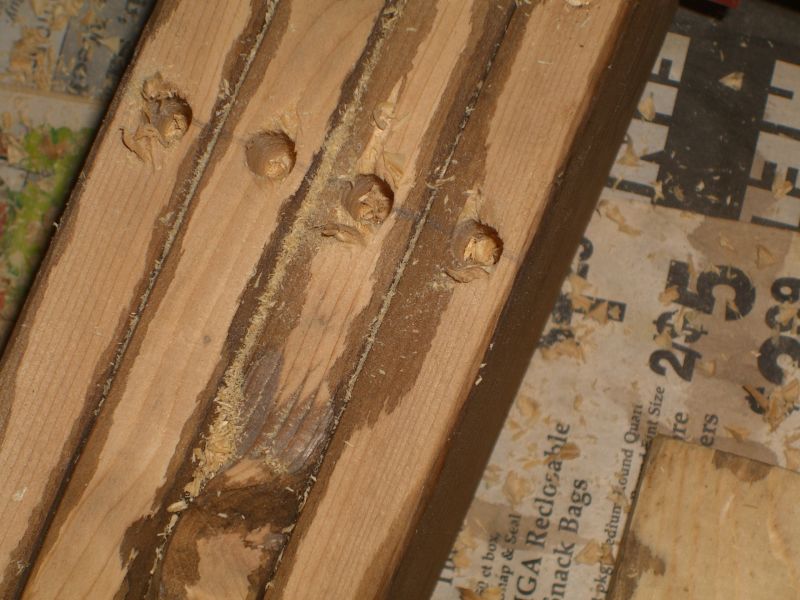
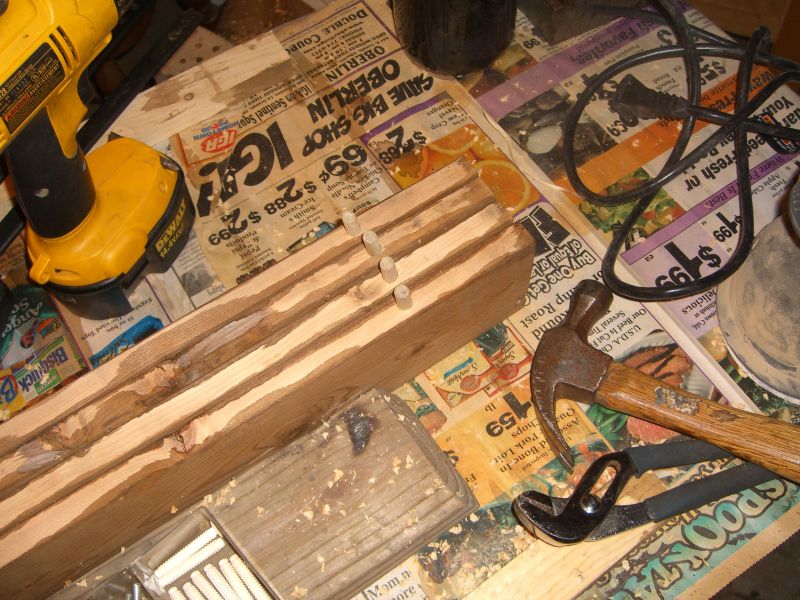
The second problem is you’ll want a peg that goes all the way through the cabinet wall and sinks into the board; much easier to achieve this with a screw or nail.

There’s actually a third difficulty if you’re going into artificial surfaces (like the heavy particleboard of these cabinets) – it’ll be almost impossible to drill a hole of the exact right size so the peg can be tapped in yet won’t slide out over time. Natural woods will be slightly more forgiving. Regardless of your woods, skip this approach and just use the screws.

  1. No comments yet.
(will not be published)