It’s quick and easy, and you can do it with things you have lying around the house!
Step one – check if you have a mitre saw lying around the house. Otherwise, this is not the project for you.
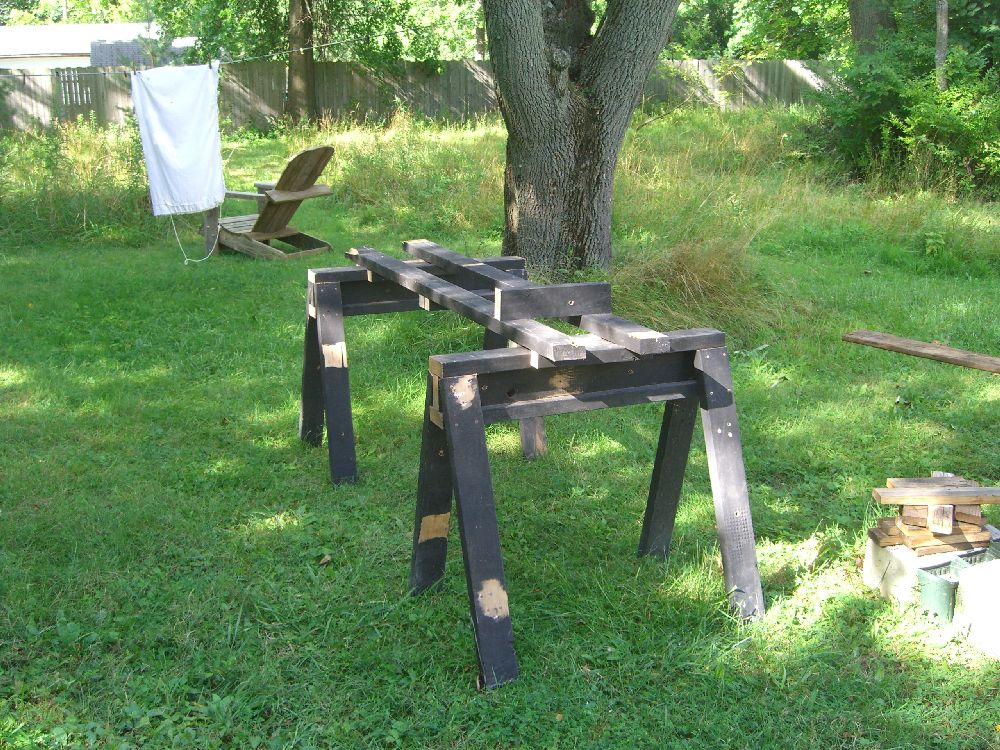
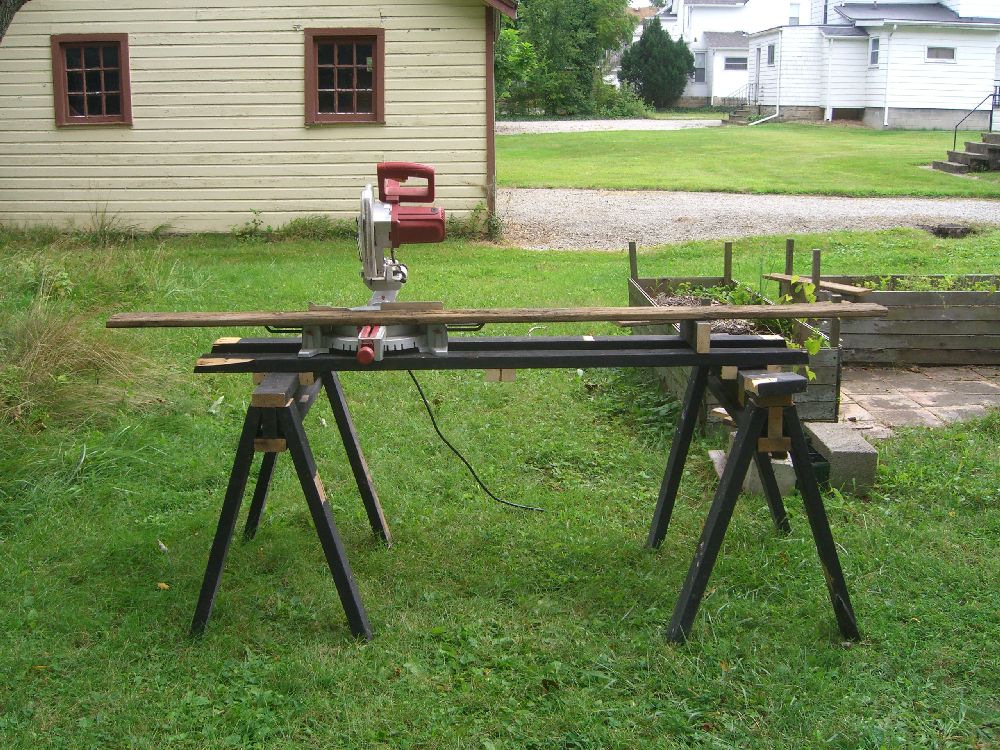
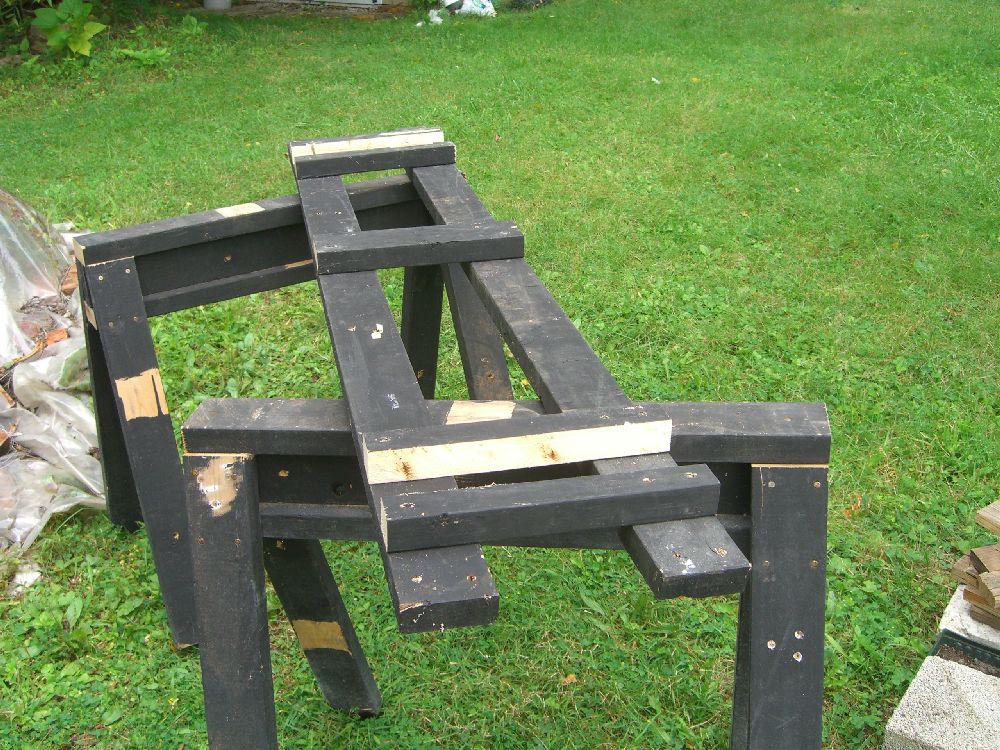
Cutting longer lengths of wood is safest and easiest when the board can’t cantilever and then slip when the cut is made. To do that, you need a support the height of the mitre saw’s bed somewhere along the board’s length, and to do that, you need the mitre saw and the support on the same plane:
This setup is designed to work with the sawhorses I built last year. The cutlist (all 2x4s) is quite simple:
- 2@ 6′
- 4@ the depth of your mitre saw (mine is 12″ and I gave some wiggle room so 13″ each)
- You’ll then rip two of the cleats in half, lengthwise.
 Scrap wood to the rescue, as always.
 The final stack of boards, cut to length. The ripped cleats are top left.
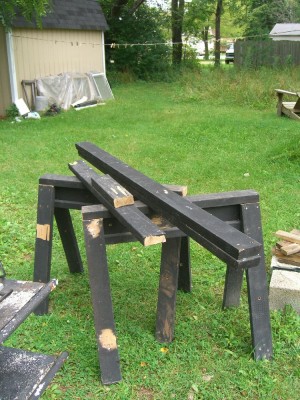
Attach one of the 2×4 cleats to the center of the 6′ runs, using it to space the two long boards. Then attach the 2x2s towards the ends of the boards so they’ll hug the top of the sawhorse and keep the table from shifting.
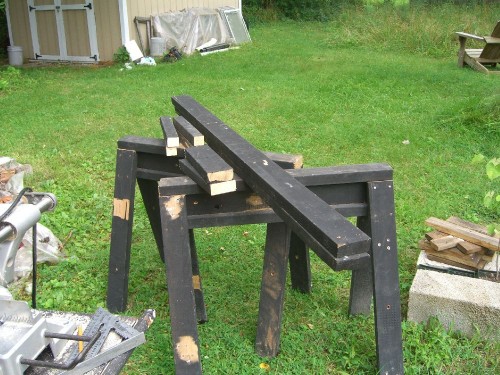
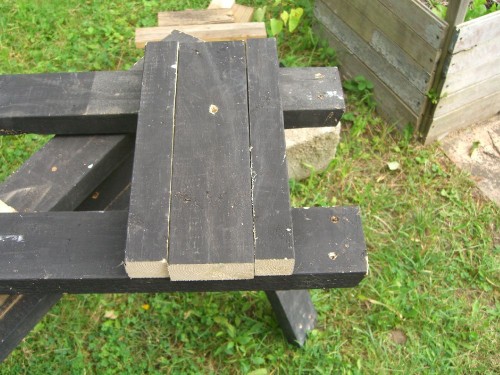 Use the last 2×4 cleat as a spacer. Leave a little space (not shown well here) – it’ll be
hard to get the table on and off the sawhorses otherwise.
The last piece (literally) may require a little fiddling. Some mitre saws’ tables (as in, the flat surface taht’s part of the mitre saw itself) are raised 3 and 1/2″ – conveniently the width of a standard 2×4. Many are not. If you’re lucky, the manual for your mitre saw will have dimensions listed, including the table’s height (see folks, this is why we don’t throw things away!). If not, measure it (there are a lot of ways, including laying a board across the table and putting a measuring tape or framing square next to the saw) and, if necessary, rip the last cleat to an appropriate ‘height’.
Then attach to the bench 3/4 of the way along: