Removing old knob and tube porcelain fixtures
Posted by aaron in basement, electrical on 2 March 2010
This isn’t a post about replacing old wiring with new three strand Romex. (There will be posts on that, don’t you worry your pretty little heads.) No, this is a post about a seemingly small but very poorly documented task related to such replacements – removing the knob and tube porcelain fixtures themselves. Note: The following pictures are of completely dead, orphaned wiring segments – they have not been attached to the electrical panel for decades. Never muck with live wiring, especially live knob and tube.

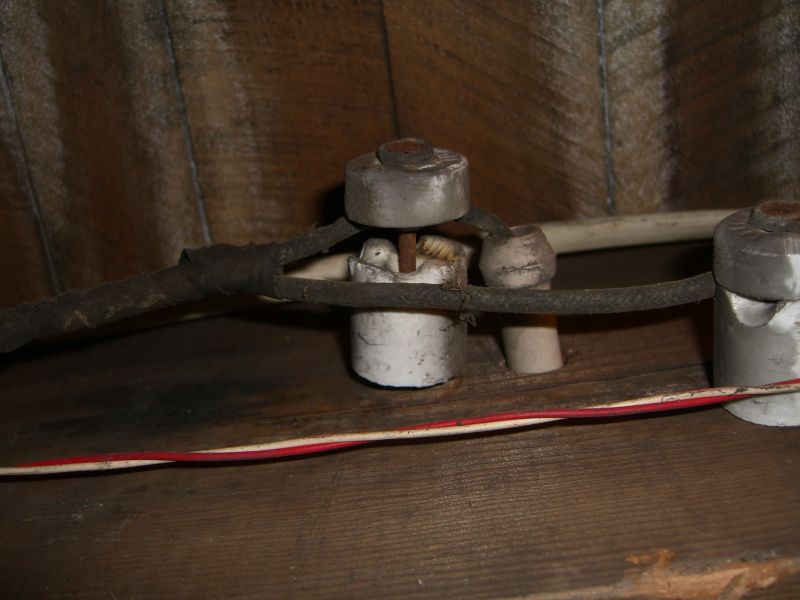
The nail likely extends an inch or less into the beam:
Removing knobs, then, is a fairly straightforward matter of wedging a hammer between the beam and the porcelain, and levering the nail out using the entire fixture. This next picture doesn’t show how far I actually inserted the hammer – quite close to the nail:

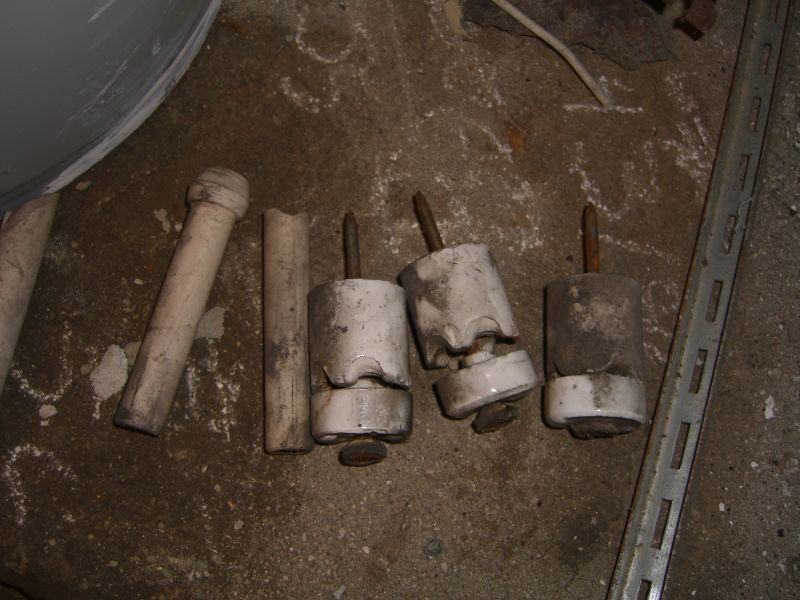
I was a little unsure at the start of this project for fear of shattering porcelain everywhere. It doesn’t seem to be an issue – the porcelain will likely chip and flake, especially as you’re first working the hammer in behind the knob…

… but it’s stronger than you might think. A gentle-but-firm approach had a half-dozen knobs out in less than ten minutes, and even an overzealous pull on one resulting in it flying from the beam and clattering to the floor didn’t cause any of them to break.
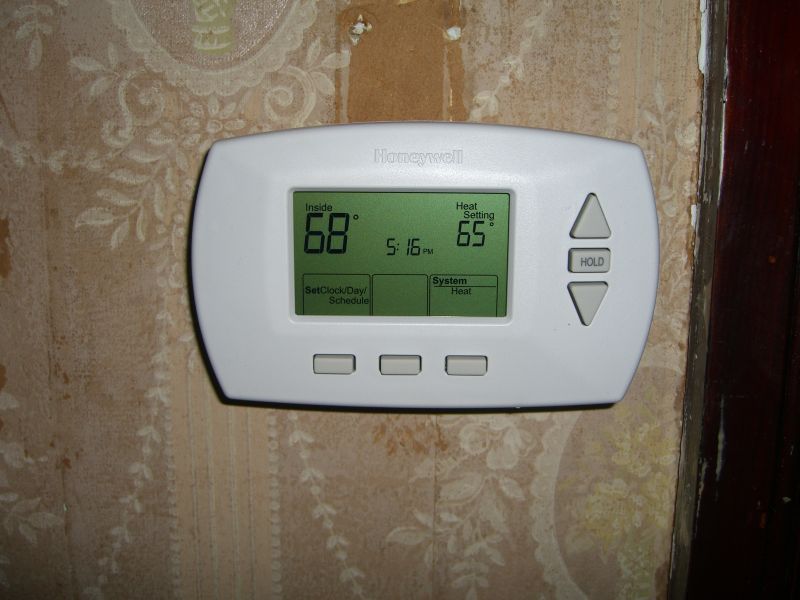
…and then I hotwired my house.

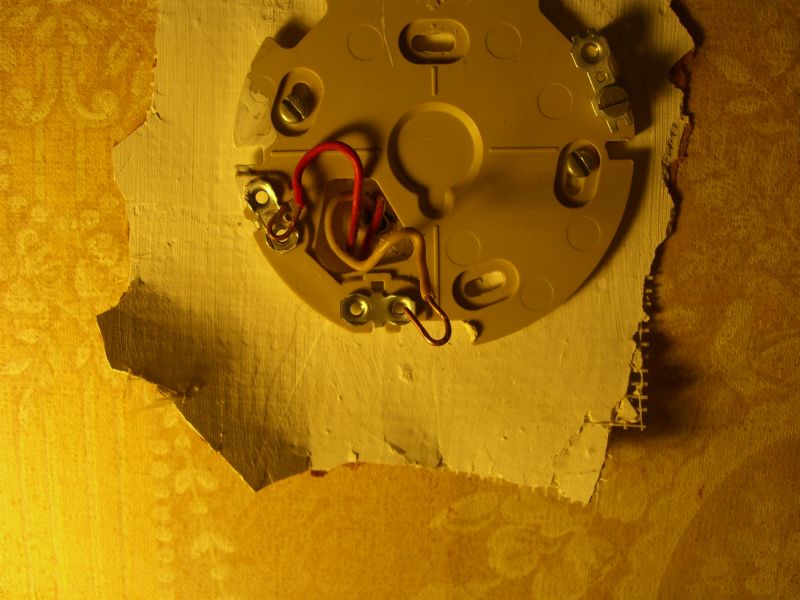
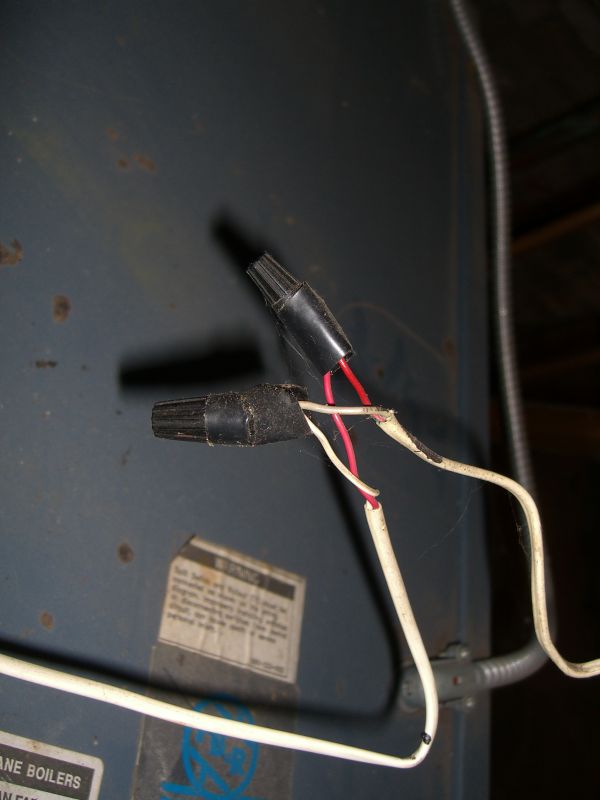
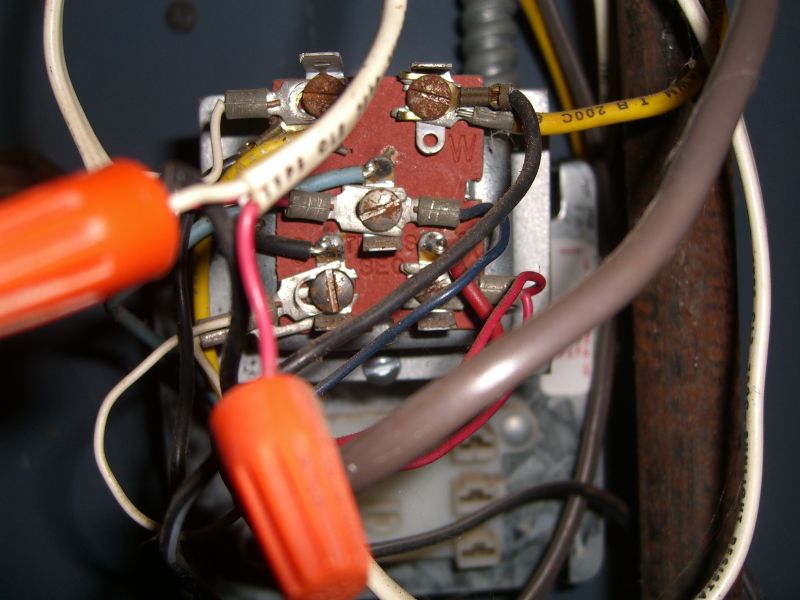
Tracing the wires from the living room wall to the boiler, I found a splice – important to note because it told me I was now looking for where the red and white wires connected to the boiler controls, instead of the red and yellow wires from the living room wall. This is truly an important but subtle distinction when you see where all this was leading:
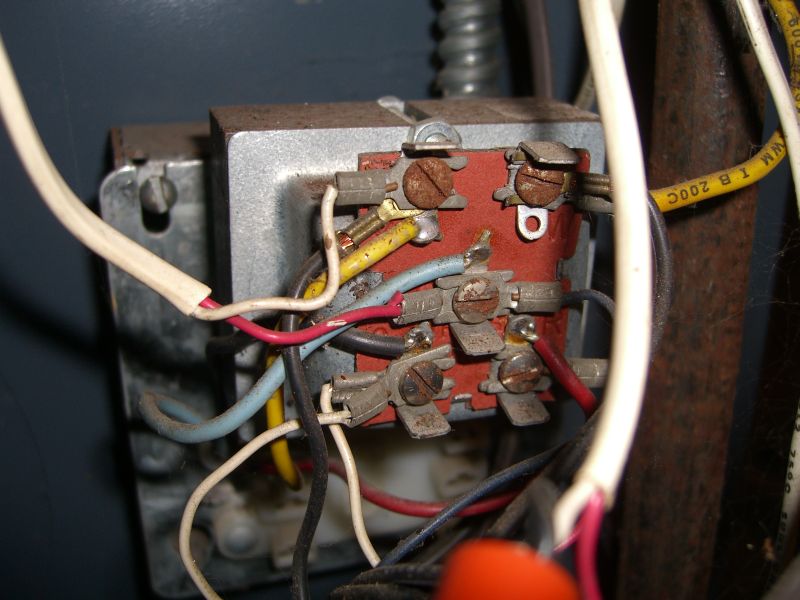
With the power already off, it was a simple(ish) matter of unscrewing the terminals where the red and white wires (from the bundle on the top left) ran. Some of the terminal labels were easy to see:


So much for that schedule…
The blog-updating one, not the house-working-on one. Apparently I didn’t make a single post while on vacation (surprise, surprise), so I’ll have to catch up … some other time. Meanwhile, let’s get the typing started again with, if nothing else, a not-very-elucidating list of things I did around the house today.
– husked the last of the walnuts
– raked the last of the leaves from the front and side yards
– plugged the couple of carpenter bee holes from last summer with that savior of old houses, Abatron
– created more tool hooks in the back room
More stuff later, as always.
Flora
Wow. Has it really been two months since I posted anything? The mini vacation I’m taking will give me a chance to catch you all up I’m sure. Meanwhile, here’s a little bit of what grows on three tenths of an acre (untended for a few years):
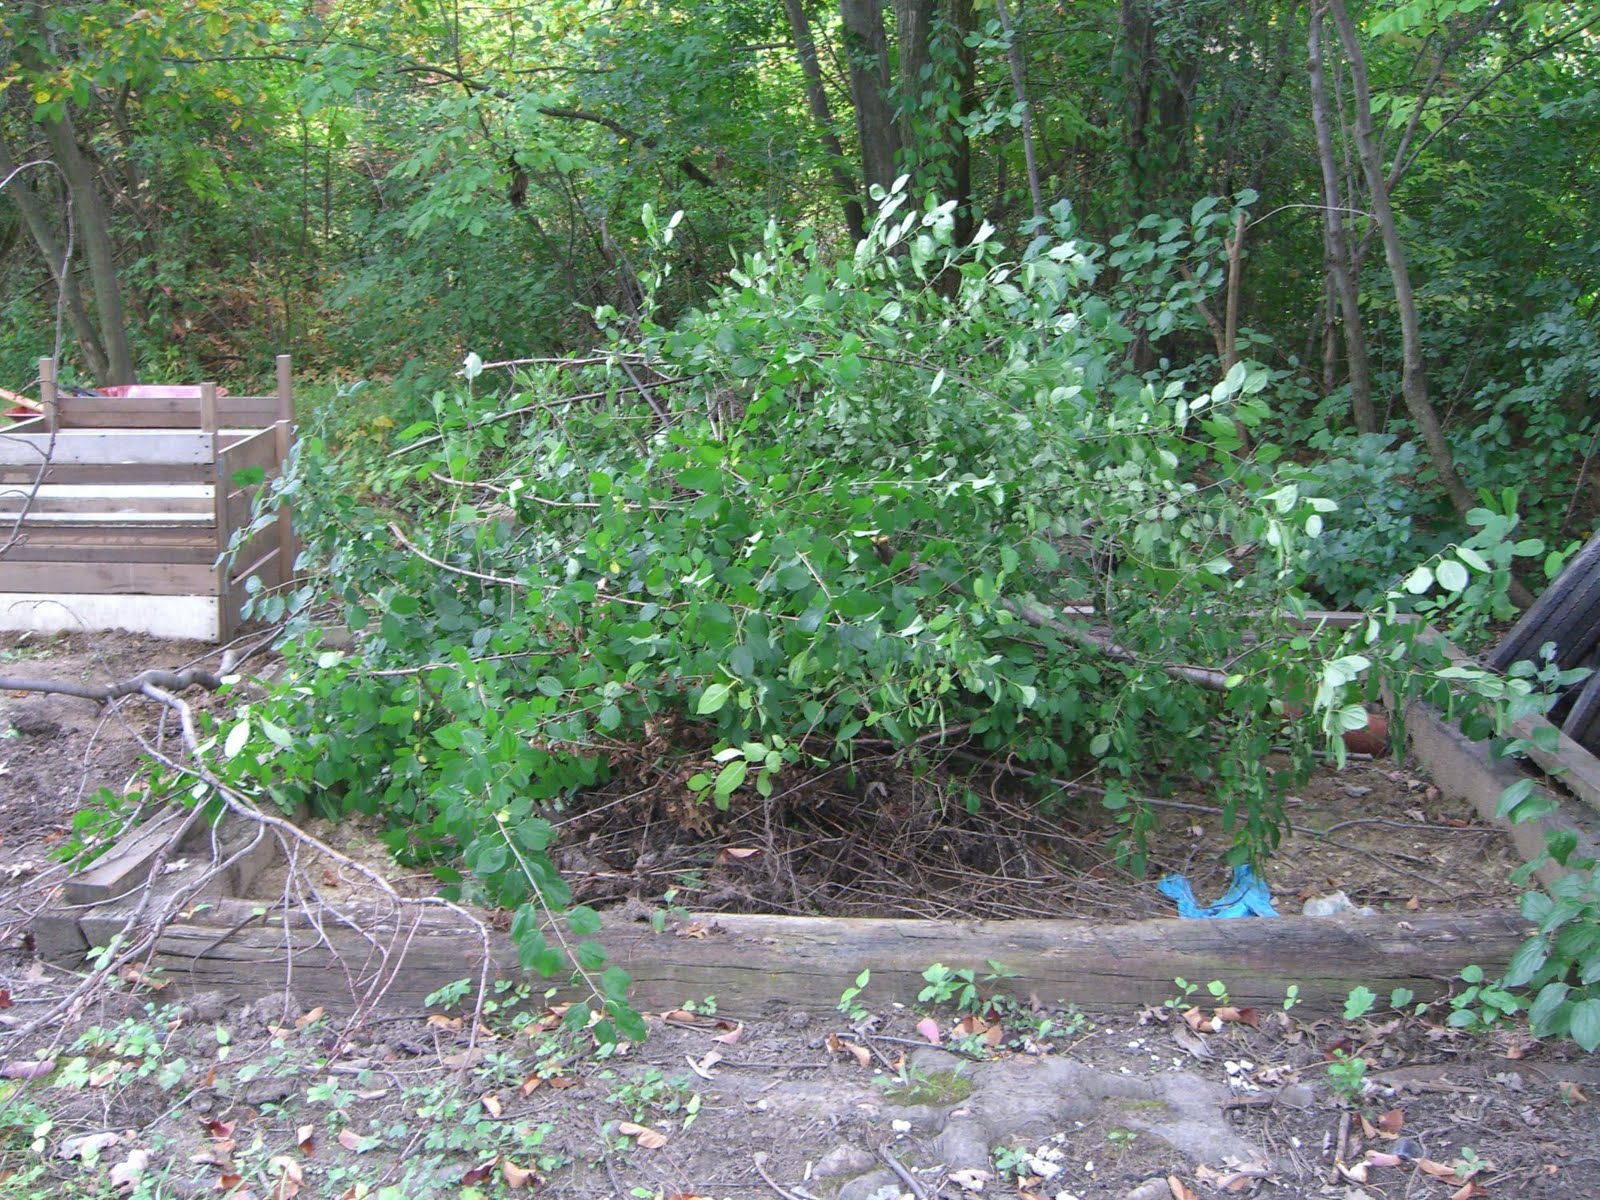
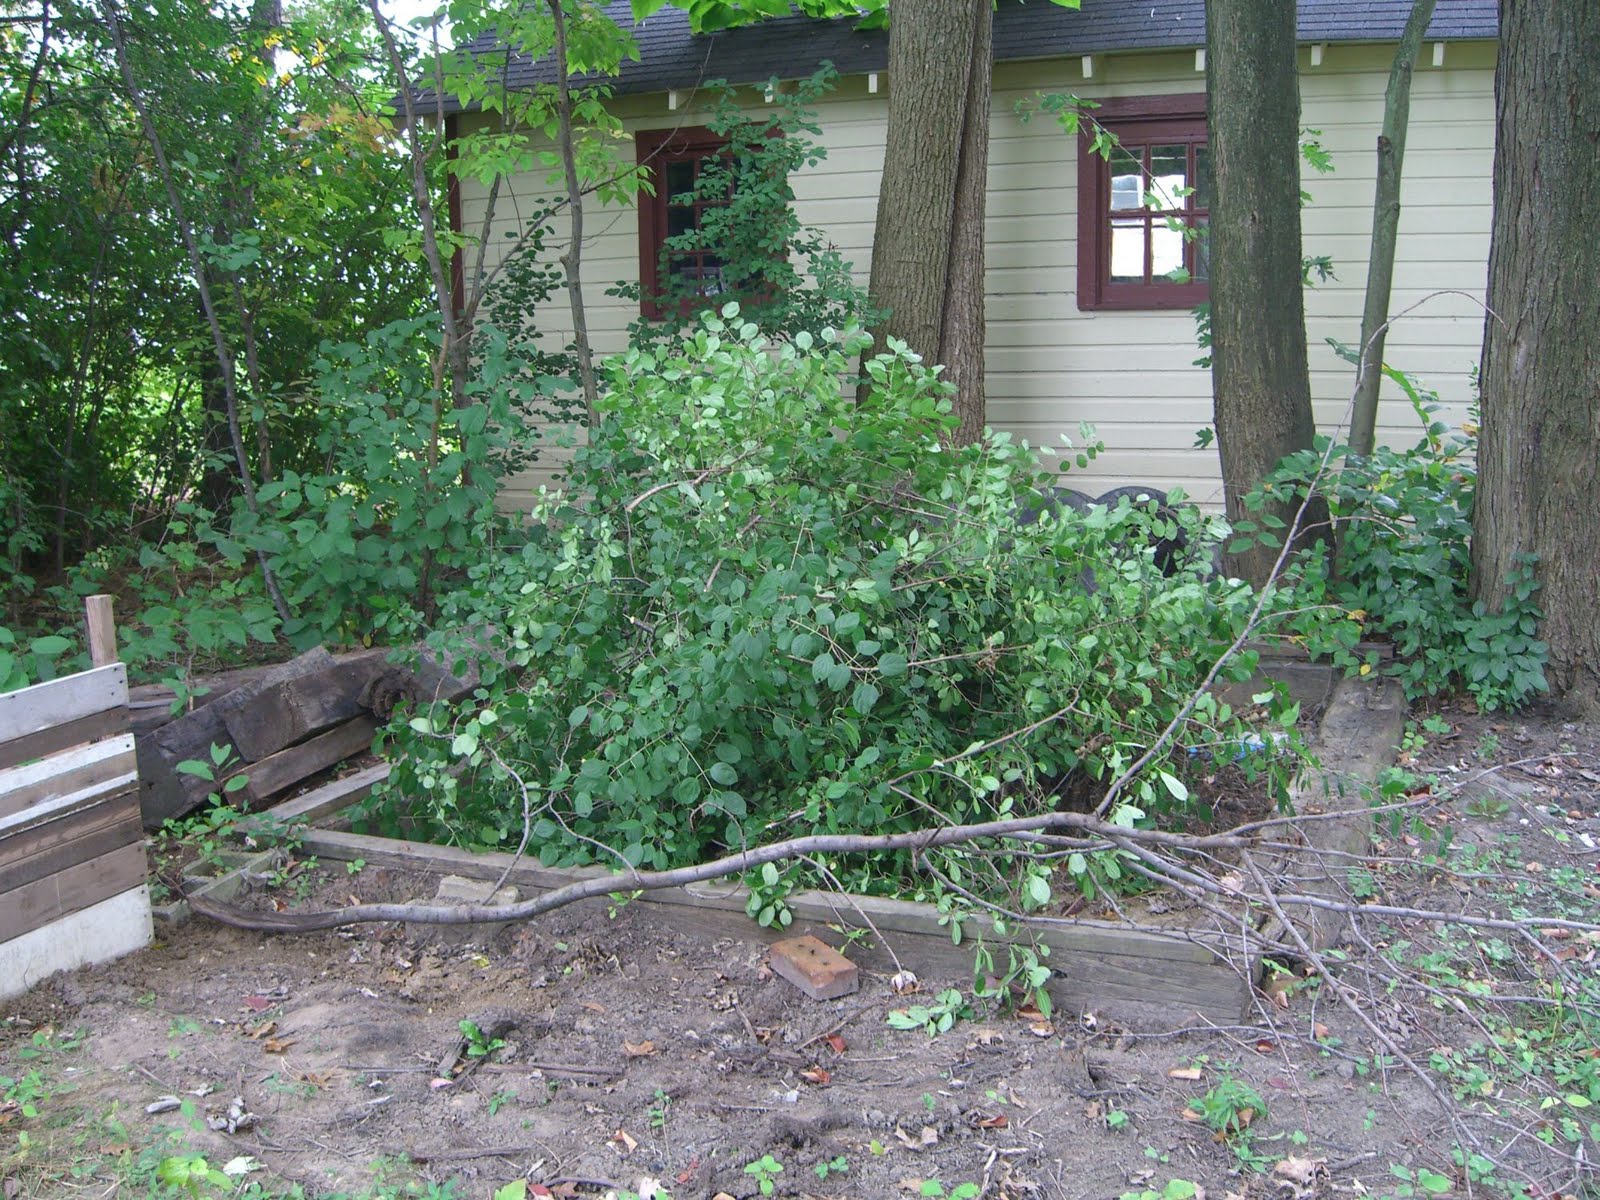 That’s a vast amount of buckthorn pulled out of the area around the old shed foundation. There’s some more on the west edge of the property, but I’m not going to deal with that until I decide what I’m planting over there.
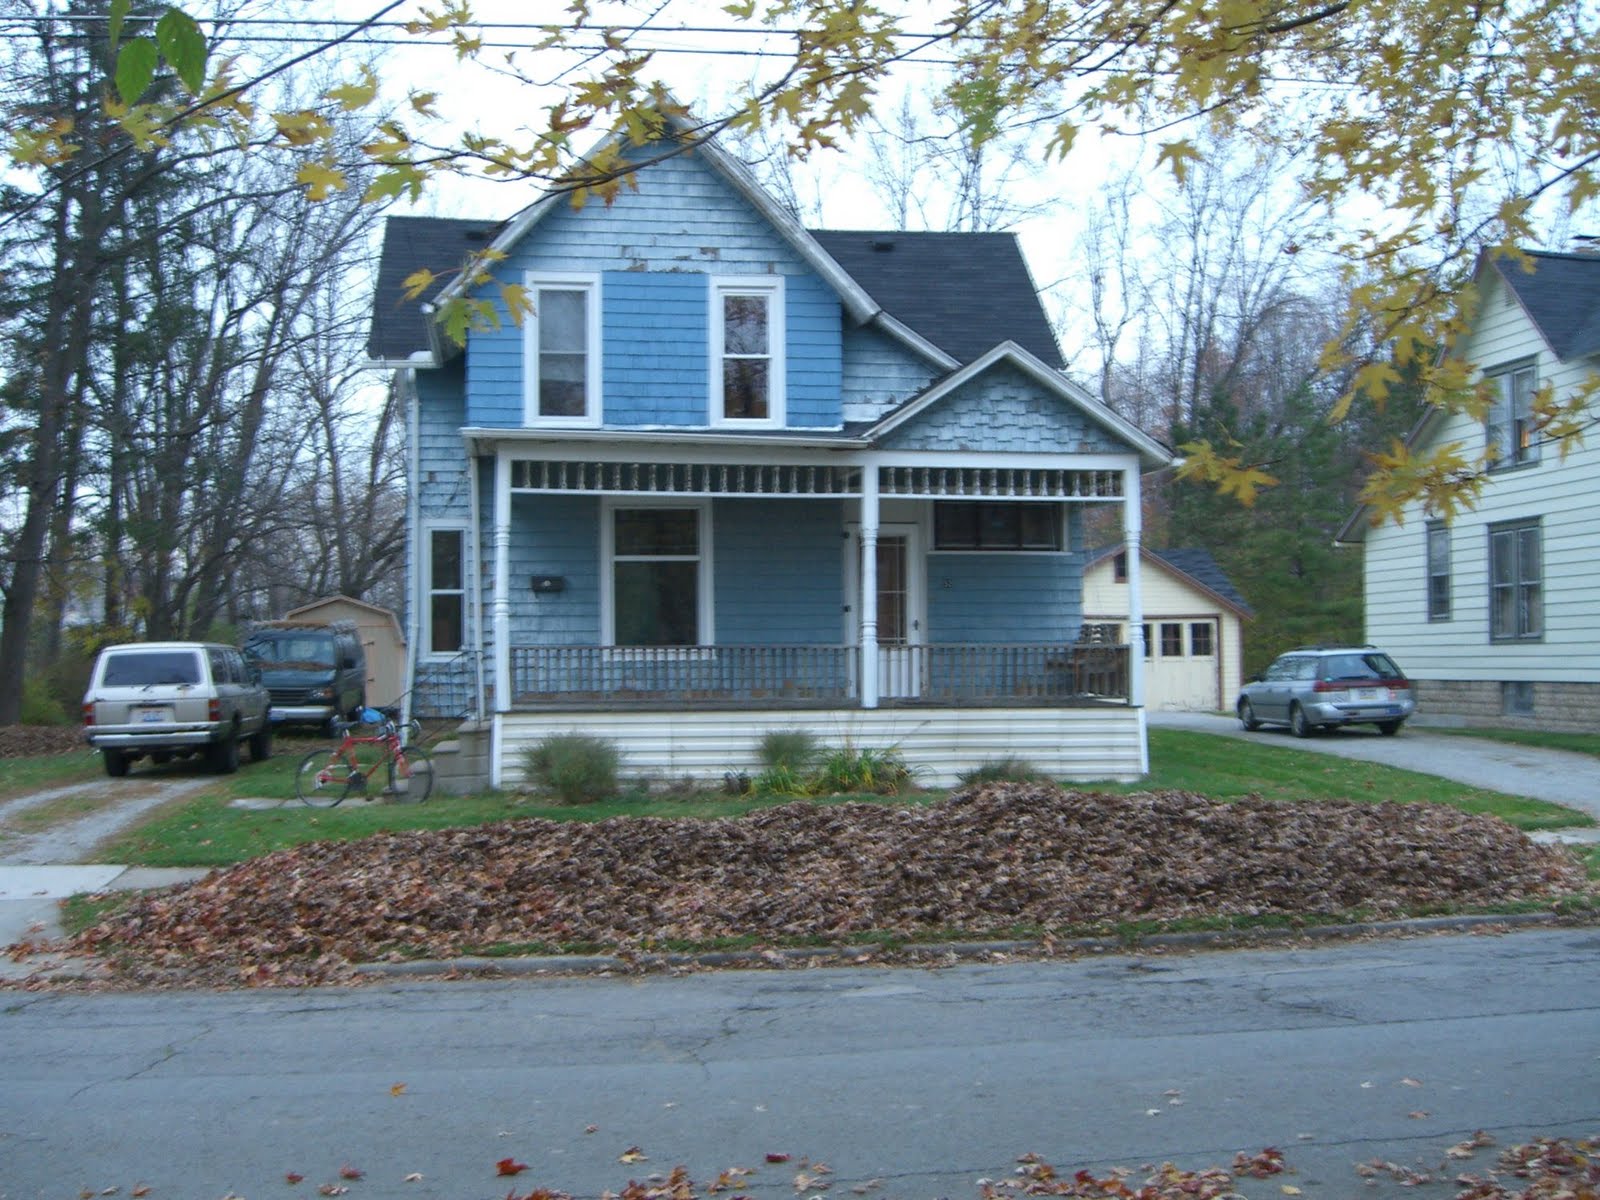
And here’s most of the leaves that fell in the yard. I know! This blog is just so scintillating sometimes:
Shelve it
The good news is I’m doing things around the house. The bad news is I’m doing many things around the house (as well as client work, the very start of ObieGame planning, and a campaign) so updates will probably be horribly behind going forward.
Yes, that made sense.
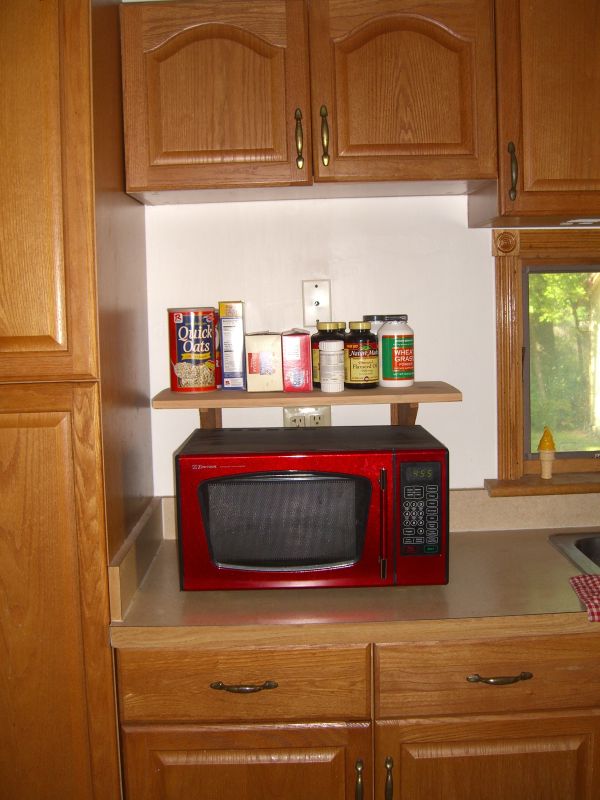
Here’s a project from the other week that, of course, was more involved than I expected. The newer cabinetry in the kitchen included a microwave shelf – handy, but it made the counter space in that area feel too cramped. I decided to pull it and put in a simple open shelf in its place.
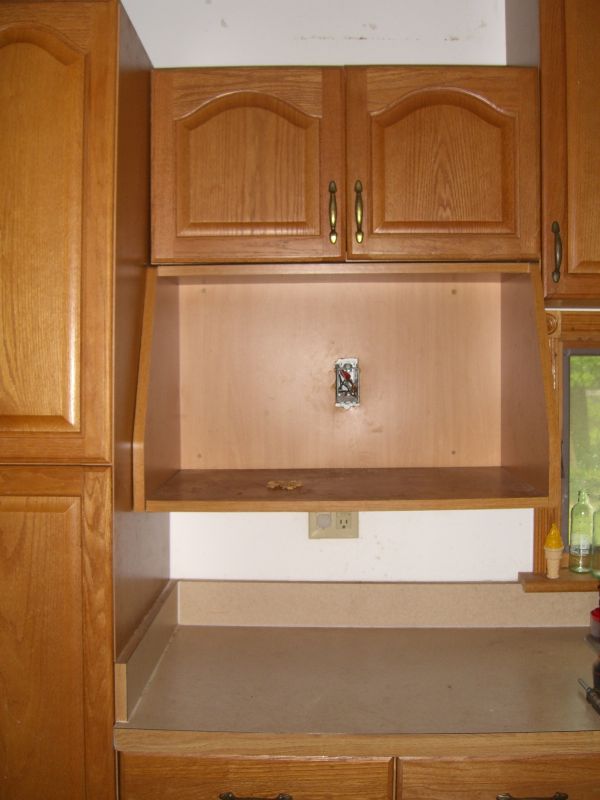 Taking it down was a little tricky. The shelf, and the cabinet above it, were screwed into a stud on one side, but didn’t line up with one on the other. They were mounted, as you do, by sandwiching screws with heads coming out the back of the units between two pieces of 3/4″ particle board screwed to the studs and into the wall with plastic anchors. I should have taken a picture for you, but the short of it was to get to this point:
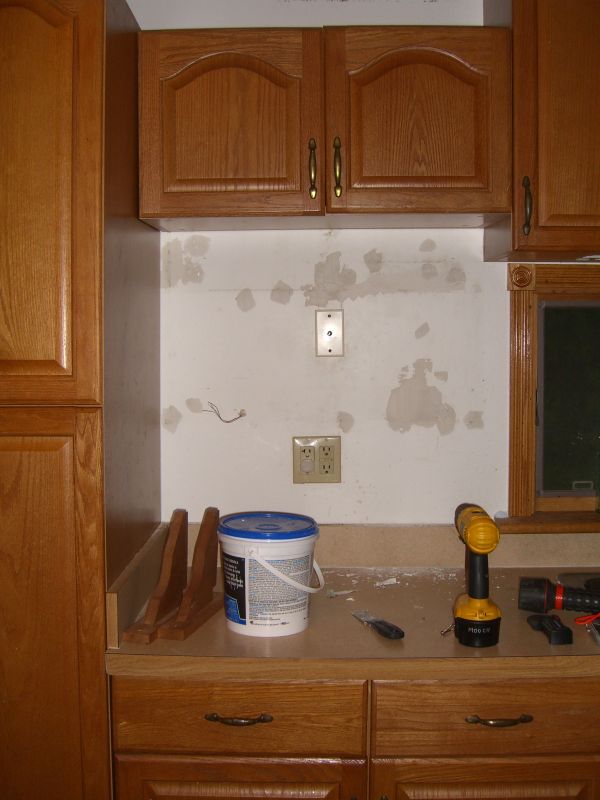 … took half an hour so the wall wasn’t damaged more than it needed to be. Some spackle in the screw holes and in scraped areas, a cover plate for the outlet I decided to remove, and we’re in good shape.
Oh, the outlet – it’s on the same circuit as the pair below, and it was real easy to deal with. Turn off the breaker, remove the faceplate, pull the outlet out of the box, unhook all wires – there will be many more than you’d expect since it’s in series – and simply attach all wires of the same color to each other (all blacks together, all grounds together, all whites together) making sure they’re capped and taped so the only exposed wire in the box is the ground (which should be pigtailed to the box still). Push the bundles back into the box and you’re done.
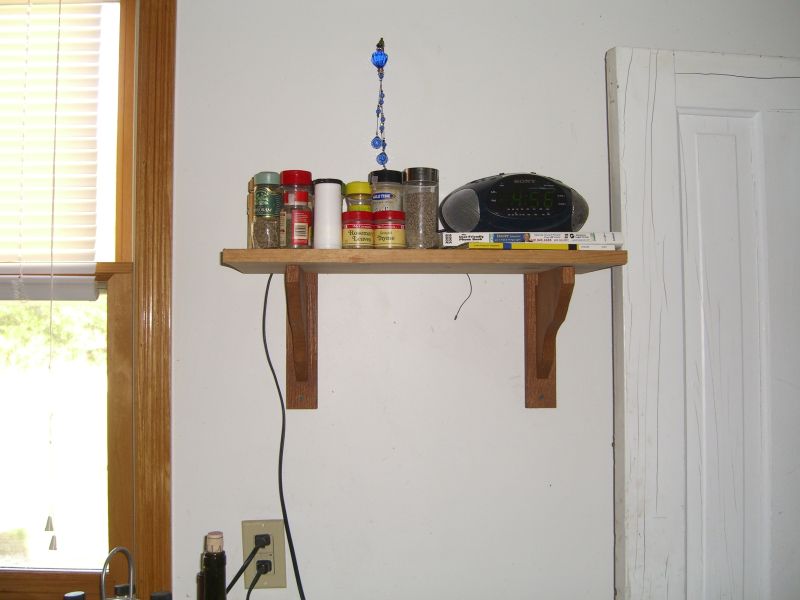
 Wall painted (thanks to Mike for hauling reclaimed remainders of a variety of useful products down from Michigan; I love freecycling) a nice plain white. The shelf supports are actually from my local garden supply store – the simple design stood out last summer when I wanted to install another simple shelf in the kitchen (see bottom of this entry). Both had to be mounted using plastic anchors into the drywall – this is one of the redone walls of the house so it has drywall over insulation as opposed to the heavy plaster and lathe elsewhere.
 The shelf is reclaimed pine from what looks like it was a shed shelf many years ago (there was a finish applied that had weathered in much the same way your wooden school desk might have looked, and faded bracket mount prints on one face). A half hour out back with the random orbit sander, and this thing looks pretty good, if I do say so myself. I may stain it at some point (installation involved one screw per support, so it’s pretty easy to take apart if need be).
No more parentheses. Here’s it’s sibling from last summer:
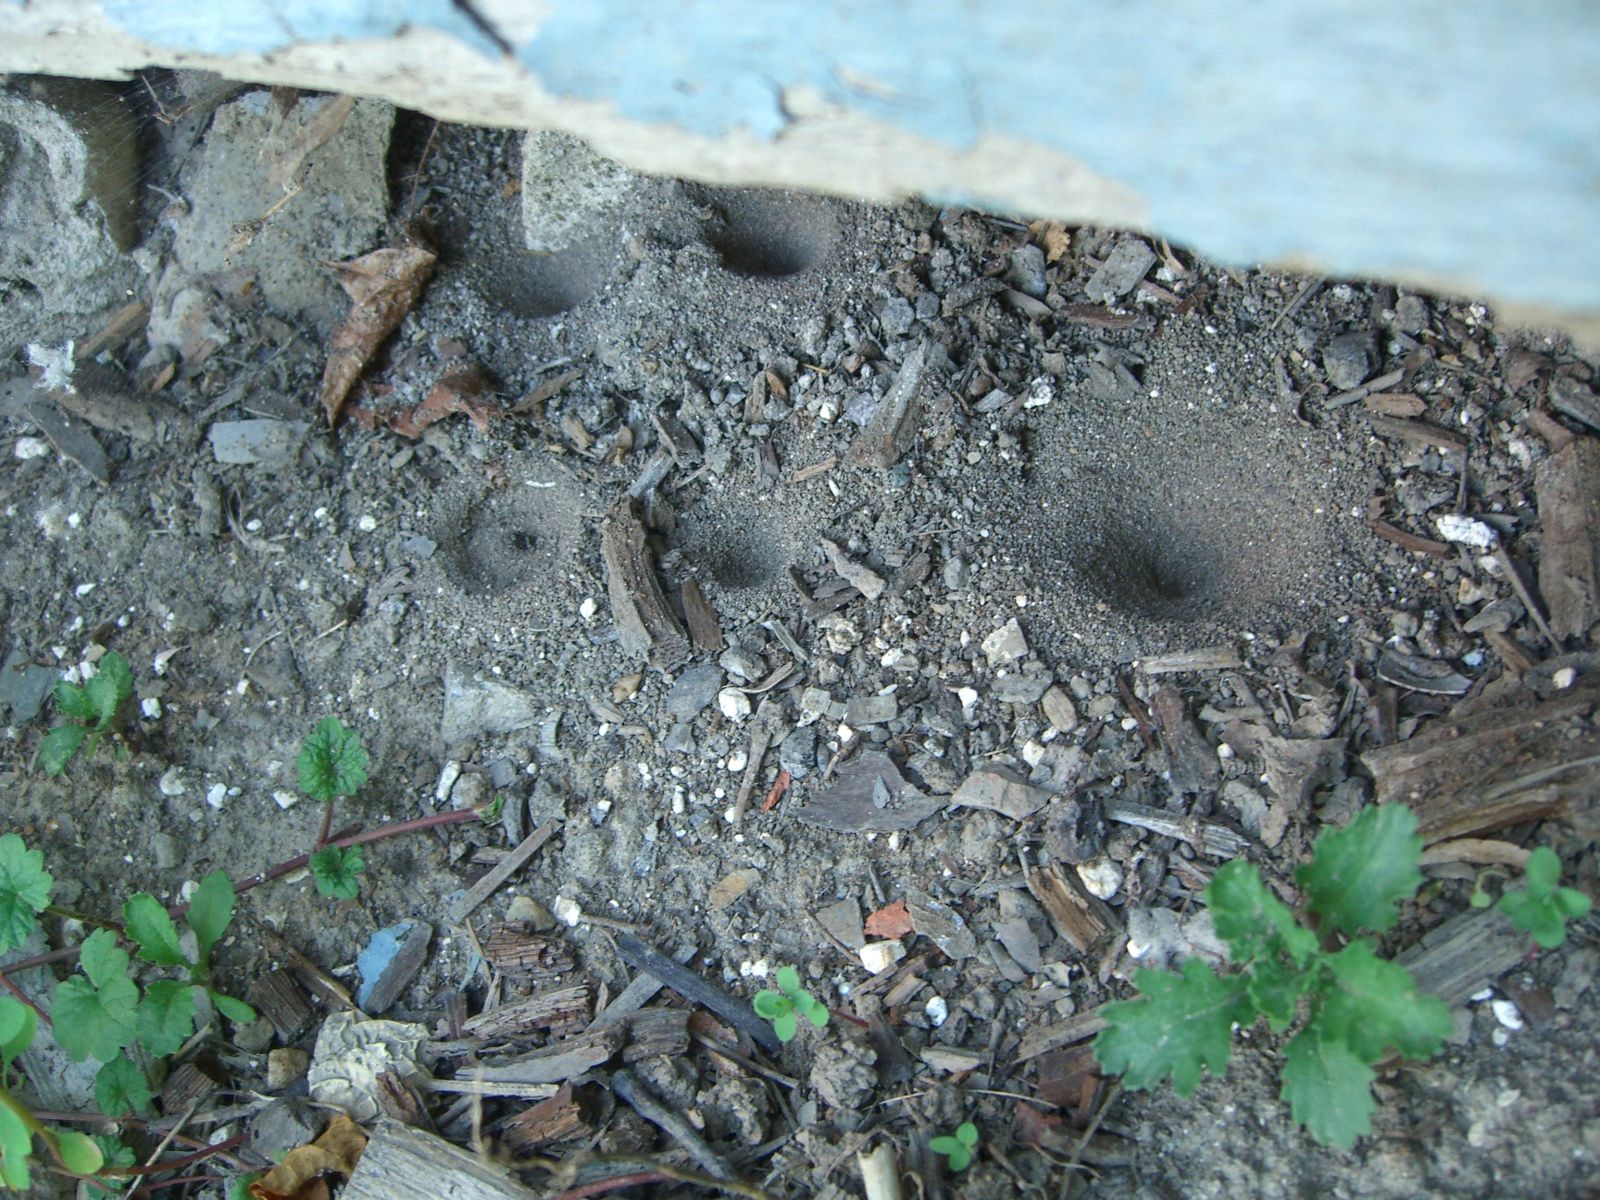
Can you identify these holes?
Posted by aaron in advice wanted on 2 September 2009
They’re by a section of wood that is largely rotted/eaten away and that is going to be replaced (I hope) in the next couple of weeks. Meanwhile, I’m dreading searching online and finding out that these are clear signs of a _______ invasion where _______ equals carnivorous and unkillable bugs from hell.

Pump piping
Loyal readers (hi Ezra!) will recall last summer’s adventure with my sump pump, and later issues with the hose getting tangled and once getting frozen. I said last year that I should just replace the hose with PVC piping – and now I’m finally getting to it.
First things first, turn everything off, pull the pump, and see if the pit can’t be dug a bit deeper. This will keep the water level lower in relation to the basement floor. I’d poked at this last year and thought the pit had a concrete bottom – meaning no digging. Upon closer inspection though, turns out there was just a LOT of accumulated silt…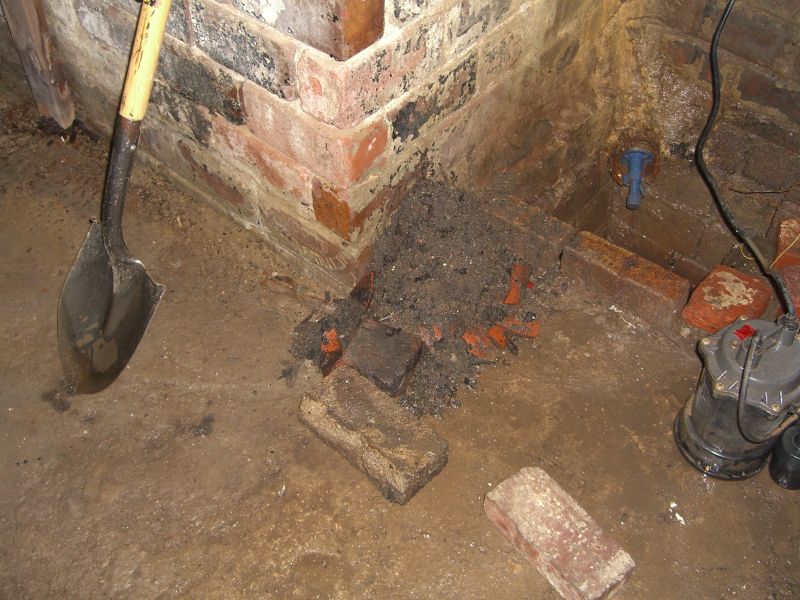 and two large bricks acting as a ledge on the dirt bottom (not pictured). Pull everything, dig some more, find two bricks of equal depth, place them carefully, lower sump pump. Now we’re getting somewhere.
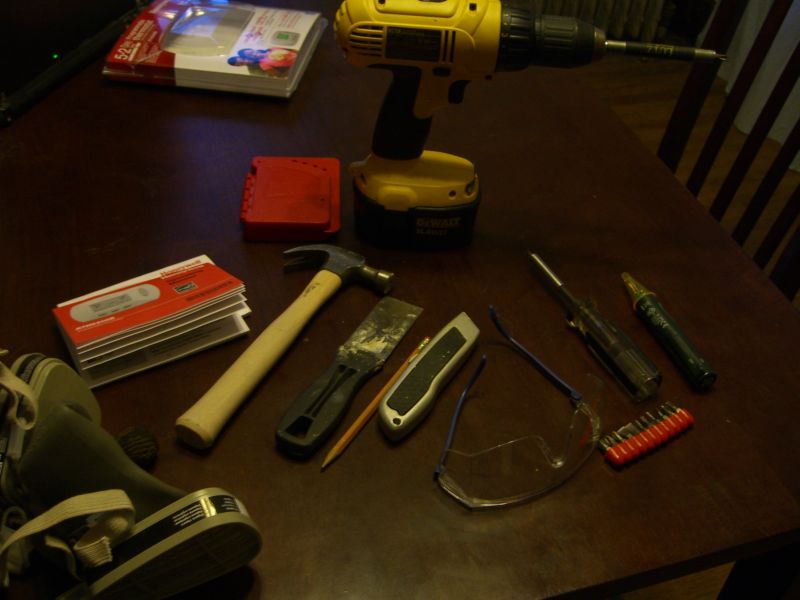
As usual, these project require way more tools and equipment than one might think. Ignore the caulk gun – that was actually for something else.
 Here came the fun part. The sump pump manual has a basic diagram for setting up piping. It calls for a roughly 15″ run of pipe running from the pump to the check valve (a one way valve, necessary to keep your pump from getting slammed over and over with water still in the pipes) with a small relief hole drilled into it; then the check valve, then a run of pipe to an elbow joint, then a run from the joint to the outside. This is actually fairly straightforward and should take about 15 minutes, cutting included, EXCEPT most check valves I’ve seen have one threaded end and one smooth end. I found it easier to buy a couple of connectors to make the whole system a) fit and b) be somewhat disassemble… able.
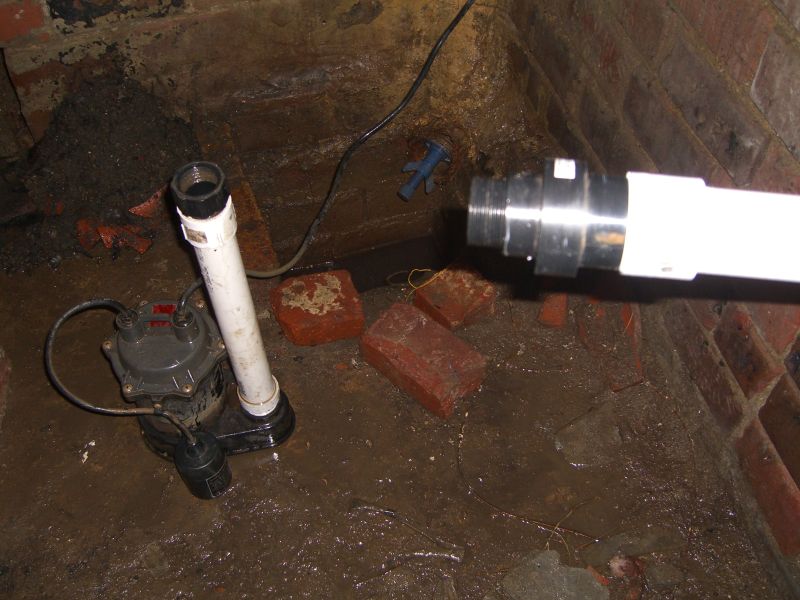 The above pic shows the end result. A male thread connector at the bottom going into the pump itself, cemented to the short run of PVC. Two different connectors (you might be able to do it with one, but this is what the hardware store had) ending up with a female thread end pointing up. The check valve will screw into this, and on its other end it’s cemented to the longer run of pipe with one last connector.
Yes, I did finish this project:
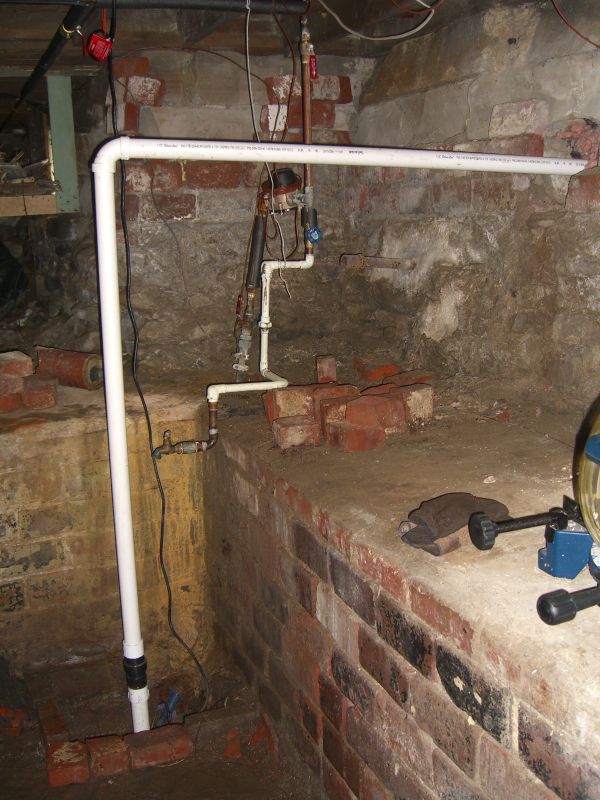 One last important note: I put PVC cement on everything at the bottom of this contraption since I knew how it would fit together. I held off on cementing the check valve to the pipe (which requires all-purpose cement, incidentally – the check valve is made out of a different kind of plastic) and on cementing the pipes at the top (the elbow joint) together so I could make sure the whole thing was placed correctly, allowed for a slant on the horizontal run (to reduce the chances of anything freezing closed this winter), etc. This was a good idea since I discovered that a couple of additional trims and refittings would reap benefit in the long-term. HOWEVER – I was measuring and refiguring and left this all fit together, but not cemented, overnight – and of course that night it rained. Even PVC fittings you have to wrench apart may not be snug enough to withstand repeated pushes of water against the joints – in other words, the following morning, the joint finally separated and water spilled onto the floor a couple of times. No big deal for my unfinished basement, but if you’re doing this project you might want to try and complete everything, including cementing, as soon as you can.
Baseboard – your key to not looking like a hovel
The previous owner had mostly redone the upstairs bathroom, but, among a few other things, hadn’t had the chance to install baseboard. While prepping the composite baseboard I was planning to install, I realized that there was no stud located at a convenient enough place to put a doorstop, giving me the opportunity to add a small architectural flourish:
 I suspect you could do the same thing with an already milled corner block or the like to directly match the profile of your baseboard, but making your own is pretty easy. A simple 45-degree mitre at the top edge will match most simpler baseboard styles. I cut this block about an inch taller than the surrounding baseboard.
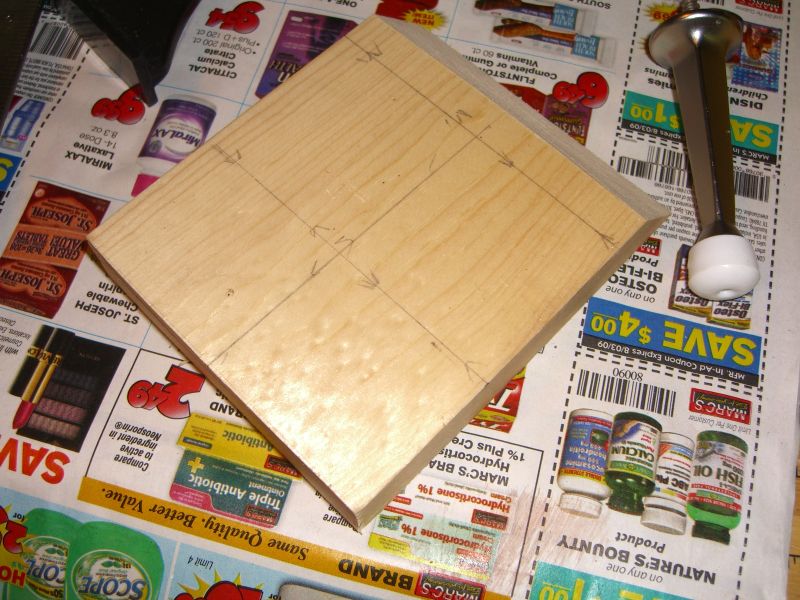
 Mark off and pre-drill for the doorstop itself.
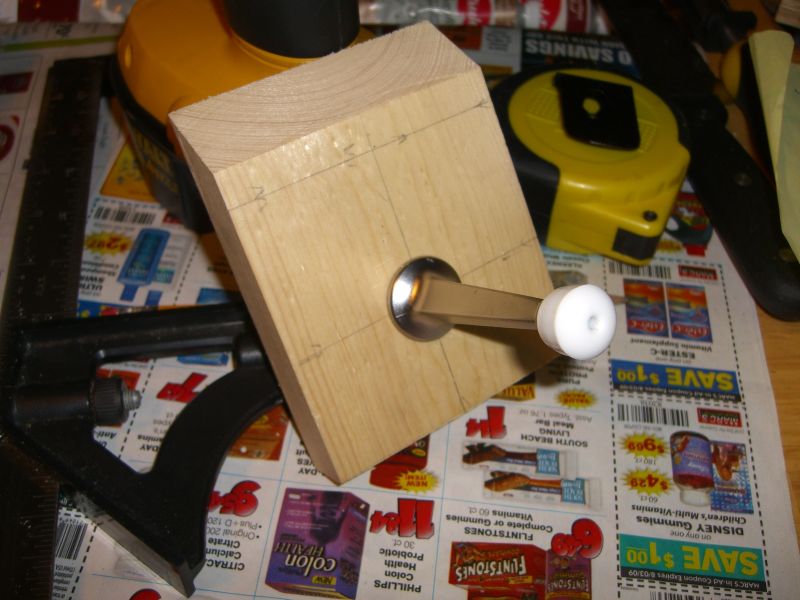 Testing to make sure it’s straight and centered. Remove the doorstop, paint, and voila:
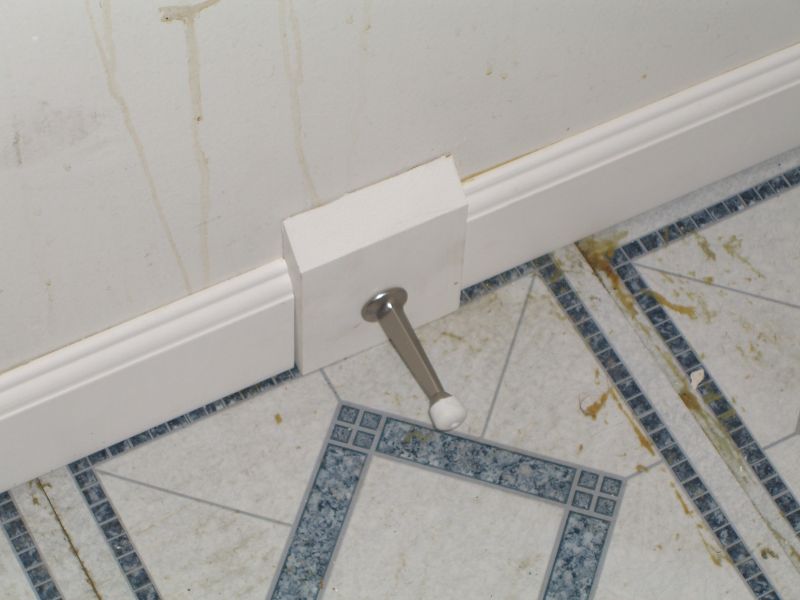 Ignore the lousy linoleum and odd spots on the wall, if you would. The entire bathroom will probably be redone in the next few years.
Jeepers…
 These trees are three stories tall. All of the brown leaves are (now dead) creeper vines. I was so busy with the summer theater festival back in July that I didn’t notice the massive infestation that was threatening to envelop the trees. Fortunately my dad was in town and pointed it out (thanks dad!) When I delved into the bush to find the main stem, it turned out to be a dual stemmed monstrosity about an inch thick. Heavy pruning shears did the trick, but not without a fight.
Let this be a lesson to us all – have your parents visit more often.
Why it took four weeks to get a porch swing
I have high hopes for building a porch swing from scratch one of these days, but the initial idea was to use wood from a black walnut in the backyard which a friend and I have yet to examine and see if it can be milled. Meanwhile, my neighbors tossed a broken porch swing a few months ago and I figured a rebuilt swing was better than no swing, at least until I carve my own swing straight from the raw timber of my land.
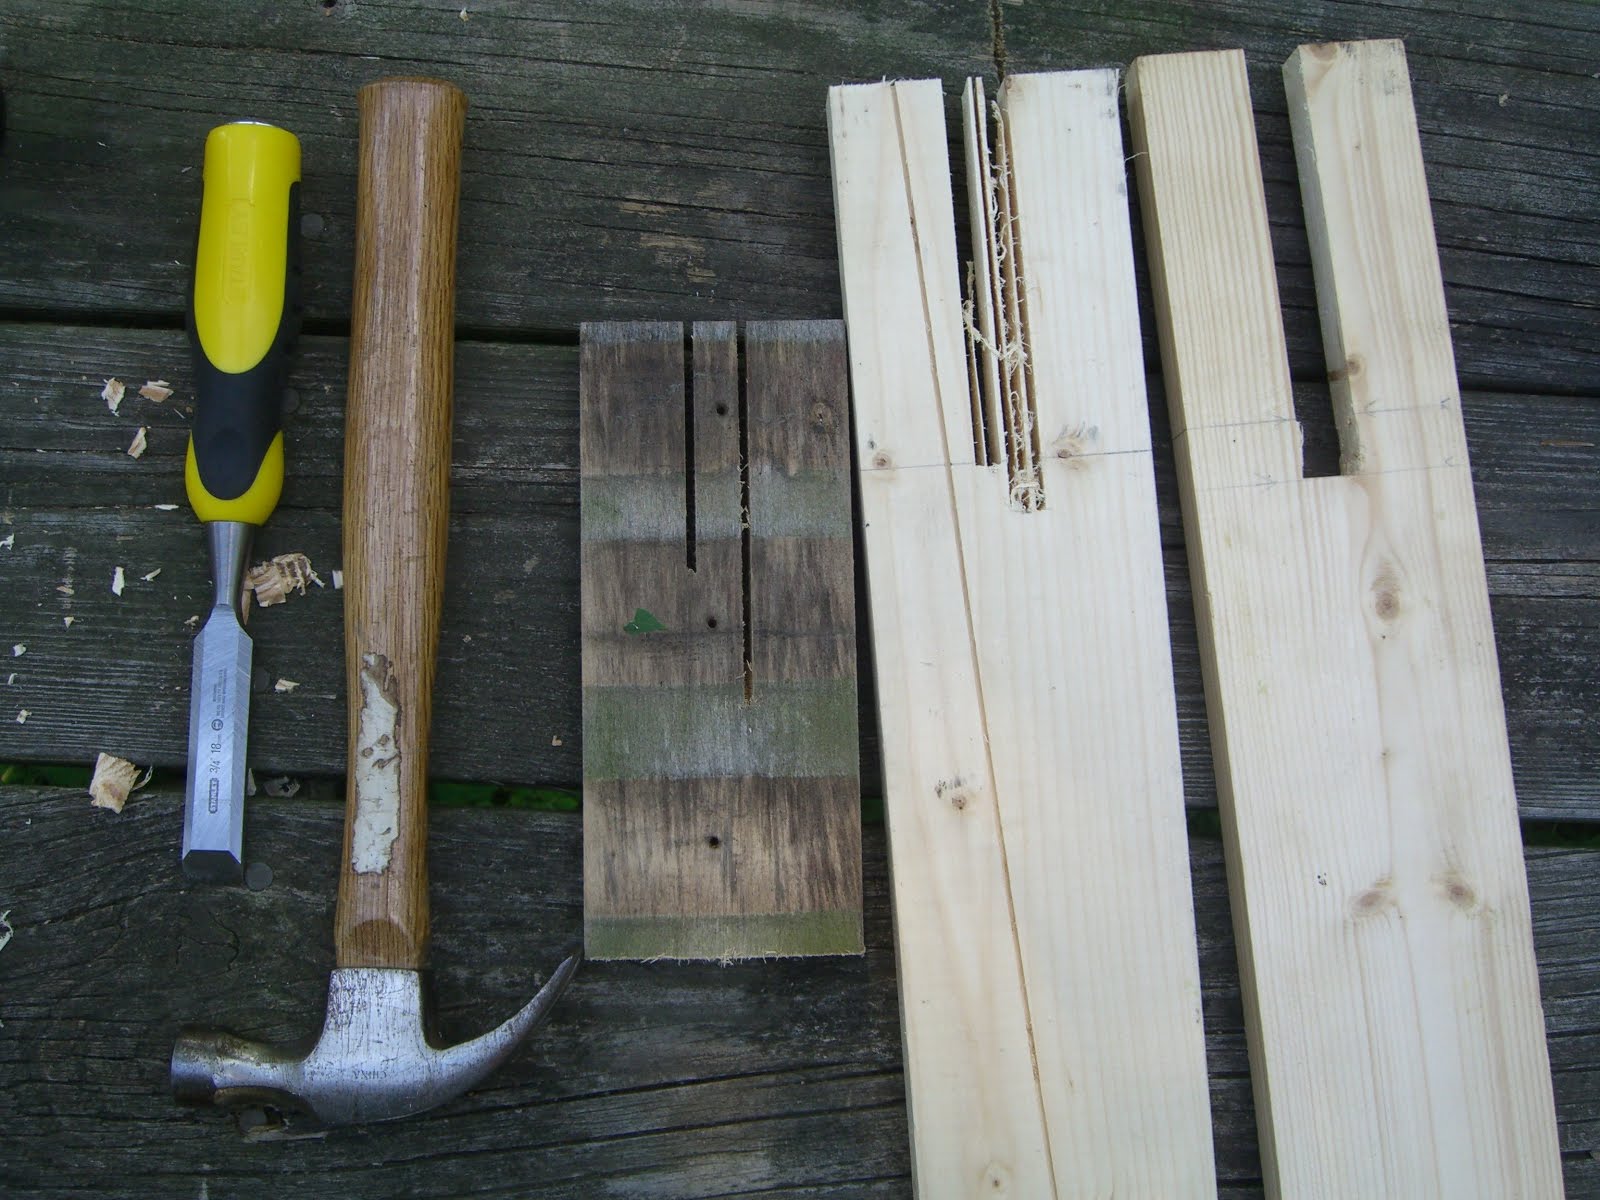
The swing is a bit old but in overall good shape save for the four cracked boards that connect the back of the seat to the bench: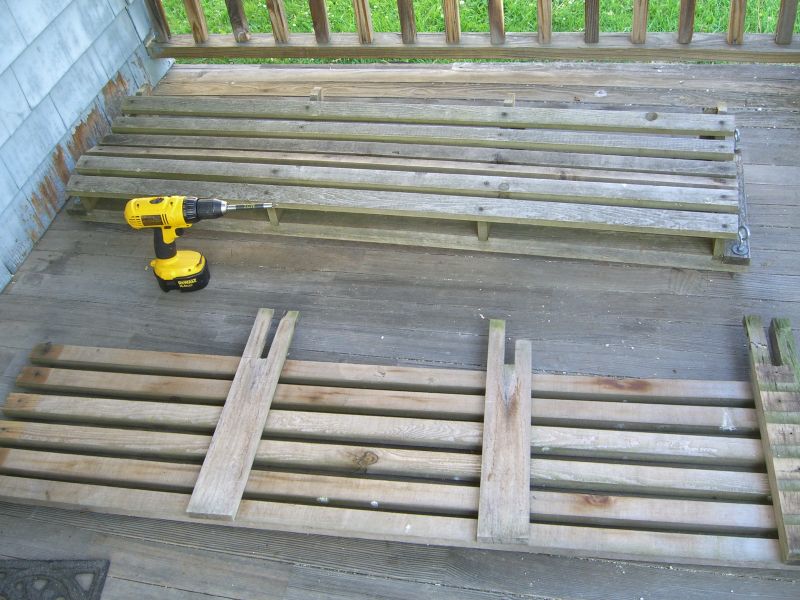
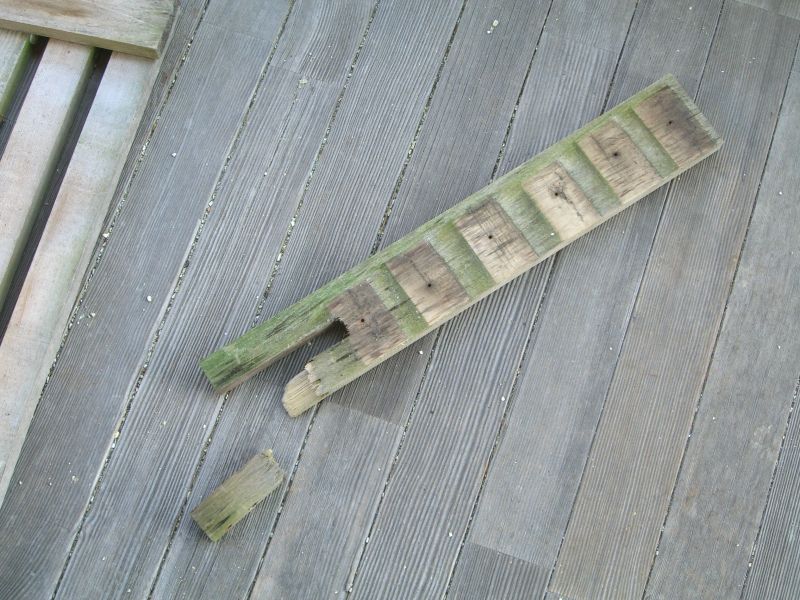
No problem, thought I – I have enough 1×4 (which is wider than the existing boards, but that’s not an issue) and I can even use my new dado blade set to easily carve the groove. Of course it wouldn’t be so simple. The arbor nut on the table saw didn’t want to budge, so I was forced to improvise using just the normal blade. I ran each board through multiple times, shifting the cut width to cut the outer edges of the groove and remove some of the wood in the middle, then used a chisel to clean everything out. The only tricky thing, really, is to remember that the blade will cut further on the underside of the board than on the top – I marked a second line further down the board to compensate and tell me when to stop.
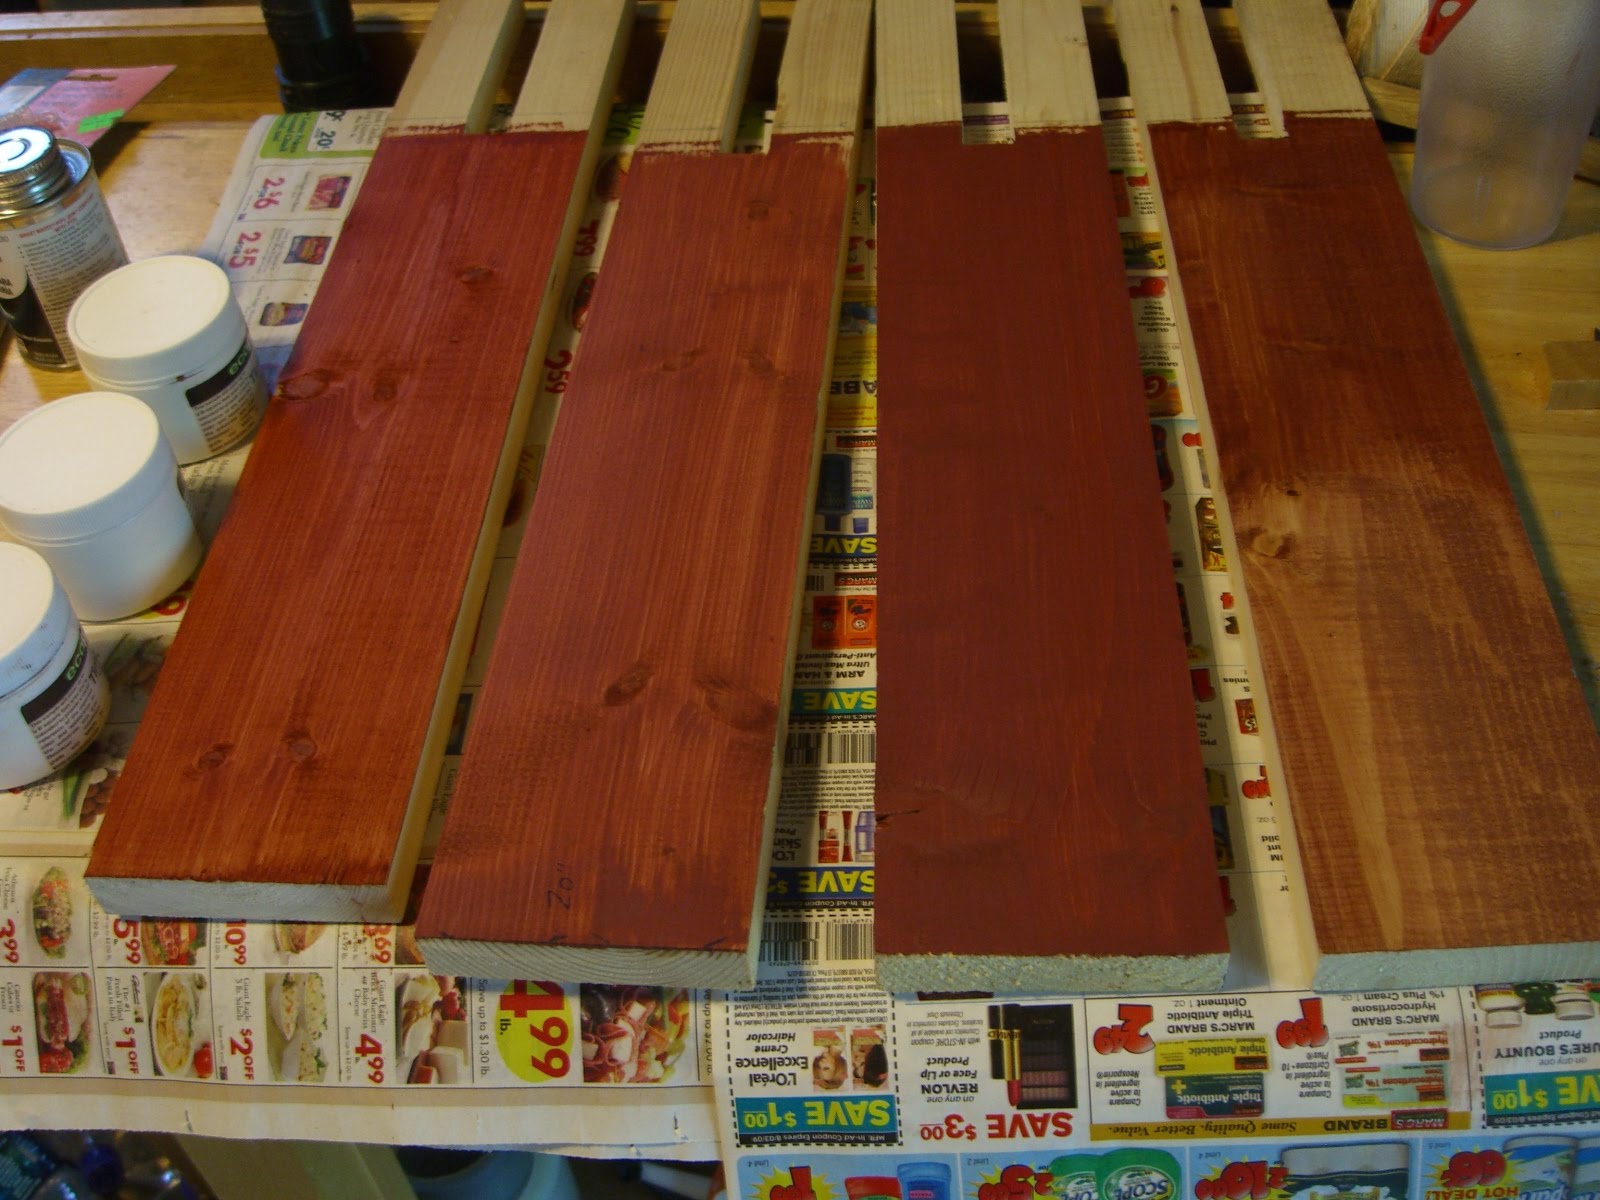
 Since this isn’t the ‘final’ porch swing for the house, I took the opportunity to test out some all-natural stain samples to see how they look, and how they weather:
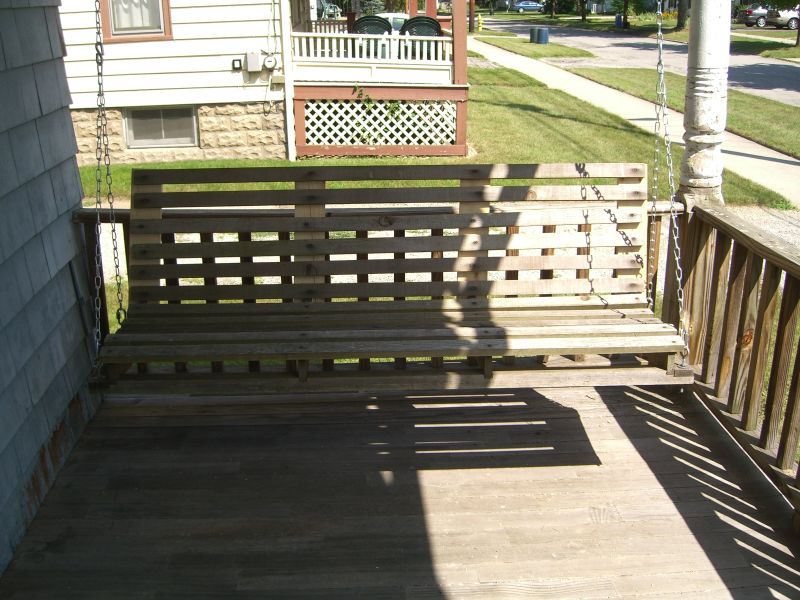
 Reassembly:
 And a porch swing chain set from Lowes:
 Now to paint the porch.