Posts Tagged medium
Quick fix
Posted by aaron in laundry room on 22 October 2008
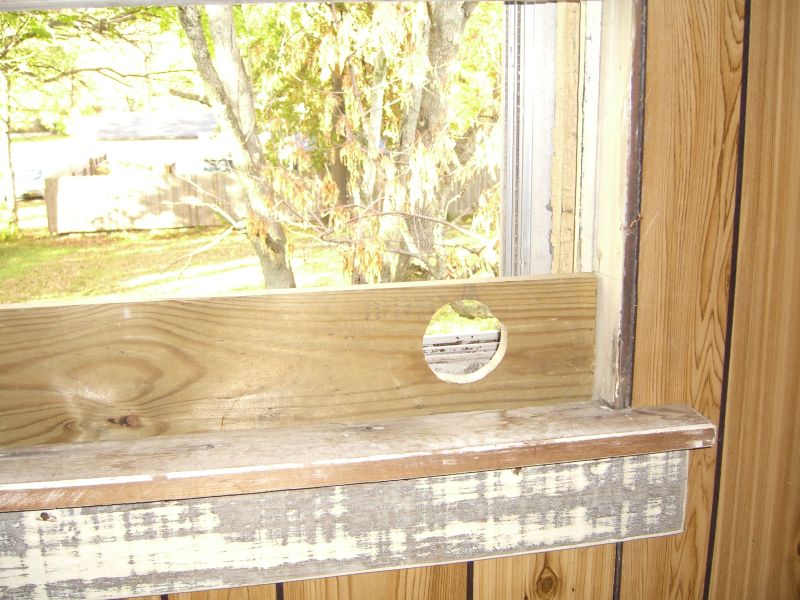
The dryer vent hose was just tucked in the back room’s partly open window, which made for a draft when it was in use. To vent it out without keeping the window open – and this is temporary until I decide if the washer and dryer are staying in this upstairs room, and if so where to put a vent in the wall – I built a quick… I don’t know what you’d call it, but it vents without keeping the window fully open. It’s just a board that runs the width of the window with a hole for an old vent pipe I salvaged. The dryer vent is just attached to the pipe with a screw-tight pipe clamp.
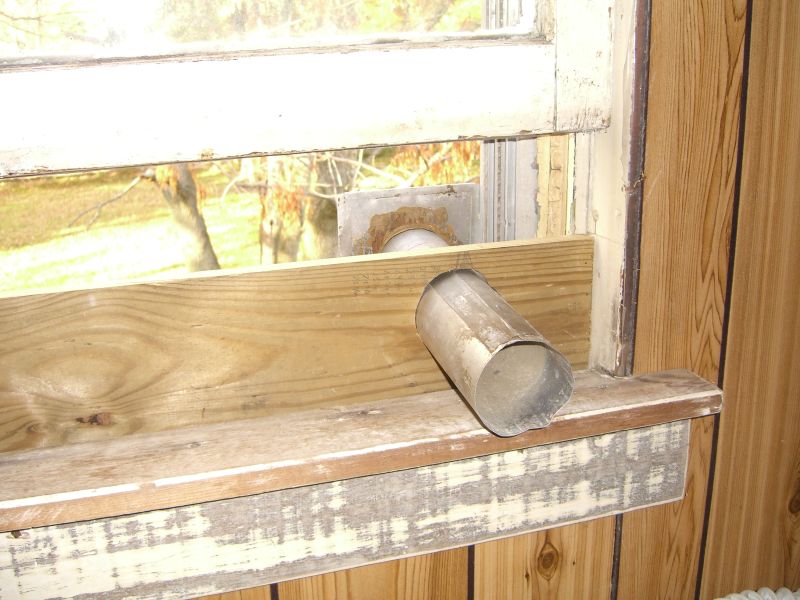
 Two adjustments were necessary. First, the window sash is very old and unevenly worn resulting in some gaps between the sash bottom and the board. I just ran a strip of self-adhesive weatherstripping foam along the board.
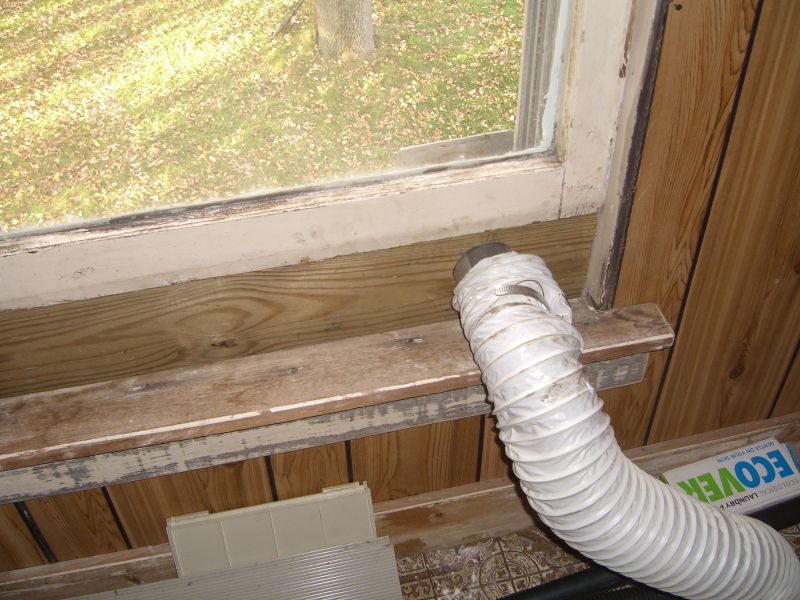
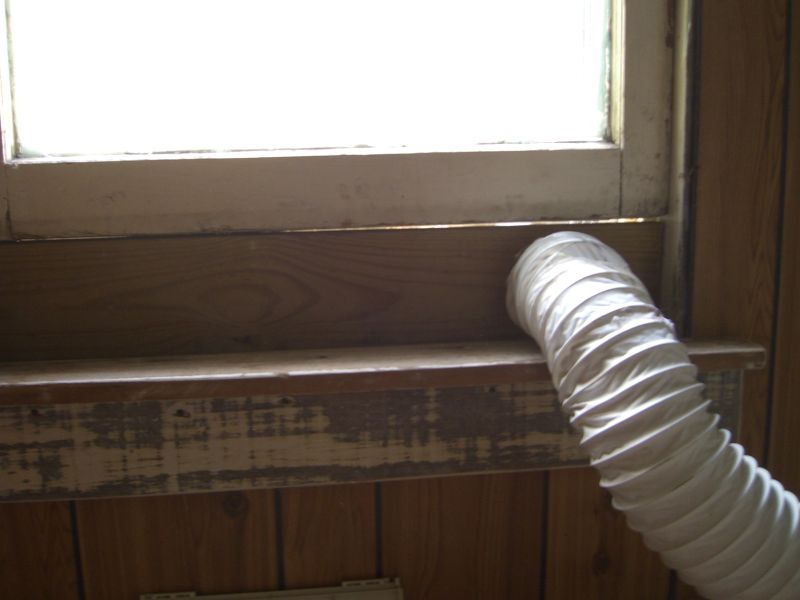
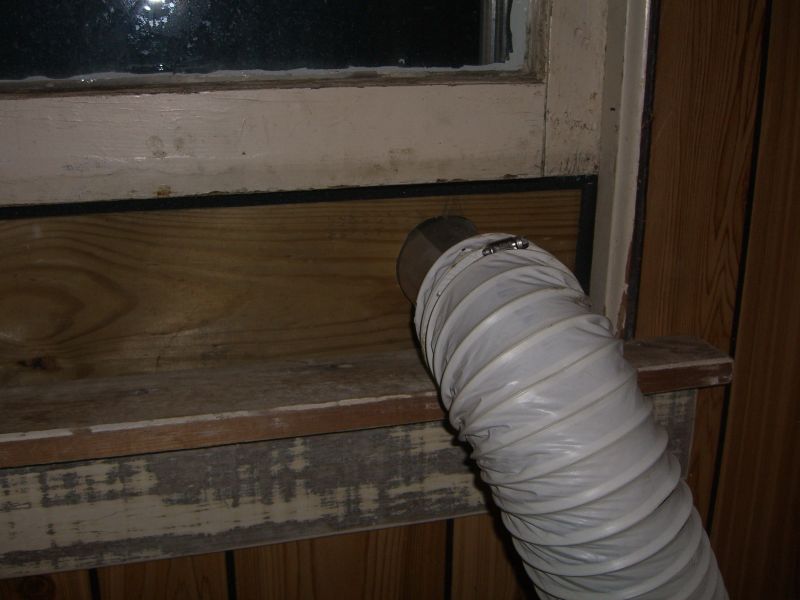 Second was the making the pipe clamp work – the vent hose is about 1.5″ wider in diameter than the old pipe to which it’s connected. Tightening the clamp would tear the hose and/or provide a bad seal. Again, the weatherstripping foam came into play – ran it around the pipe a couple of times to bulk up its diameter, then put the pipe clamp over that section and tightened down a little. Seems to be working fine – virtually no fog on the inside of the window so it appears all the air is going out the pipe as desired.
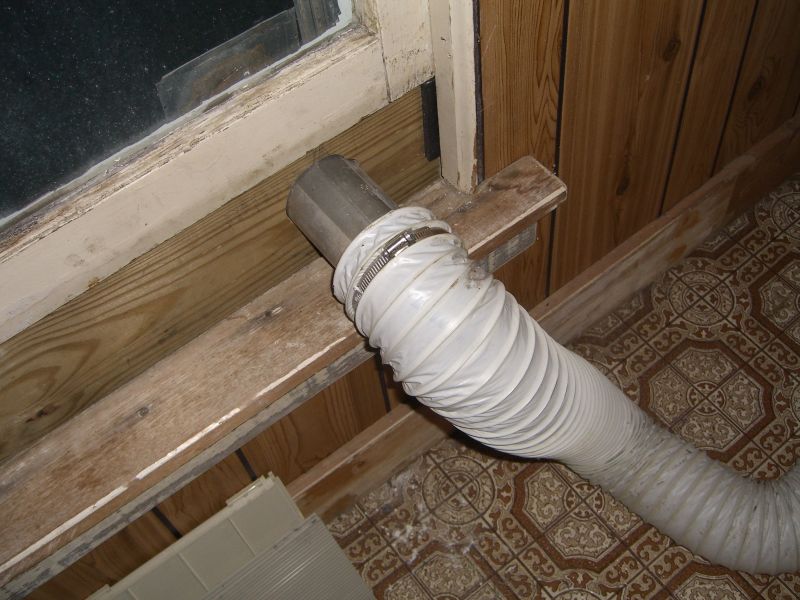 This still needs two minor things – some caulk or spray foam to plug the small holes between the pipe and the board hole; and some insulation between the glass panes to keep drafts from coming up since the window is still partly open.
Sunday
No more creative a title than that. Today was a productive continuation of yesterday – swapped some lightbulbs through the town lightbulb exchange (Oberlin College students and town residents can turn in incandescent lightbulbs and get CFLs instead – totally free thanks to a donation from an anonymous alum), took my new jigsaw out for a spin (pictures hopefully tomorrow when the rest of that project falls into place), and painted several windows. Most of the windows have pretty weathered sills and surrounds – it’s been a while since anyone painted the trim, let alone all the shingles. As long as the shingles aren’t loose, they should survive the winter regardless of paint. The trim on the other hand really needed a good seal – I’ll probably go over the sills and any rough spots with a second coat this week.
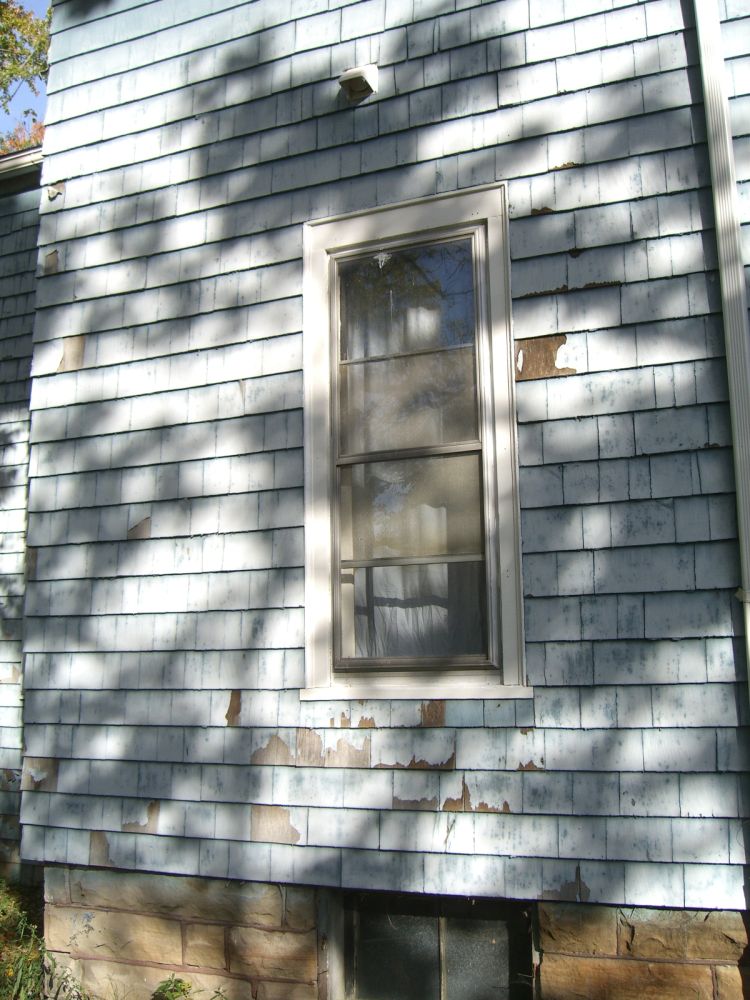 Once again I failed to take a before picture.
 Just pretend the trim looks like everything around it.
 Oh, and also mowed the front lawn – who wants to take bets that this won’t be the last time I’ll do that this year?
Excitement! Adventure! Explosions!
No, not really with the explosions. Actually, not really with the other two if you don’t find boiler maintenance to be exciting or adventurous.
The boiler’s water level sight was coated with rust and other sediment, so I took the opportunity to, as my neighbor Joe put it, get to know my heating system. Monroe’s Heating is right up 58 and Tim, the owner, was able to stop down today for a full cleaning and inspection. Gave me plenty of do-it-yourself pointers (including ‘clear out the sight glass like you’d do with a gun’ – a point not lost on this former Boy Scout, although it’s been almost 15 years since I’ve done that), spotted a couple of potential trouble spots and told me what to look for to know something has to be replaced, screwed everything back together, and headed off.
Minor snag though – he detached the wires powering the starter by hand to shut off the power (not recommended, but doable if you know where to grab and not grab – I always flip the breaker first, but then again I’ve been known to look both ways and still step into oncoming traffic) and thus was reattaching and capping live wires. I think one of them was loose as a result which kept the burners from kicking on when I turned up the thermostat this evening. Ten minutes with some electrical tape though and things are running fine.
Except for the last part of today’s adventure. Heat comes on, normal radiator noises, some of the abnormal radiator noises I’ve been meaning to address (see below) – and then a new noise from the radiator in my bedroom (which I could have sworn I turned off) which sounds suspiciously like water splashing on the floor. Somehow the valve had been turned upside down and had bled out a good half cup of water. Fortunately I caught it and mopped everything up before it could damage anything.
What all this means is that I’ve just added a significant (in terms of time) project to my Project Weekend – getting all the radiators in shape. I’ve been hearing some bad whistling on the downstairs radiators and have been meaning to clean them out – you can literally screw apart the valve and tap/blow out most blockages, and vinegar and hot water works for anything worse. The color of the water on my bedroom floor tells me that there are probably deeper clogs in each unit, which means putting some vinegar into the boiler* and doing some brush and wire work on the inside where the valve screws in. A couple of units also have excessive sloshing sounds, meaning I should level them to make sure water runs all the way back out and down to the return piping. After all that I should still bleed each radiator before winter, but pulling the valves to clean them technically overbled them. This will probably be a two-part project, then. 1) Clean the valves and level the radiators to eliminate unwanted noises; 2) Let the boiler push air and water back into all the radiators, then go through and bleed as necessary to ensure even heating.
*Careful with this if you have a boiler system of your own. It’s not caustic, but it can still do damage. Plus my system is a pretty simple steam system – yours may not like the home remedy approach (assuming you have an annual professional checkup anyway your boiler company should be able to tell you the risks and benefits). Moreover, and here’s the ‘planning’ part of all this – if you’ve ever cleaned out an iron by putting vinegar in the tank, you know what steamed vinegar smells like; not bad, but not what you want around your house all day. You’ll need to leave windows open to let the smell dissapate – shouldn’t take long, but unless this weekend’s temperatures get back to the 60s, the vinegar treatment may have to wait ’till spring at my place.
With friends like these…
I should have more people over more regularly. It’s not just the multi-person projects that get done (painting part of one of the exterior walls, for example), something about having other people around gets me more active, to the point that I’ll swap a couple of mismatched cabinet handles in the kitchen (that I’ve been staring at for months) while we’re all standing around and chatting.
Sarah and Mike stopped over today and we did the above plus: mapped out shed dimensions to make sure I’m placing it well; installed a new jack in the basement to replace one that was missing (!); moved all the tree limbs that came down in the storm the other week to the front for city pickup; and I just put some plumbers tape on a valve in the upstairs shower to stop a small drip.
Pictures soon.
No longer a hole in the wall
Readers may remember the section of wall in the back bedroom that needed repair and how locating a plug to match the old 1/4″ wallboard was proving difficult. I decided to just break out the plaster down to the lathe and plug it with drywall instead.
Fortunately I don’t think there are other sections of plaster/wallboard that are cracked and buckling, so I shouldn’t have to do this – or something smarter – again soon.
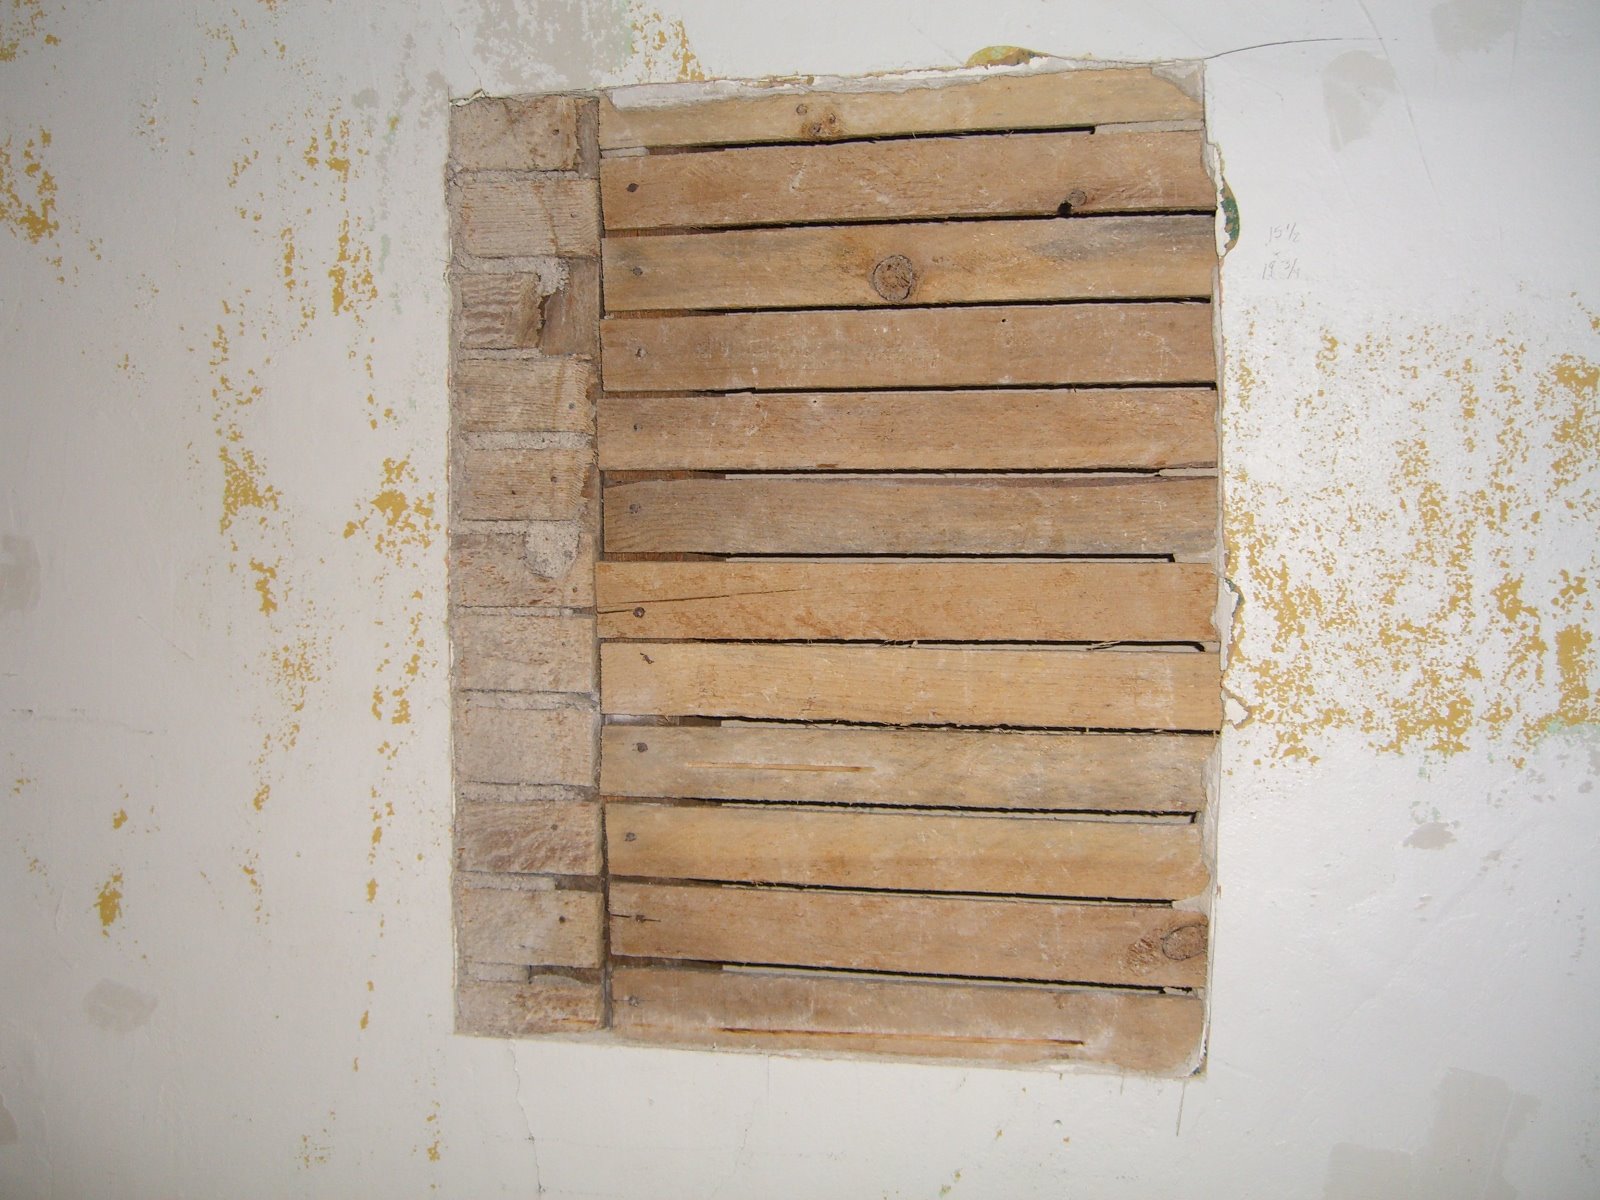 This section of wall was clearly redone at some point – we’re talking 40+ years ago no real idea if there was a door or different wall there, or if there was damage repaired, or what. If anyone knows when they stopped using horse-hair plaster (which covered the lathe on the left side) and started using the more uniform plaster (used to cover the right), that might give me a sense of whether this remodeling was connected to the back addition (circa 1920) or something else.
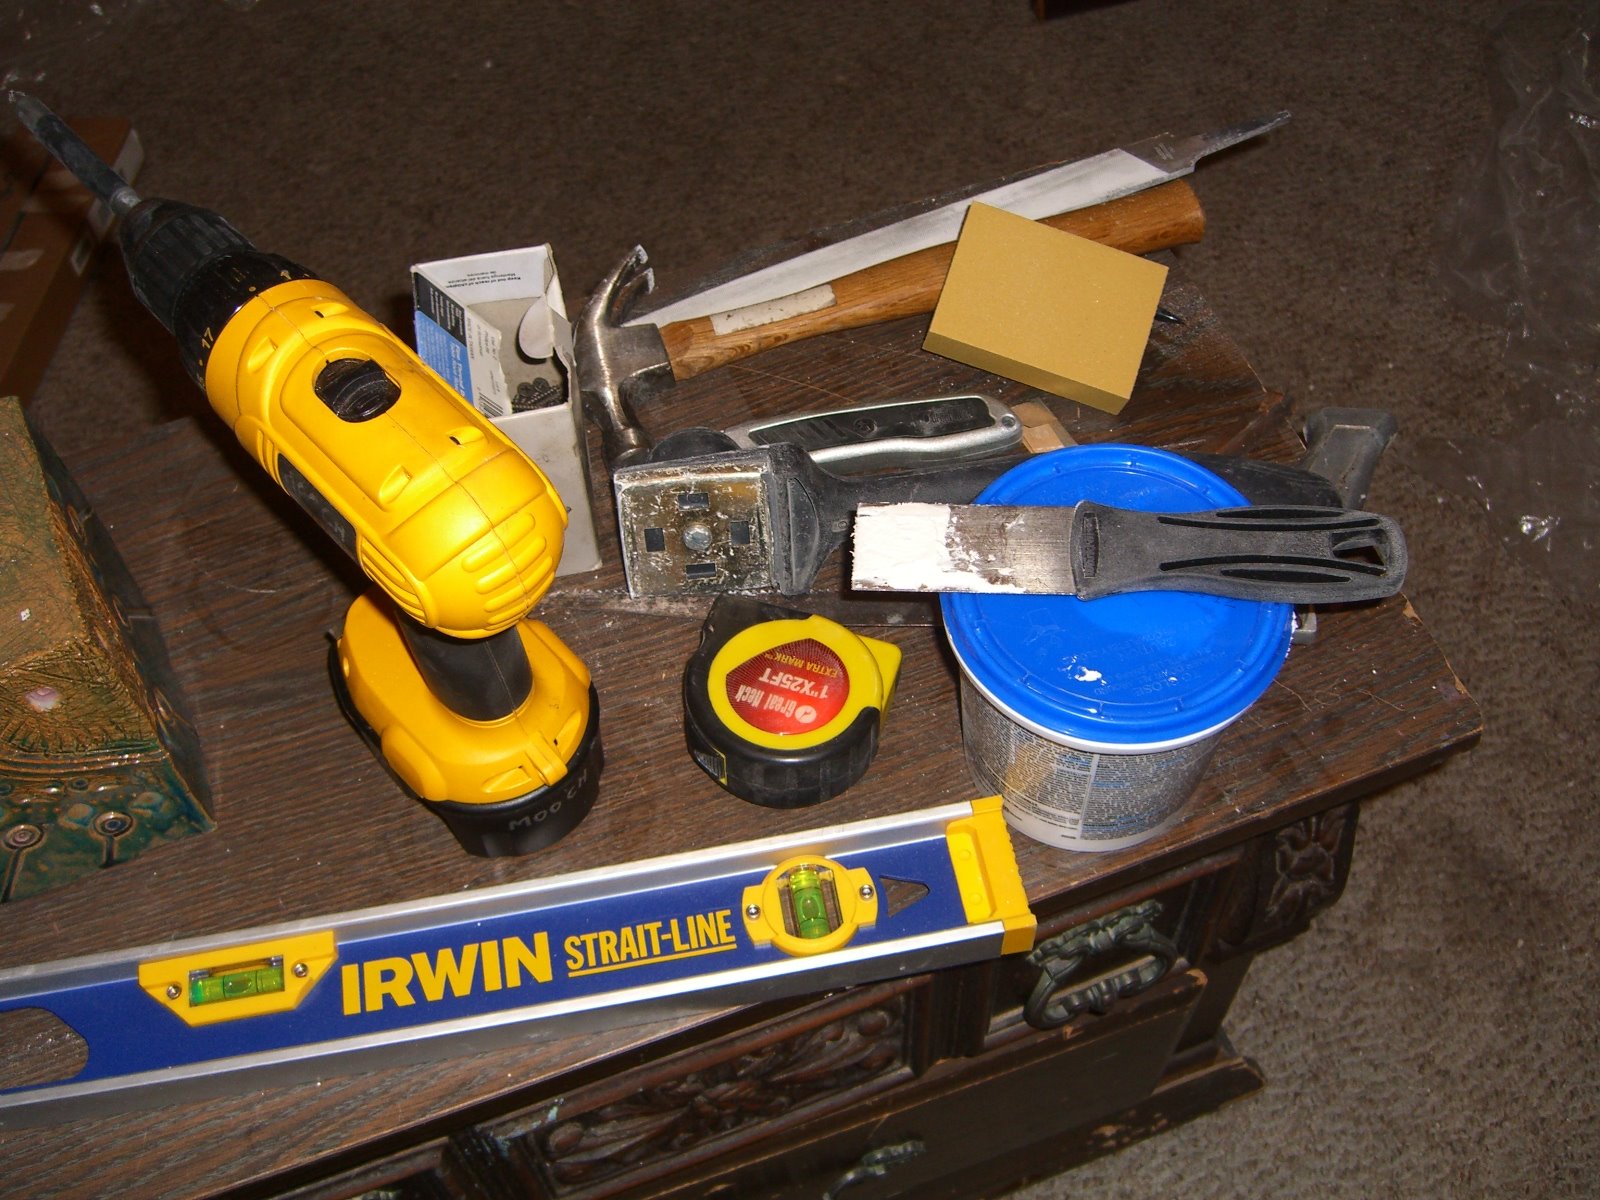
 In any event, clearing just this section of plaster(s) was an adventure, involving all the tools below plus an aborted attempt to use a circ saw. The ‘newer’ plaster was very disinterested in budging, which I suppose bodes well for the long term integrity of the house, but sucks for me trying to get this done in a day.
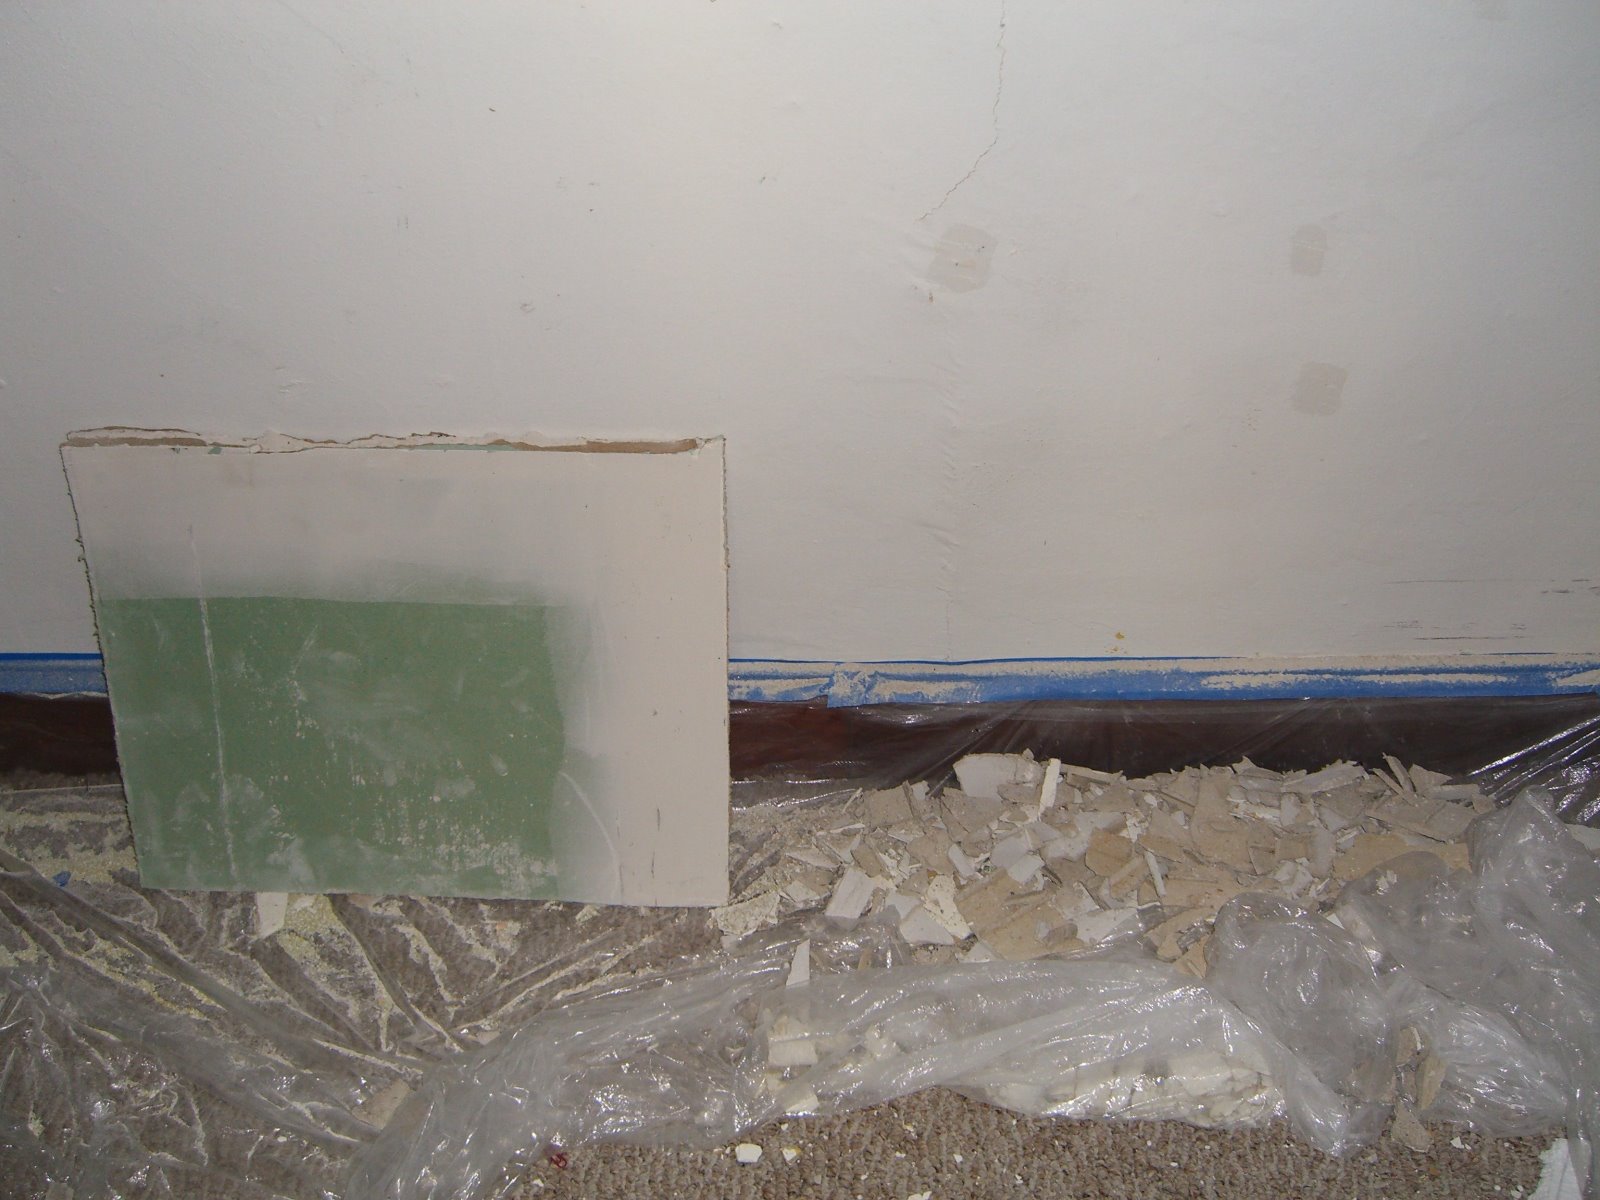
 On the left, the drywall plug set to replace all the plaster on the right:
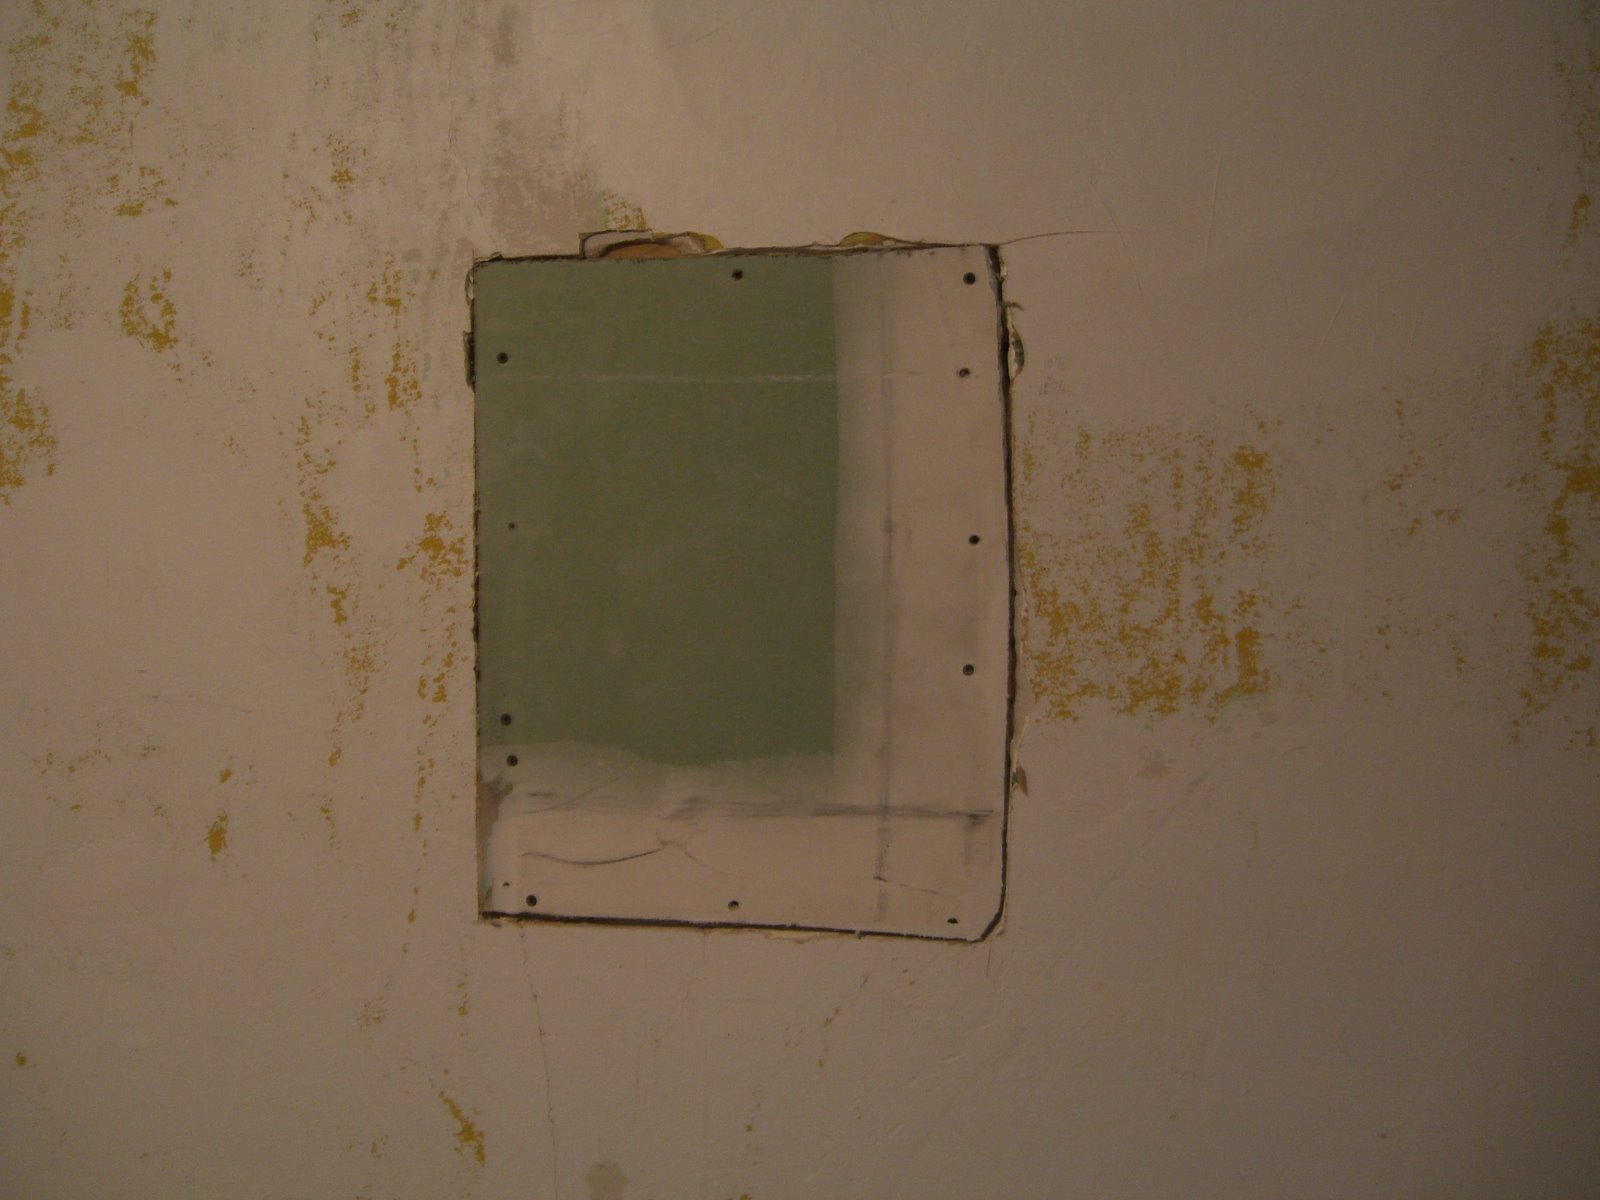 There’s some slight unevenness with the two sections of lathe, probably due to the studs not being perfectly aligned. The screws seem to be holding the plug in fine, and I filed the edges a little to create a better gradient. Then used up a quarter of my jug of spackle:
 After I was done I realized I’d missed a great opportunity to install a safe or secret compartment. Ah well – plenty of other walls in the house.
Step one: Tyvek
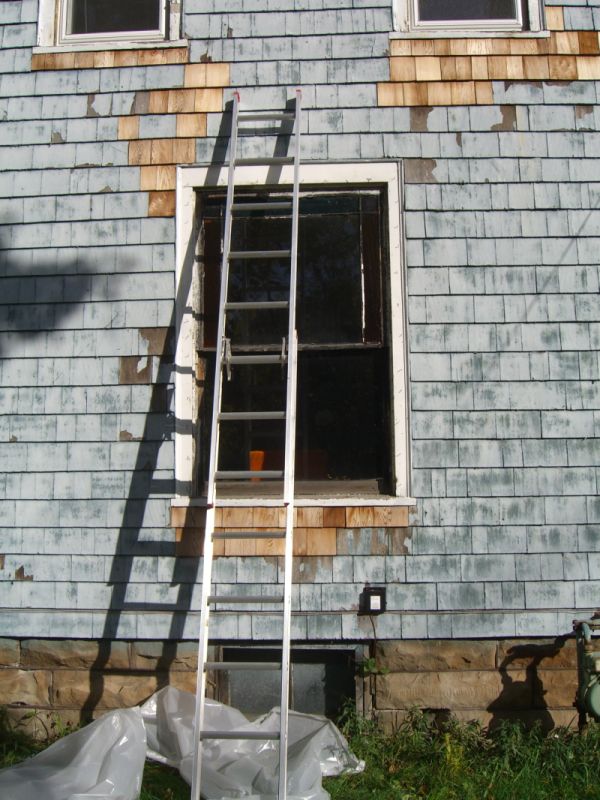
Forty-five minutes is at least 20 minutes longer than I expected this to take: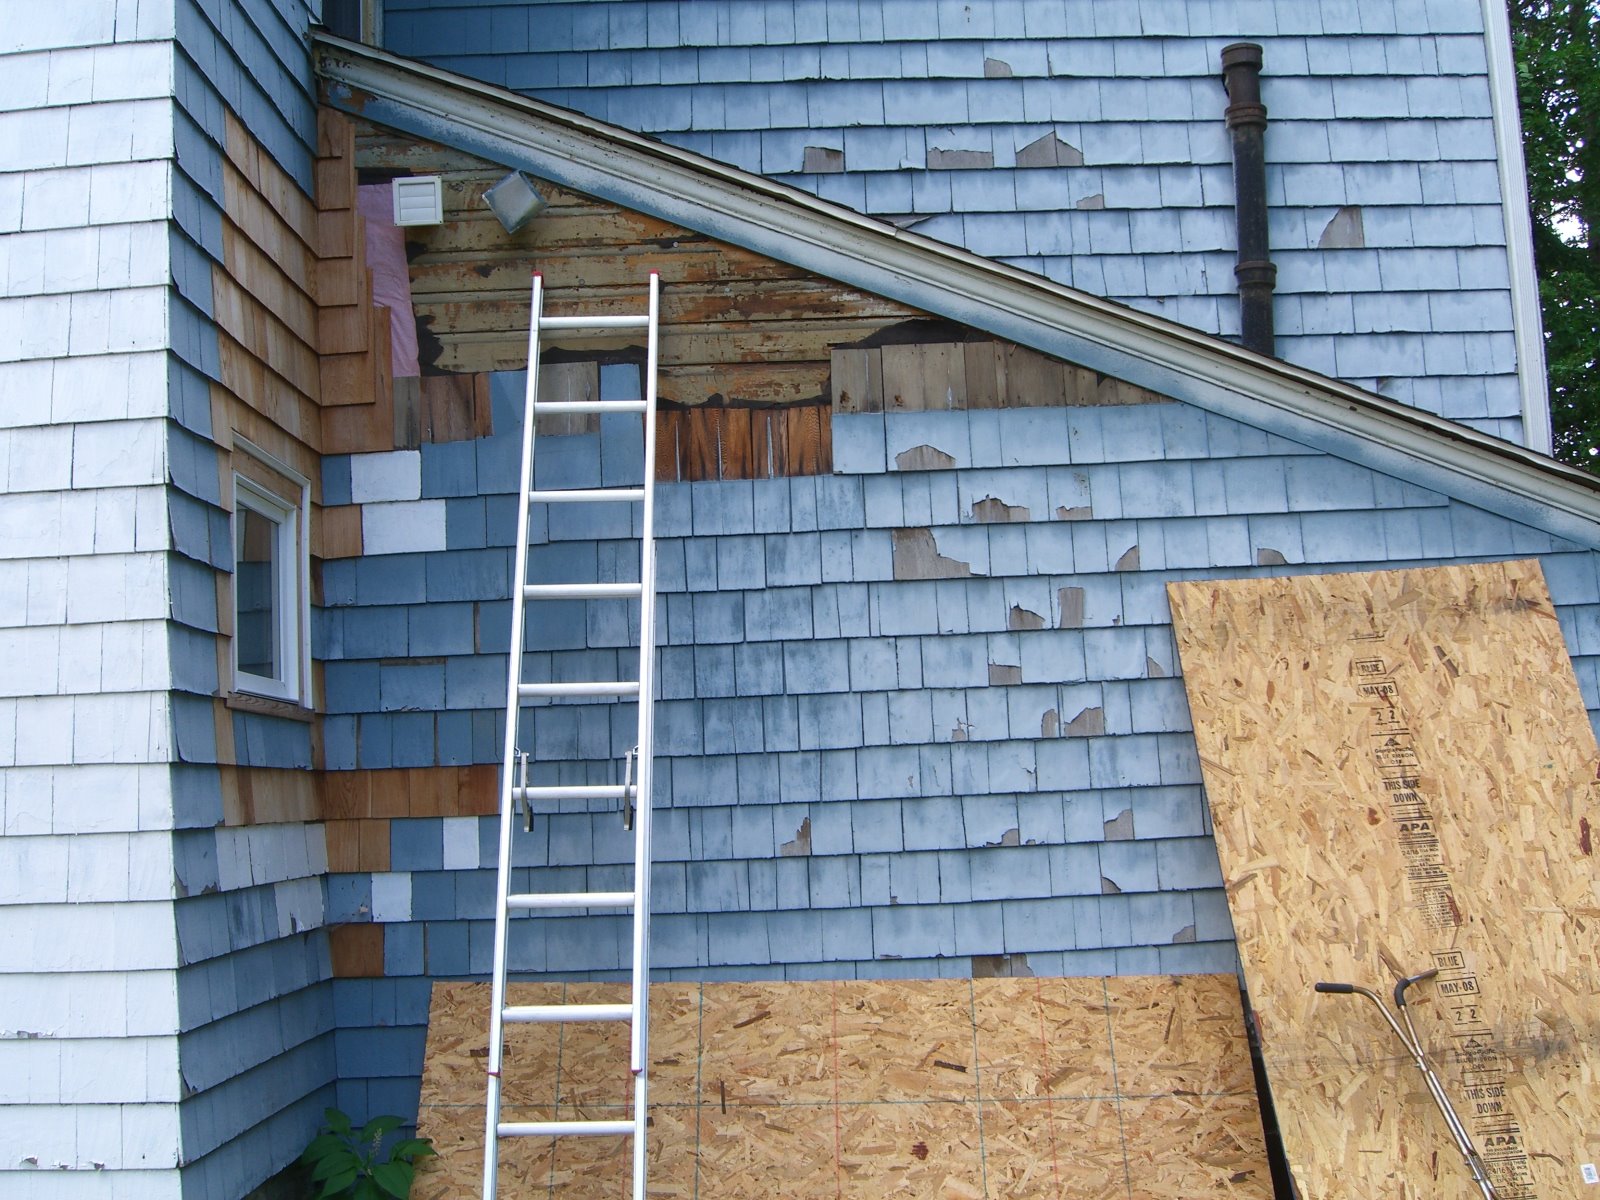
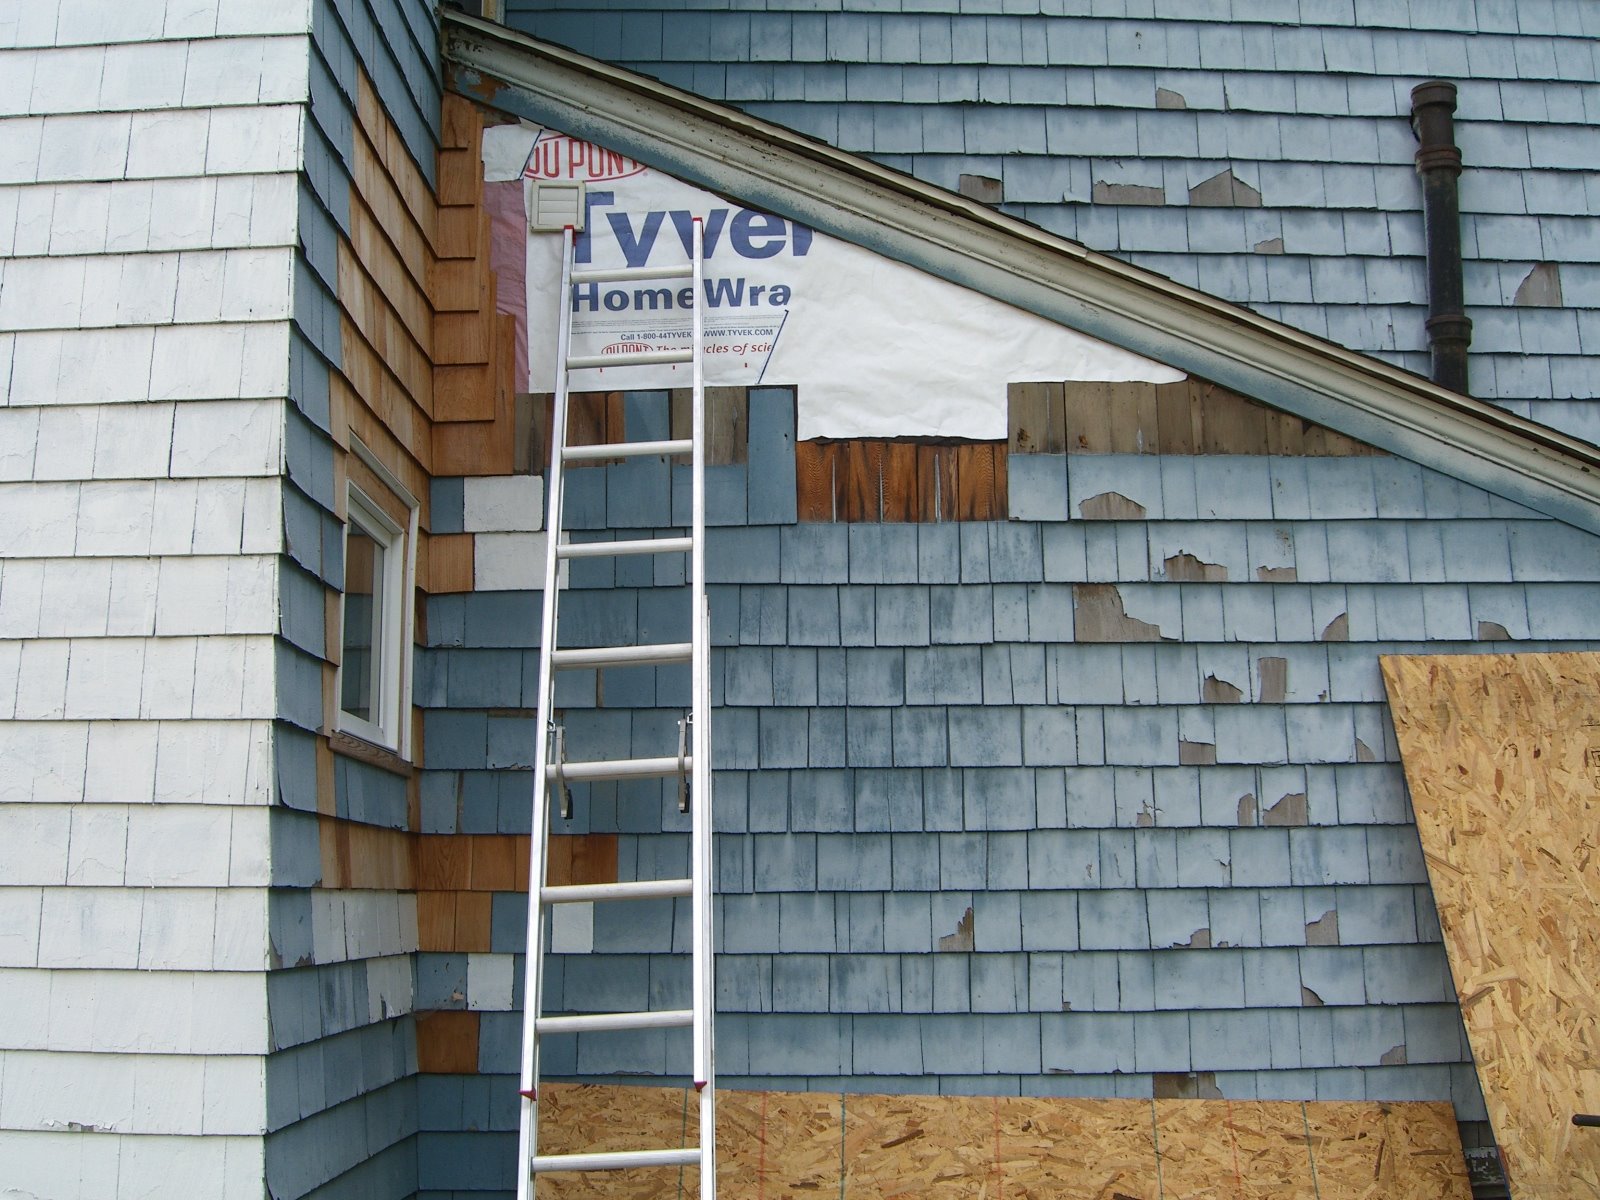 Major sources of delay: discovering the bathroom vent pipe wasn’t solidly hooked up inside the wall (solution: snip the end of the short pipe so it could be collapsed a little and slide inside the pipe in the wall); and realizing ex post facto that a utility knife would have been a better choice to cut the paper than the shears I brought with me.
Still – some nice old wood under these shingles. I continue to indulge the fantasy of having all the shingles removed, finding not a single spot of rot or weakness or air gaps underneath, and painting the entire building to last, low maintenance, for another 100 years.
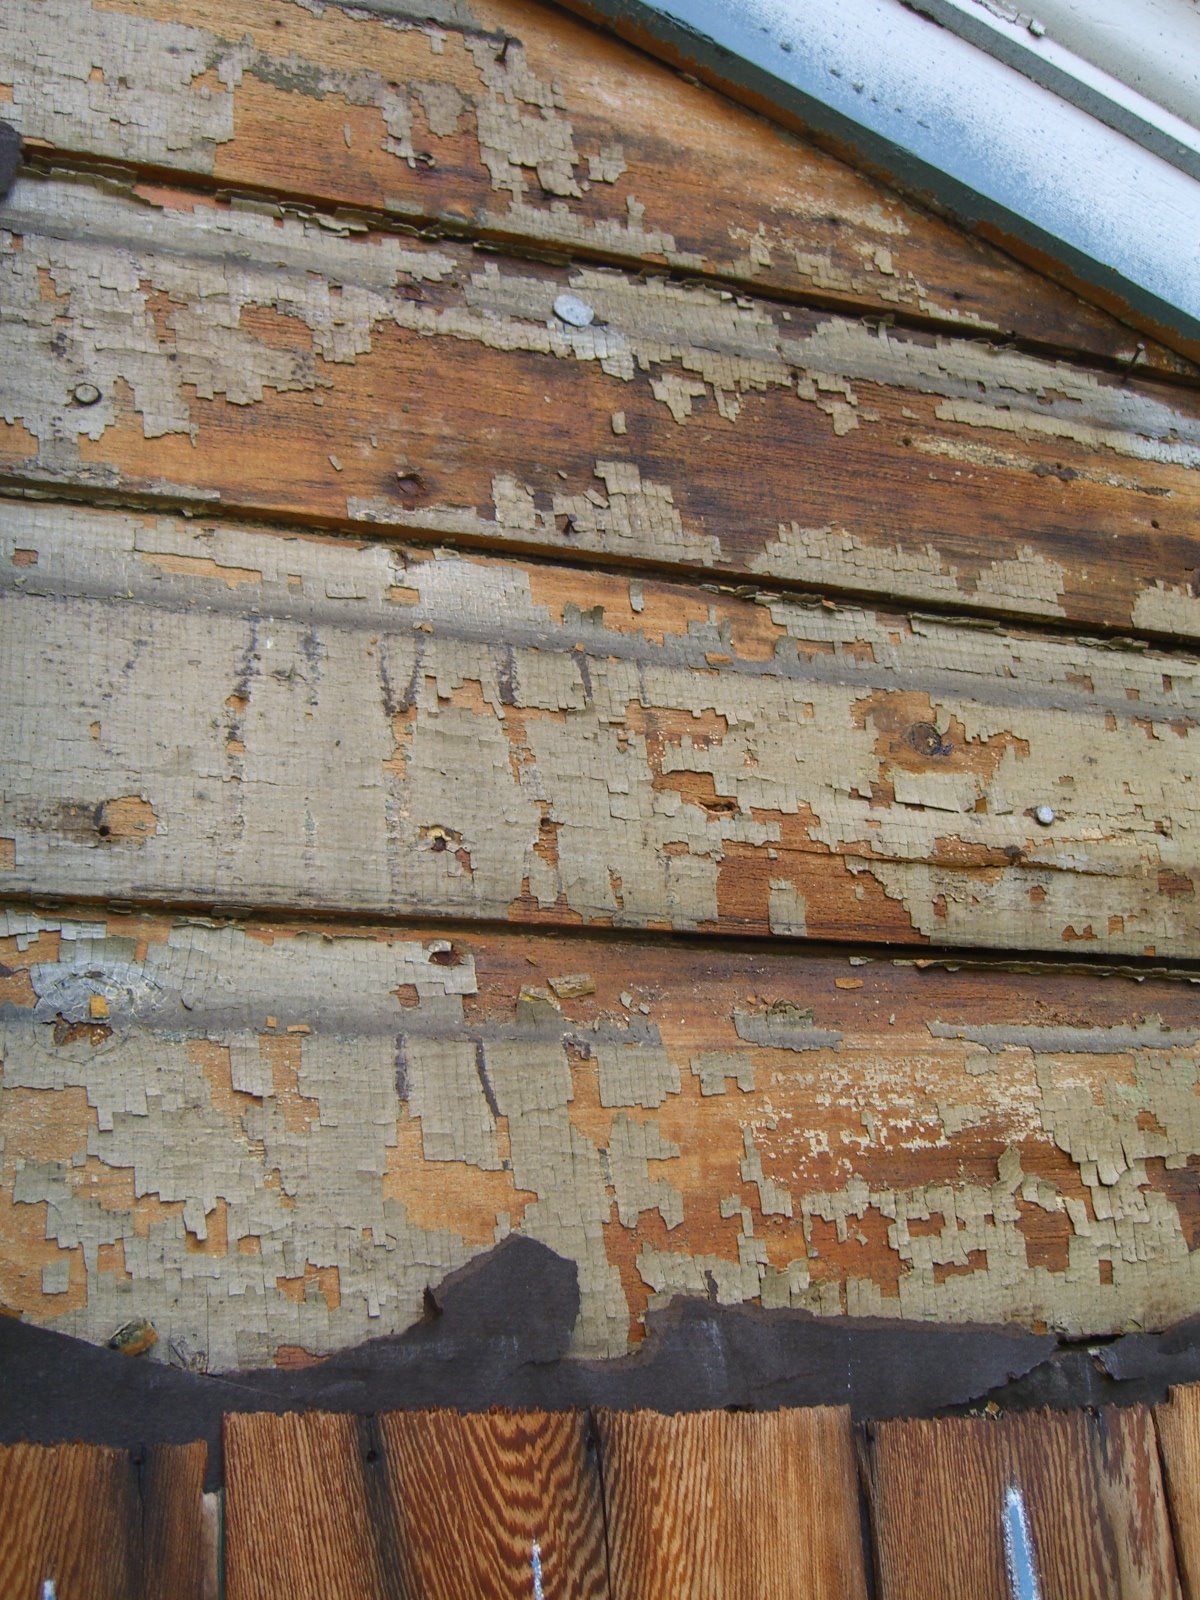
Until then, I’ll be back up on the ladder soon to put shingles over the paper. I’m looking for the answer to this question – can I use a nail gun to attach the shingles, as opposed to predrilling both shingle and the board underneath, then tapping two nails through each shingle? That’s the way the previous owner did it, but if a nail gun with the right size nails and the right pressure setting can do the job then I’ll gladly spend the money to spend that much less time.
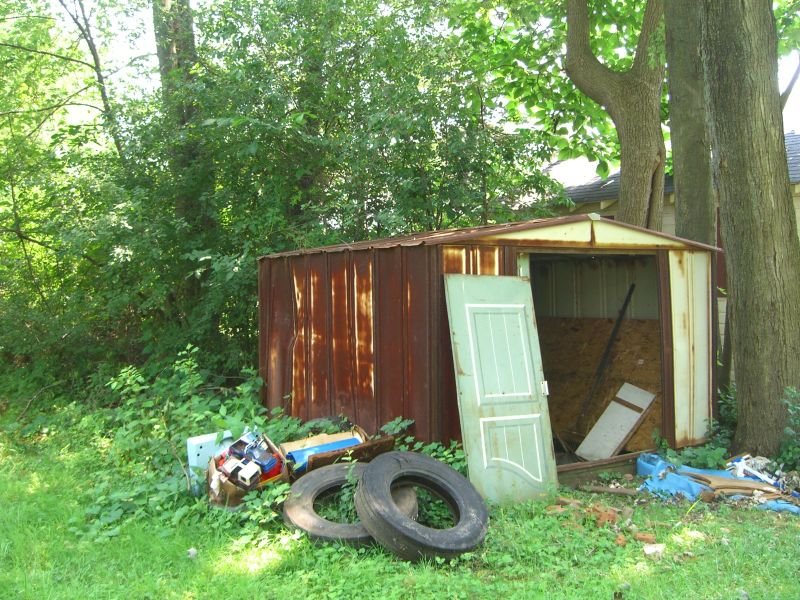
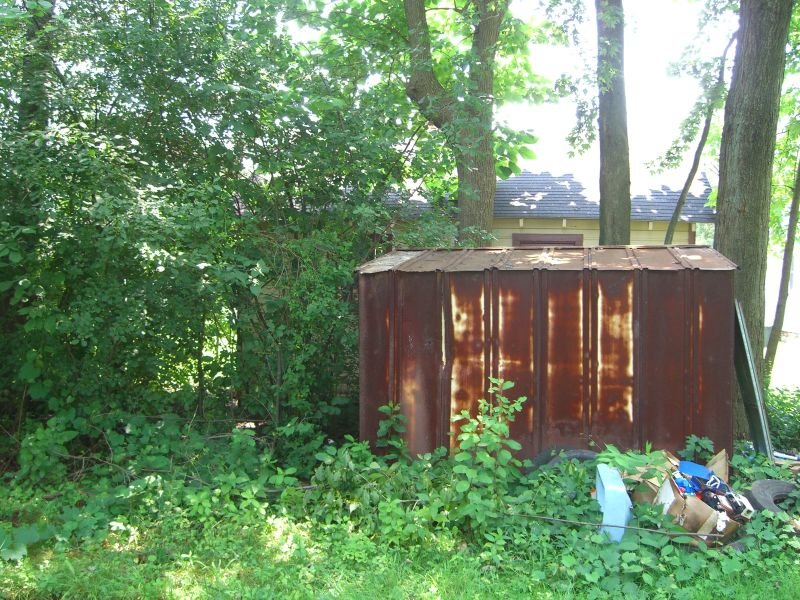
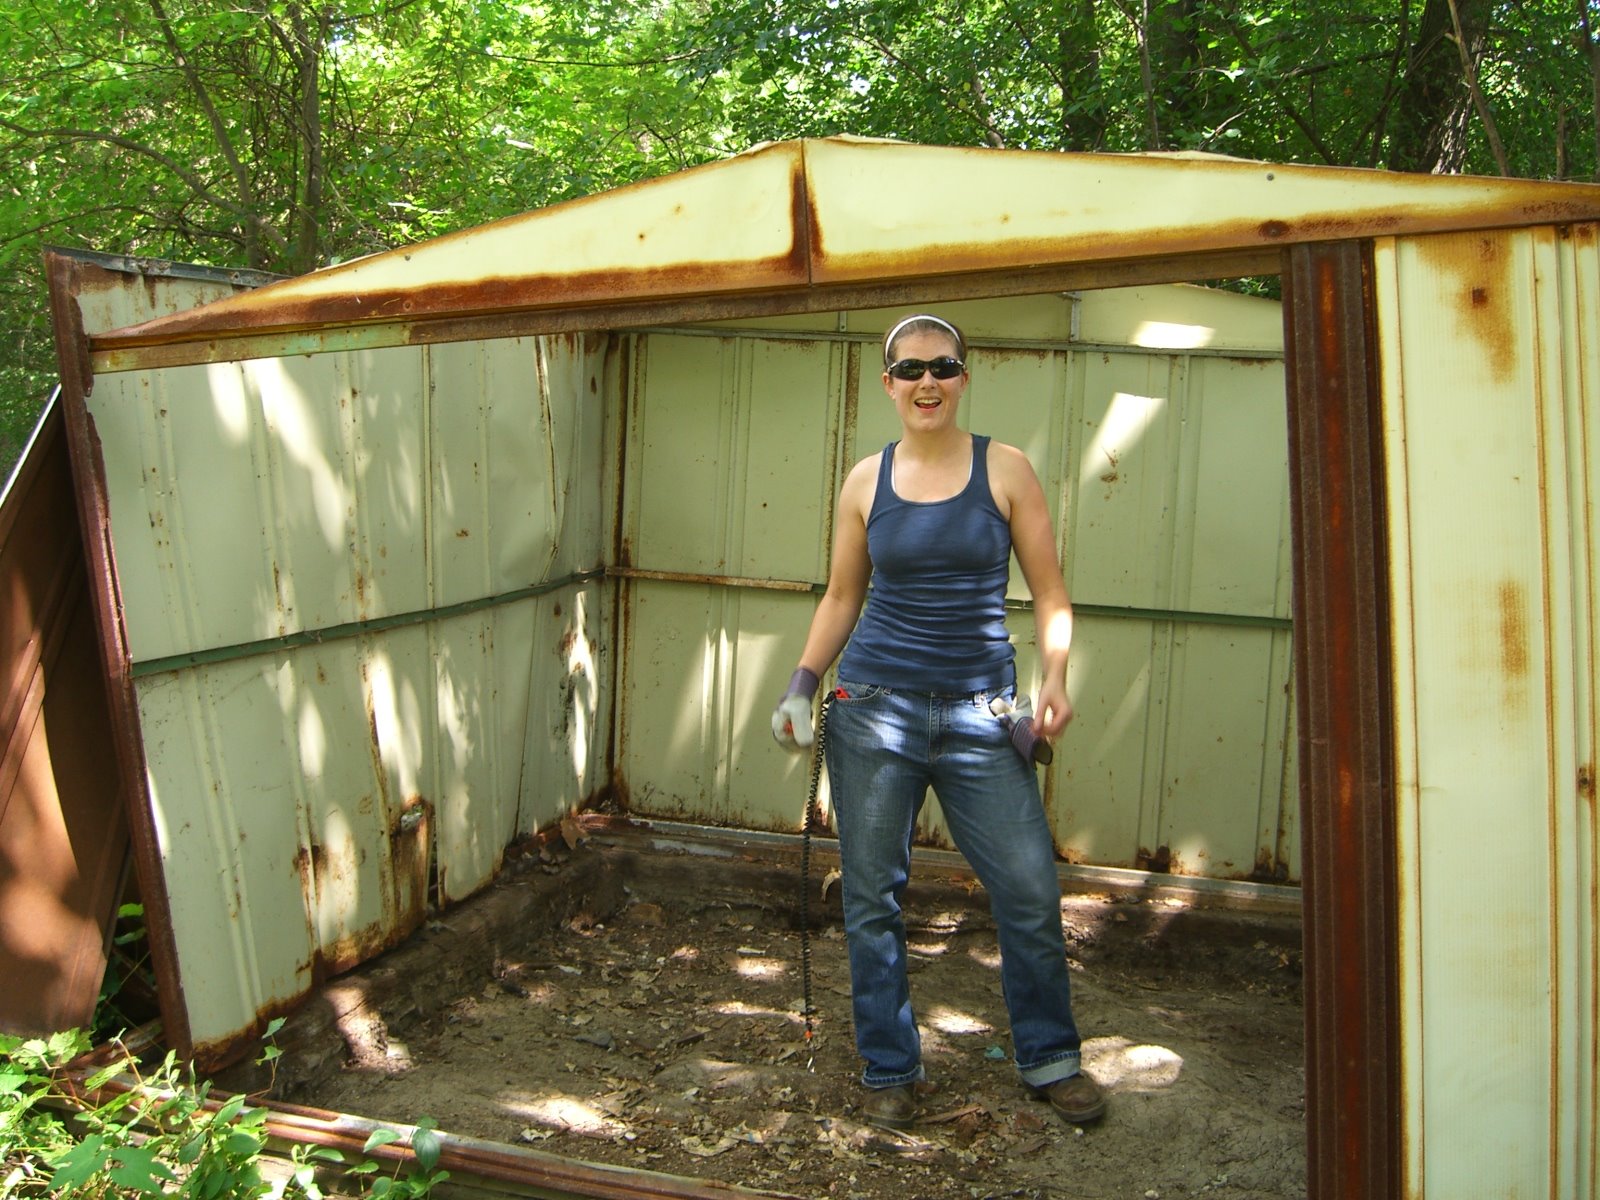
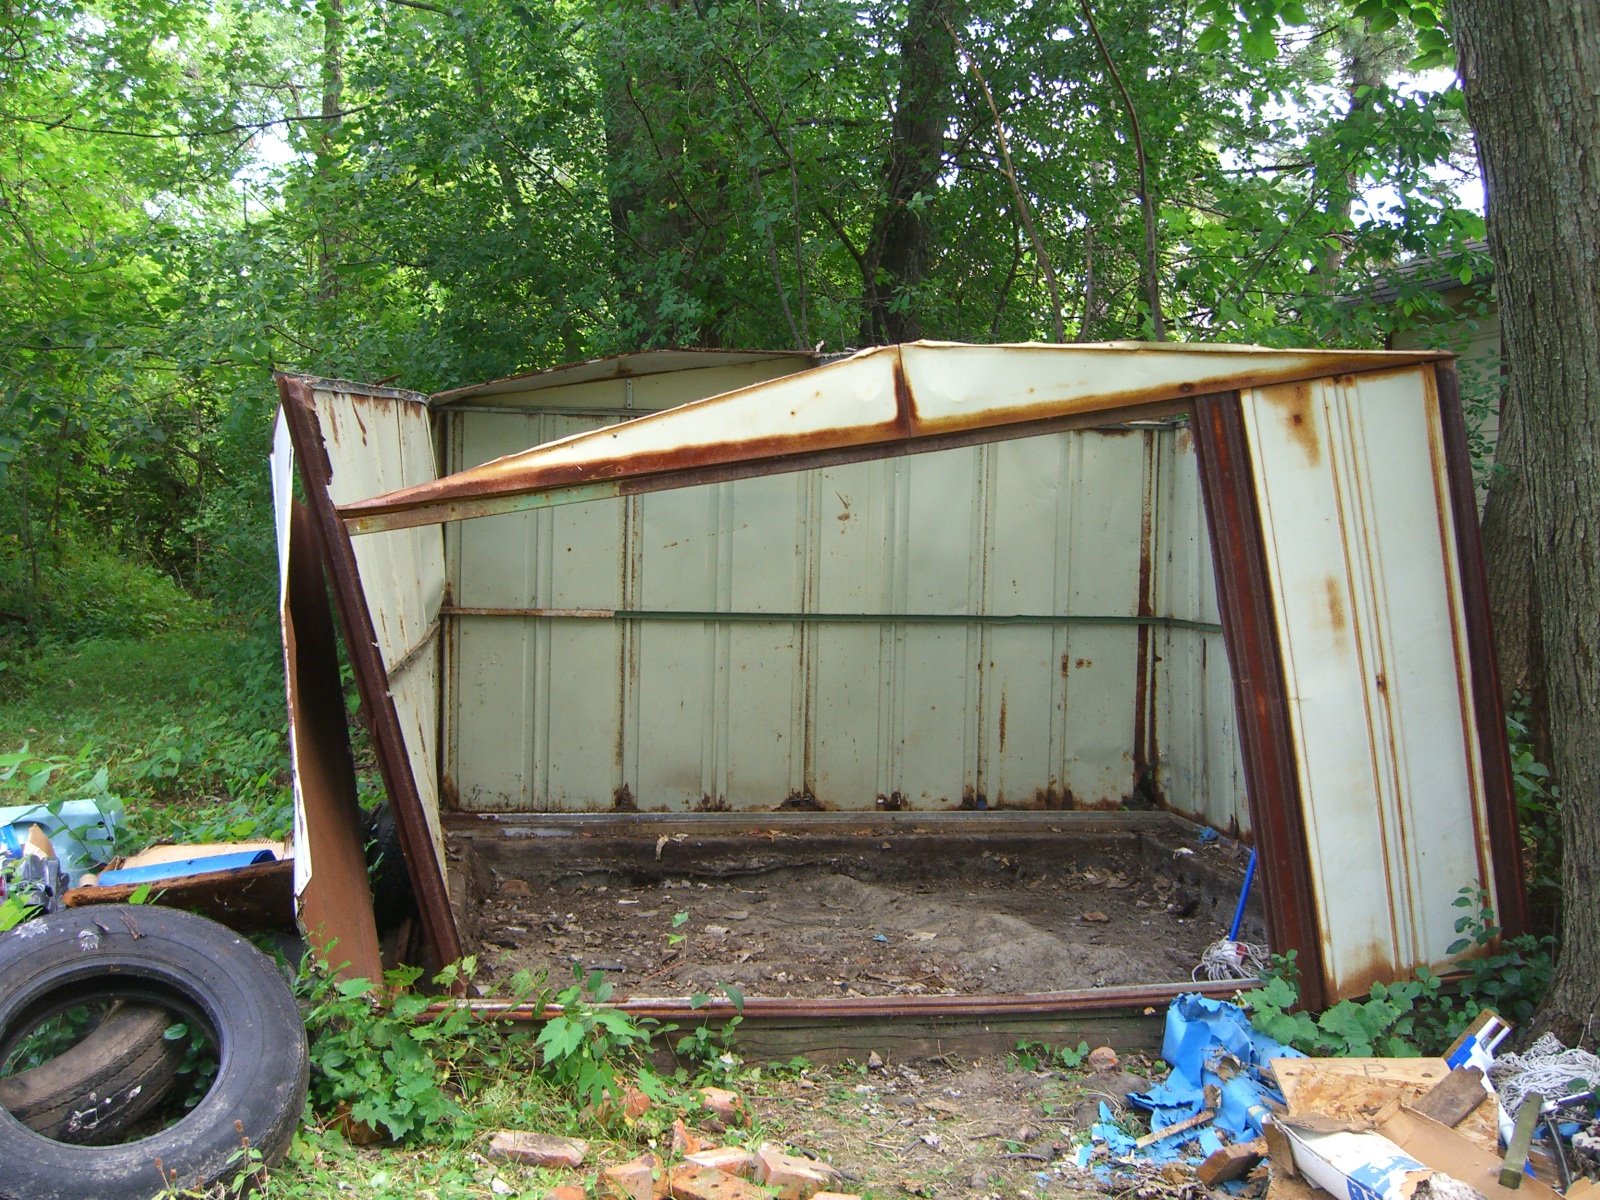
Shed’s dead, baby. Shed’s dead.
Wonder bar, mallet, screwdriver, elbow grease, two hours.
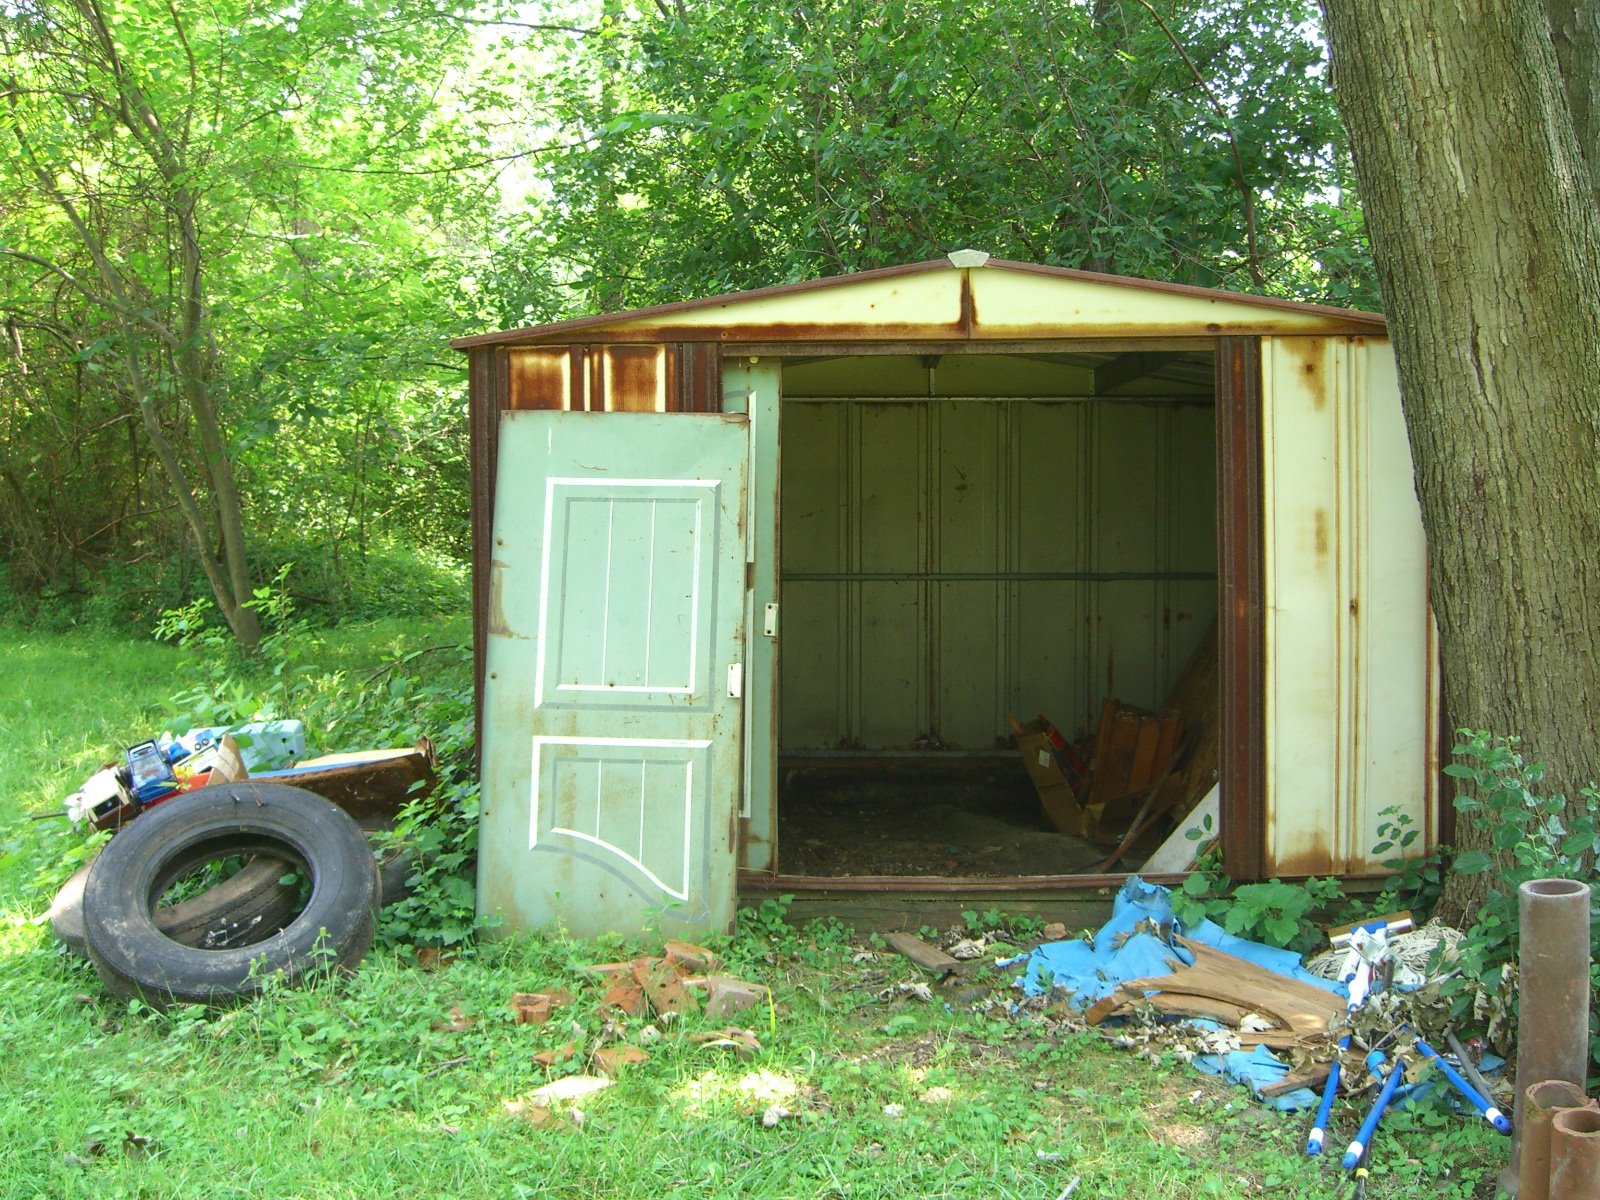
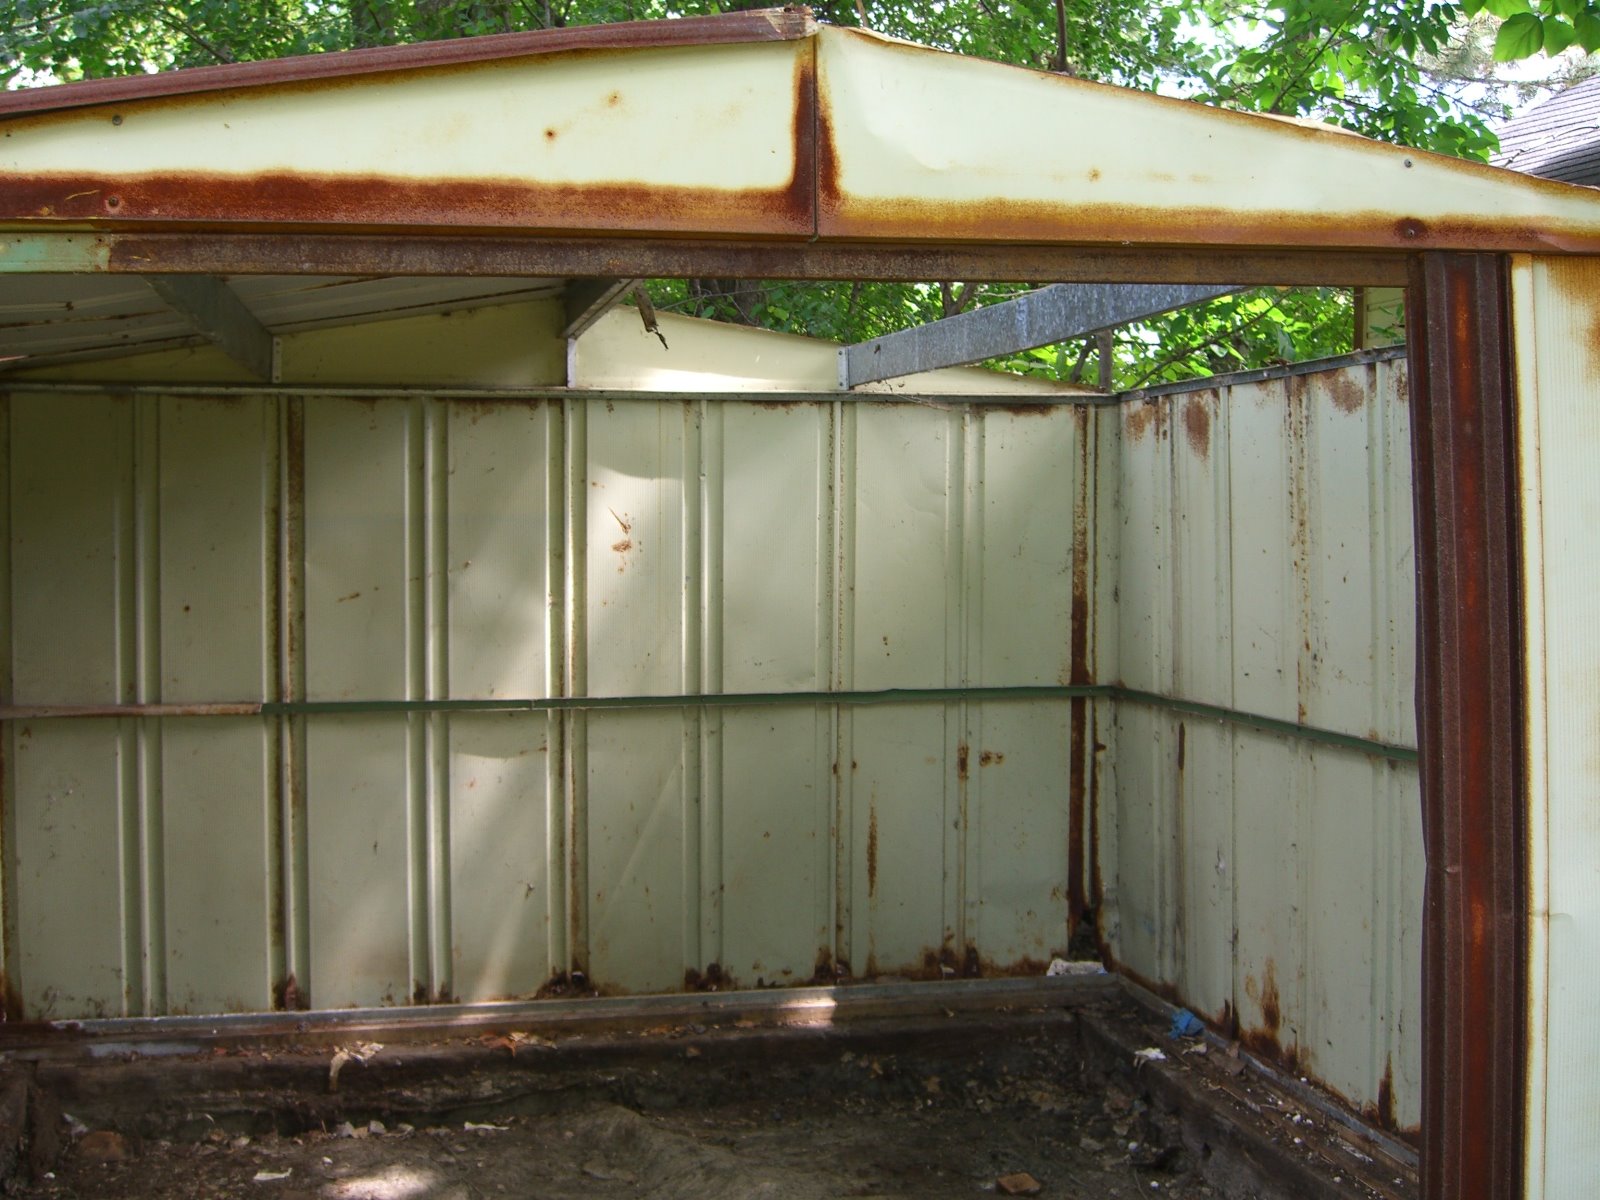
 Here’s more of the sequence.
 Direct quote:
Me: I’ve got beer and cola in the fridge, you want any?
Sarah: Haven’t had my coffee yet. Let me get through that, *then* I’ll be ready for a beer.
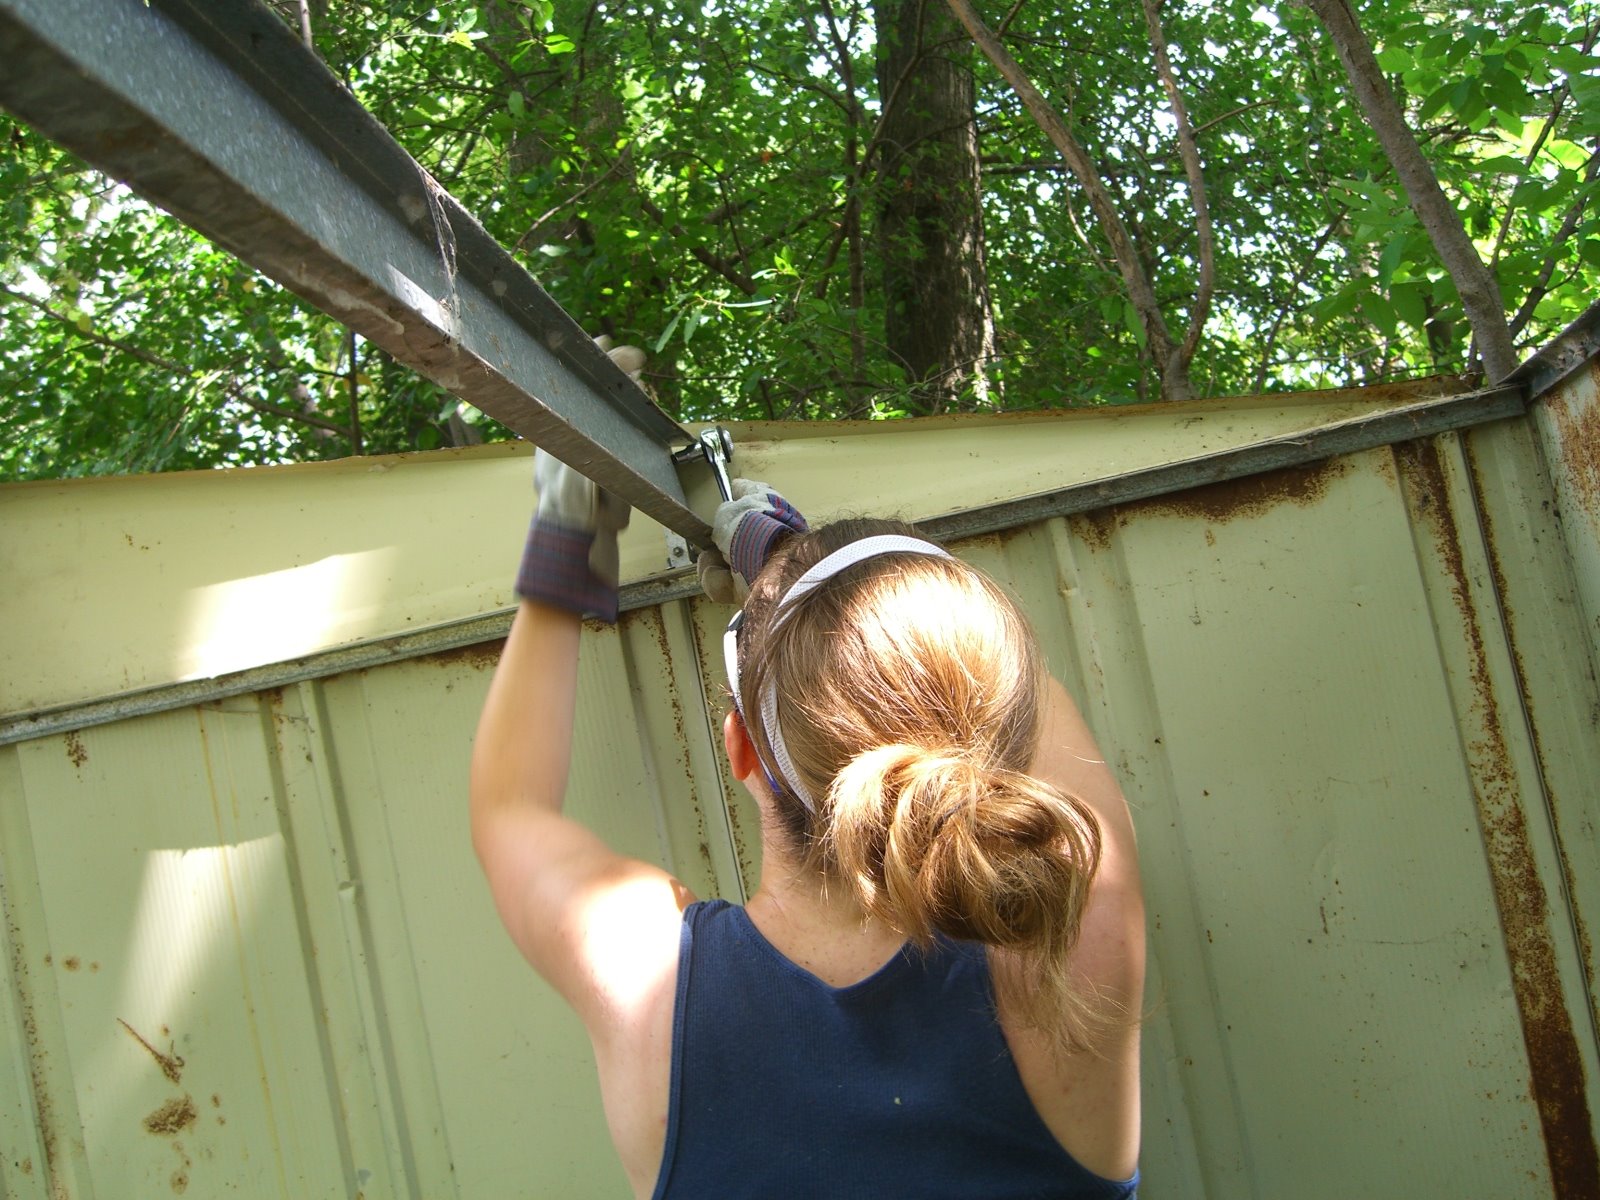 I swear, I did work too. I just also took all the pictures.
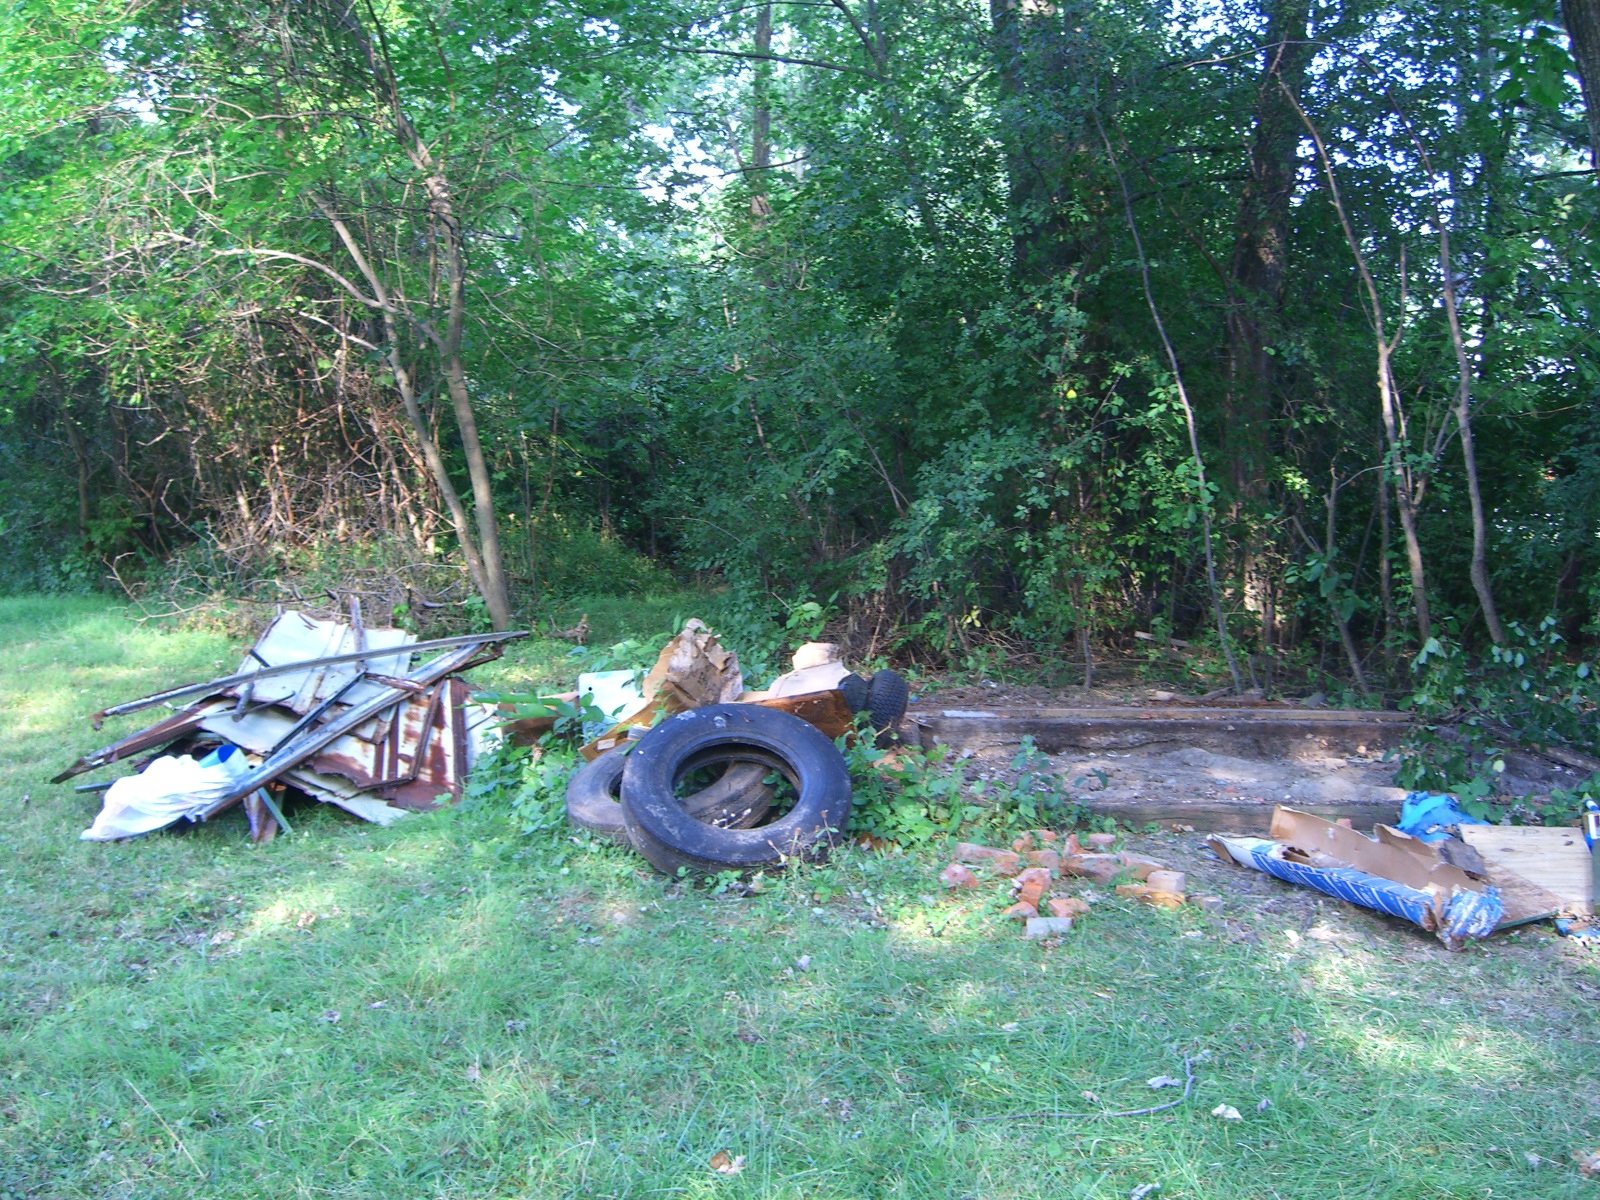
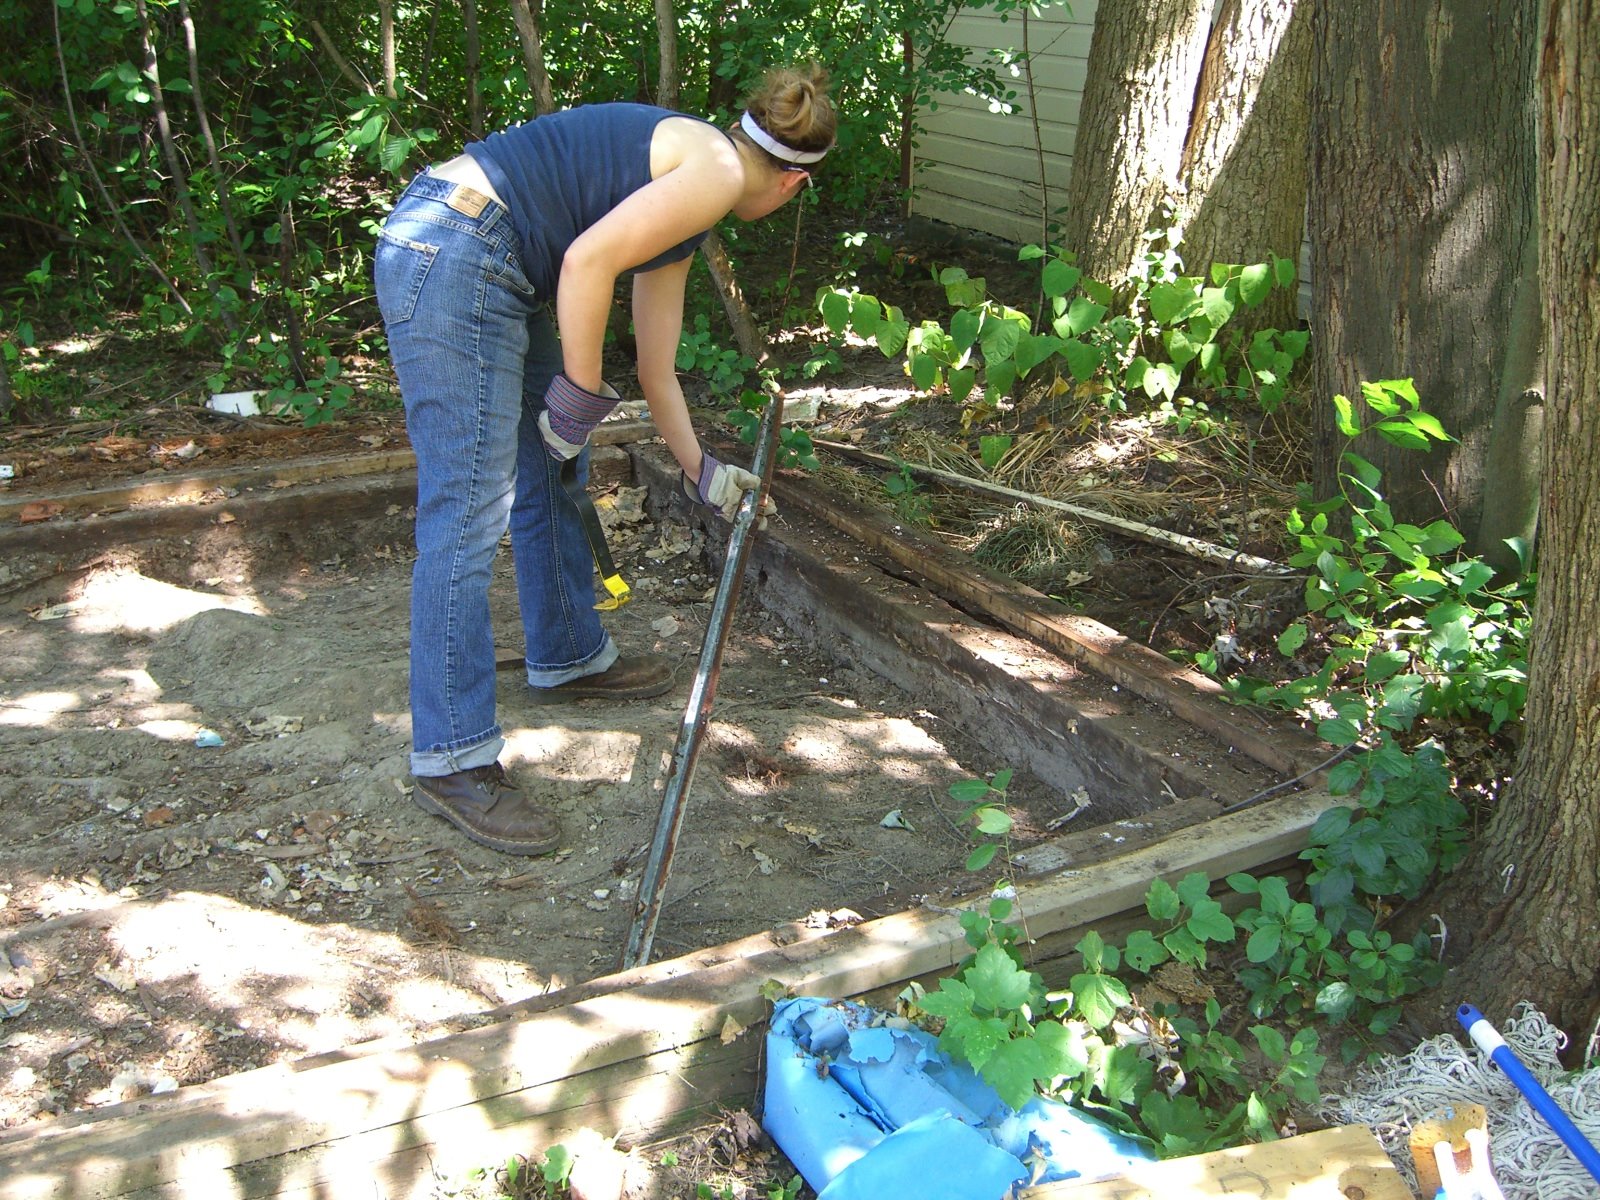 And of course, after doing all this, we looked around and decided there’s probably a better place to put a shed. On the bright side, I’ve got scrap metal to sell and a nice little clearing (once I figure out how to get these ginormous timbers up and away) for a garden or a place to sit.
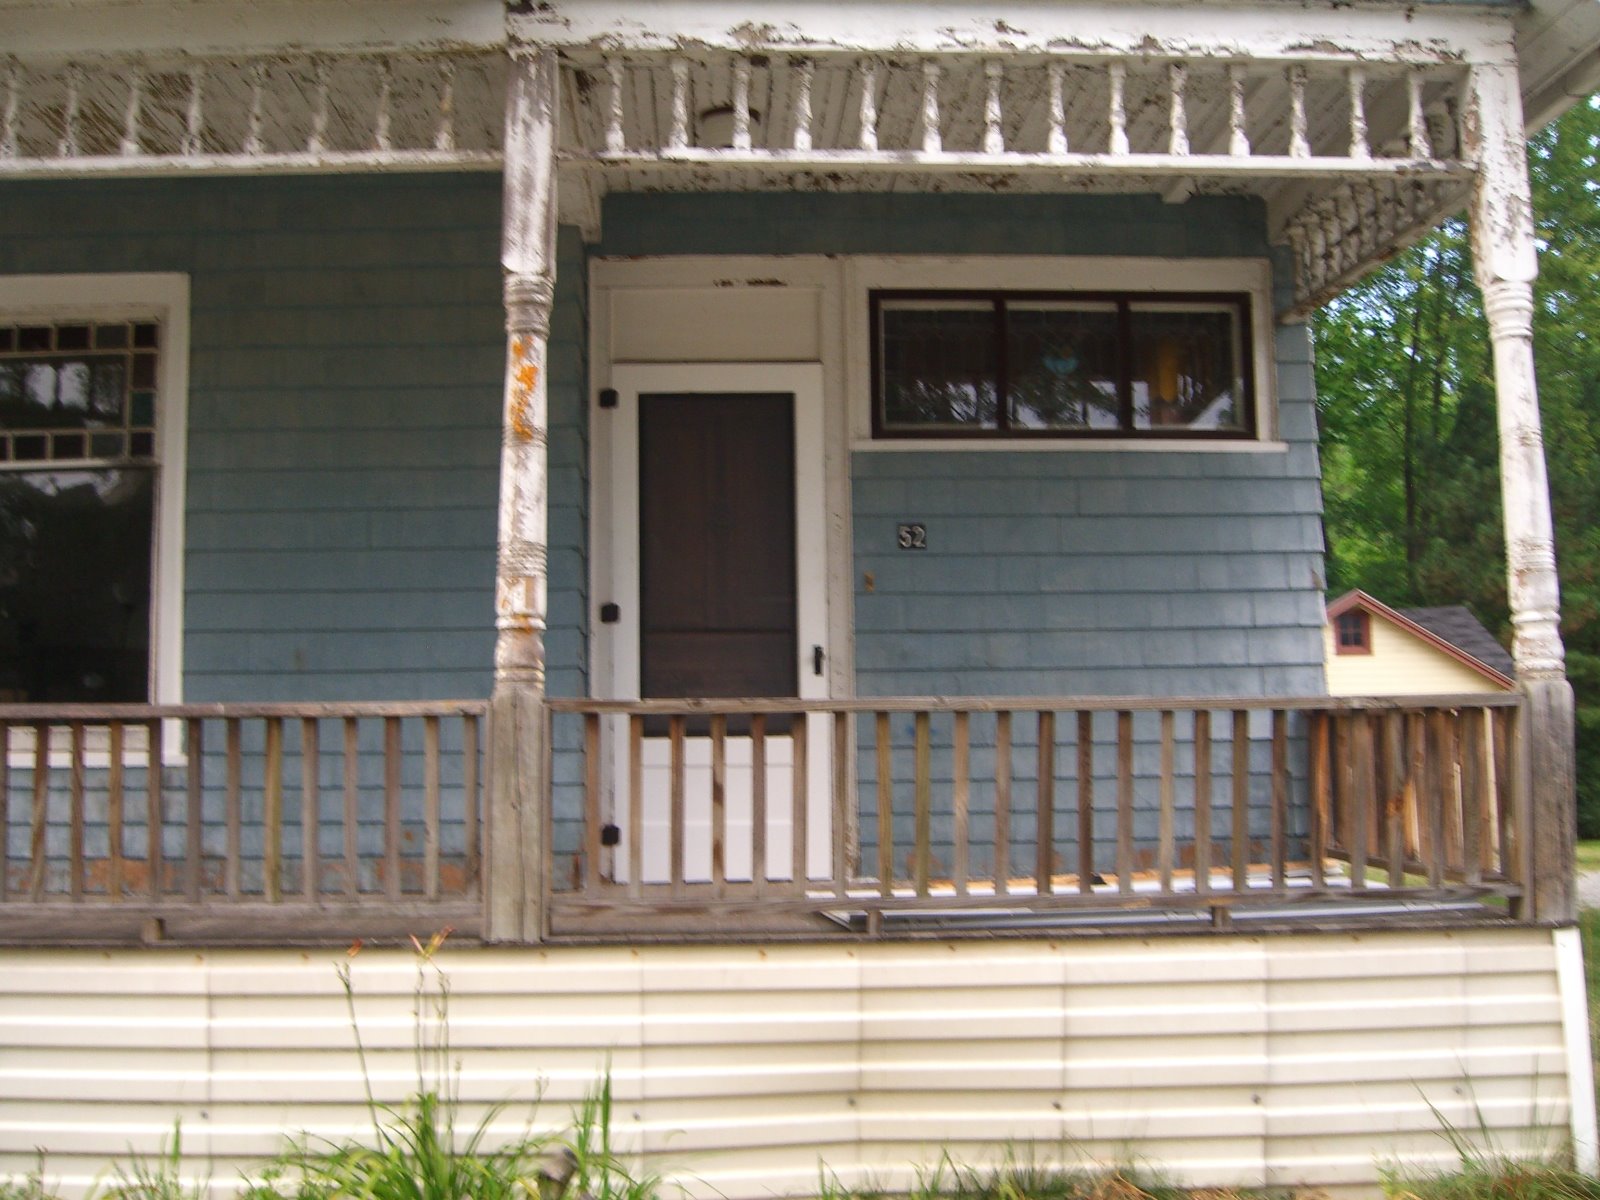
Hey look, it’s a door!
Adjusted the hinges this morning so it sits right in the frame, picked up the right screws for the handle at the hardware store this afternoon. Will paint all the hardware tomorrow (maybe…)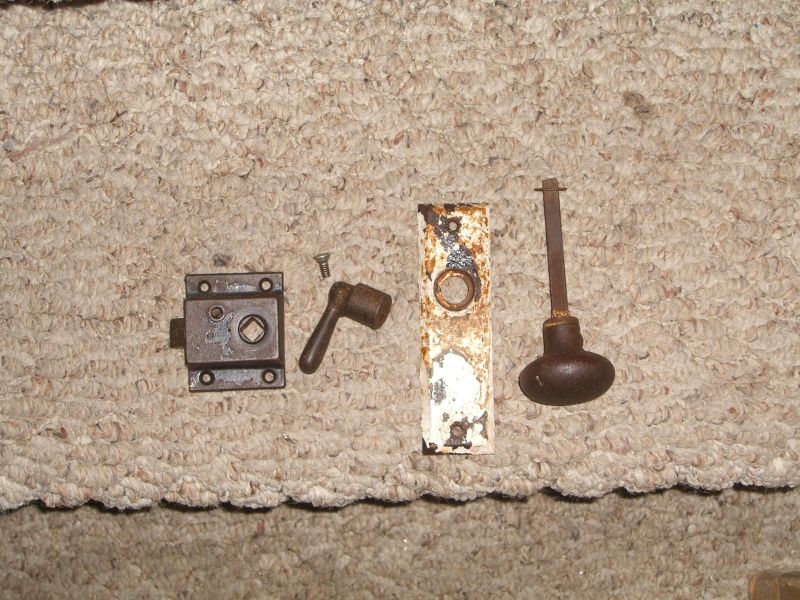 and I need to dig up some weatherstripping for the bottom. Also I should build a cutout for the latch jamb so it actually latches. But look! What an improvement! (Ignore the rest of the porch).
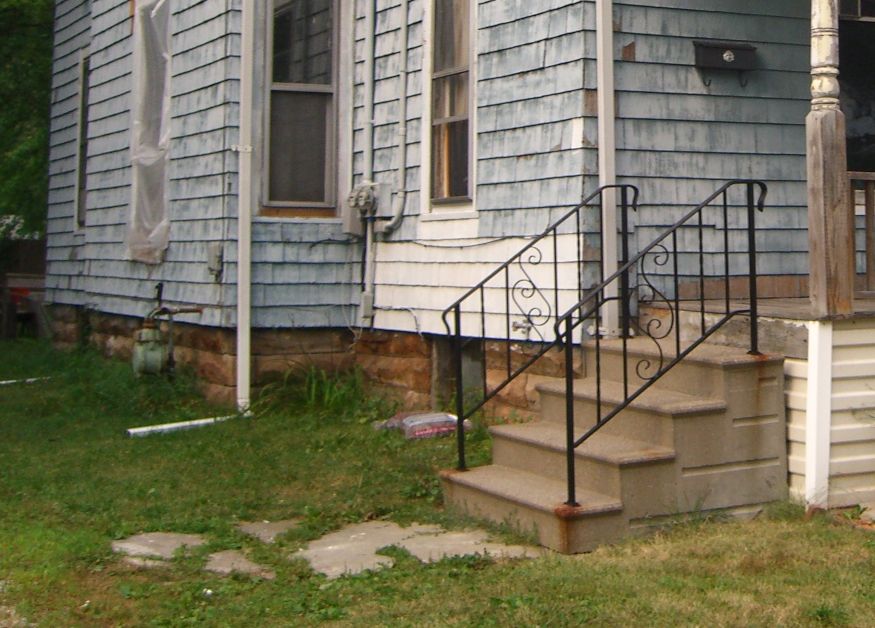
 Also done today – painted the banisters on the front steps to cut down on rust –
 …and finally got the windows installed upstairs. My tenants can breath again. Hooray for breathing.
Ed note – man those are lousy pictures. I’ll try and take some better ones when I’m done with the last bits of hardware.
Foiled again…
Posted by aaron in laundry room on 31 July 2008
Soldered, really. Here’s tonight’s fun project:
 The two pipes with the blue handles are water pipes that are supposed to go to the washing machine I’m having delivered tomorrow. I forgot to double check the connections and find that the lower one – which is actually the hot water despite the handle color – just had a screw cap in the pipe end, but the upper one has a soldered pipe cap that my soldering iron won’t be hot enough to melt. I’m not totally sure how I’m going to get that off before tomorrow. Moreover, I’m realizing these threaded pipe ends are unlikely to connect smoothly with the hoses for the machine. Hopefully a trip to the hardware store for some spigots will fix that.
More on the attic
This is a project list more than a list of work done. Call me on it if I haven’t followed up on any of this stuff in the next month.
1) I’m planning to replace much of the wiring in the attic – some of it is just old, the insulation on a couple of pieces appear to be a little gnawed (a while back – there’s no signs of a recent critter infestation up there), and none of the old stuff – which is most of it – is grounded. Plus this is the easiest section to reach and replace since it’s all exposed. Of course, it’s probably over 100 degrees most days up there.
2) Once the wires are taken care of I figure I’ll put in some more flooring as wanted to access the whole attic easily. I’m looking into insulation numbers too. A friend said that you typically need something like 7+ inches of blown insulation to achieve a satisfactory rating, but that would require me to either scrap all the flooring or build rails off of the joists and lay flooring on top of that. I’m wondering about the insulation factor of 2x4s, pink foam (or maybe those eco-friendly recycled blue jeans), and perhaps carpet or foam layers over the wood.
3) Question: How bad is this?


4) And here’s a fun one. The house was built around 1894, remember, so it originally had gas lights before electricity was run sometime in the 1900s. The previous owner pulled out the old piping in the rooms he renovated, but there’s still a long stretch in the attic. Actually it used to be longer, and interfered a little with the attic entrance, but half an hour with some Liquid Wrench and a real wrench got rid of 10′ and an elbow joint. I’m looking forward to pulling up the rest, including an old valve that’s still attached to one length up there. That’ll go in the curio cabinet.
