Loyal readers (hi Ezra!) will recall last summer’s adventure with my sump pump, and later issues with the hose getting tangled and once getting frozen. I said last year that I should just replace the hose with PVC piping – and now I’m finally getting to it.
First things first, turn everything off, pull the pump, and see if the pit can’t be dug a bit deeper. This will keep the water level lower in relation to the basement floor. I’d poked at this last year and thought the pit had a concrete bottom – meaning no digging. Upon closer inspection though, turns out there was just a LOT of accumulated silt…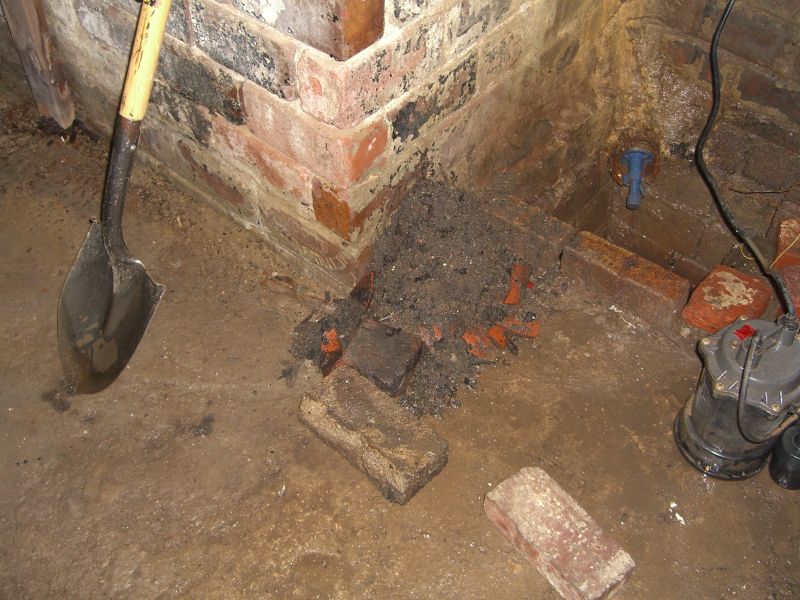 and two large bricks acting as a ledge on the dirt bottom (not pictured). Pull everything, dig some more, find two bricks of equal depth, place them carefully, lower sump pump. Now we’re getting somewhere.
As usual, these project require way more tools and equipment than one might think. Ignore the caulk gun – that was actually for something else.
 Here came the fun part. The sump pump manual has a basic diagram for setting up piping. It calls for a roughly 15″ run of pipe running from the pump to the check valve (a one way valve, necessary to keep your pump from getting slammed over and over with water still in the pipes) with a small relief hole drilled into it; then the check valve, then a run of pipe to an elbow joint, then a run from the joint to the outside. This is actually fairly straightforward and should take about 15 minutes, cutting included, EXCEPT most check valves I’ve seen have one threaded end and one smooth end. I found it easier to buy a couple of connectors to make the whole system a) fit and b) be somewhat disassemble… able.
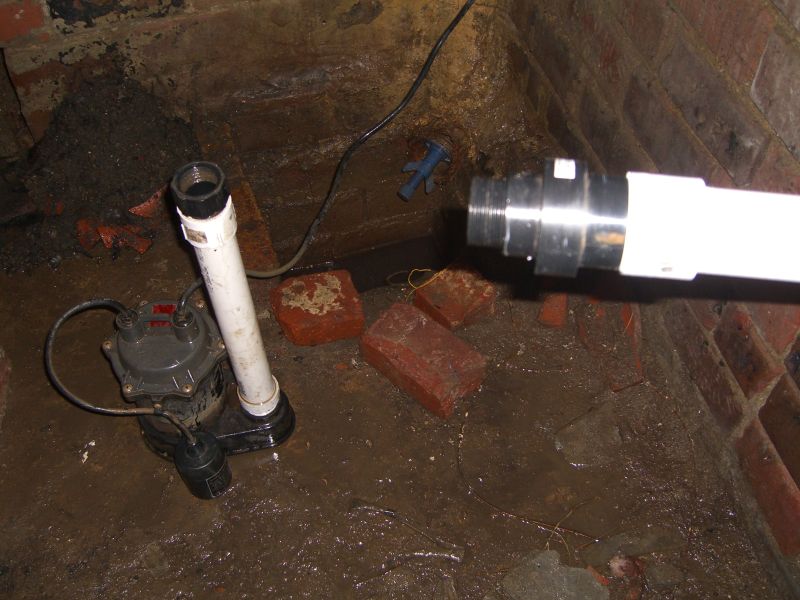 The above pic shows the end result. A male thread connector at the bottom going into the pump itself, cemented to the short run of PVC. Two different connectors (you might be able to do it with one, but this is what the hardware store had) ending up with a female thread end pointing up. The check valve will screw into this, and on its other end it’s cemented to the longer run of pipe with one last connector.
Yes, I did finish this project:
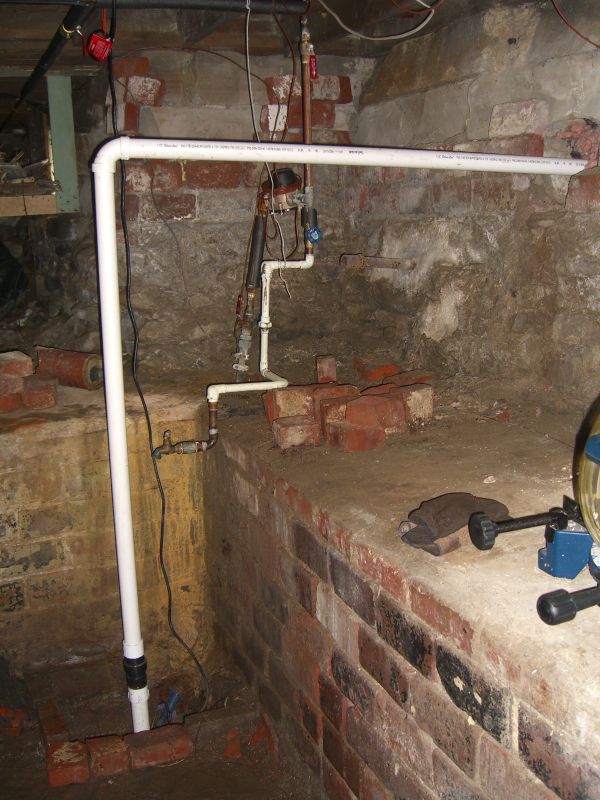 One last important note: I put PVC cement on everything at the bottom of this contraption since I knew how it would fit together. I held off on cementing the check valve to the pipe (which requires all-purpose cement, incidentally – the check valve is made out of a different kind of plastic) and on cementing the pipes at the top (the elbow joint) together so I could make sure the whole thing was placed correctly, allowed for a slant on the horizontal run (to reduce the chances of anything freezing closed this winter), etc. This was a good idea since I discovered that a couple of additional trims and refittings would reap benefit in the long-term. HOWEVER – I was measuring and refiguring and left this all fit together, but not cemented, overnight – and of course that night it rained. Even PVC fittings you have to wrench apart may not be snug enough to withstand repeated pushes of water against the joints – in other words, the following morning, the joint finally separated and water spilled onto the floor a couple of times. No big deal for my unfinished basement, but if you’re doing this project you might want to try and complete everything, including cementing, as soon as you can.
#1 by Ezra Spier on 1 September 2009 - 12:13 am
I, for one, am glad that your basement will be water-free from now on!