The table was completed in May, actually, but the post title was far too clever to pass up (right? right?).
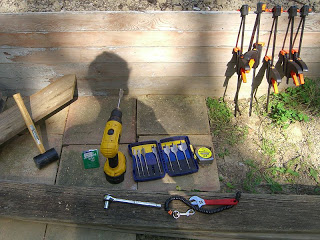
The internet is a wonderful place. Not just for movie trivia and porn and porn movie trivia, no, it also includes dozens (dozens!) of downloadable plans for picnic tables, including at least one document that covers the theory behind picnic table construction. Not theoretical picnic tables – those are littering my backyard right now, next to the imaginary deck and behind the possible archery range – but the concepts and principles behind constructing a table, particular one without cross braces underneath (I just don’t like that design for some reason). This set of plans can also be completed with a few power tools (drill, compound miter, and… that’s it), an added bonus.
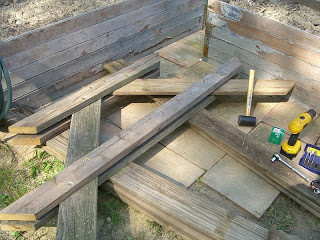
Having a well-explained primer on building a particular thing is very handy when, like me, you’re using materials on hand, not buying fresh stock to match specs. The raw materials for this table are almost entirely pressure-treated wood from the old deck benches I took apart last year – 2x4s and and something like 1 1/4x6s This meant both building deeper benches and adjusting the number of planks for the top.
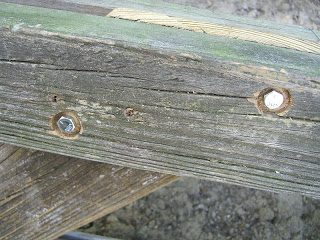
Paddle bits let you sink the bolt heads for a cleaner look:
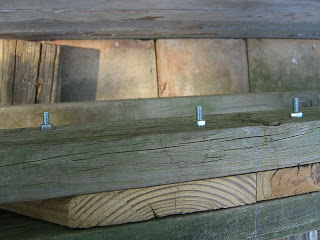
My local hardware store (Watson) lacked the exact length of bolts needed for this thickness of wood, but a little extra length shouldn’t hurt since they’re all on the inside of the frame:
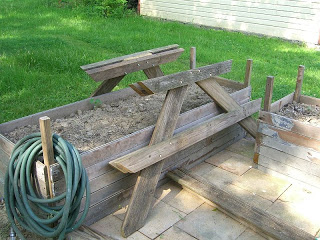
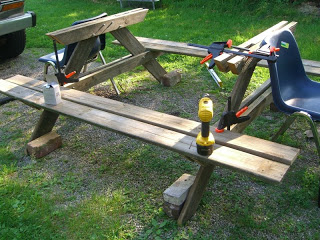
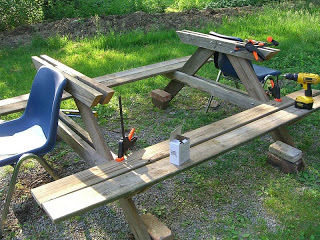
If you don’t have a friend to help level and assemble everything, or a properly equipped shop, find matching chairs:
Jerry, Watson’s owner, recommended ceramic-coated screws from the Project Center line – these are great. They’re self piloting, the drill tip means they aren’t likely to split the wood if used near an edge, and the coating makes this table a lot more weatherproof.
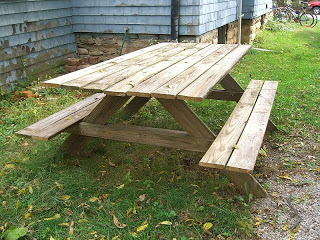
You’ll notice some minor bowing in the top planks – I was working with reclaimed materials, remember. Everything seems to be holding together fine – we’ll see how it survives the coming months.
Total cost: about $20, all for the fasteners.
