Archive for category outside
Just in time for winter – a picnic table
The table was completed in May, actually, but the post title was far too clever to pass up (right? right?).
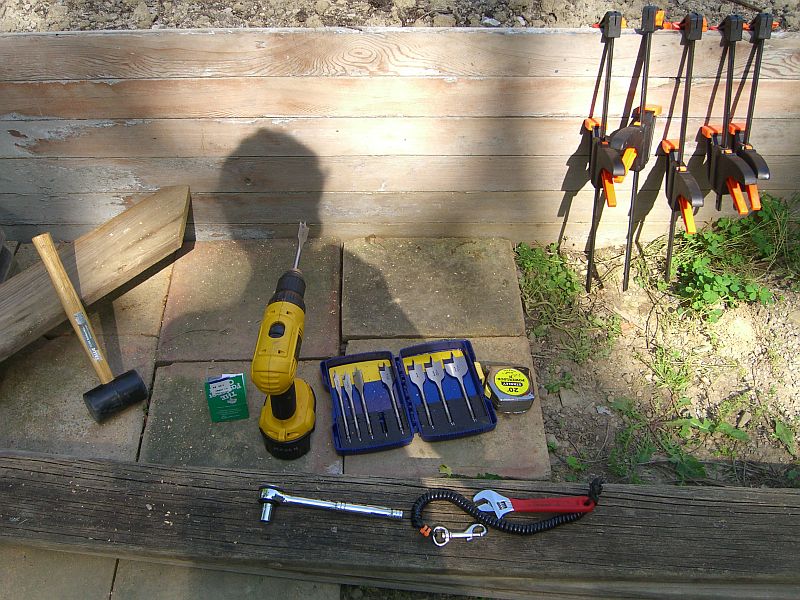
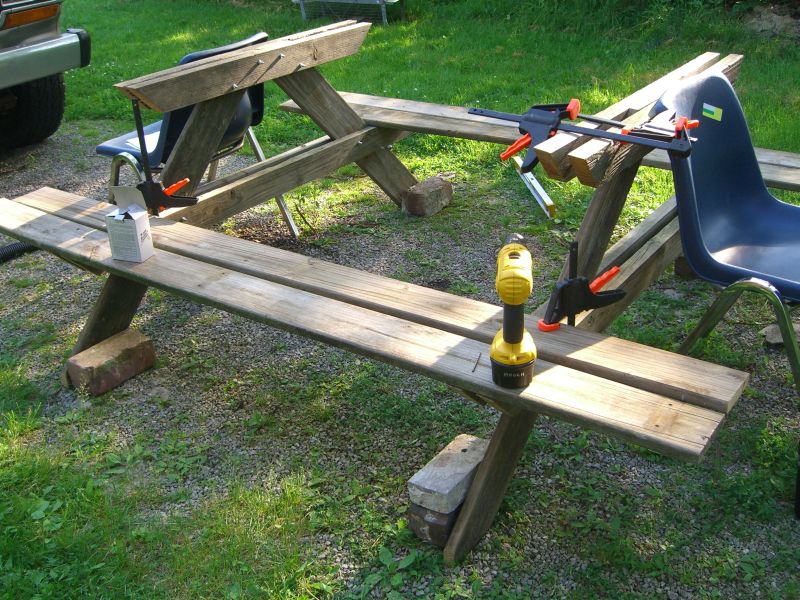
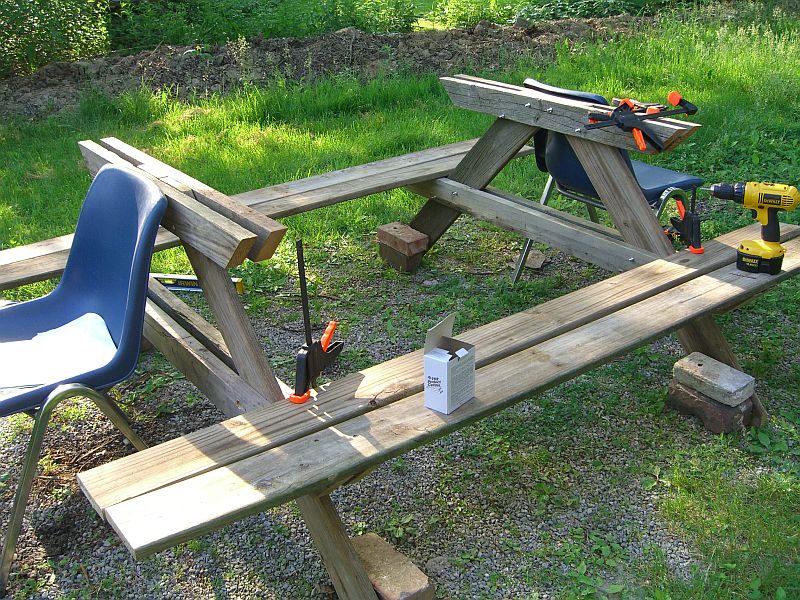
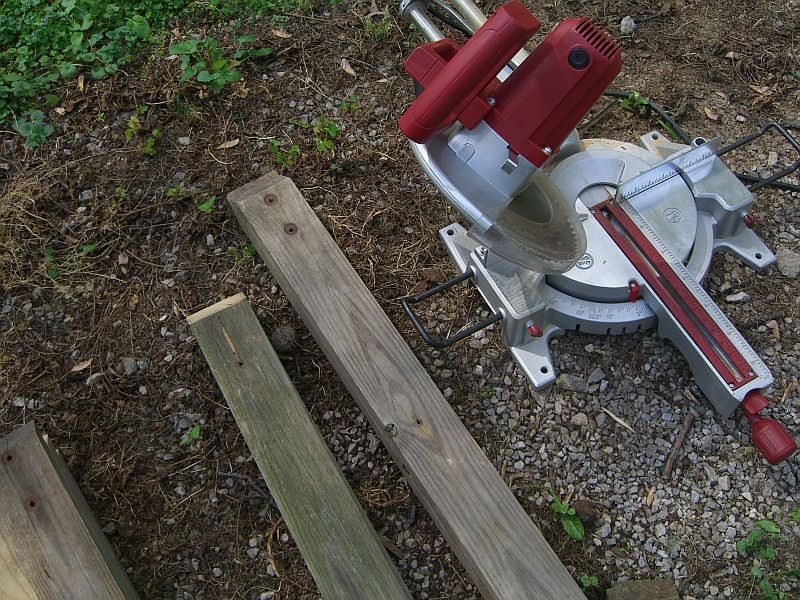
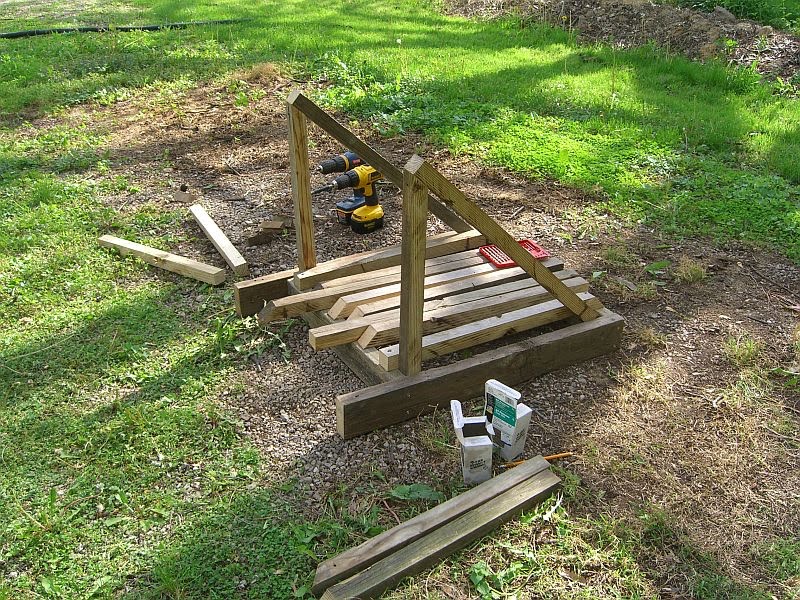
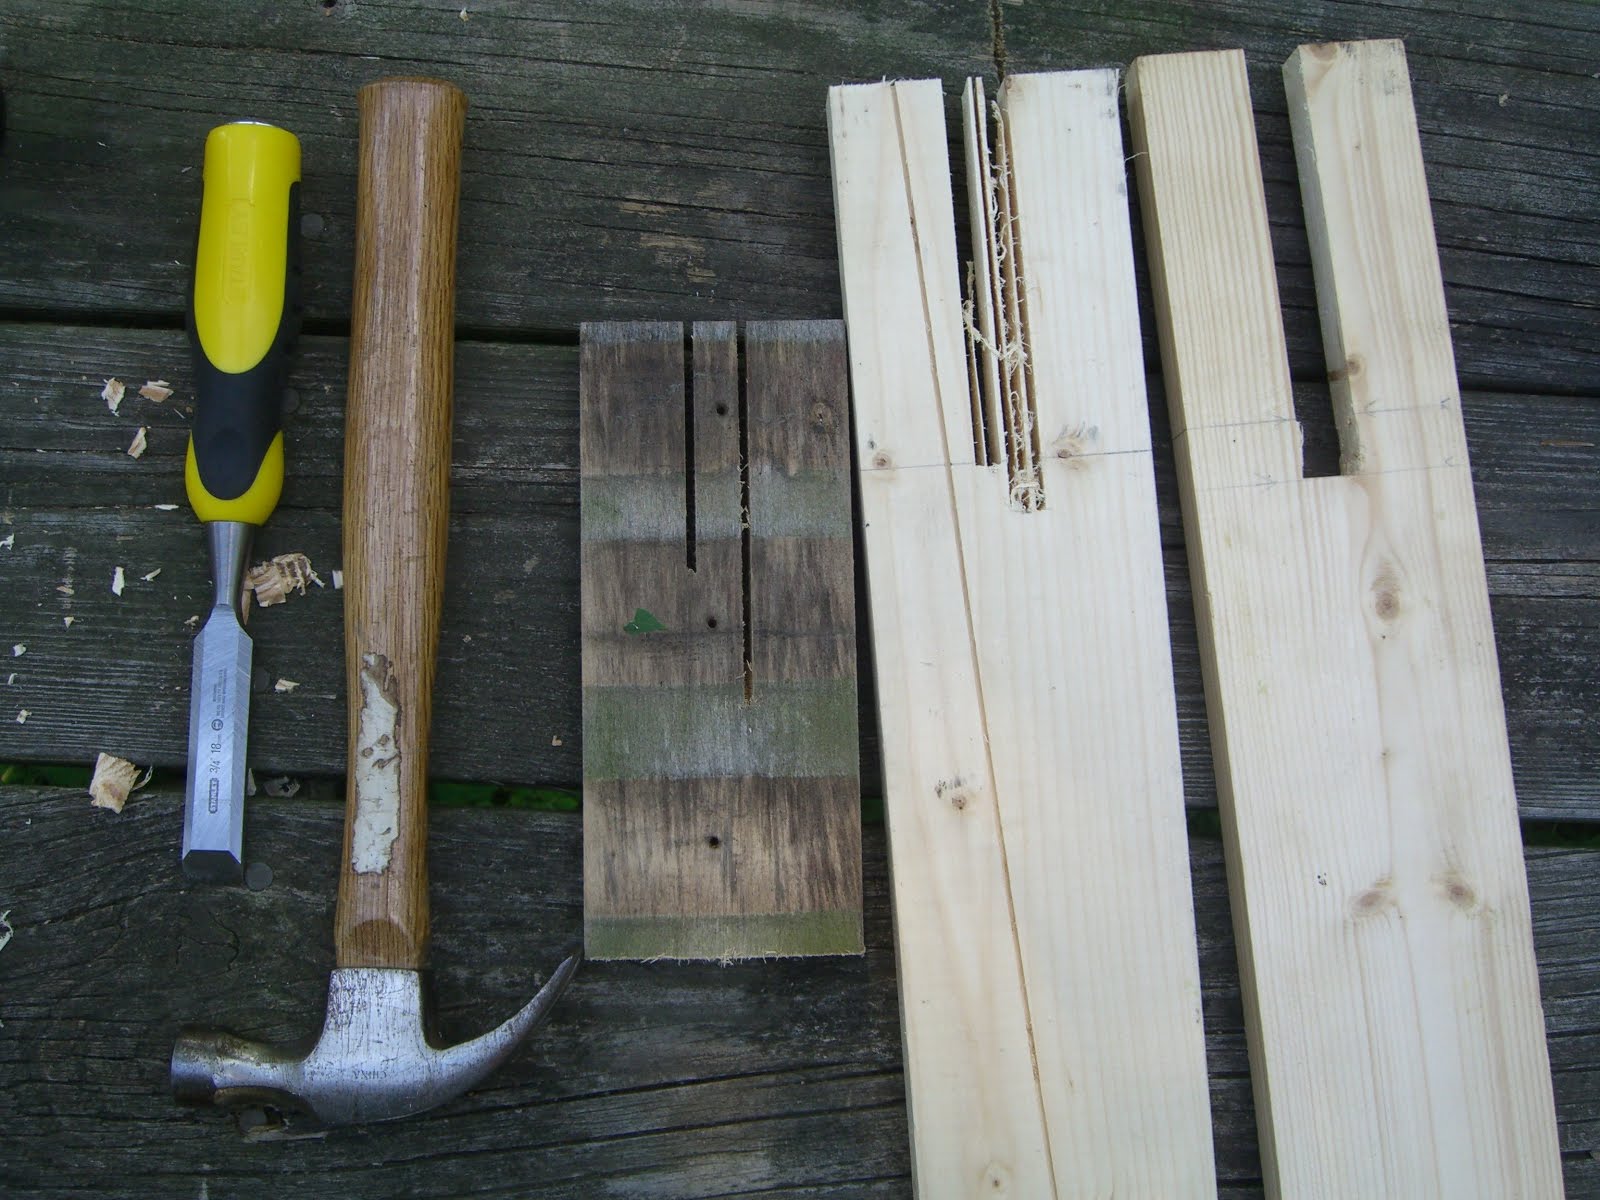
The internet is a wonderful place. Not just for movie trivia and porn and porn movie trivia, no, it also includes dozens (dozens!) of downloadable plans for picnic tables, including at least one document that covers the theory behind picnic table construction. Not theoretical picnic tables – those are littering my backyard right now, next to the imaginary deck and behind the possible archery range – but the concepts and principles behind constructing a table, particular one without cross braces underneath (I just don’t like that design for some reason). This set of plans can also be completed with a few power tools (drill, compound miter, and… that’s it), an added bonus.
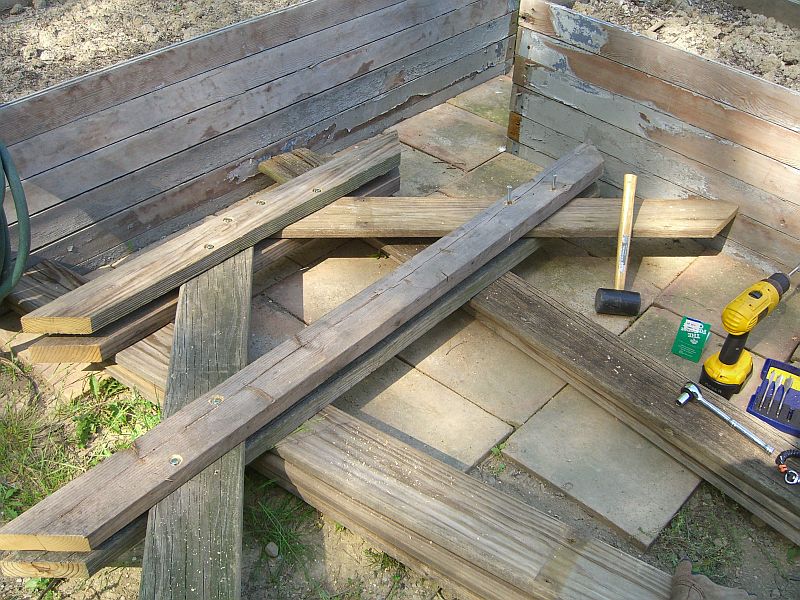
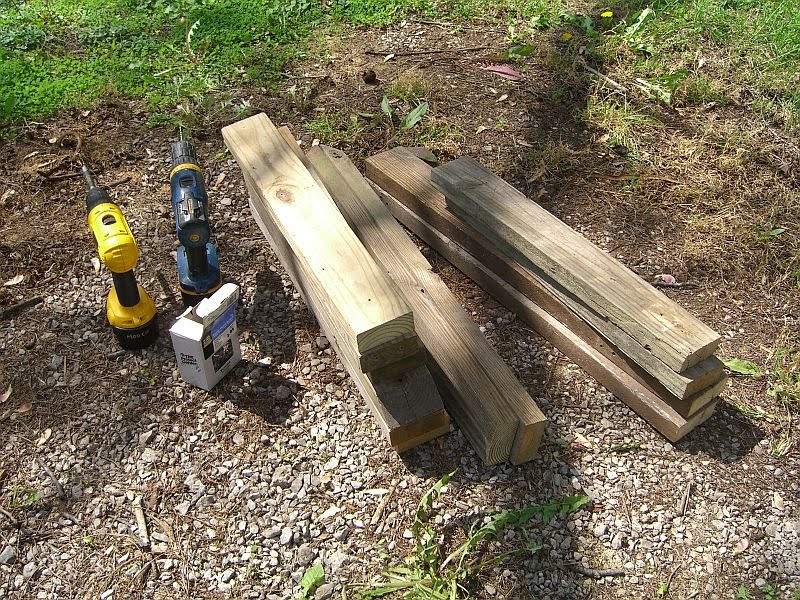
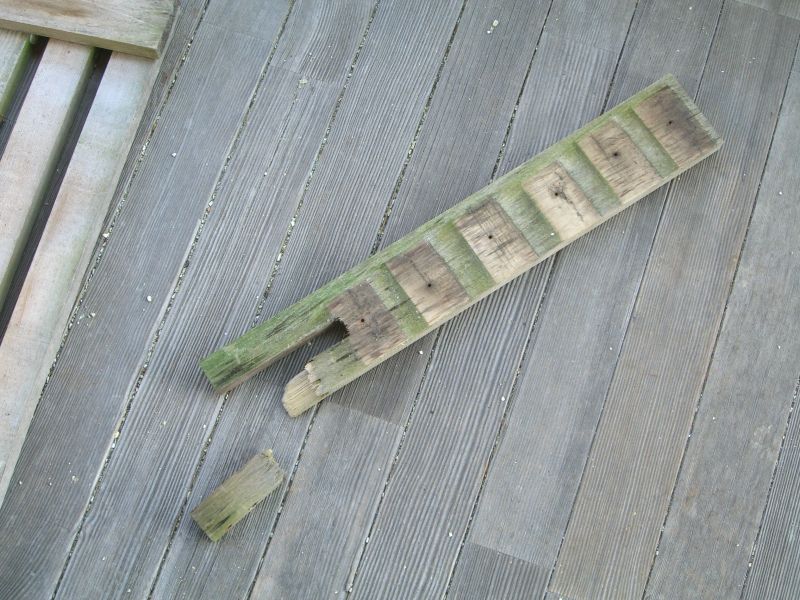
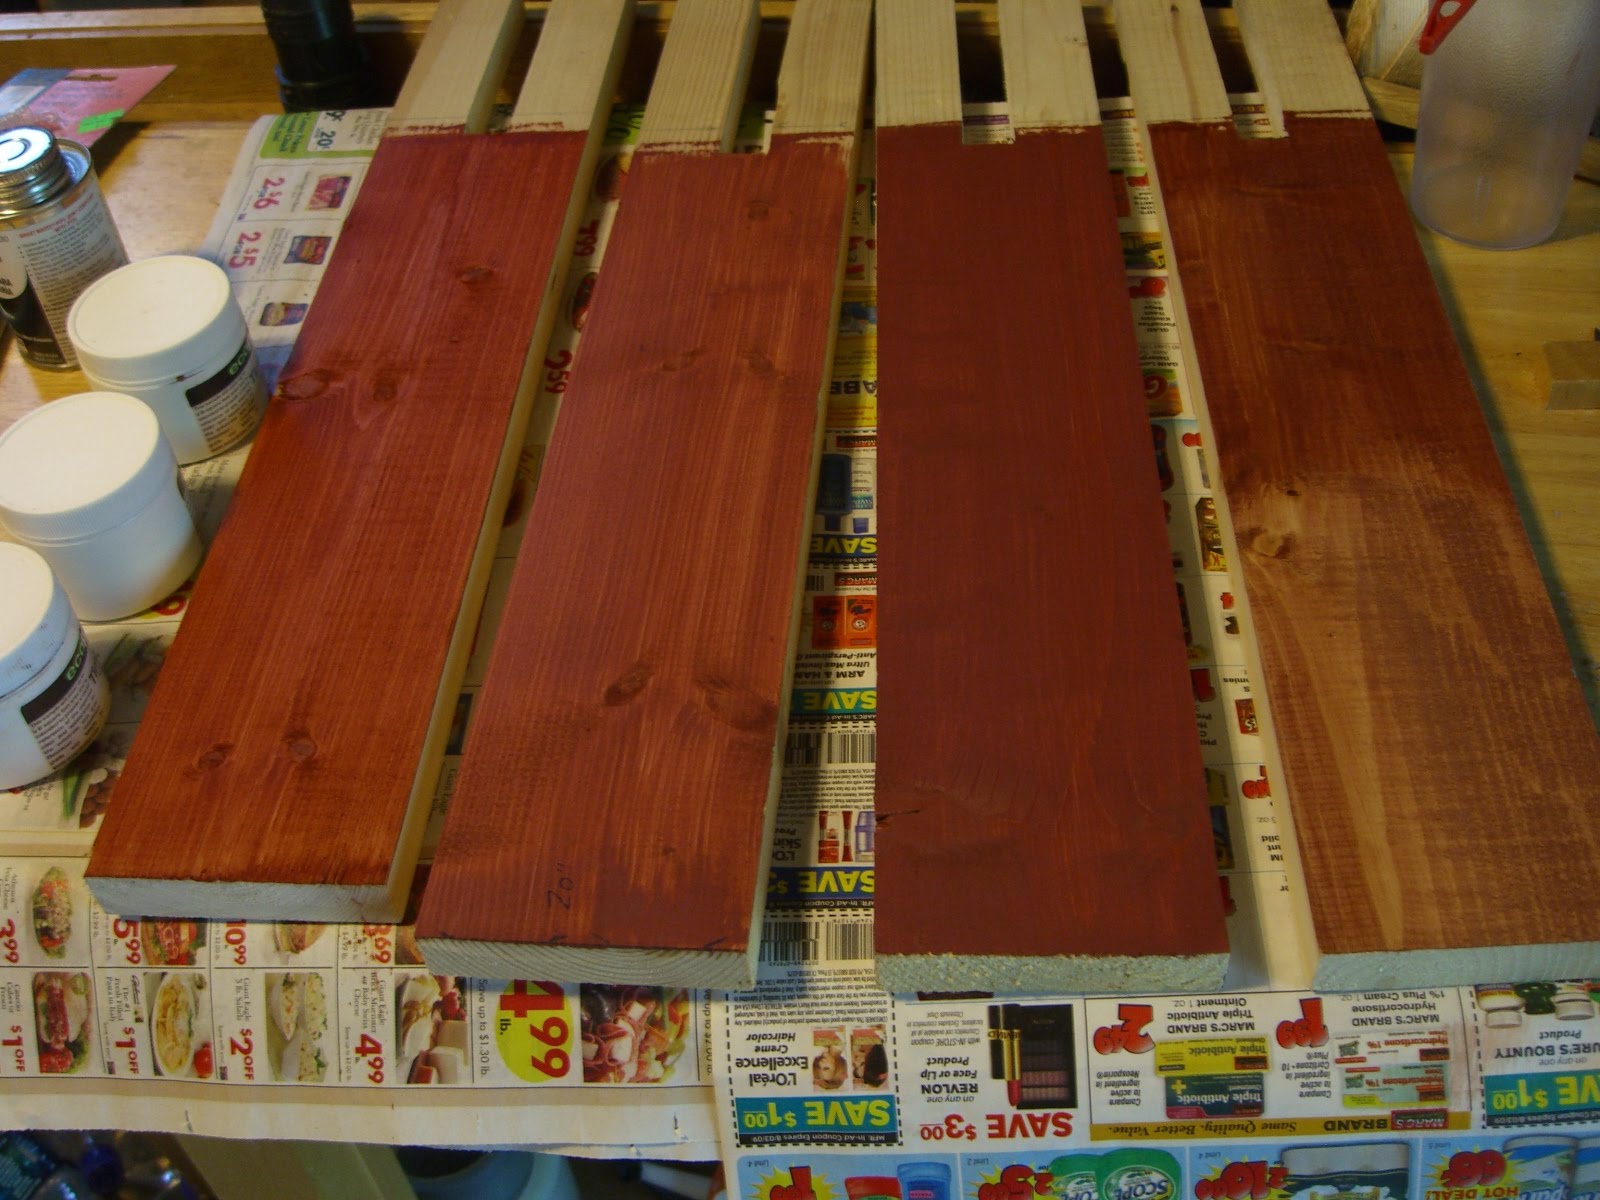
Having a well-explained primer on building a particular thing is very handy when, like me, you’re using materials on hand, not buying fresh stock to match specs. The raw materials for this table are almost entirely pressure-treated wood from the old deck benches I took apart last year – 2x4s and and something like 1 1/4x6s This meant both building deeper benches and adjusting the number of planks for the top.
Paddle bits let you sink the bolt heads for a cleaner look:
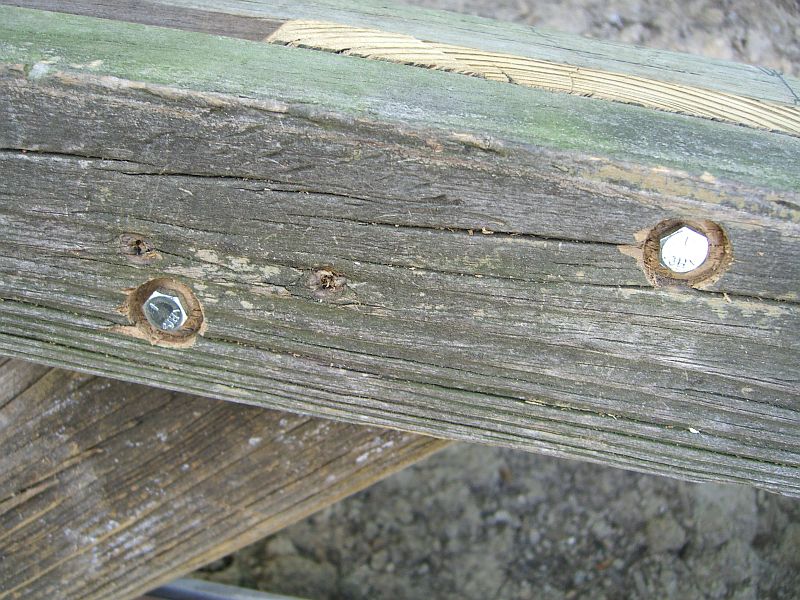
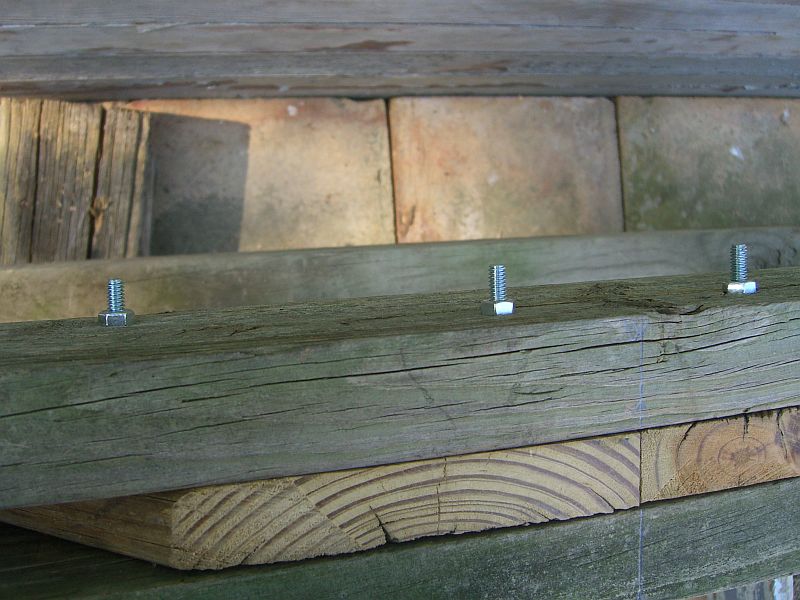
My local hardware store (Watson) lacked the exact length of bolts needed for this thickness of wood, but a little extra length shouldn’t hurt since they’re all on the inside of the frame:
If you don’t have a friend to help level and assemble everything, or a properly equipped shop, find matching chairs:
Jerry, Watson’s owner, recommended ceramic-coated screws from the Project Center line – these are great. They’re self piloting, the drill tip means they aren’t likely to split the wood if used near an edge, and the coating makes this table a lot more weatherproof.
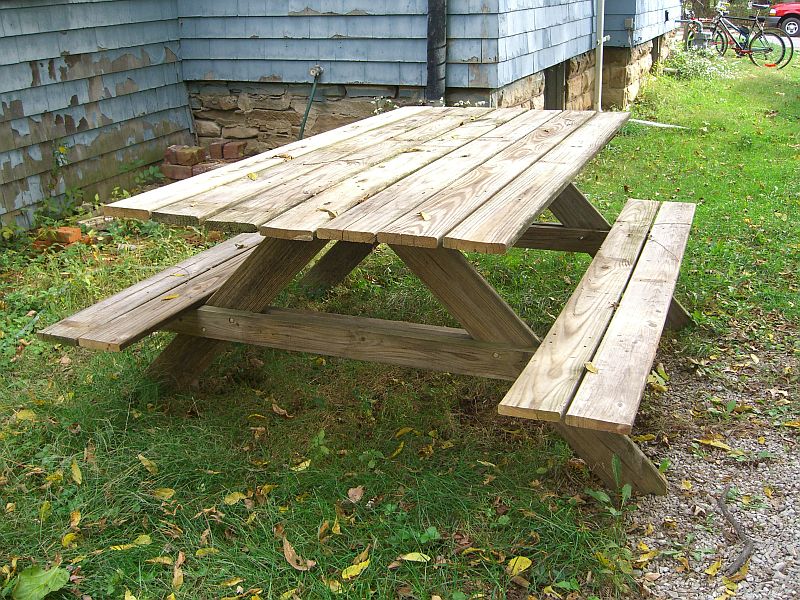
You’ll notice some minor bowing in the top planks – I was working with reclaimed materials, remember. Everything seems to be holding together fine – we’ll see how it survives the coming months.
Total cost: about $20, all for the fasteners.
Bike rack
Here’s a quick and easy project I finished a few months ago. The old deck benches – most of which became my picnic table (which is itself an upcoming post) – included a number of 2x4s with 45-degree miters. While flipping through woodworking plans online I found this bike rack plan that included a bunch of 2×2 sticks with 45-degree miters. The gears whirred slowly in my head and I realized I had just about enough pressure-treated wood in lengths that weren’t good for much else, some of which were practically precut.
I won’t recap the whole construction process – the steps in the linked plans are pretty straightforward. Beyond the compound miter in the pictures, I used my trusty Craftsman table saw to rip the 2x4s to something just shy of 2x2s, and they seem to be working fine.
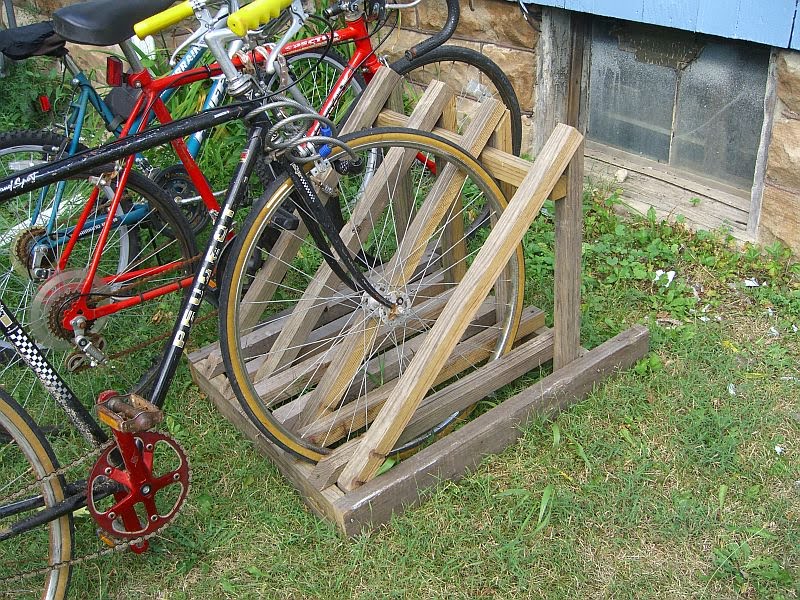
Room for at least three bikes if you tie up to the outsides (as the red one is in this picture).
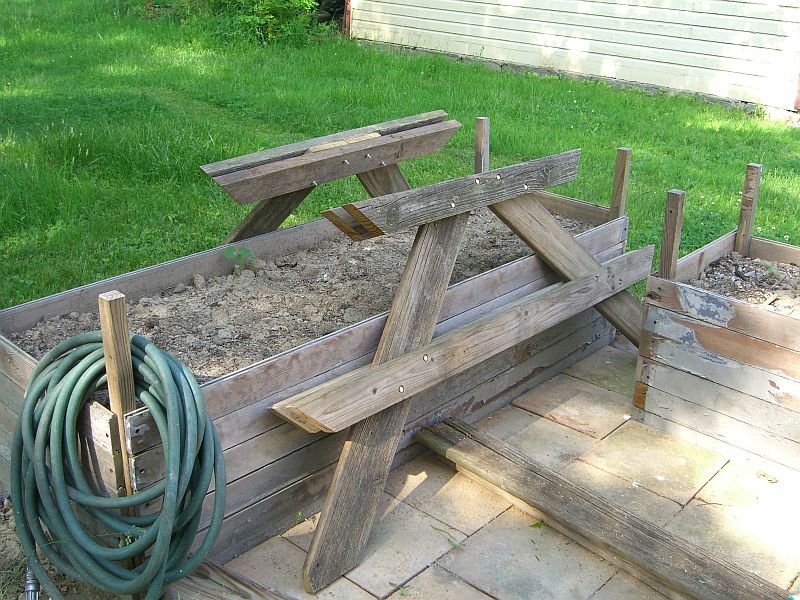
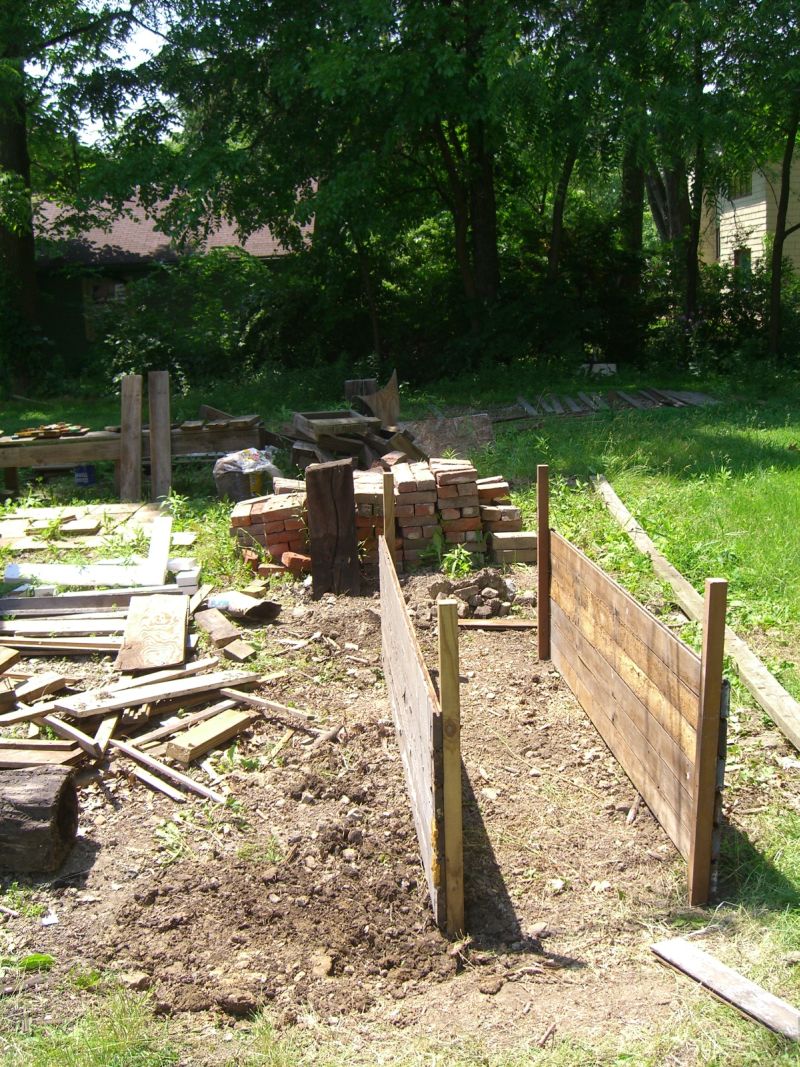
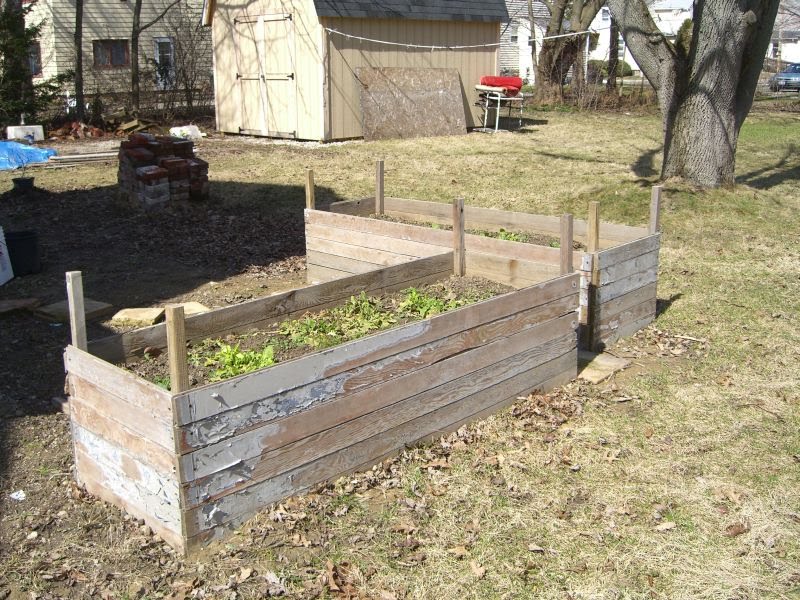
Raised garden beds
I am now light-years behind on any sort of posting schedule, or non-schedule, or really just posting, period. As a result, several of the next few posts will be horribly outdated: projects I finished months ago – some even last year. I’ll start with some adaptive reuse that’s been feeding me for part of this summer:
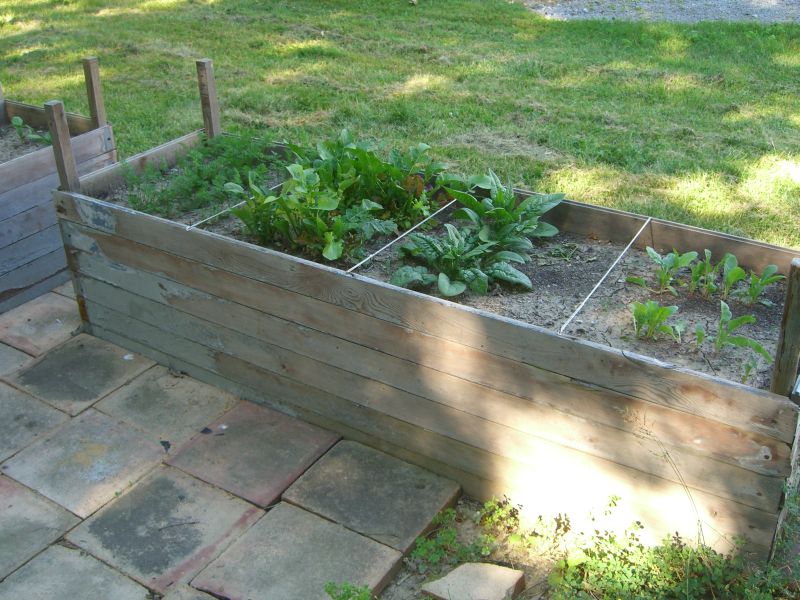
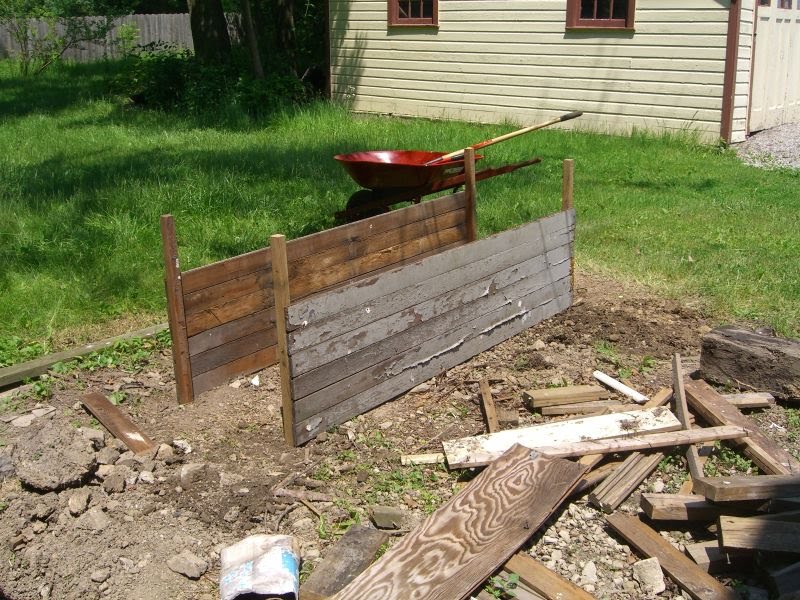
I won’t go into the virtues of raised beds here (plenty of others have said it better than I can right now) – and I’m not even to the point of square foot gardening – but I knew a couple of raised beds were going to be an important feature of my efforts to turn the gravel pit behind my house into something better. These are made entirely from found materials. The stakes – which are roughly 2′ in length each – are the same scrap posts I used for the compost bin last year; each has the same 45-degree miter at one end. The walls used to be a porch up in Elyria. The homeowner had redone his porch but hadn’t thrown out the wood yet, then saw my post on Freecycle looking for tongue and groove planks.
Construction could have gone several ways, each with their own pros and cons. One option would have been to measure off the stake locations and dig/drive them in first, then fit the walls to that skeleton. This would probably wind up with some imperfect corners since you’re looking at keeping things square over a four foot run. Another involves building the entire box in the workshop, moving it, holing out for the stakes, and then hoping you’ve leveled the ground well so it doesn’t skew when set down.
I chose to lay out two stakes on a flat surface, attached the planking for a long wall, then sank that whole wall into the ground. After both long walls were in I attached the short walls, screwing in the lowest plank, then fitting the next plank, screwing it in, etc. It was easier for one person to handle, and a little forgiving of leveling issues. The most important detail in this approach is being as exact as you can in spacing the two walls – otherwise the corners are likely to look ugly.
It’s conceivable that you could build two ‘L’s of one short and one long wall each, then move those into position. Again, that approach will have its own pros and cons.
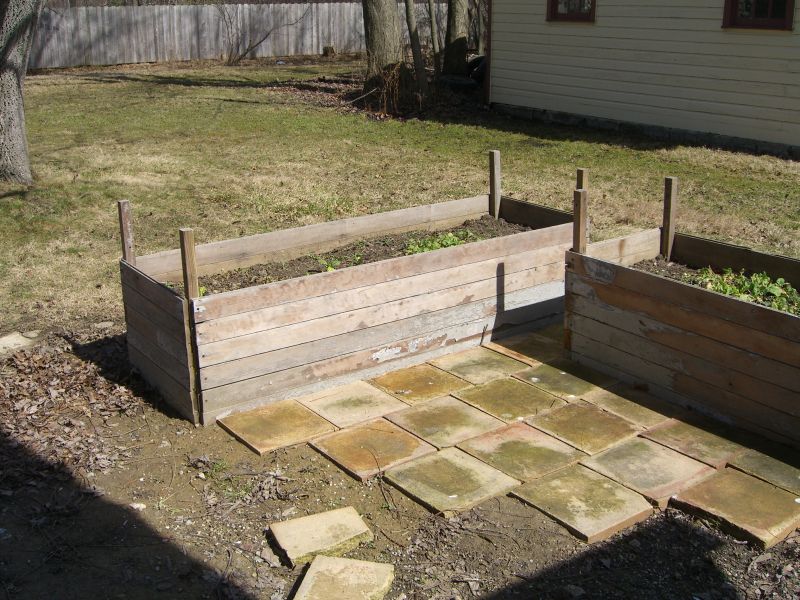

Ultimately, no matter how you build your garden beds, it’s still all about the dirt. These beds are roughly 20″ high so I wasn’t planning to fill them entirely with top soil. I have piles of clay fill from a neighbor’s basement excavation and put in about 15″ of that to fill the lower half. A healthy topsoil mix (river soil and mushroom compost from the local nursery) filled the rest of the box to within an inch or so of the top. Gravel or other drainage materials might have been helpful in the long run, but this mix seems to be working fine.
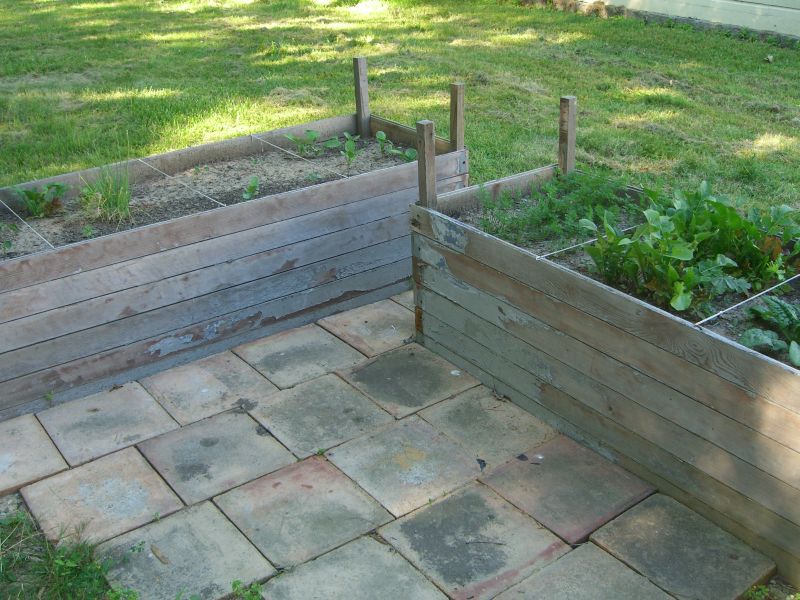
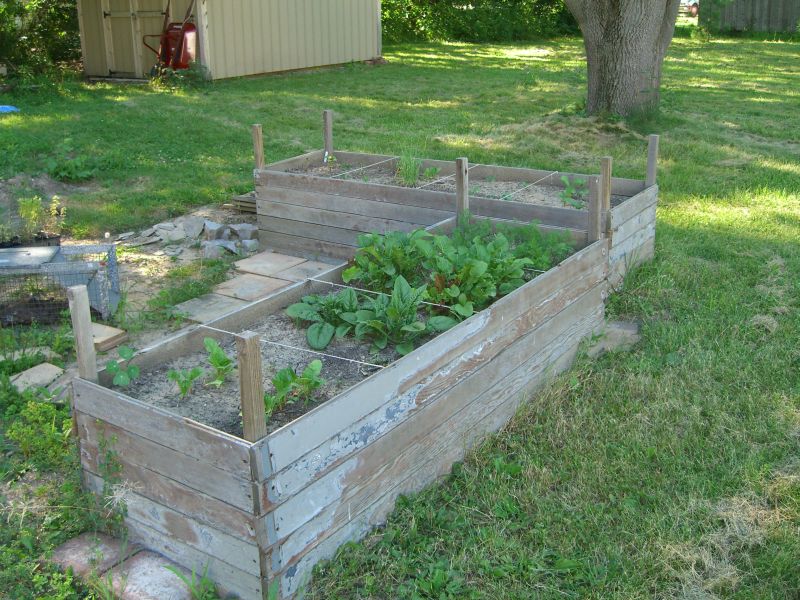
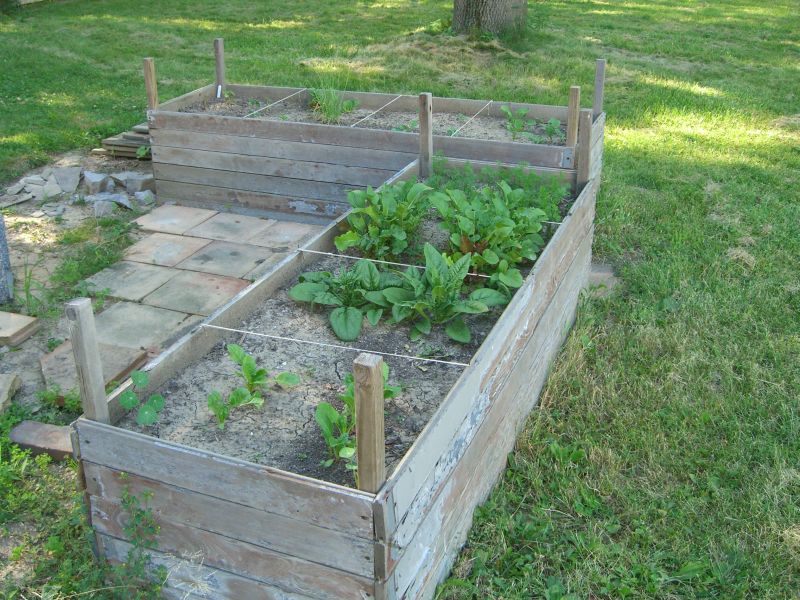
The paving stones were highlighted in the previous post. We’ll see how these beds and that mini patio tie together into the rest of the landscaping plan.
More updates as they are warranted.
Update (warranted):
Never posted these, but here’s the first dish that came out of the garden (cukes were from the front garden beds):


Delicious in butter, sadly not from the garden:

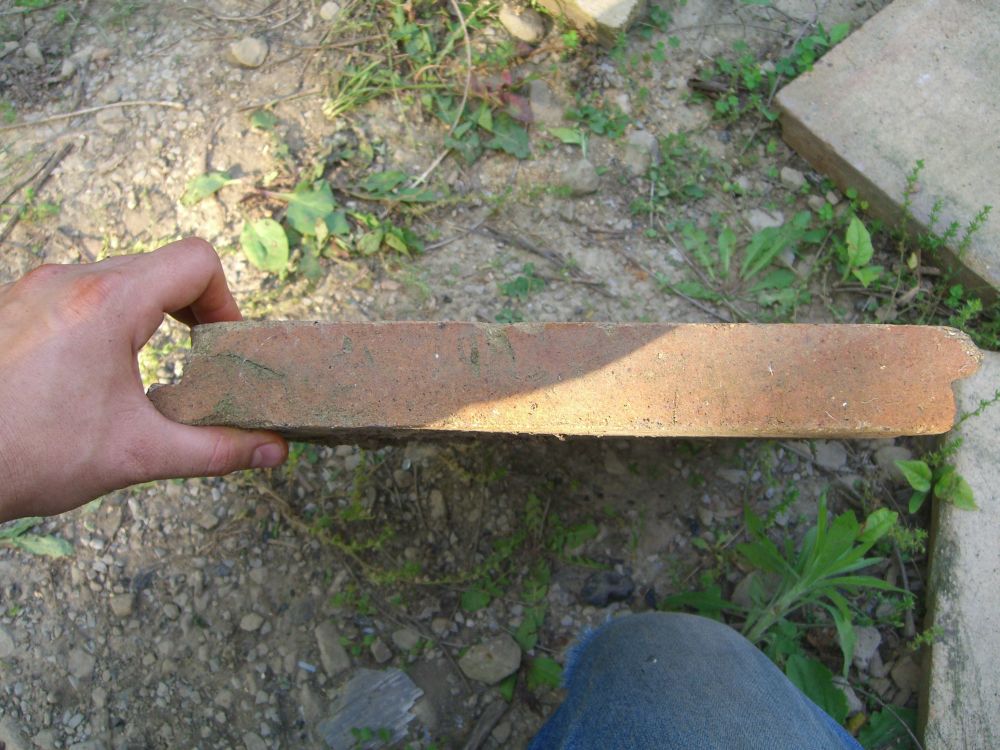
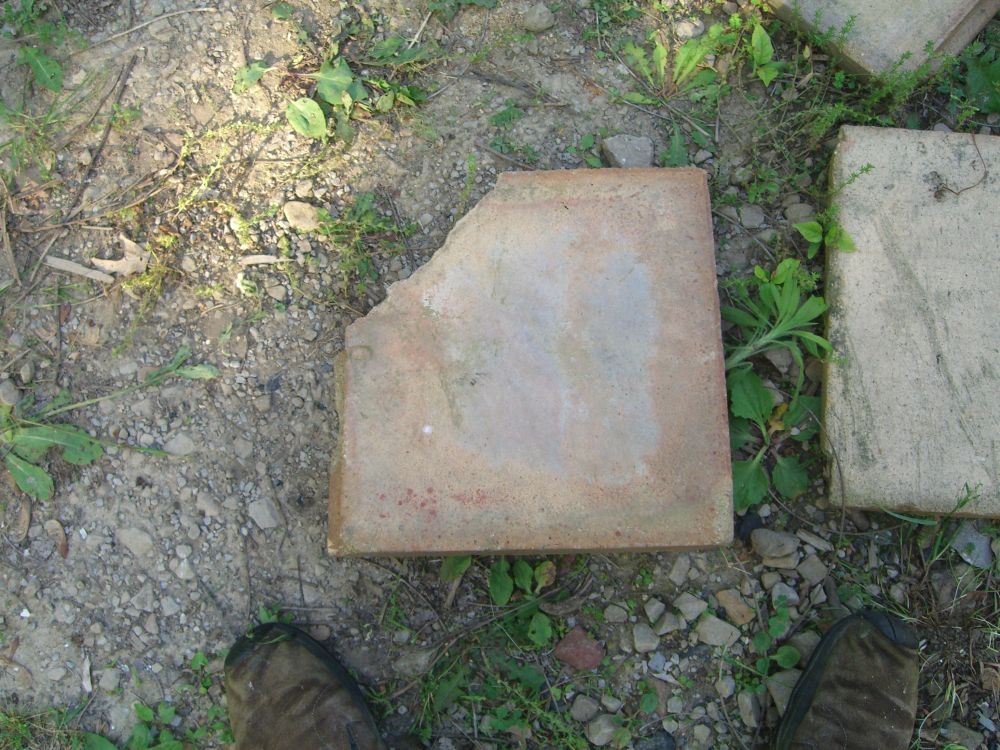
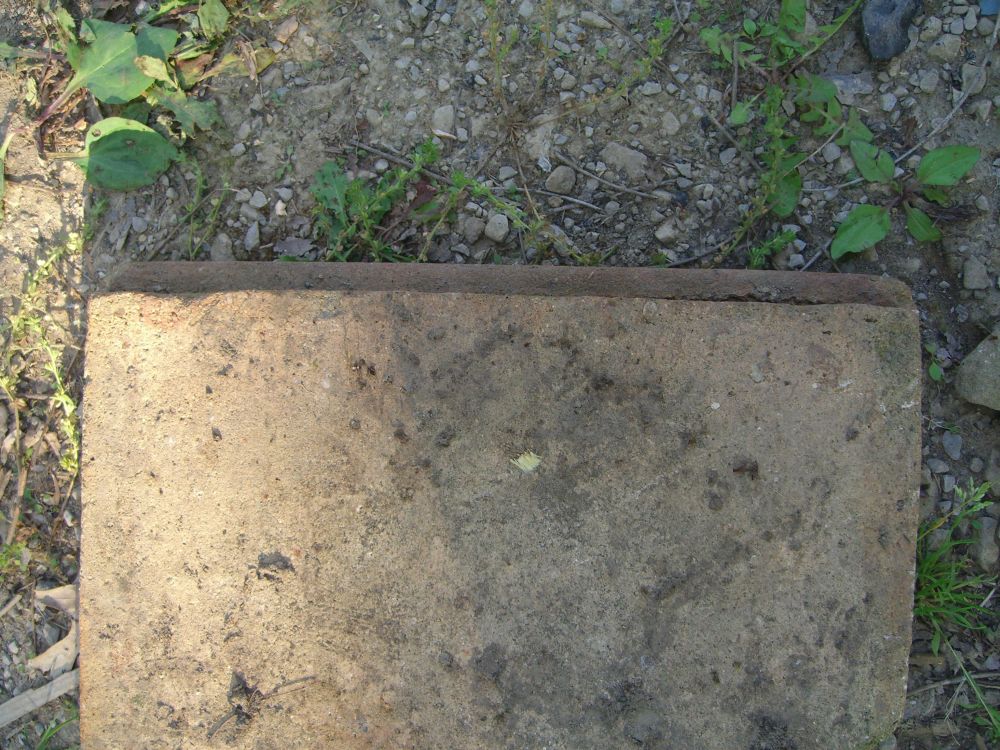
Can anyone identify these paving stones?
Posted by aaron in advice wanted, backyard on 20 June 2010
These were salvaged and quite likely discontinued, but I’d like to get more that match if possible – problem is I don’t know what the type is called so I can’t search for suppliers. If anyone knows, and has any recommendations on where to buy, it’s much appreciated.
Pavers are roughly 1′ square and an inch thick with – and this is the feature I can’t match anywhere – half inch deep ‘ledges’ on alternating sides that allow you to lay them in an interlocking fashion without needing mortar. The sample in the picture has a broken corner, but otherwise should give (I hope) an idea of what I’m dealing with.
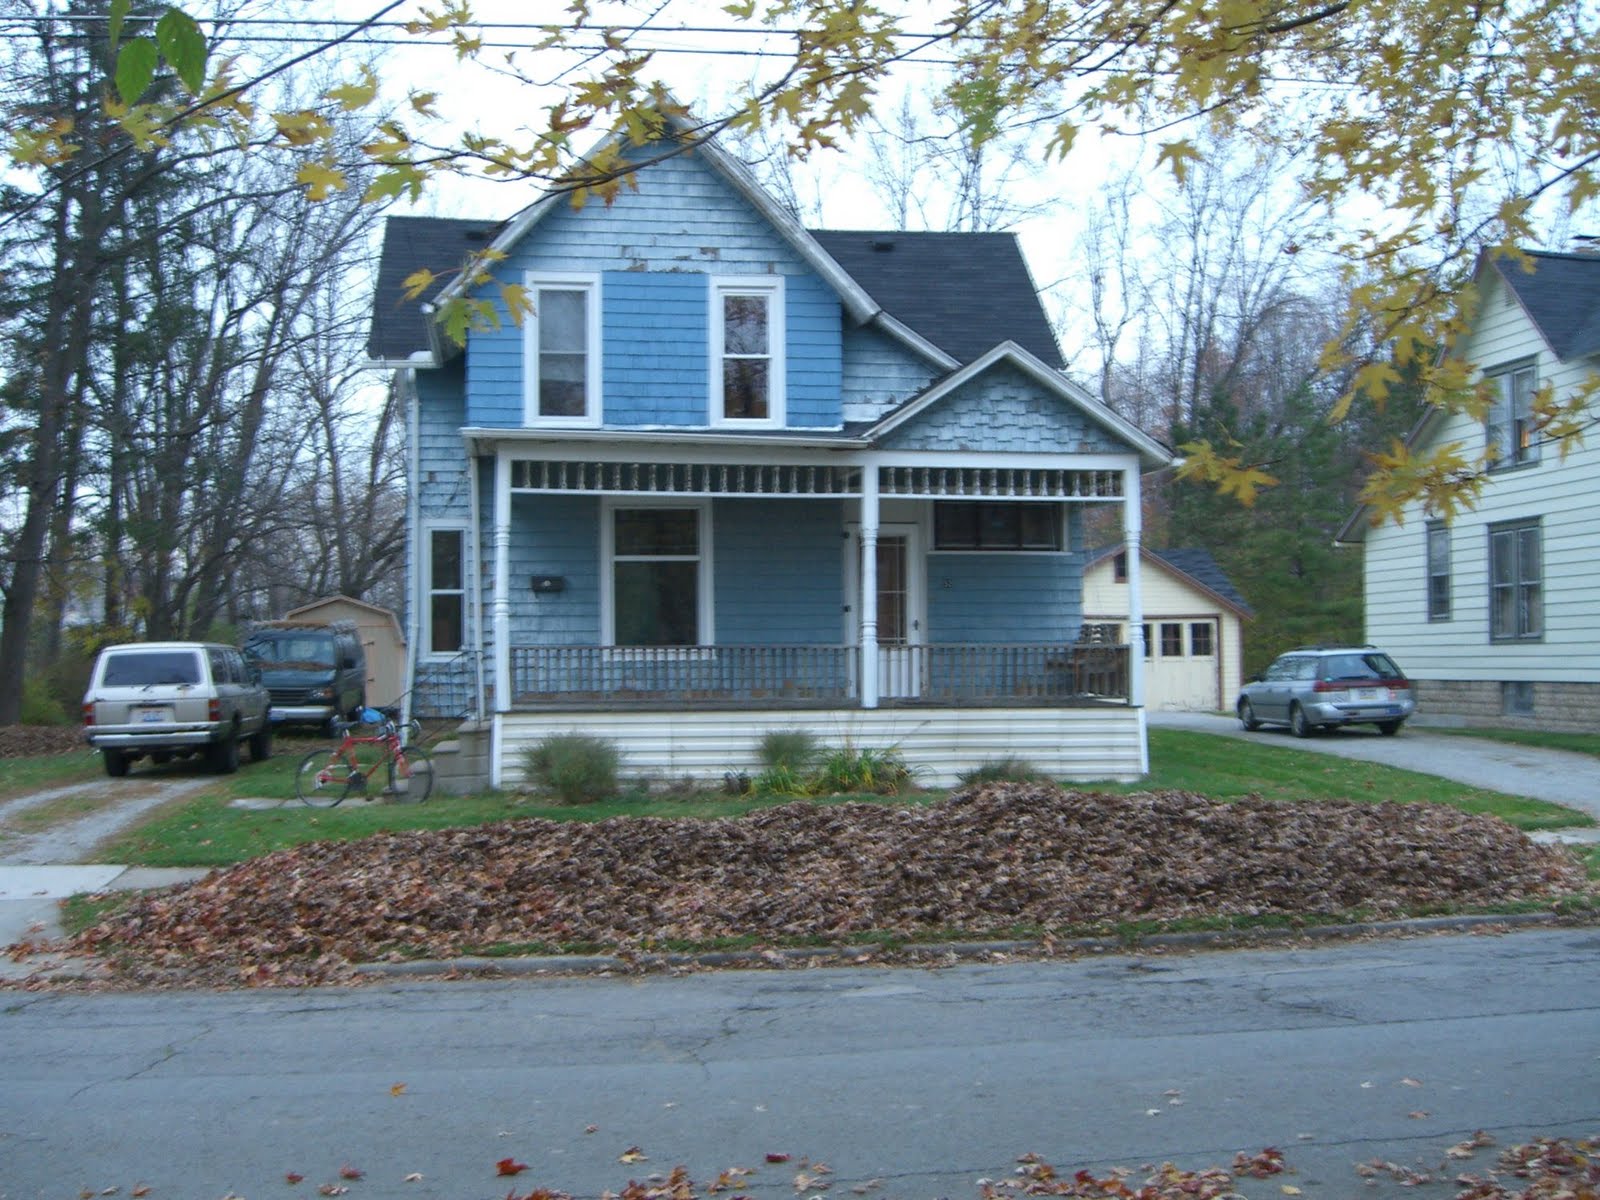
So much for that schedule…
The blog-updating one, not the house-working-on one. Apparently I didn’t make a single post while on vacation (surprise, surprise), so I’ll have to catch up … some other time. Meanwhile, let’s get the typing started again with, if nothing else, a not-very-elucidating list of things I did around the house today.
– husked the last of the walnuts
– raked the last of the leaves from the front and side yards
– plugged the couple of carpenter bee holes from last summer with that savior of old houses, Abatron
– created more tool hooks in the back room
More stuff later, as always.
Flora
Wow. Has it really been two months since I posted anything? The mini vacation I’m taking will give me a chance to catch you all up I’m sure. Meanwhile, here’s a little bit of what grows on three tenths of an acre (untended for a few years):
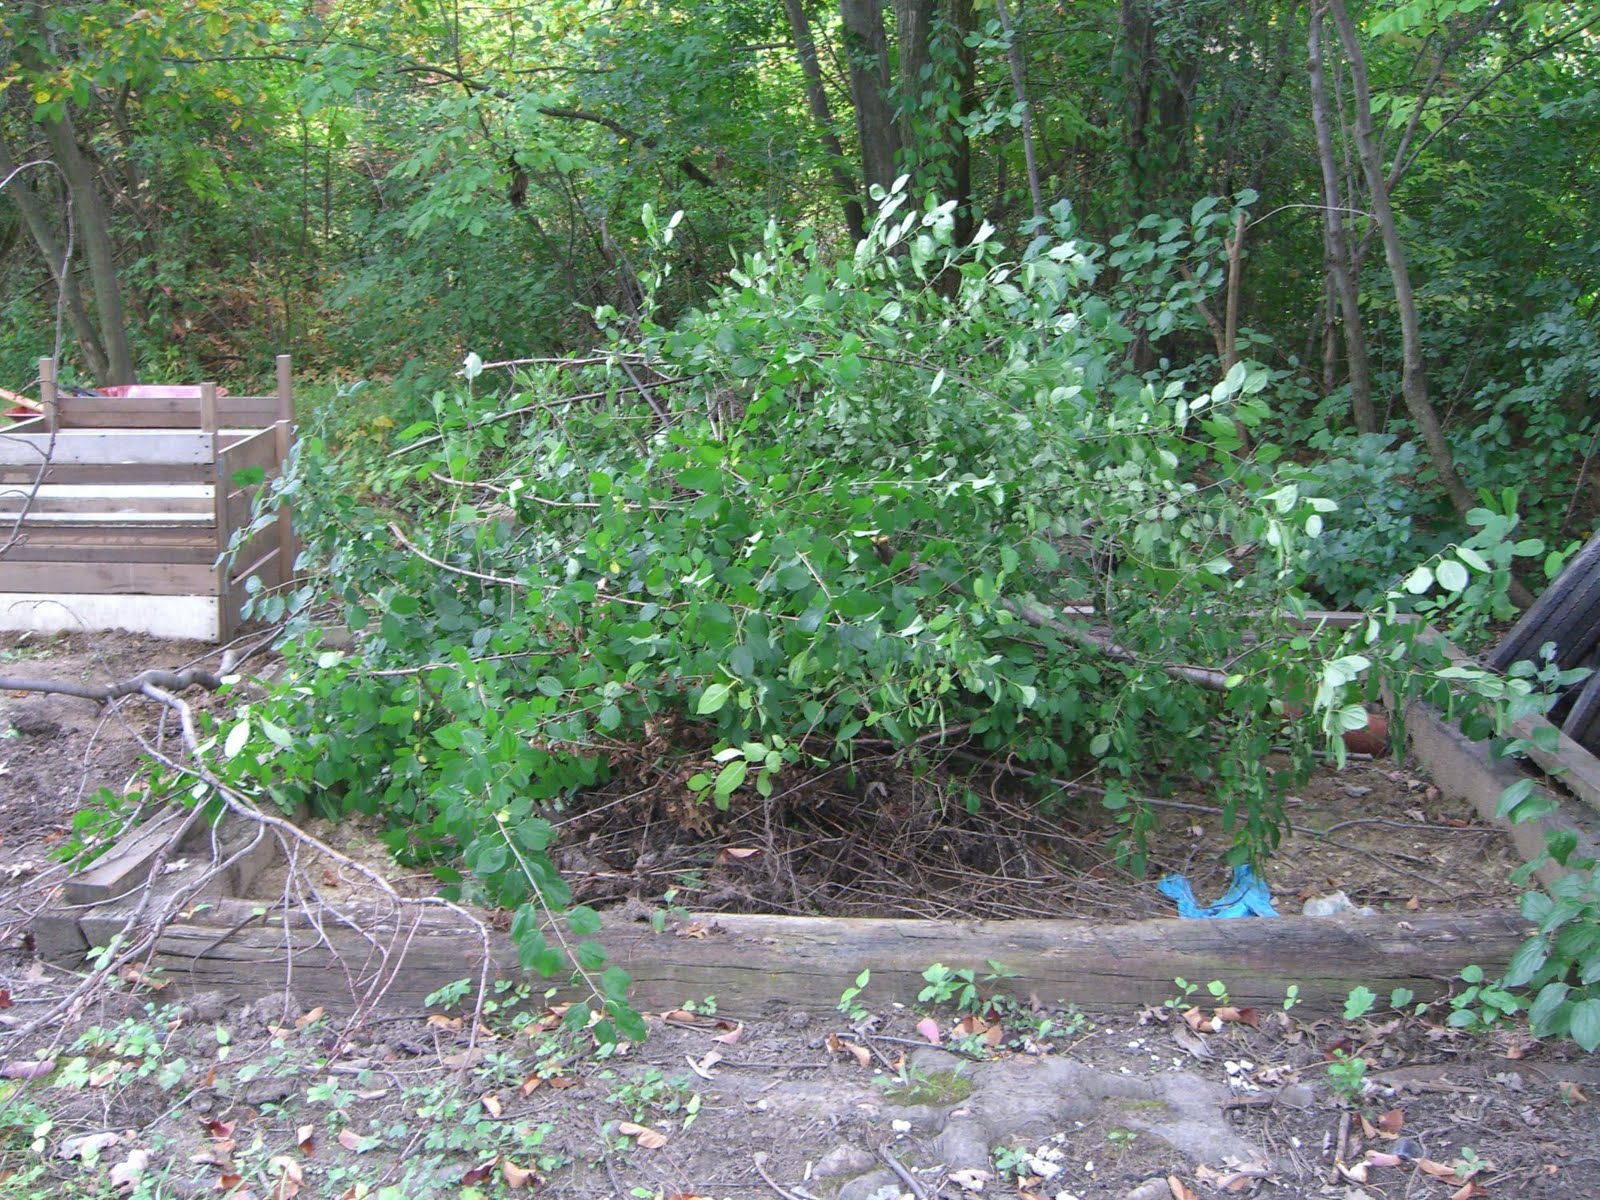
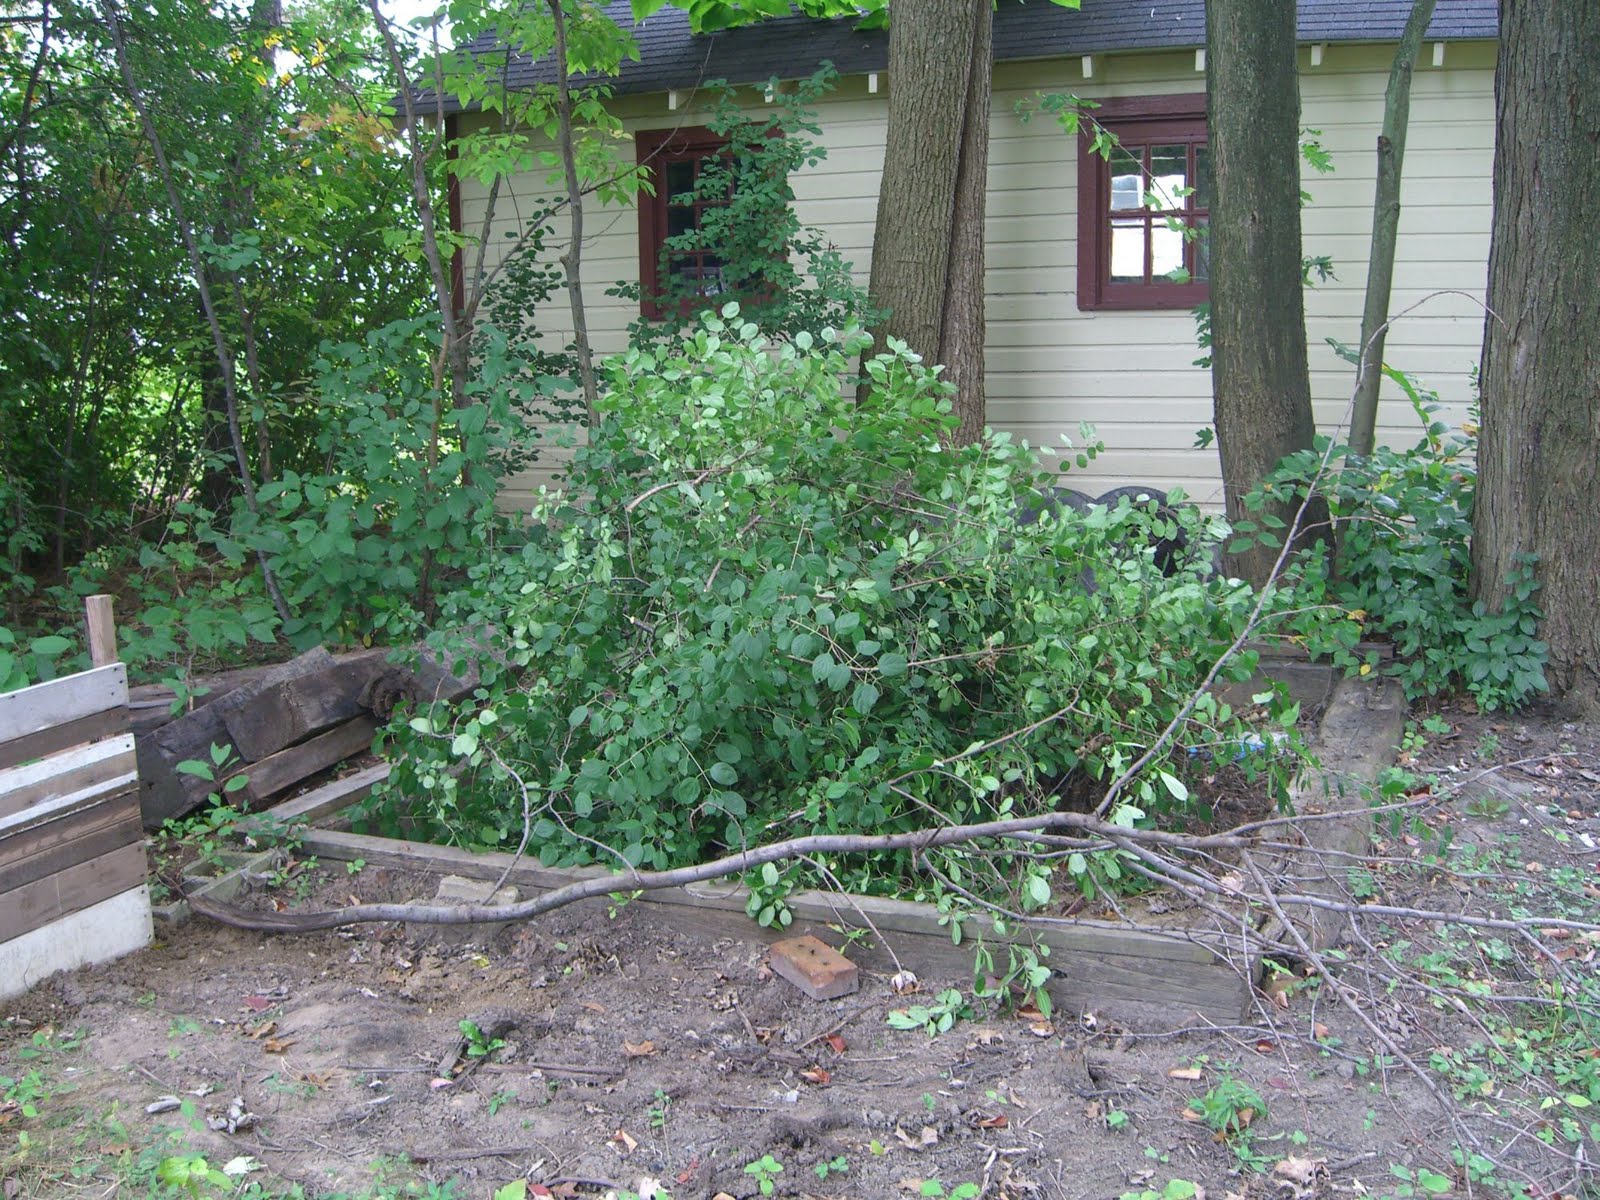 That’s a vast amount of buckthorn pulled out of the area around the old shed foundation. There’s some more on the west edge of the property, but I’m not going to deal with that until I decide what I’m planting over there.
And here’s most of the leaves that fell in the yard. I know! This blog is just so scintillating sometimes:
Jeepers…
 These trees are three stories tall. All of the brown leaves are (now dead) creeper vines. I was so busy with the summer theater festival back in July that I didn’t notice the massive infestation that was threatening to envelop the trees. Fortunately my dad was in town and pointed it out (thanks dad!) When I delved into the bush to find the main stem, it turned out to be a dual stemmed monstrosity about an inch thick. Heavy pruning shears did the trick, but not without a fight.
Let this be a lesson to us all – have your parents visit more often.
Why it took four weeks to get a porch swing
I have high hopes for building a porch swing from scratch one of these days, but the initial idea was to use wood from a black walnut in the backyard which a friend and I have yet to examine and see if it can be milled. Meanwhile, my neighbors tossed a broken porch swing a few months ago and I figured a rebuilt swing was better than no swing, at least until I carve my own swing straight from the raw timber of my land.
The swing is a bit old but in overall good shape save for the four cracked boards that connect the back of the seat to the bench: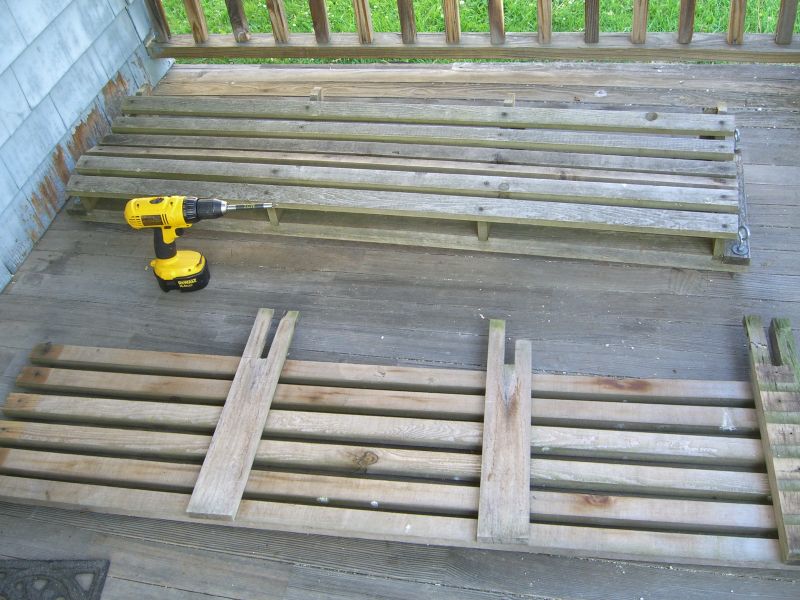
No problem, thought I – I have enough 1×4 (which is wider than the existing boards, but that’s not an issue) and I can even use my new dado blade set to easily carve the groove. Of course it wouldn’t be so simple. The arbor nut on the table saw didn’t want to budge, so I was forced to improvise using just the normal blade. I ran each board through multiple times, shifting the cut width to cut the outer edges of the groove and remove some of the wood in the middle, then used a chisel to clean everything out. The only tricky thing, really, is to remember that the blade will cut further on the underside of the board than on the top – I marked a second line further down the board to compensate and tell me when to stop.
 Since this isn’t the ‘final’ porch swing for the house, I took the opportunity to test out some all-natural stain samples to see how they look, and how they weather:
 Reassembly:
 And a porch swing chain set from Lowes:
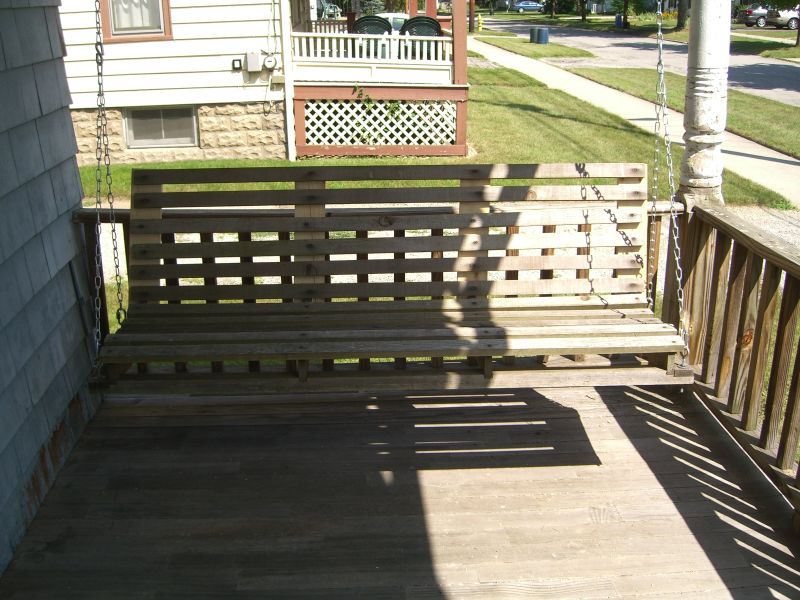 Now to paint the porch.
A touch of cement
Makes for great weed control, among other things.
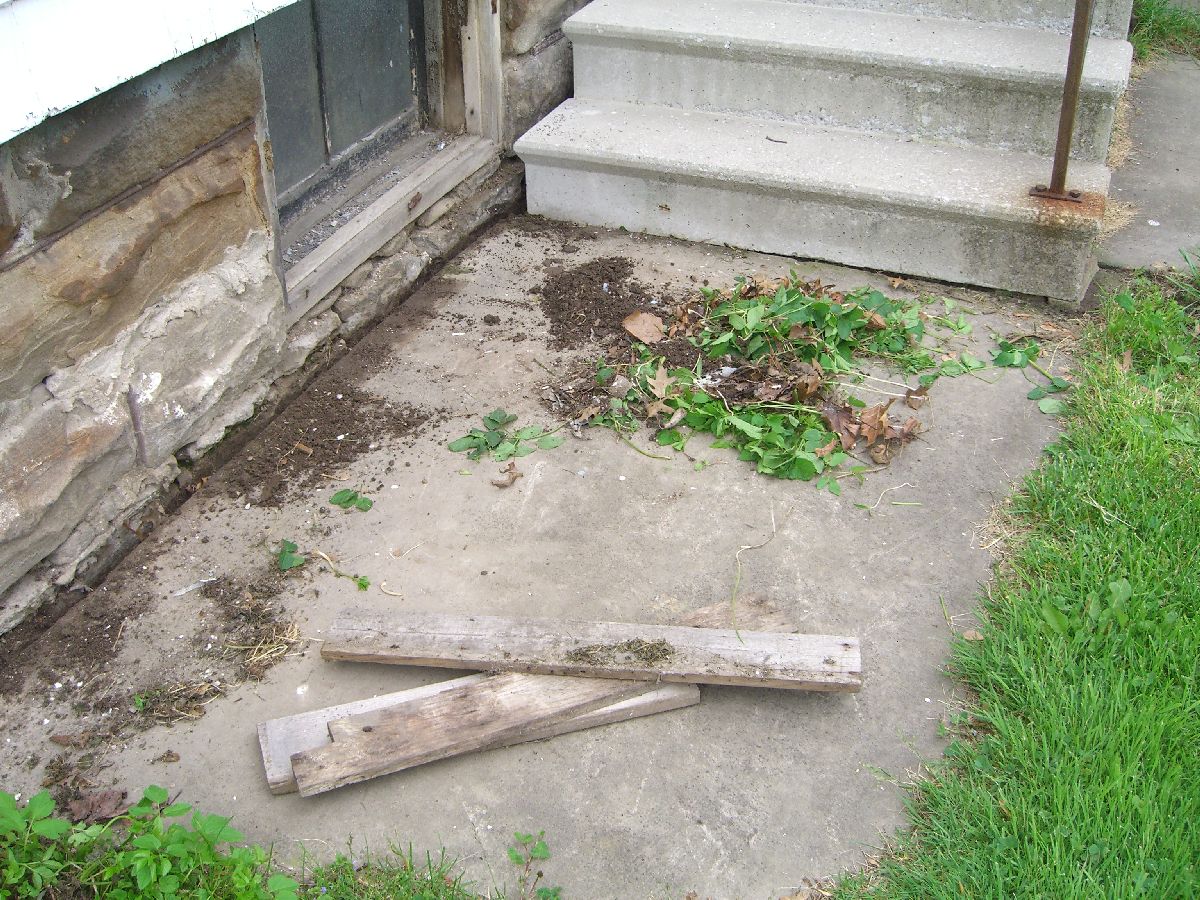
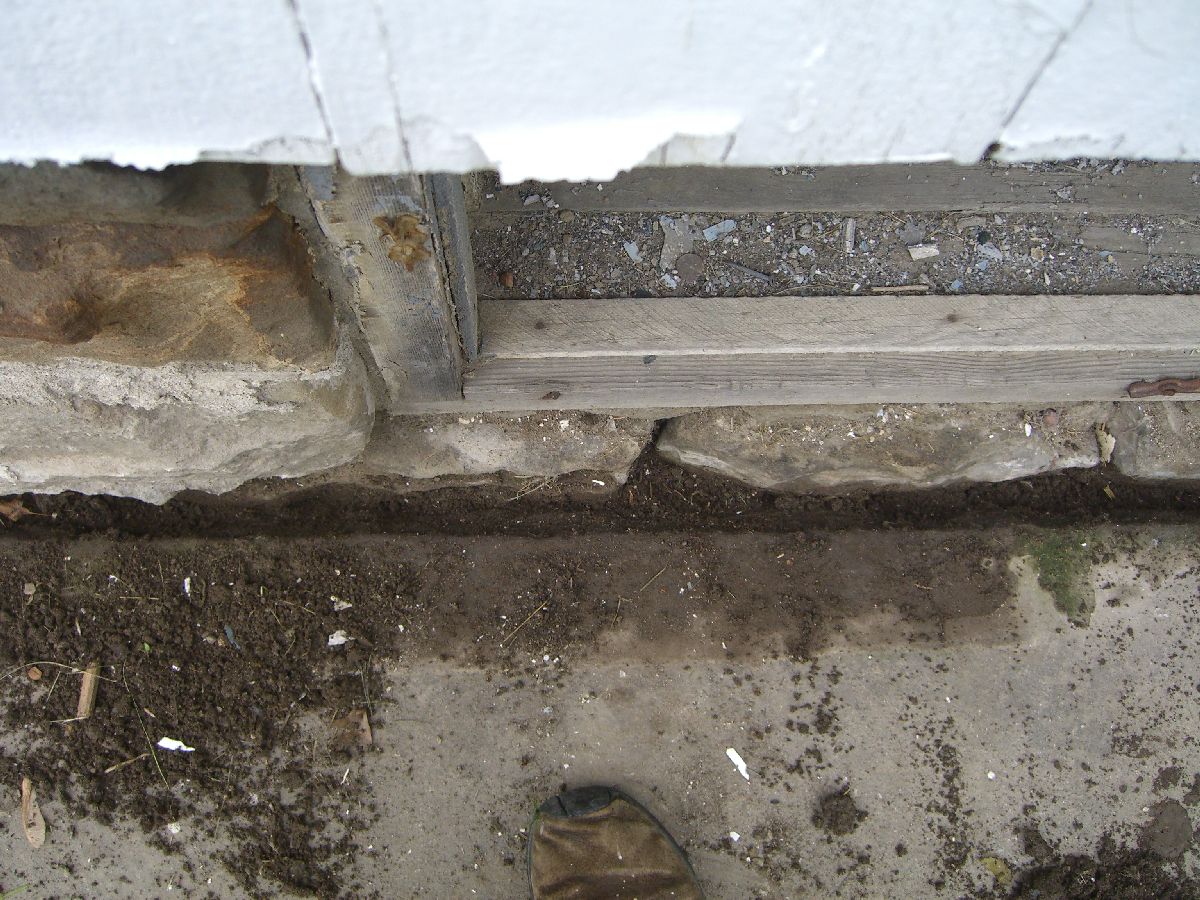
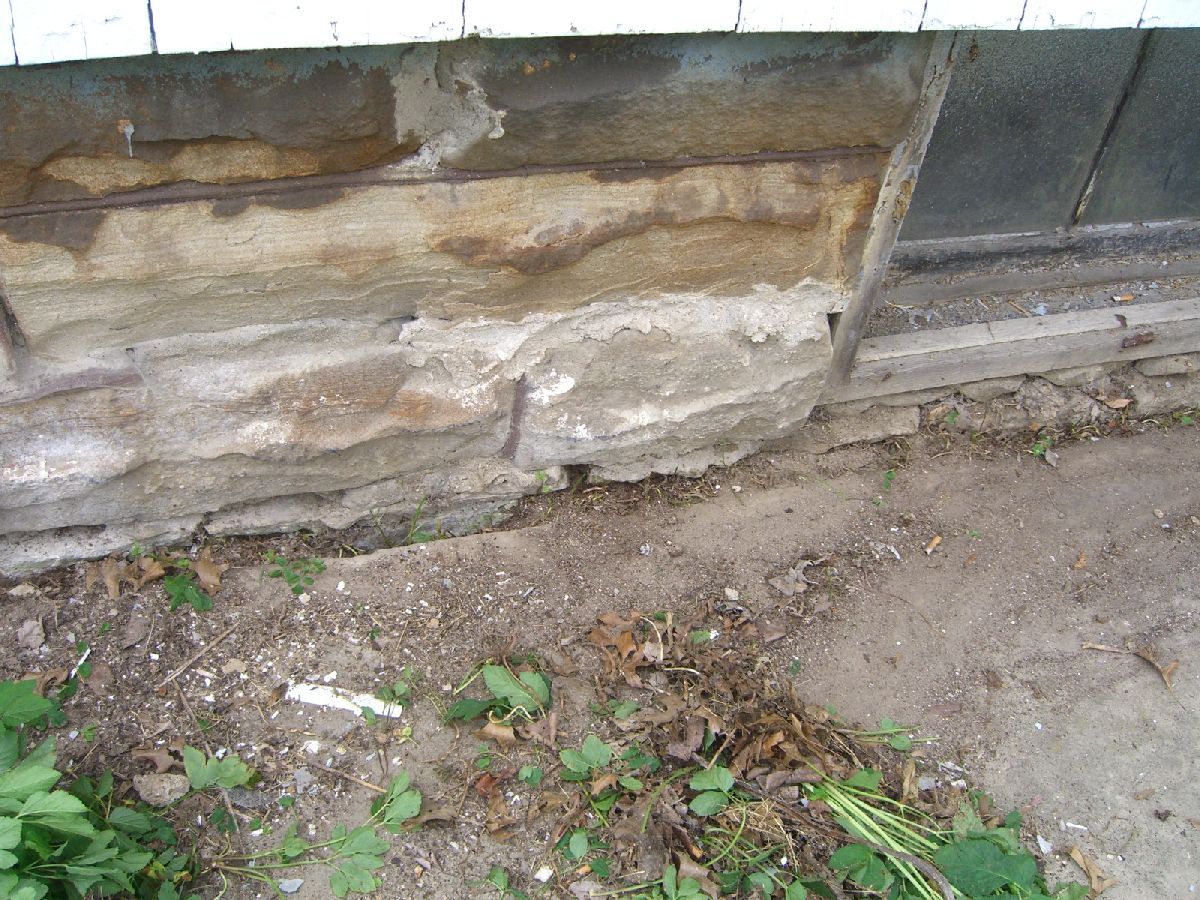

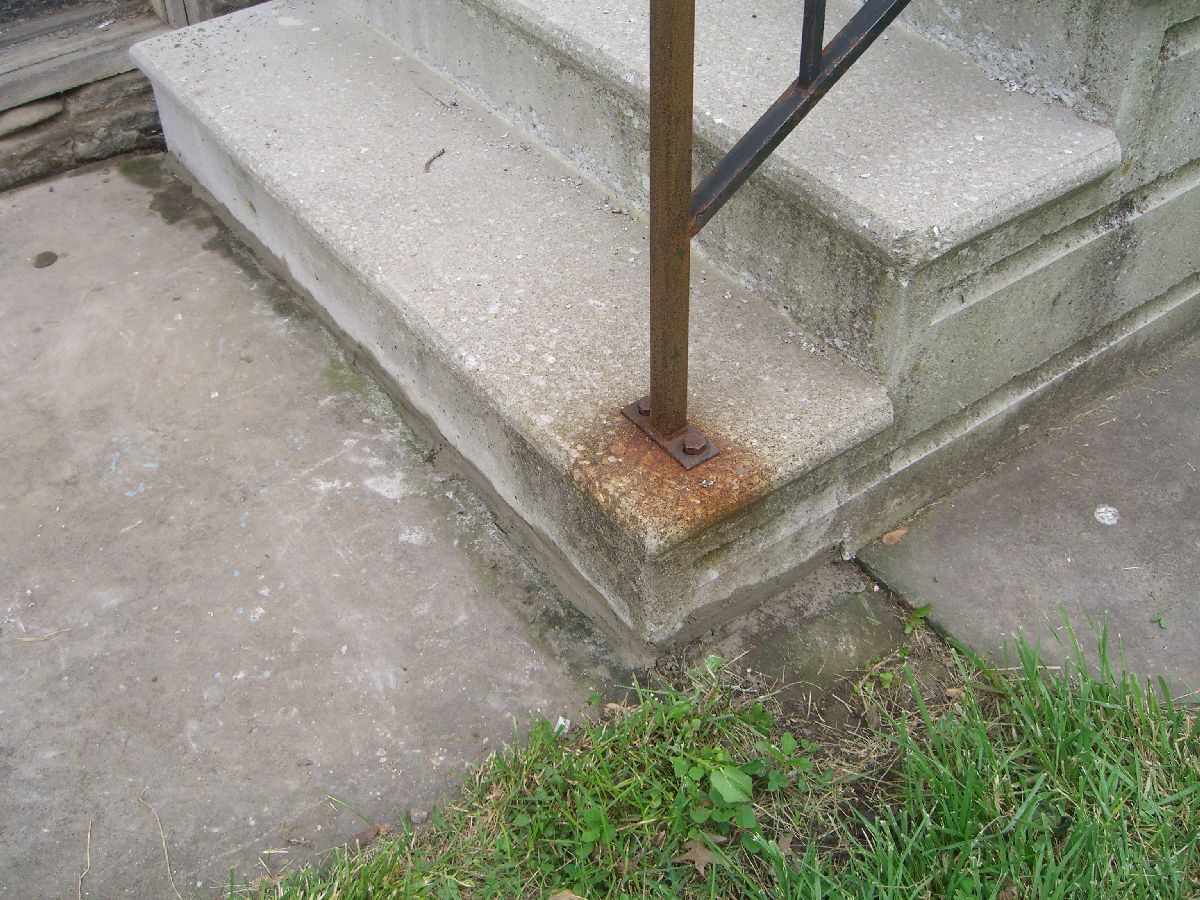
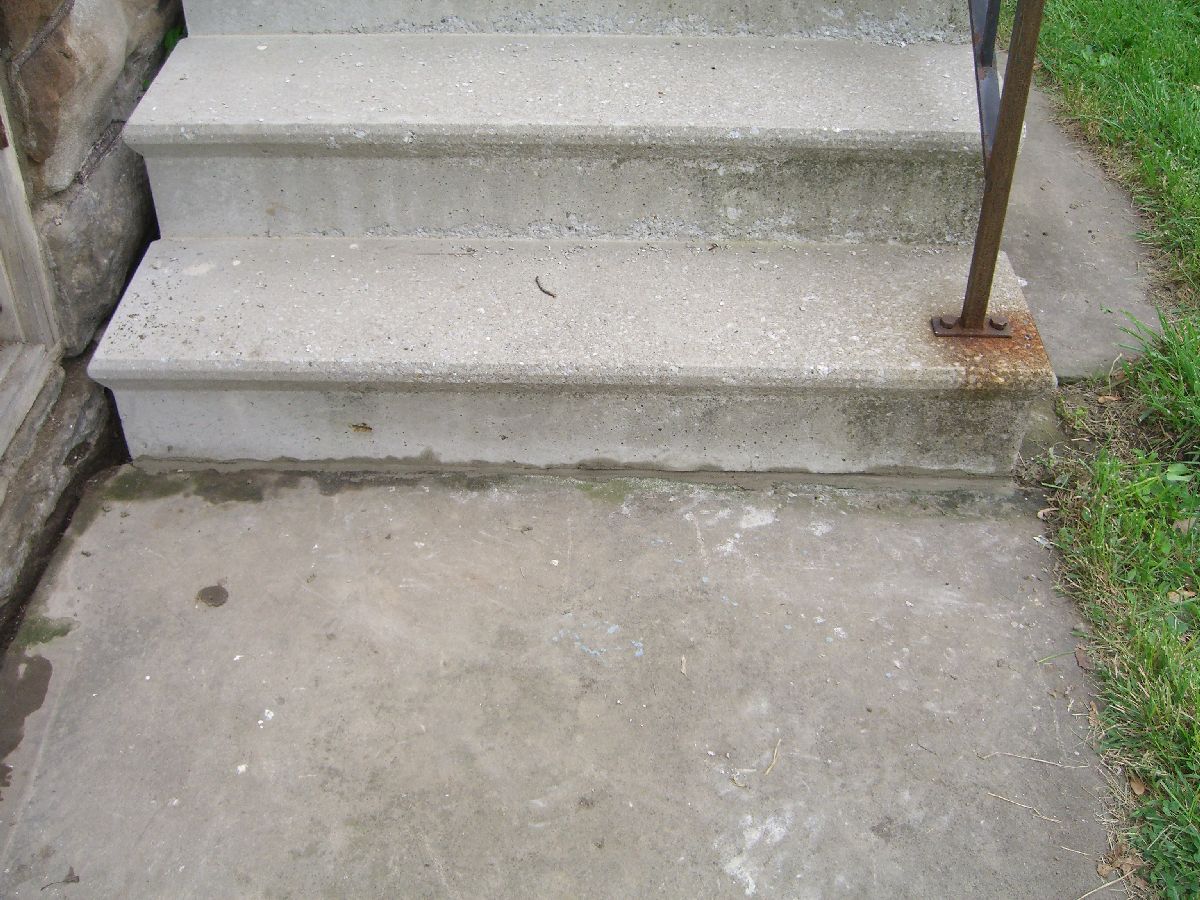
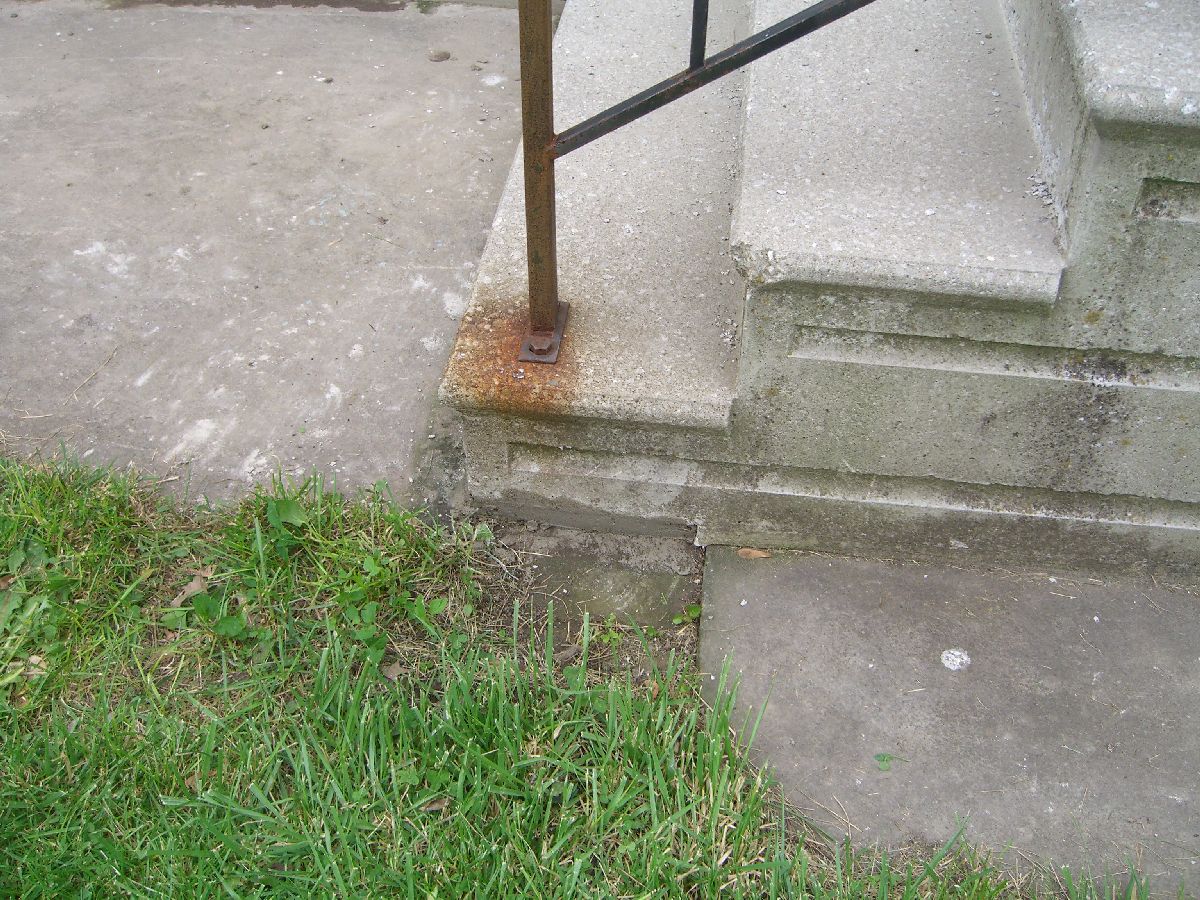
Said other things include cleaning out a few crumbling spots in the 110+ year old mortar and filling that back in.
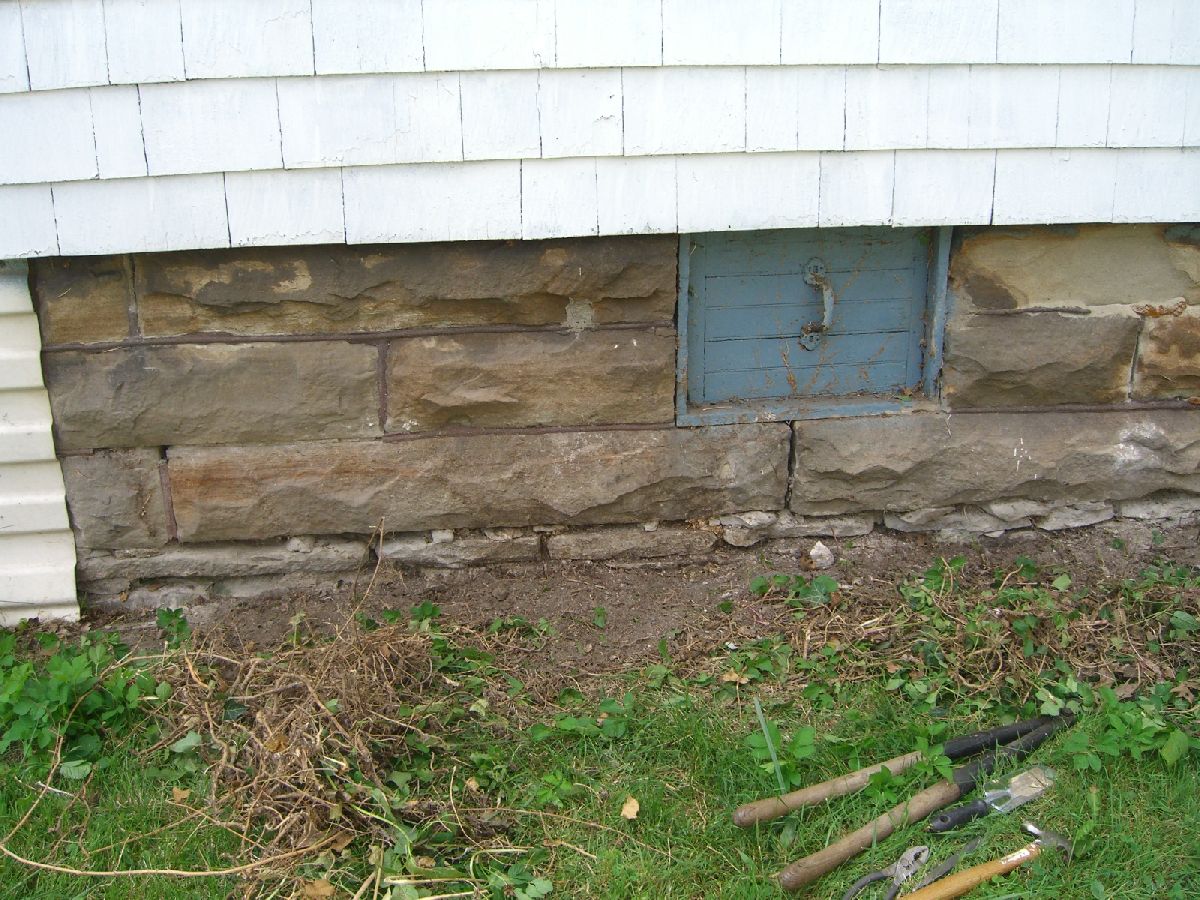
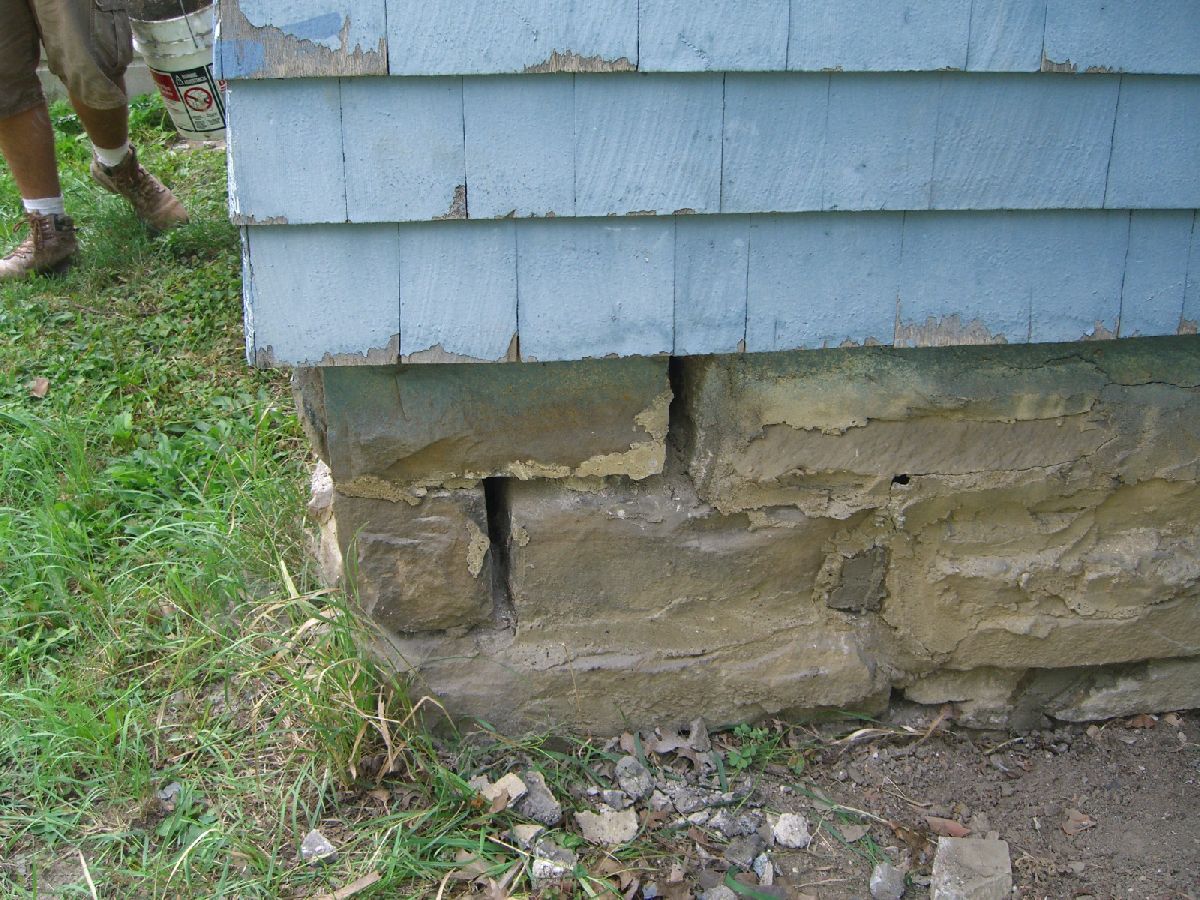
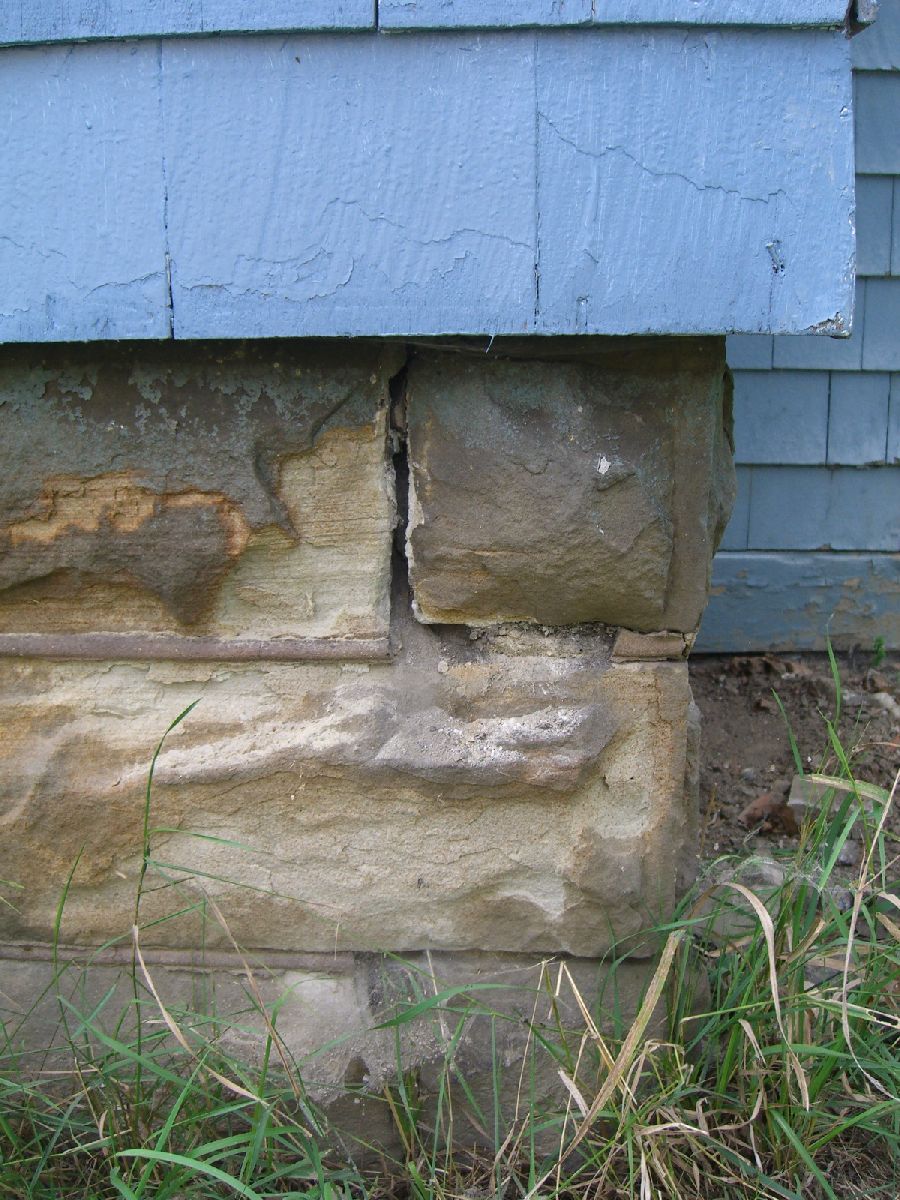
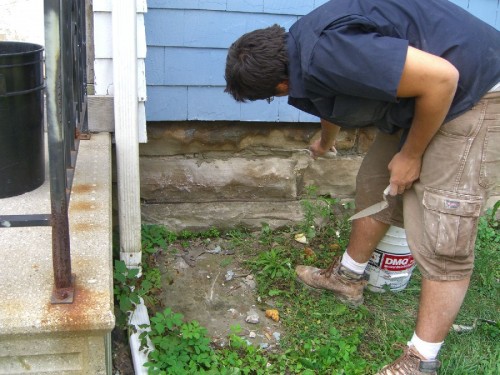 Quentin, mason to the stars.
A danged menagerie, that’s what I have here
A couple of young groundhogs took up residence under my shed. I borrowed a larger live trap from a neighbor and staked it out with delicious bait (cantaloupe apparently works well). Of course, something walked off with the bait without tripping the trap. Fortunately, young groundhogs are notoriously… naive. Leave the empty trap out near their den, and within a day or two:
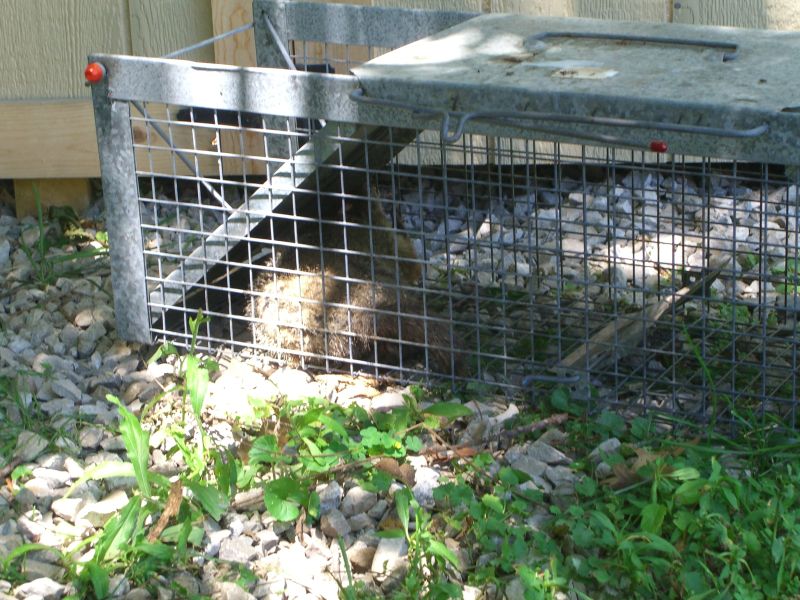
 Looks like he scraped himself up on the trap or before getting in. Released him in the woods and, a few hours later, did the same with his partner in crime (who may have been attracted to the trap by the first one’s scent for all I know).
Even though I’d only seeing these two wandering around, I reset the trap and left it out that evening. Came home to find a young raccoon inside, and a very anxious mother prowling around. Despite the youngster’s whining, I let everything sit overnight – raccoon mothers are notoriously protective and I wasn’t certain I could scare it off long enough to release the kid. Come morning though, mom was nowhere to be seen and the young one was half asleep in the cage. Open it up, tap the back end a few times, it finally lumbers off – under the shed. Time for some cayenne pepper I think.
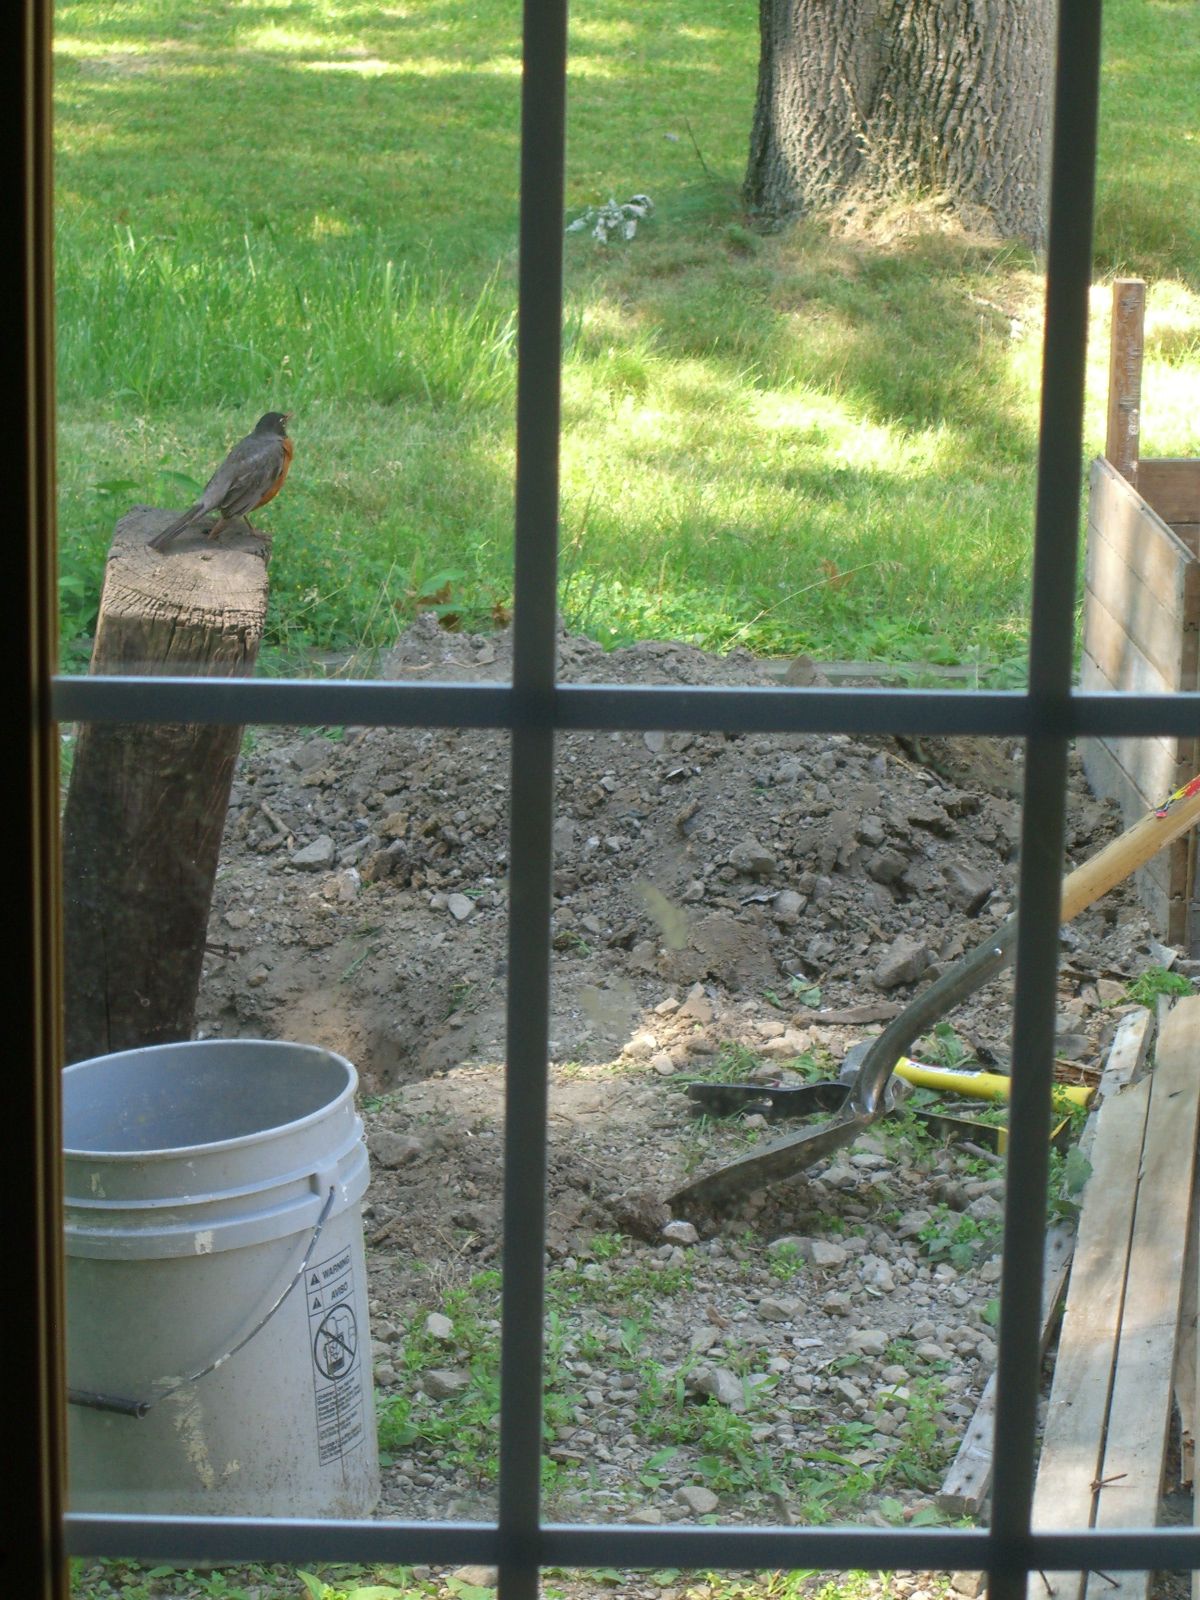
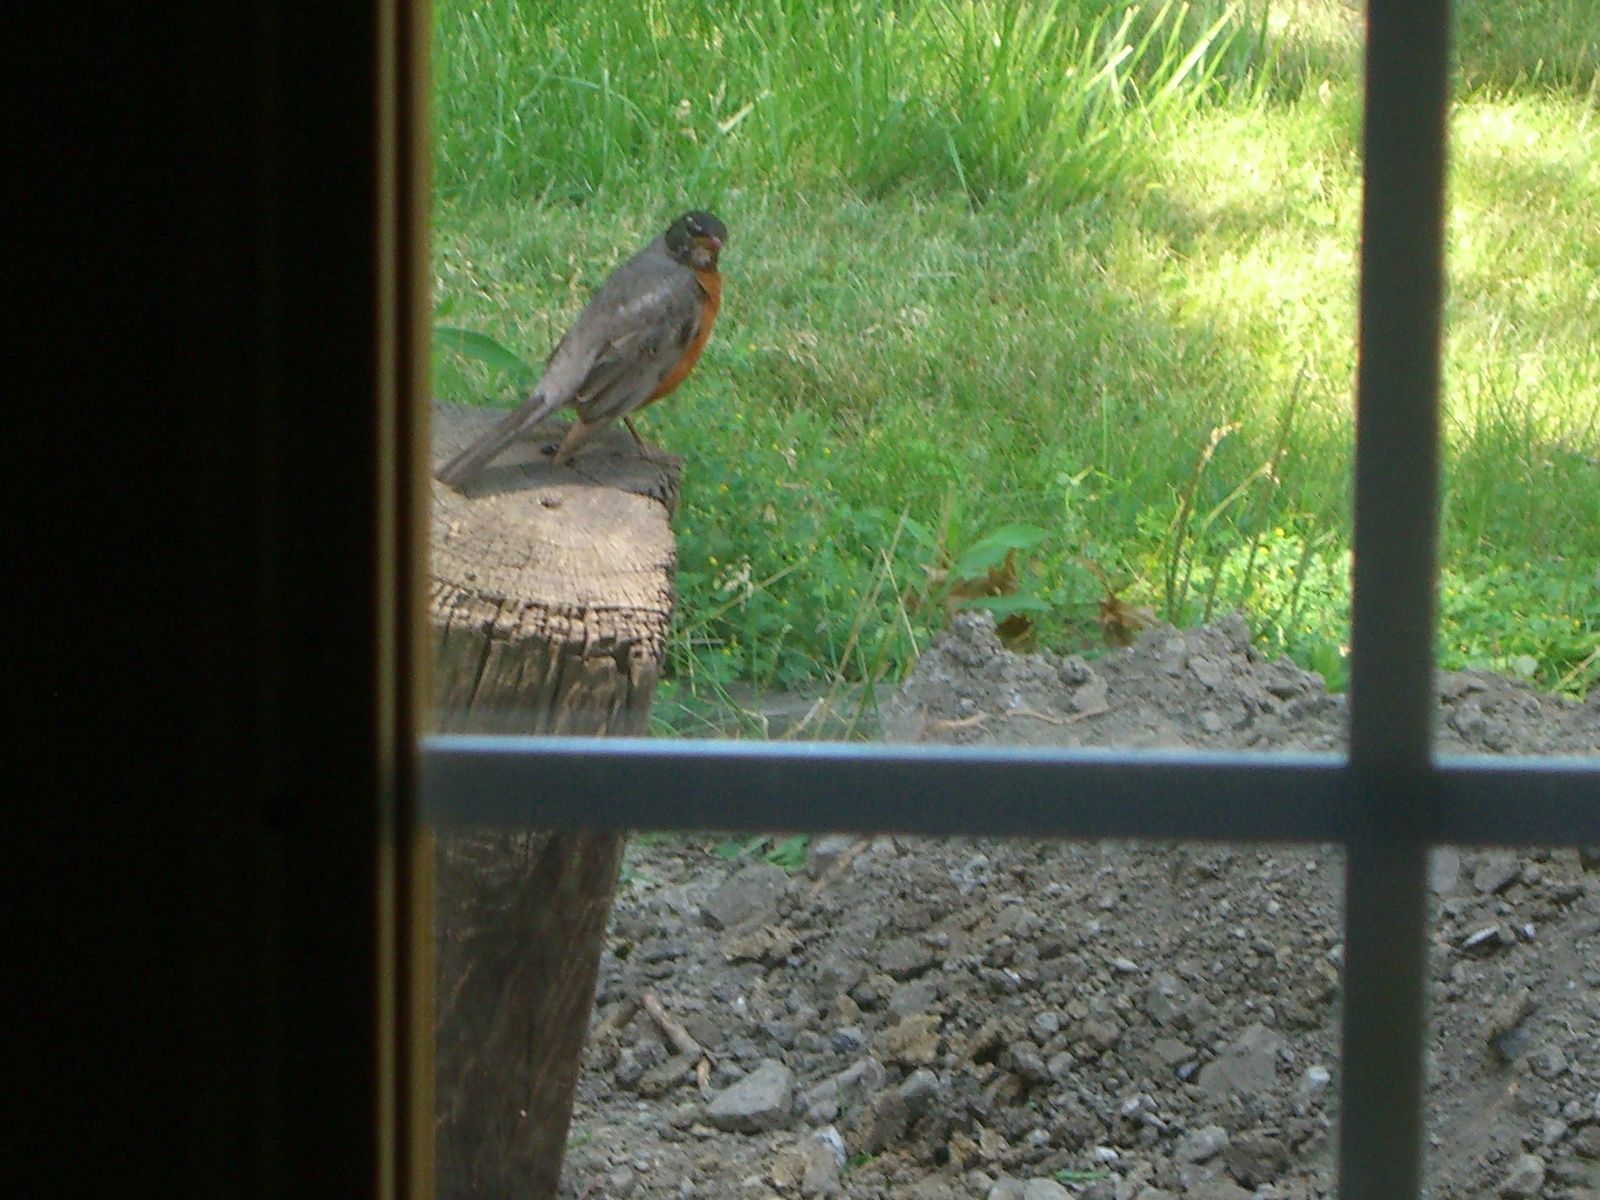
To conclude this post about trapping tiny animals, here are some pretty pictures of a bird: