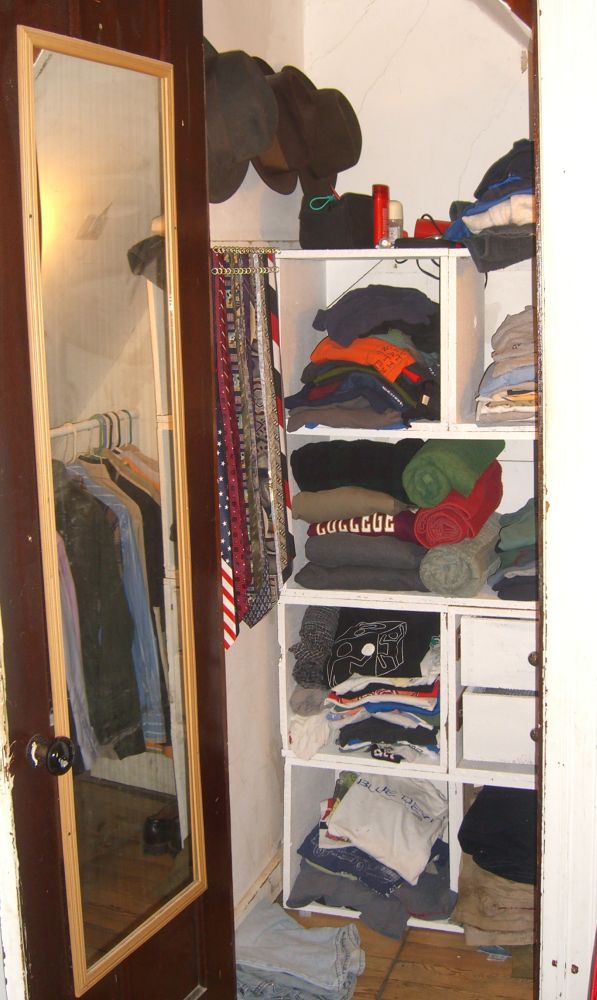
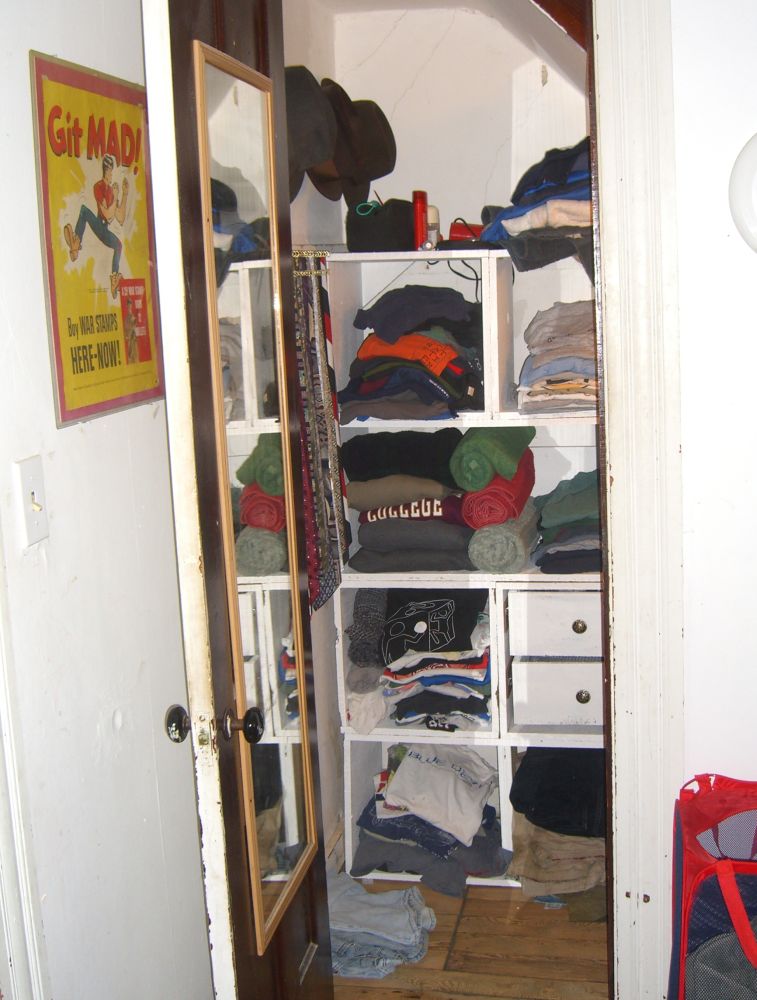
Close readers of this blog (hi Ezra!) will note that my closet project had reached a midpoint, and said midpoint involved all my clothes in the living room. After standing in front of the now-bare closet for many a day, chewing on the end of a metaphorical pencil and gazing thoughtfully into the space, envisioning a huge range of possible shelving and hanging possibilities, colors, finishes, rewired light fixtures, and a use for that trap door, I determined that my clothes were still in the living room. The situation now growing untenable, I built some box shelves:
Building cubes is delightfully easy – so easy that I didn’t bother taking pictures of most of the process! Okay, the camera went wonky for a bunch of the interim shots, but you can probably follow along without visual cues just this once.
For clothes shelves I’ve found that the key dimension is depth. I ripped particle boards salvaged from the upstairs floor refinishing project (yes, still ongoing as of this writing) to 16″, I think. I could go measure, but I’m at the coffee shop posting this so I’m not going to go measure. Call it ‘D’. To make a cube you just need two boards cut to D length, thus making a square, and two cut to D+1 1/4″ (5/8 times 2). For a double-wide cube (okay, yes, I know, it wouldn’t be a cube…) you still cut two squares and then cut two at Dx2+2.5″ to compensate for the thickness of the uprights.
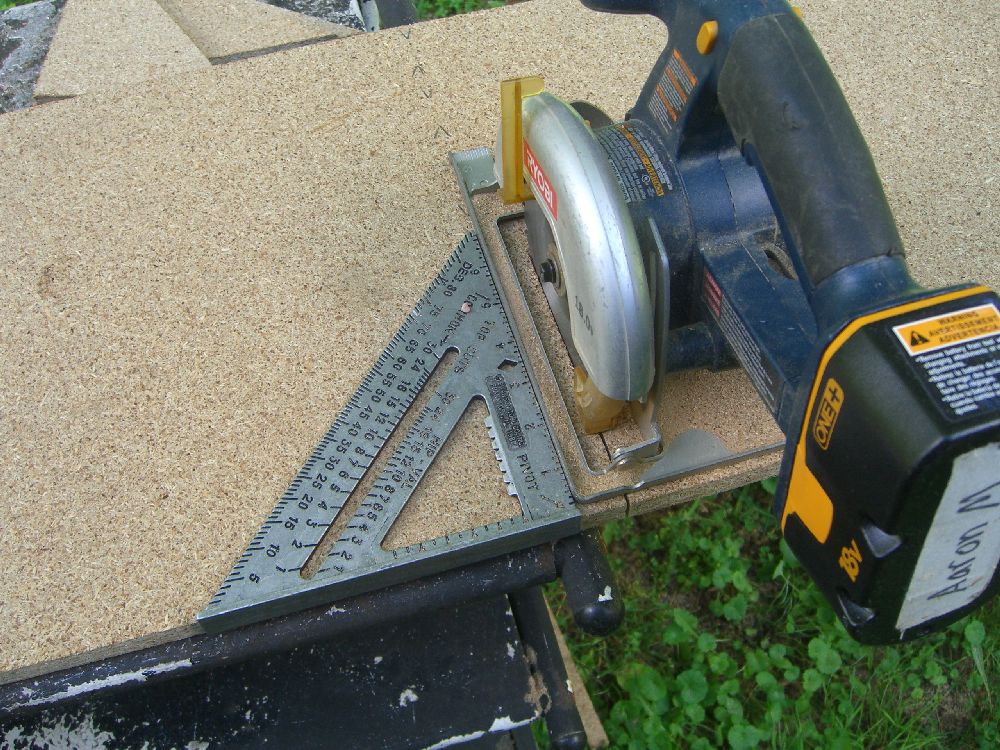
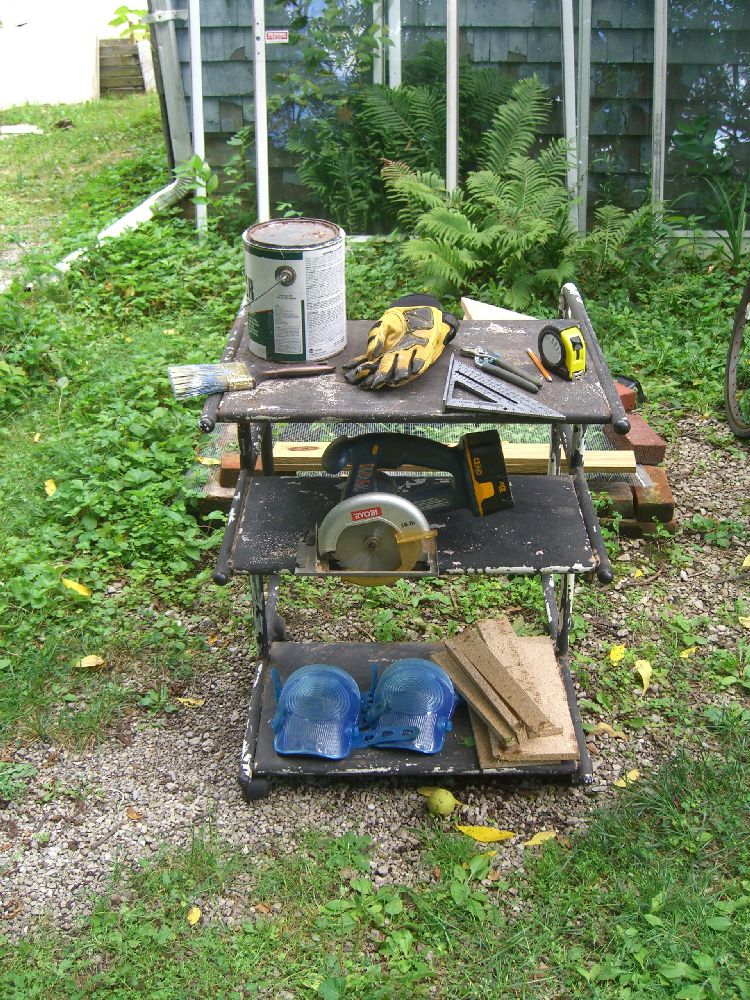
Ripping the boards was performed using a clamped on piece of 1x wood as a saw guide – the sheets are just too heavy and, in the case of the full ones, too long, to even try and cut them on my standard table saw. Once they were at a manageable width, though, making the crosscuts can be done much more quickly using a speed square as a saw guide. My cordless circ saw has a 1″ offset to the left of the blade, so I measured one inch further than needed and marked off:
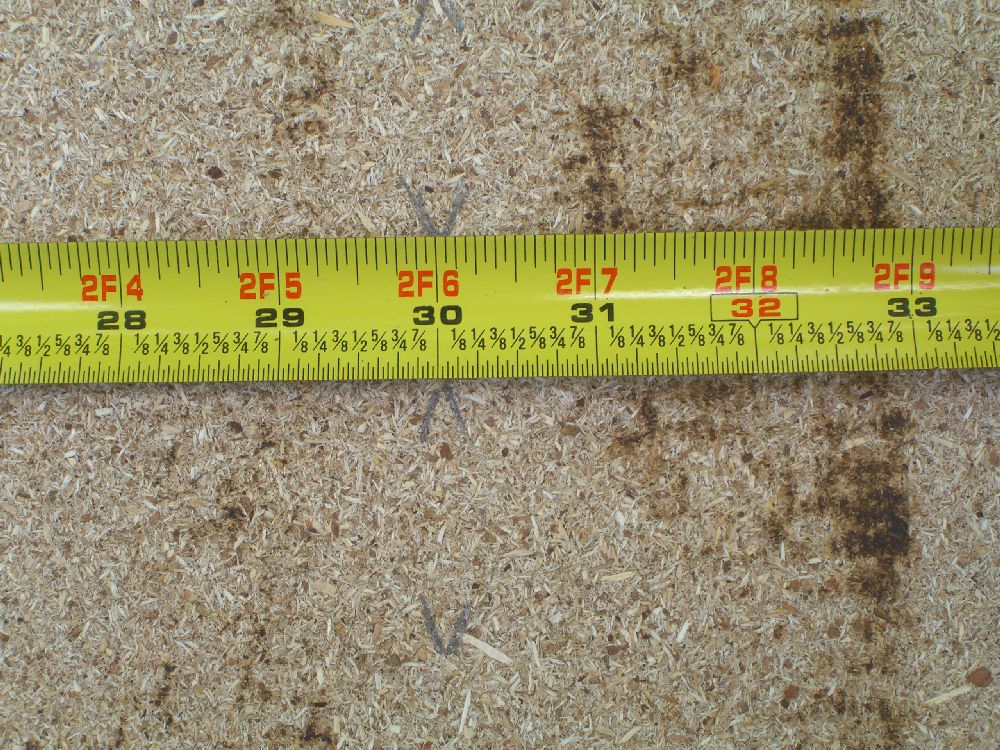
Or maybe just ignore the specifics of this image and go with the gist of the concept.
Actually, I think the board at this point was 47″ long and for some reason
I was measuring from the left end.
Speed squares are wonderful tools – every shop should have one. Yes, a combination square is very handy as well, but it can’t do this:
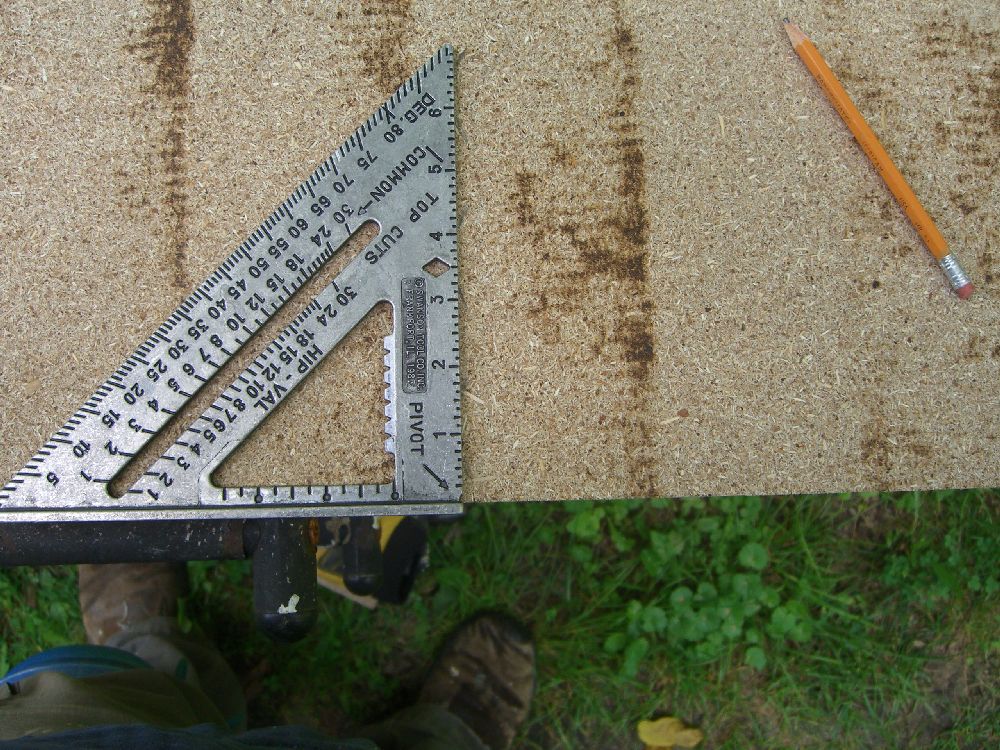
At least not easily.

Four cubes and two double-wides worth of parts. You’ll want a heavy paint if you’re using
particle board – these are actually just coated with Gripper primer, and it worked fine for my needs.
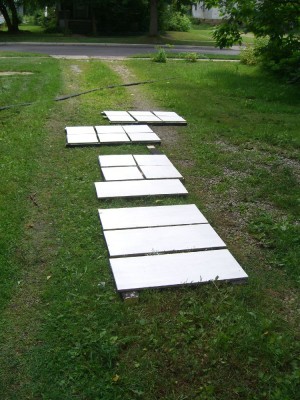
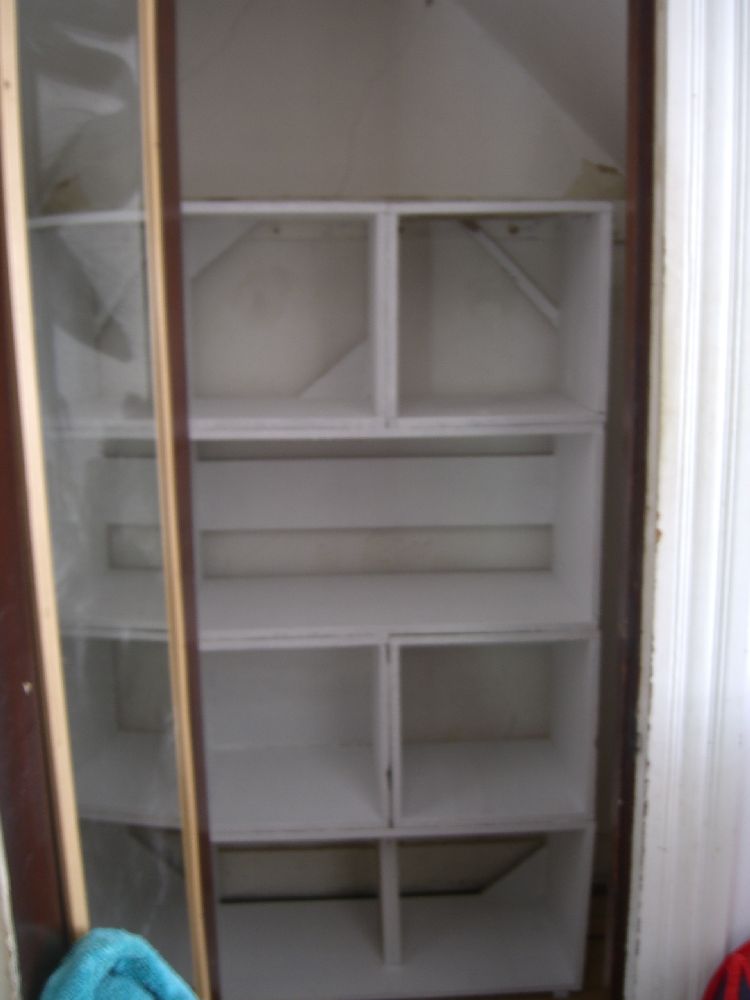
Sadly the pictures of assembly are lost for all time to the quirks of my camera, but again – pretty straightforward. A little bit of wood glue and then three or four nails per edge was all I used to assemble the boxes. You can sort of see it in the finished pictures, but each box had a different support addition – a couple of triangles on opposing corners, one has a half panel back, one has a full panel back, etc. The top-right one was my prototype and so only got a scrap strip as a stabilizer.
I painted the exposed edges – and the supports – after assembly but before installation.
Not shown: hammer, nails, glue, and any reason this project took as long to undertake as it did.
For the sake of brevity (it’s the soul of wit, you know) I’ll break out the set of drawers built for these shelves as a separate post.